We implemented a Number of Features to make the Cave look more appealing
and here are the Descriptions
Basic Area Light Sampling
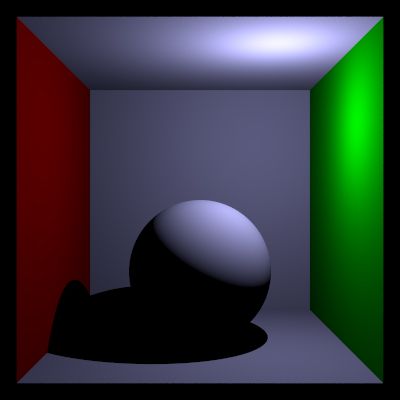
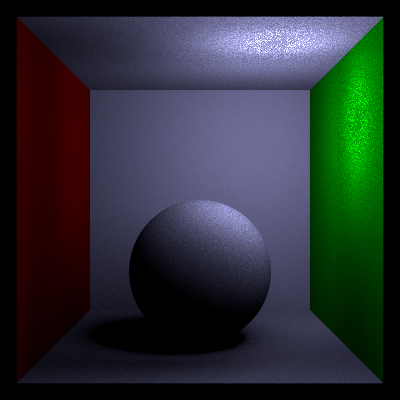
Area Light Test:
This scene shows that despite we only use a direct integrator a soft shadow is observable in
the scene where an area light was used.
We included area lights in our scene to get nice shadows and support our scene with a well
rounded light distribution.
Technical challenges:
We had a problem with spherical area lights at first, but after we removed some print
statements from our code we noticed an slightly observable change in time consumption.
Afterwards we did not have to wait 5 min for one rendered area light test and they were
actually working.
Image Denoising
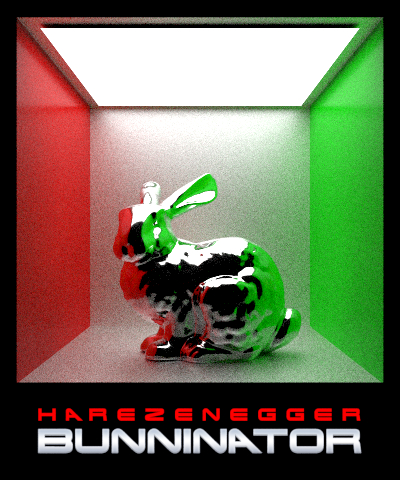
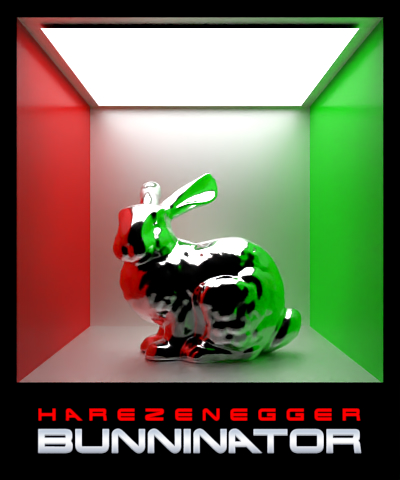
Image Denoising Test:
We used the intrestingly designed test scene provided by someone on teams, which was always
partly working. Designing our own tests helped us to figure out issues and allowed us to
apply alpha masking to any mesh.
As you see here we applied a simple alpha masking to a bunny such that one part is visible
and the other fades into see through material.
Technical challenges:
Just writing the code for image denoising was quite simple, as the denoising library does
most of the work. However we had great problems connecting the library to our code on
windows. To fix this issue we just switched to Linux.
Alpha Masking
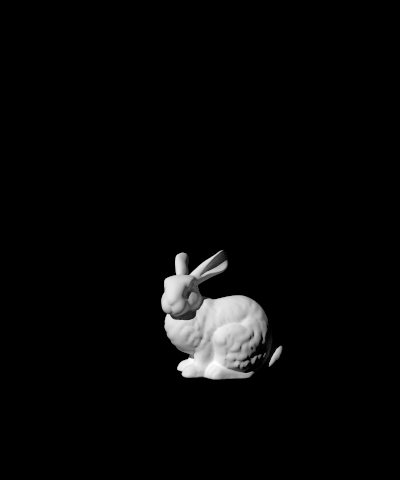
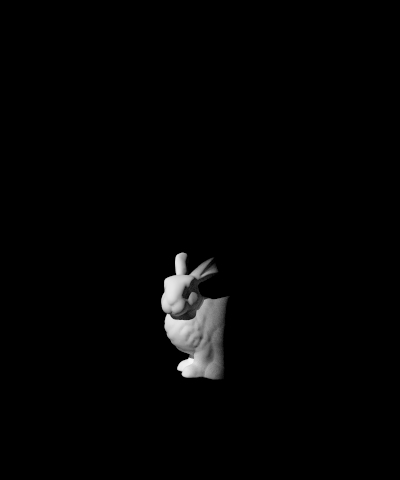
Alpha Masking Test:
We used the intrestingly designed test scene provided by someone on teams, which was always
partly working. Designing our own tests helped us to figure out issues and allowed us to
apply alpha masking to any mesh.
As you see here we applied a simple alpha masking to a bunny such that one part is visible
and the other fades into see through material.
Technical challenges:
For alpha masking, we first tried to shoot a new ray from the intersection point which was
very slow. We came up with a much smaller and quicker solution afterwards which you can see
in the code.
Shading Normals
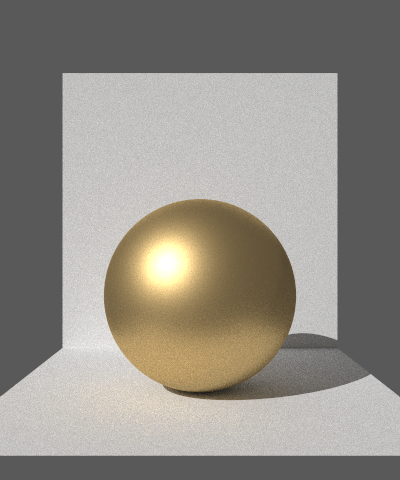
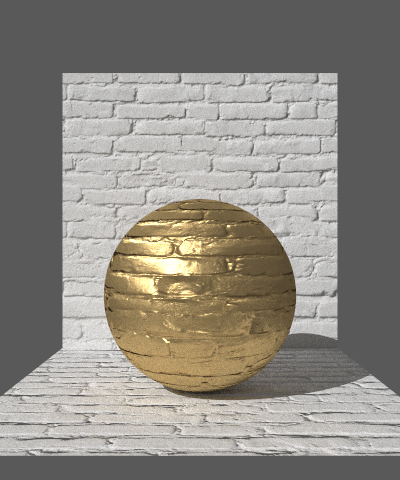
Shading Normals Test:
As you can see in the shading normal test we can now apply textures to objects. The result
highly benefits our scene since nearly every mesh we used got a texture applied to it.
Technical challenges:
We first had a small problem regarding not applying the transformation correctly.
Break Things
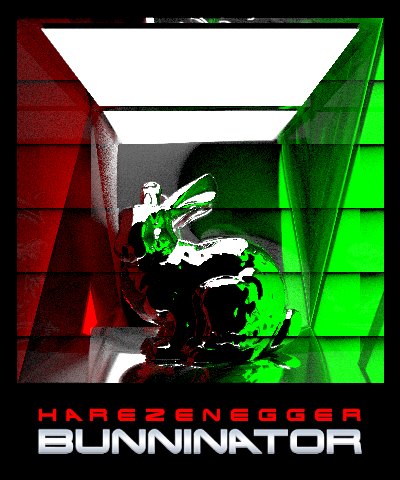
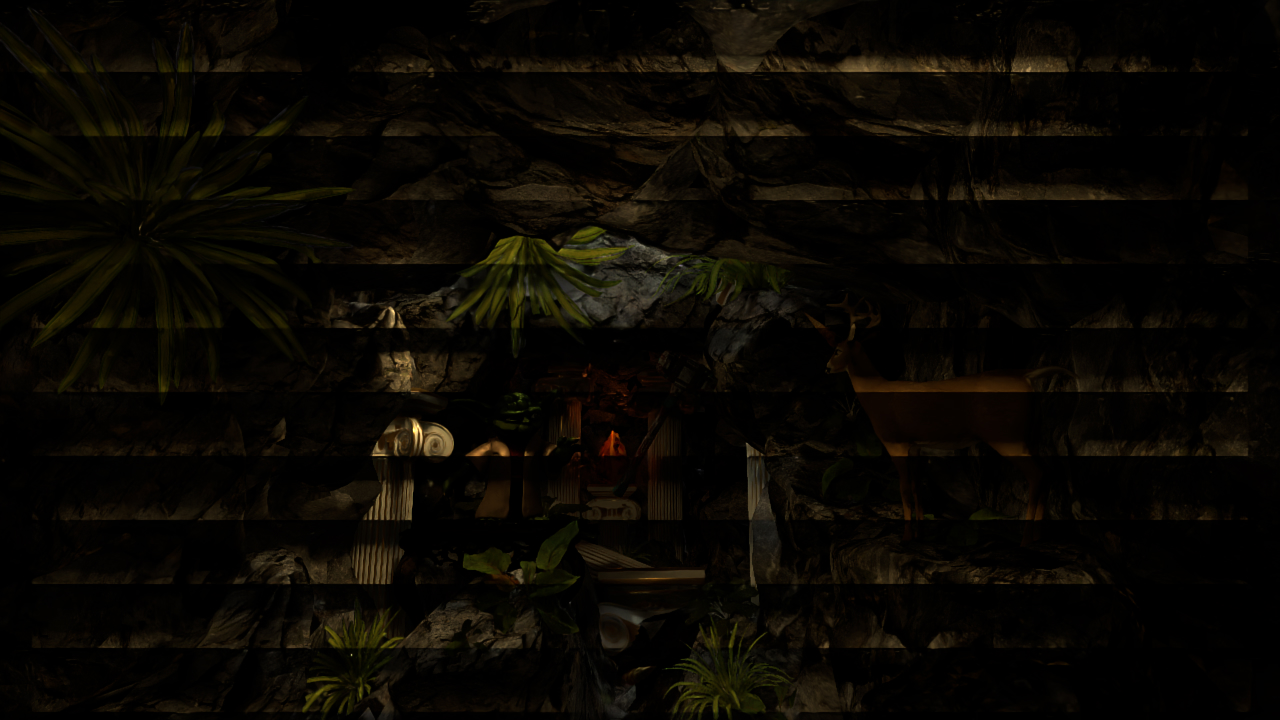
We implemented a custom Sampler and tried out many different ways of generating "random"
floats.
In our scene, a broken sampler looks like being behind a window with blinds.
Features in our Scene:
Basic Area Light Sampling: Area lights were used (especially) at the entrance and at the
fire
to make the lighting perfect.
Image Denoising: Image Denoising, as a postprocessing step, was used to (you guessed it)
denoise the image. It had a big impact.
Alpha Masking: Alpha Masking was used to get the correct shape of the leaves, as they
have
holes. Alpha Masking is responsible for getting the holes in the leaves.
Shading Normals: Shading Normals are necessary in our scene to correctly apply some
textures
to the objects, for example the deer, the hammer and the rocks.