Feature list of MemorySynthesizer renderer
Welcome to our renderer! We will first show you what features we have implemented.
Feature 1: Thin Lens Camera
The first feature we implemented is the Thin Lens Camera, which simulates real-world camera optics. Unlike a pinhole camera, the thin lens camera introduces depth of field, creating a blur effect for objects that are out of focus. This adds a layer of realism to our scene, making it feel more like a photograph taken with an actual camera.
- Left: The scene rendered without the thin lens effect. Everything is in sharp focus, which feels less realistic.
- Right: The scene rendered with the thin lens effect. Notice how the susane is in focus, while the spheres in the background and foreground have a natural blur.
| Without Thin Lens | With Thin Lens |
|---|---|
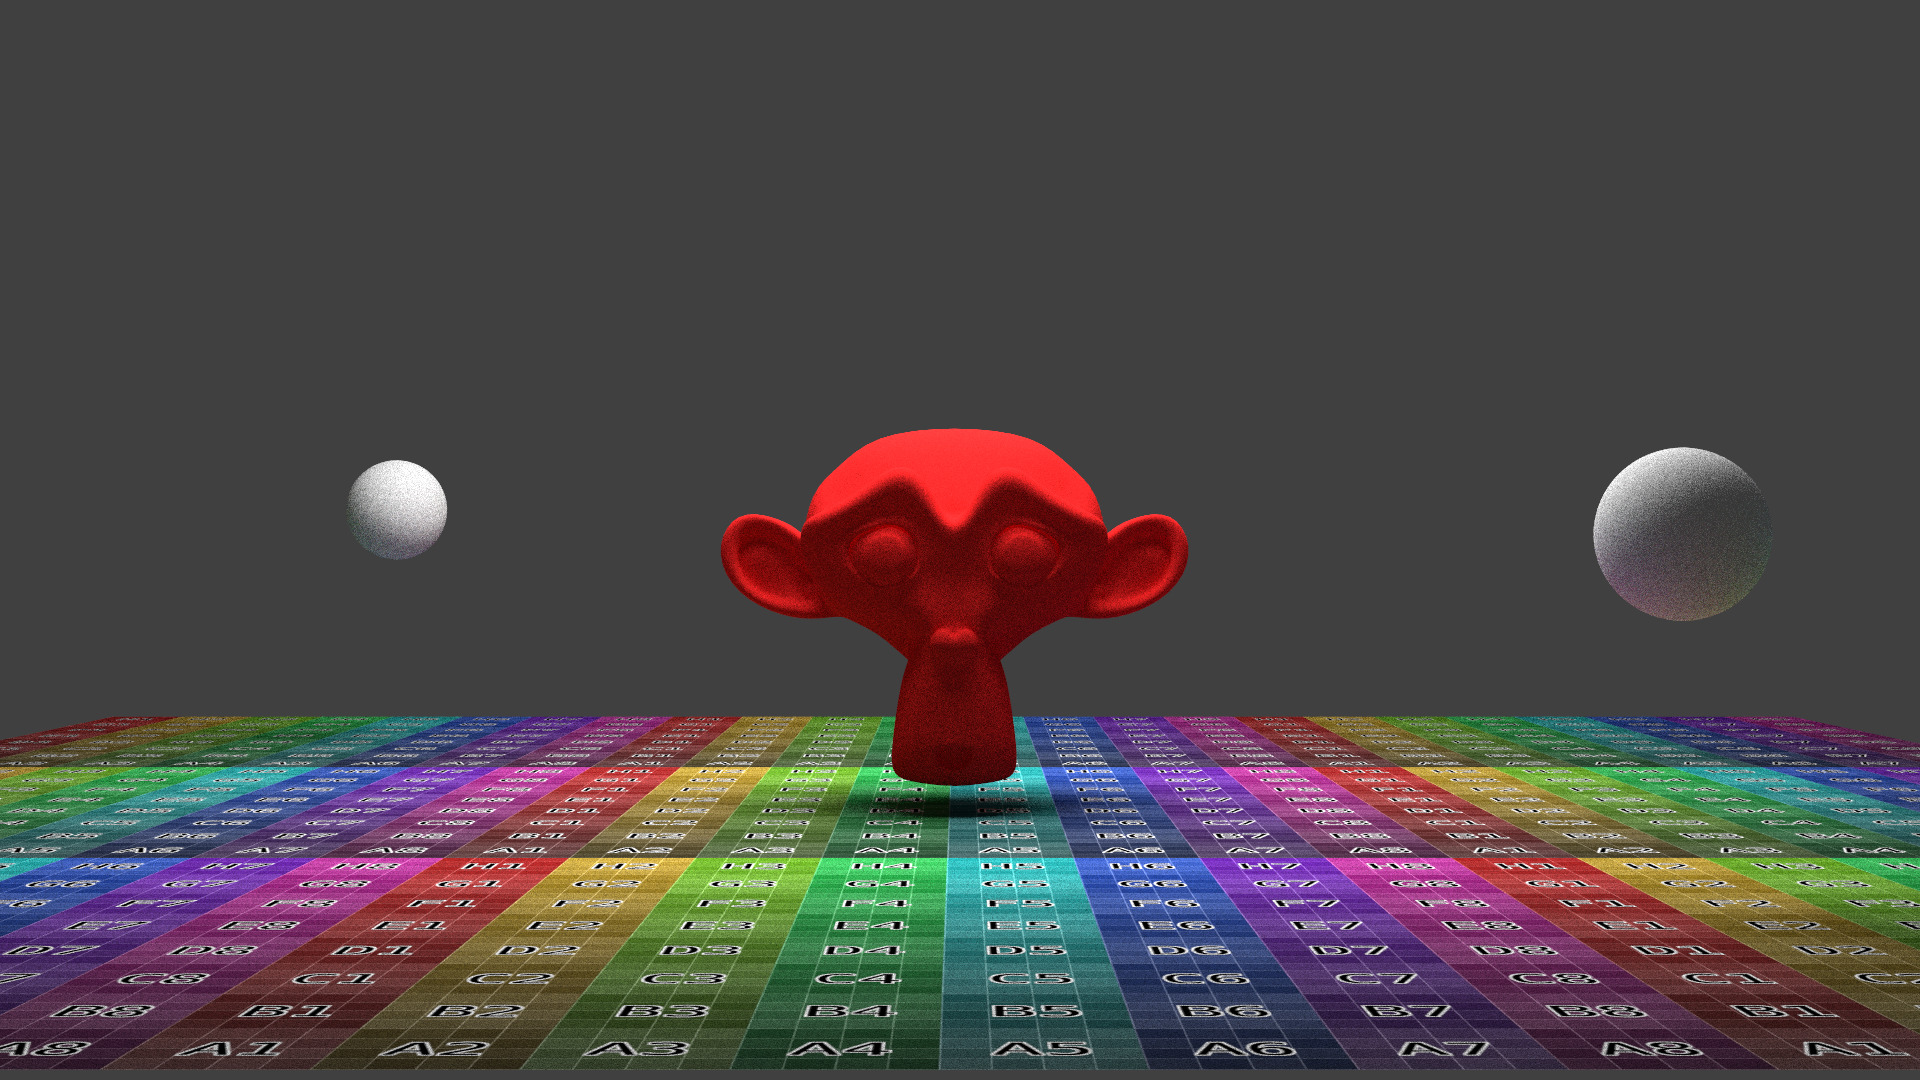 Everything in sharp focus |
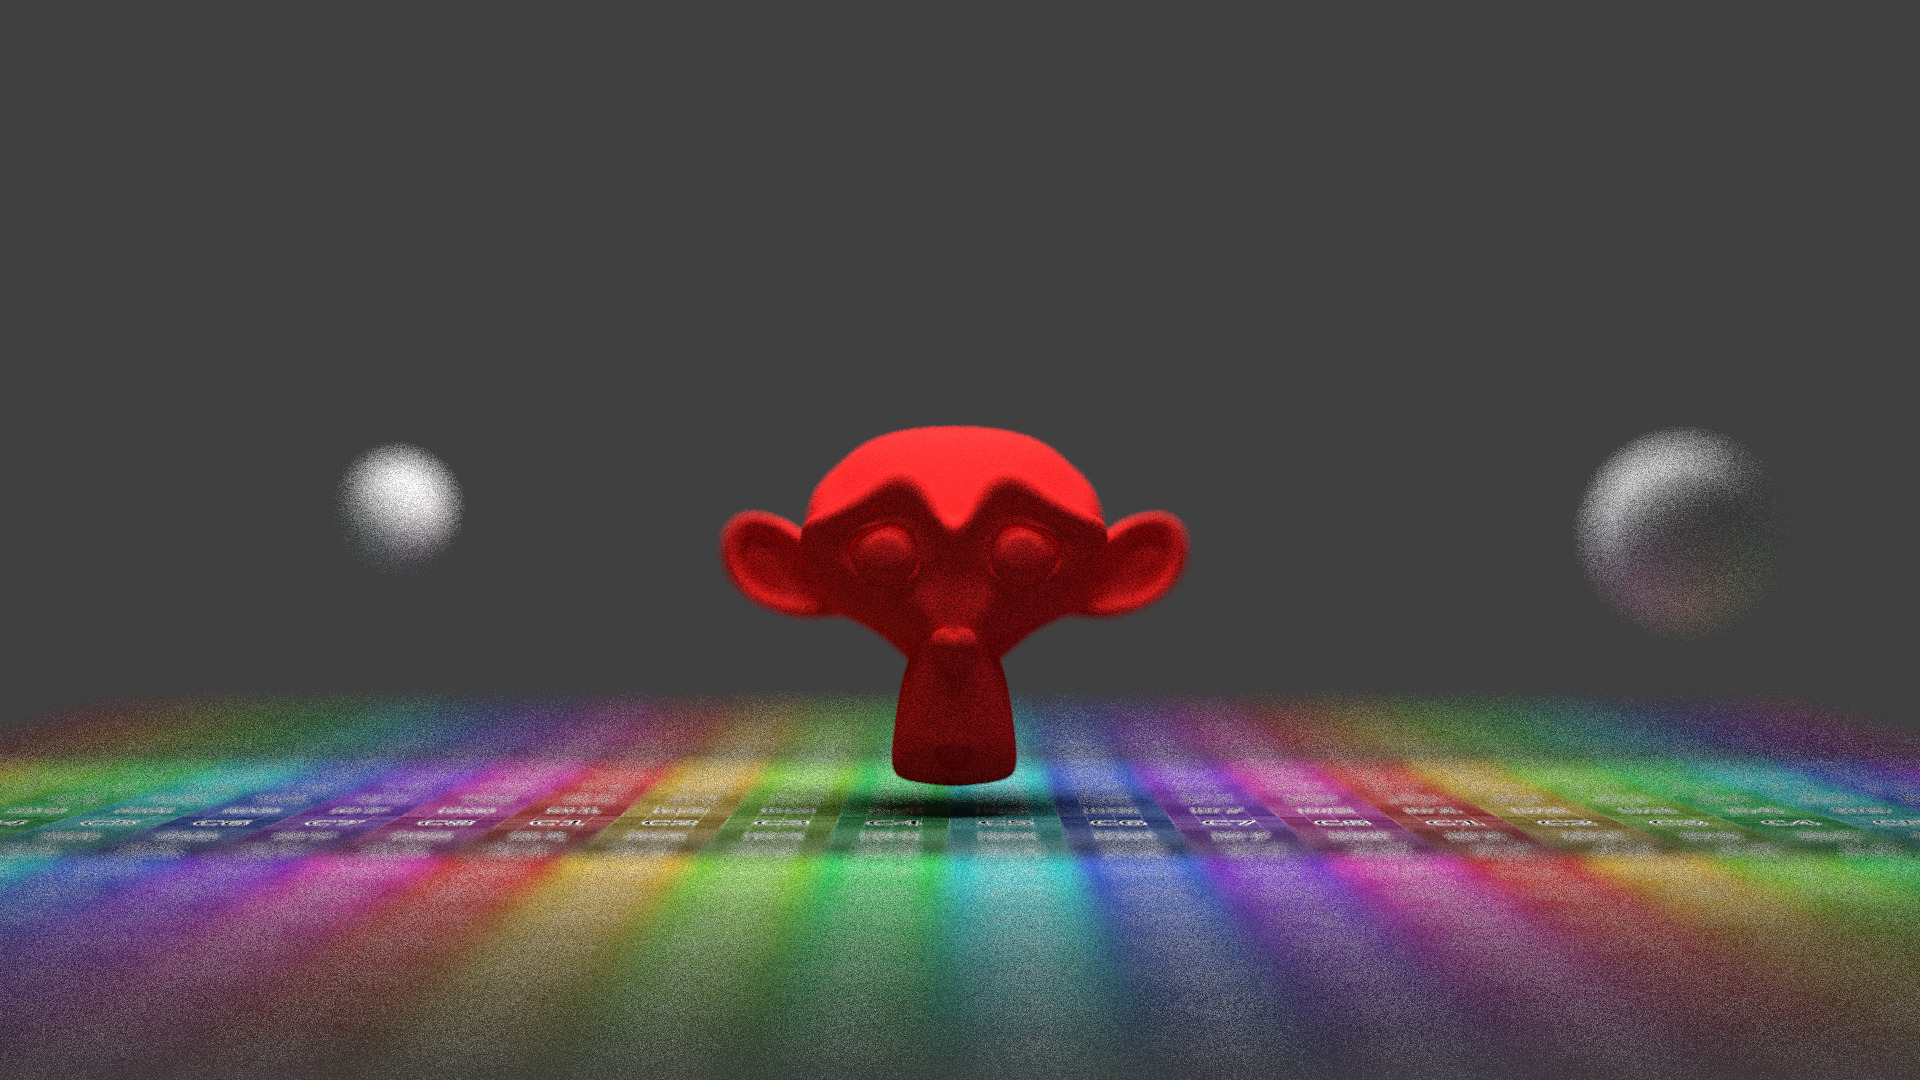 Natural depth of field blur |
Feature 2: Iridescence
The second feature we implemented is Iridescence, where surfaces shimmer and shift colors as you move around them, like the rainbow glow on soap bubbles. This optical phenomenon causes surfaces to shift in color depending on the viewing or lighting angle, resulting from light interference and scattering at the microscopic level. Iridescence in computer graphics is simulated by modeling thin-film interference, where light waves reflect and refract through multiple layers, creating color shifts based on viewing angle and layer thickness. For that, we use microfacets.
| Without Iridescence | With Iridescence |
|---|---|
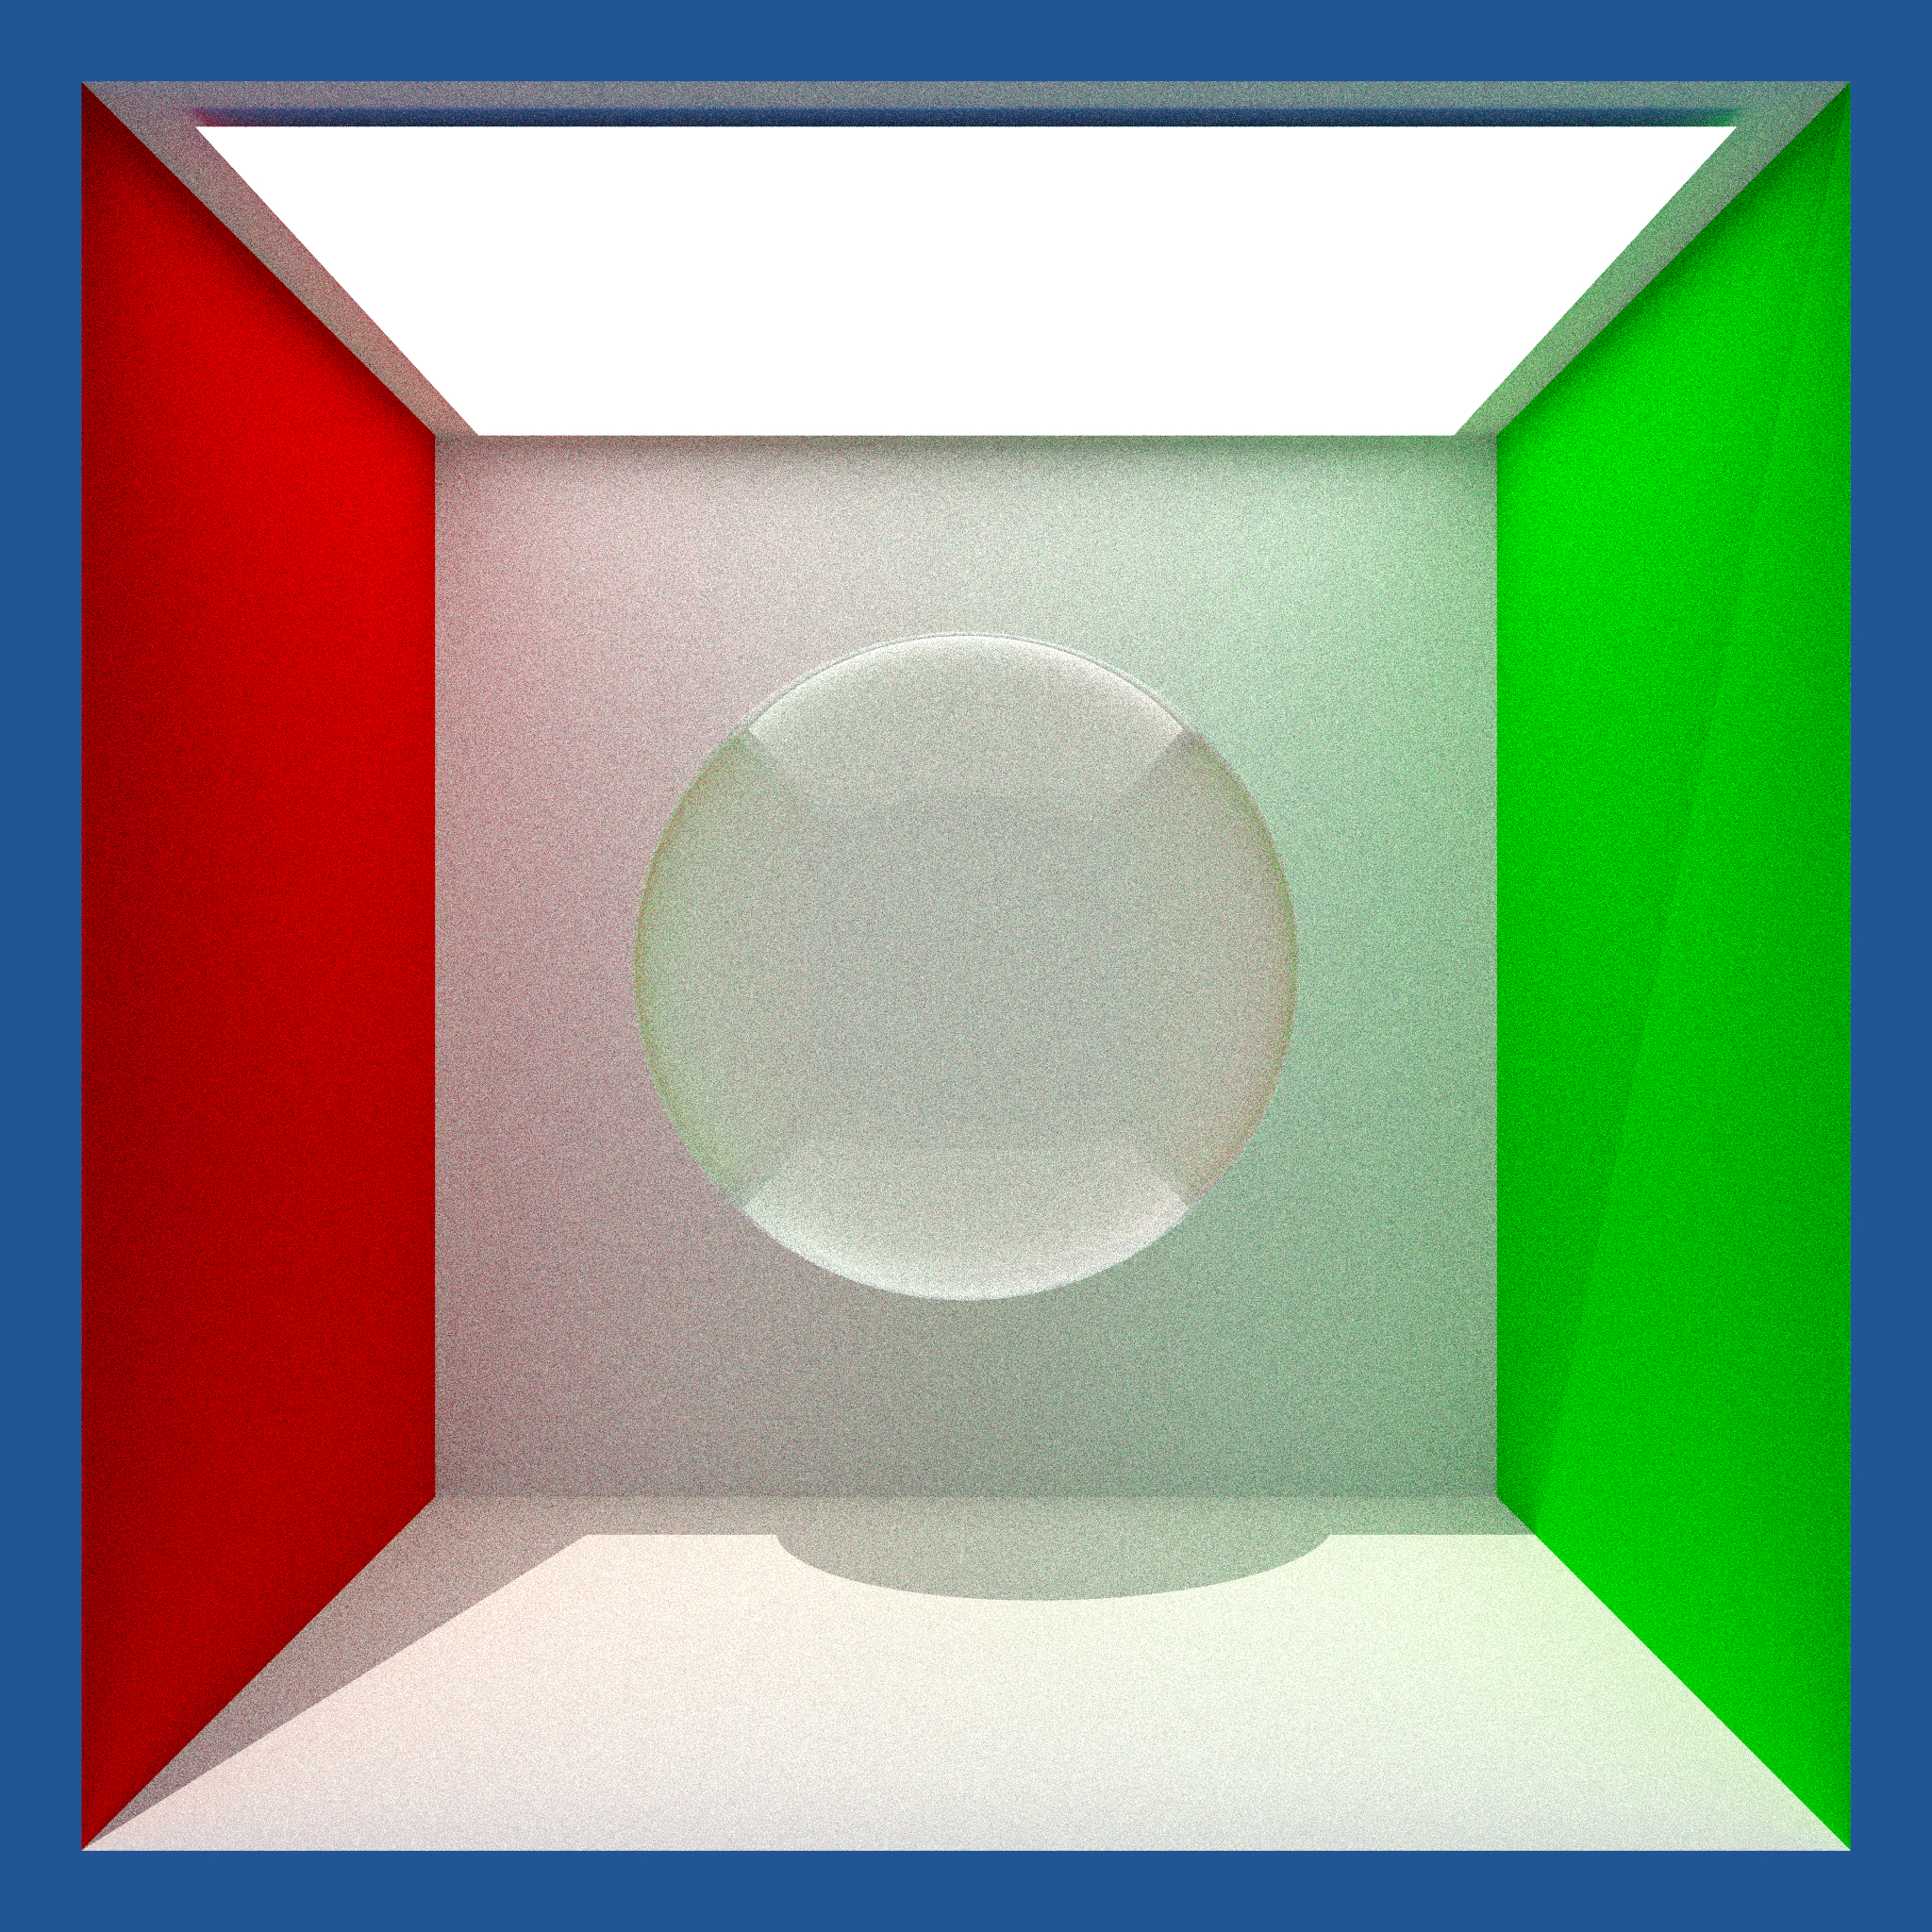 Sphere with dielectric |
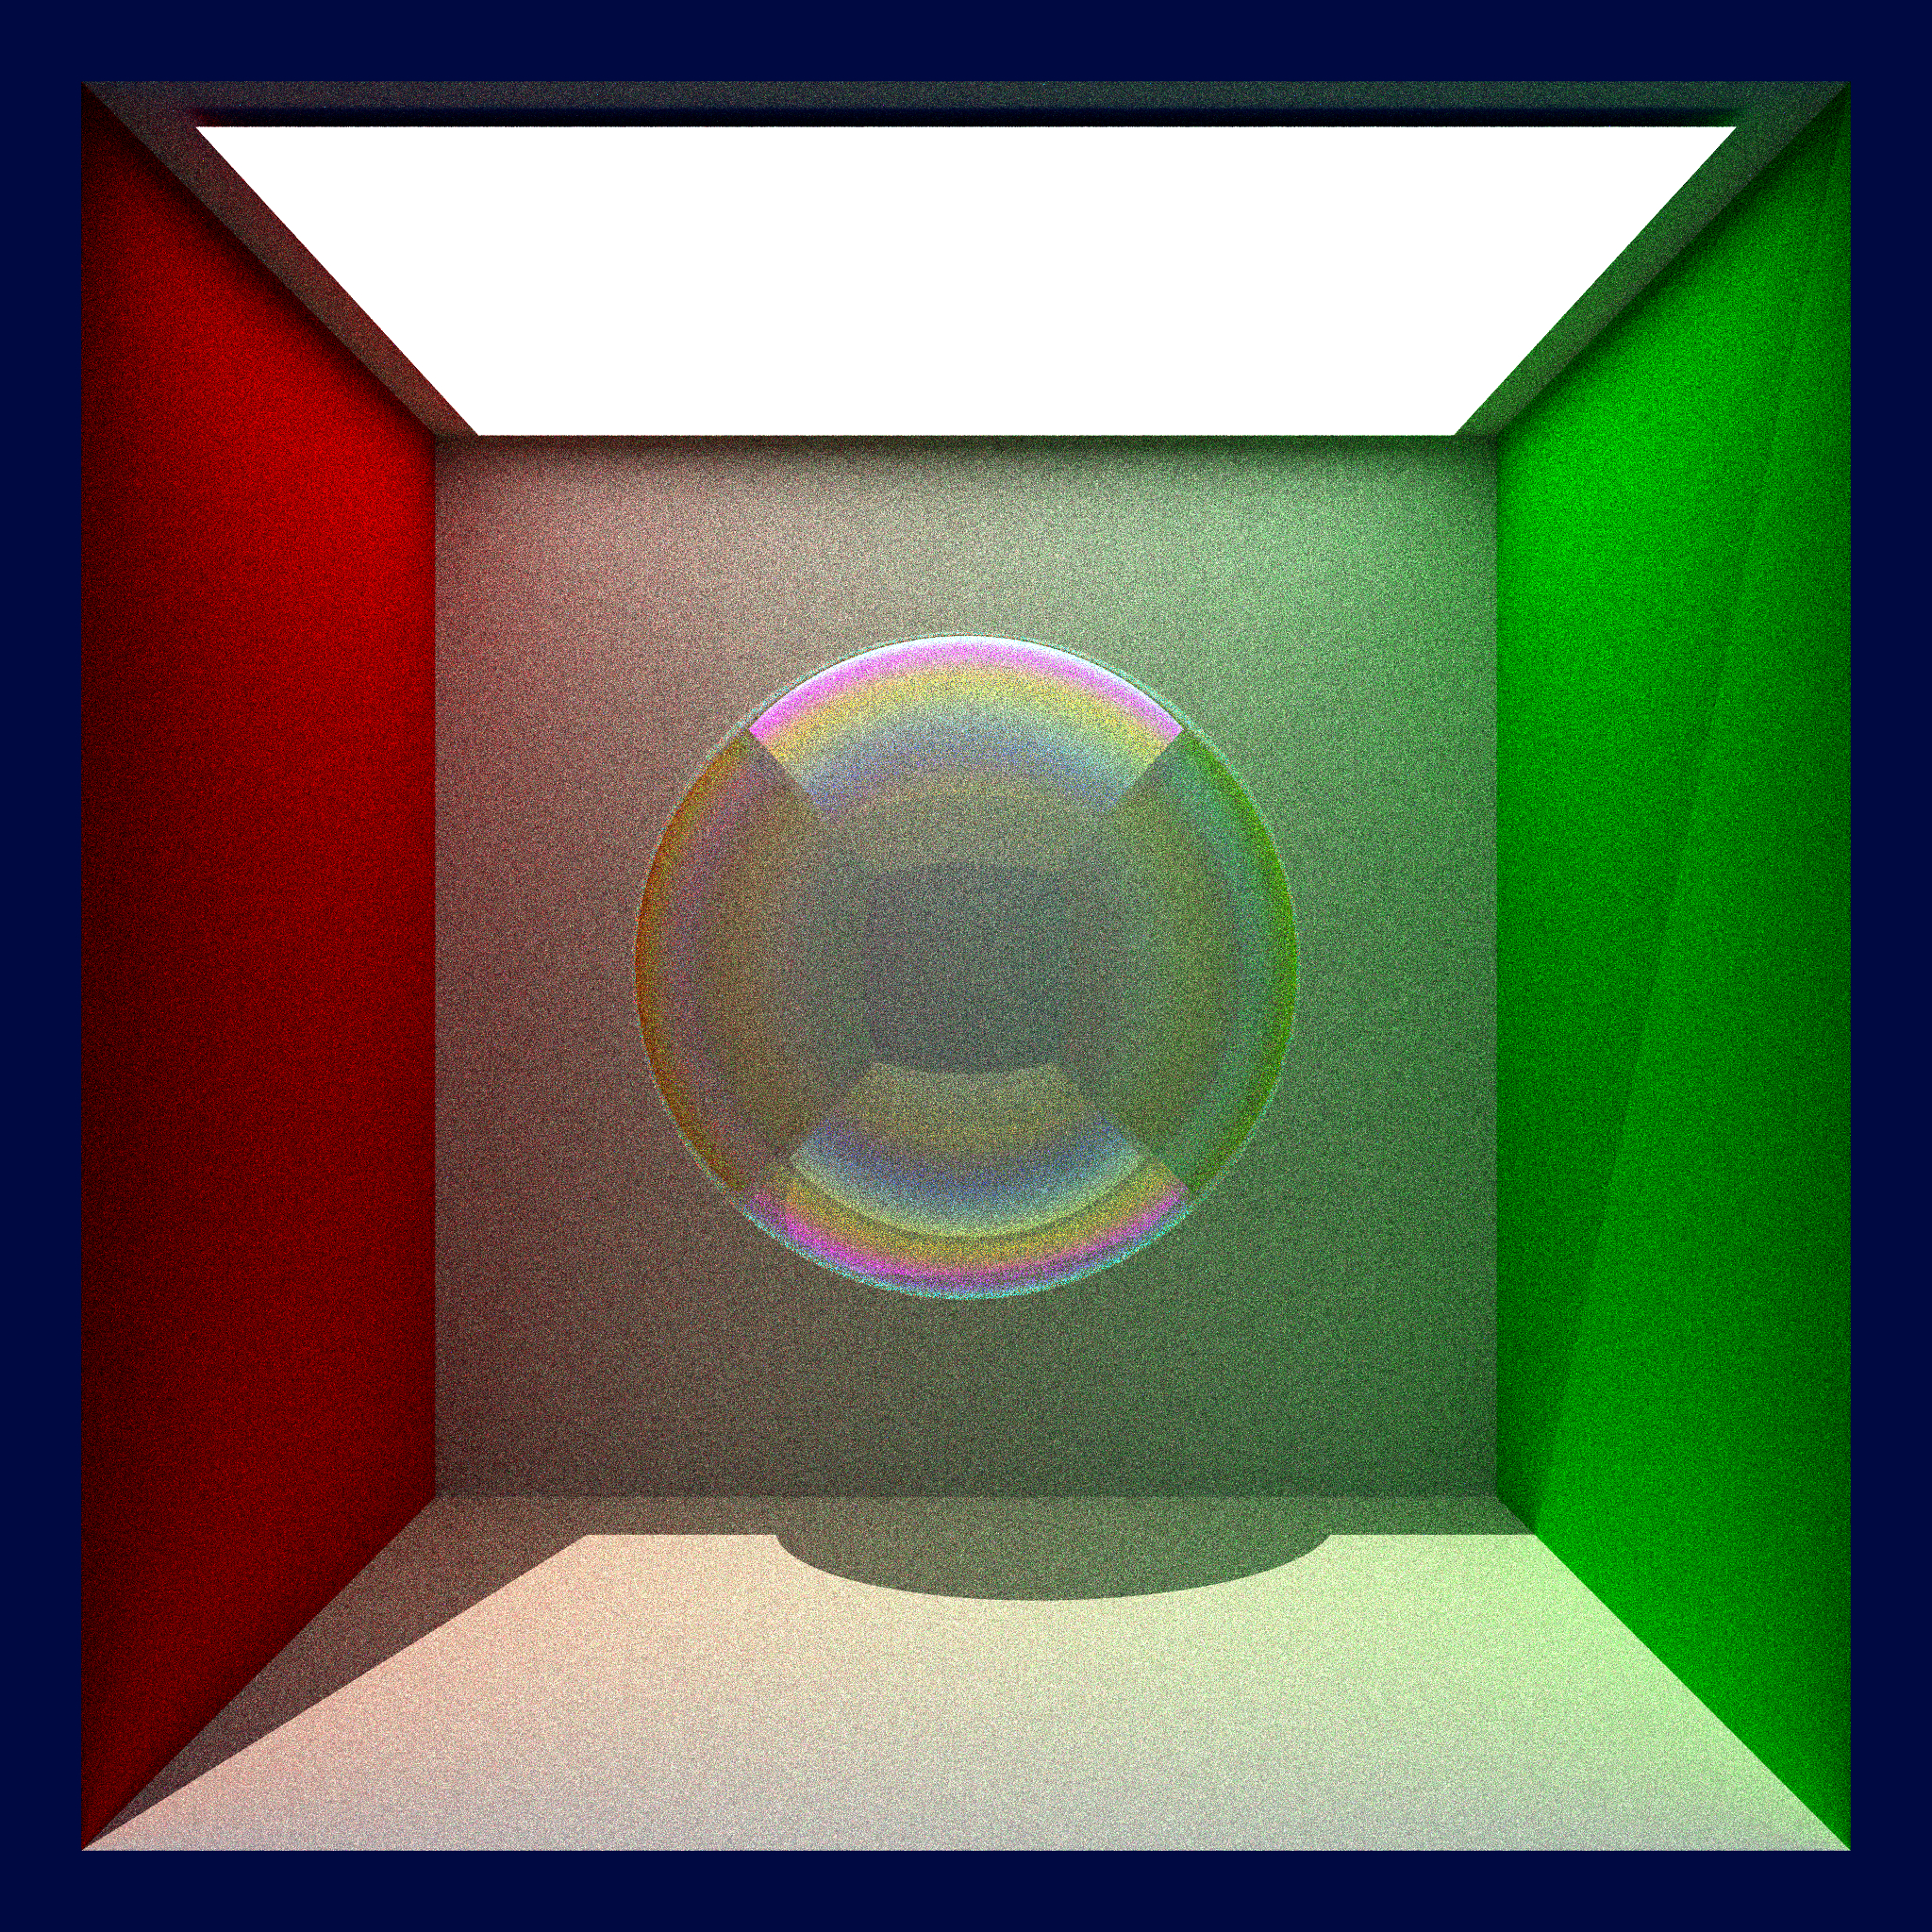 Thin film dielectric, which is iridescent |
Feature 3: Normal Maps
The third feature we implemented is Normal Mapping, which significantly enhances the realism of our renderer by adding intricate surface details without the need for complex geometry. Normal mapping works by using an additional texture (a normal map) that describes the surface normals of the underlying geometry. This allows us to simulate fine details like bumps, dents, and scratches on surfaces, even when the actual mesh is relatively simple.
- Left: The scene rendered without normal mapping. The surfaces appear flat and lack detail.
- Right: The scene rendered with normal mapping. Notice how the surfaces now have a more realistic texture, with visible bumps and fine details.
| Without Normal Mapping | With Normal Mapping |
|---|---|
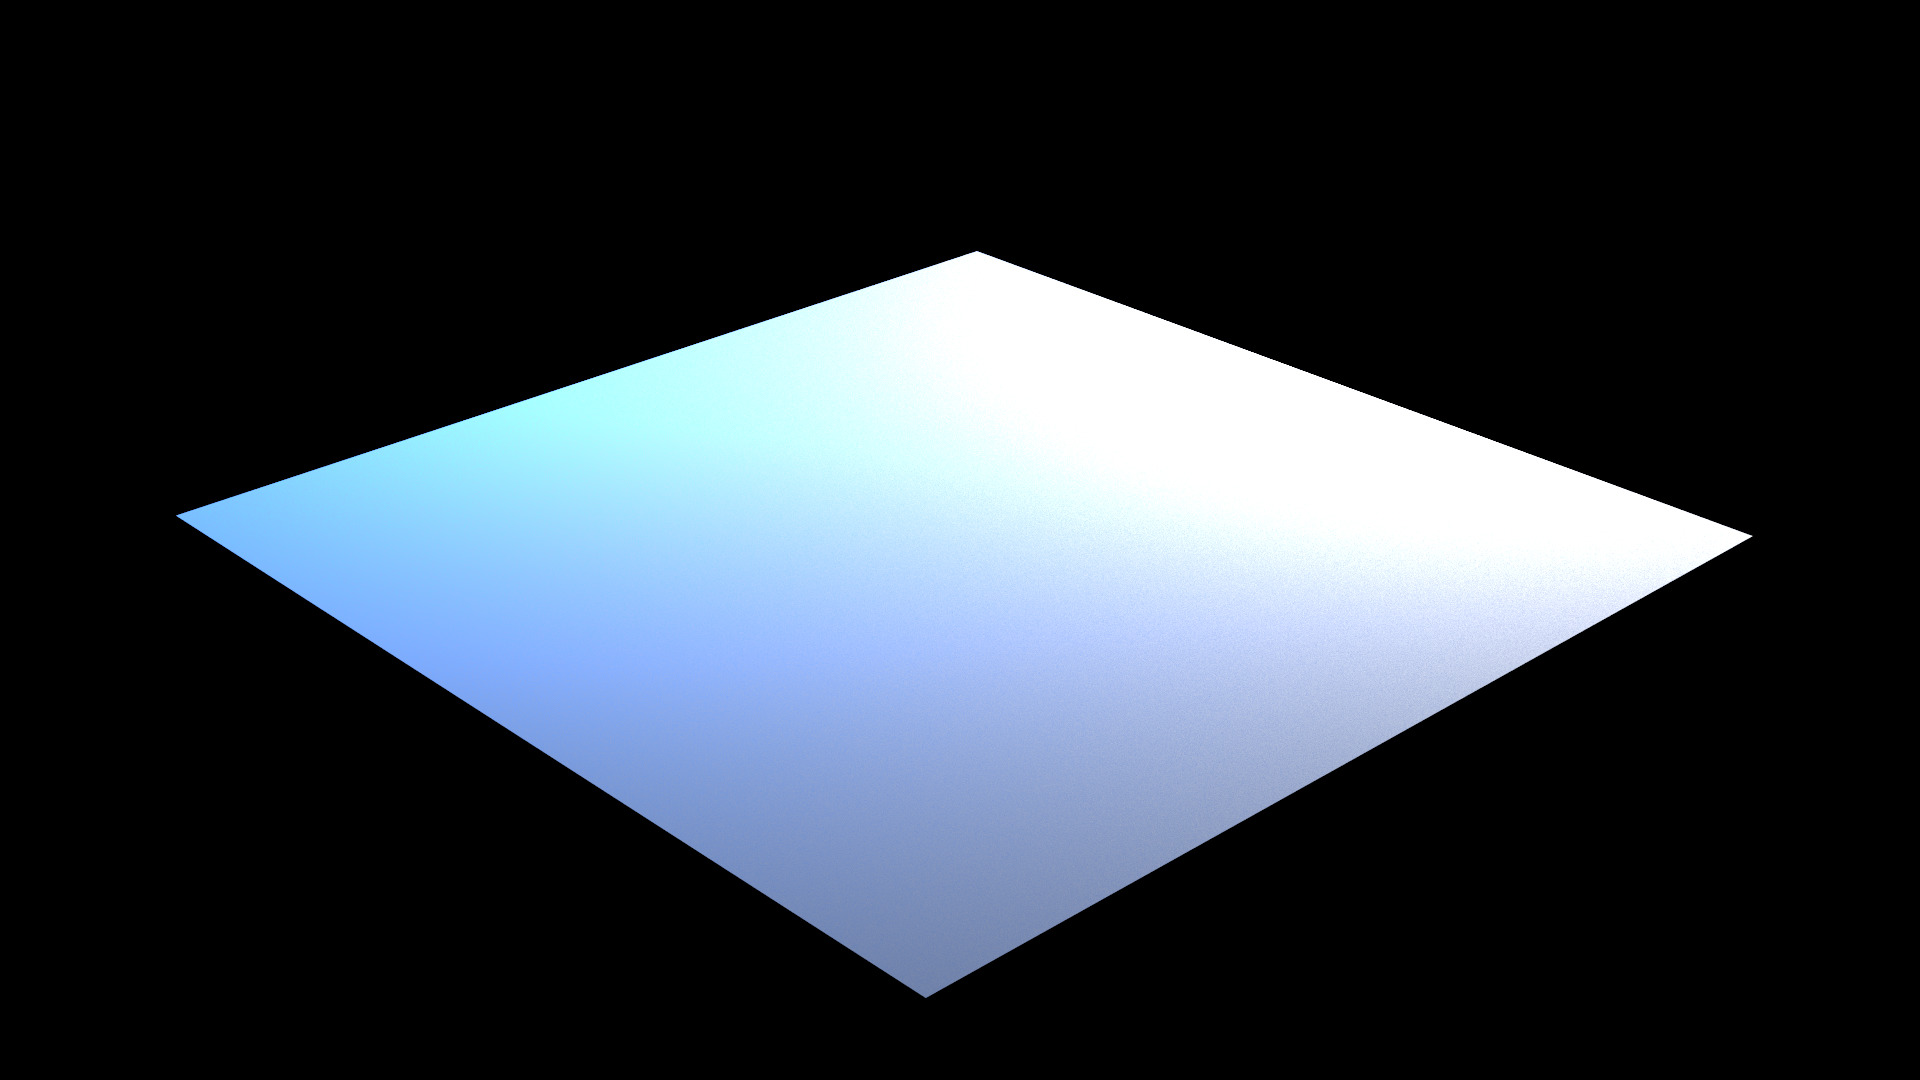 The surface appears flat. |
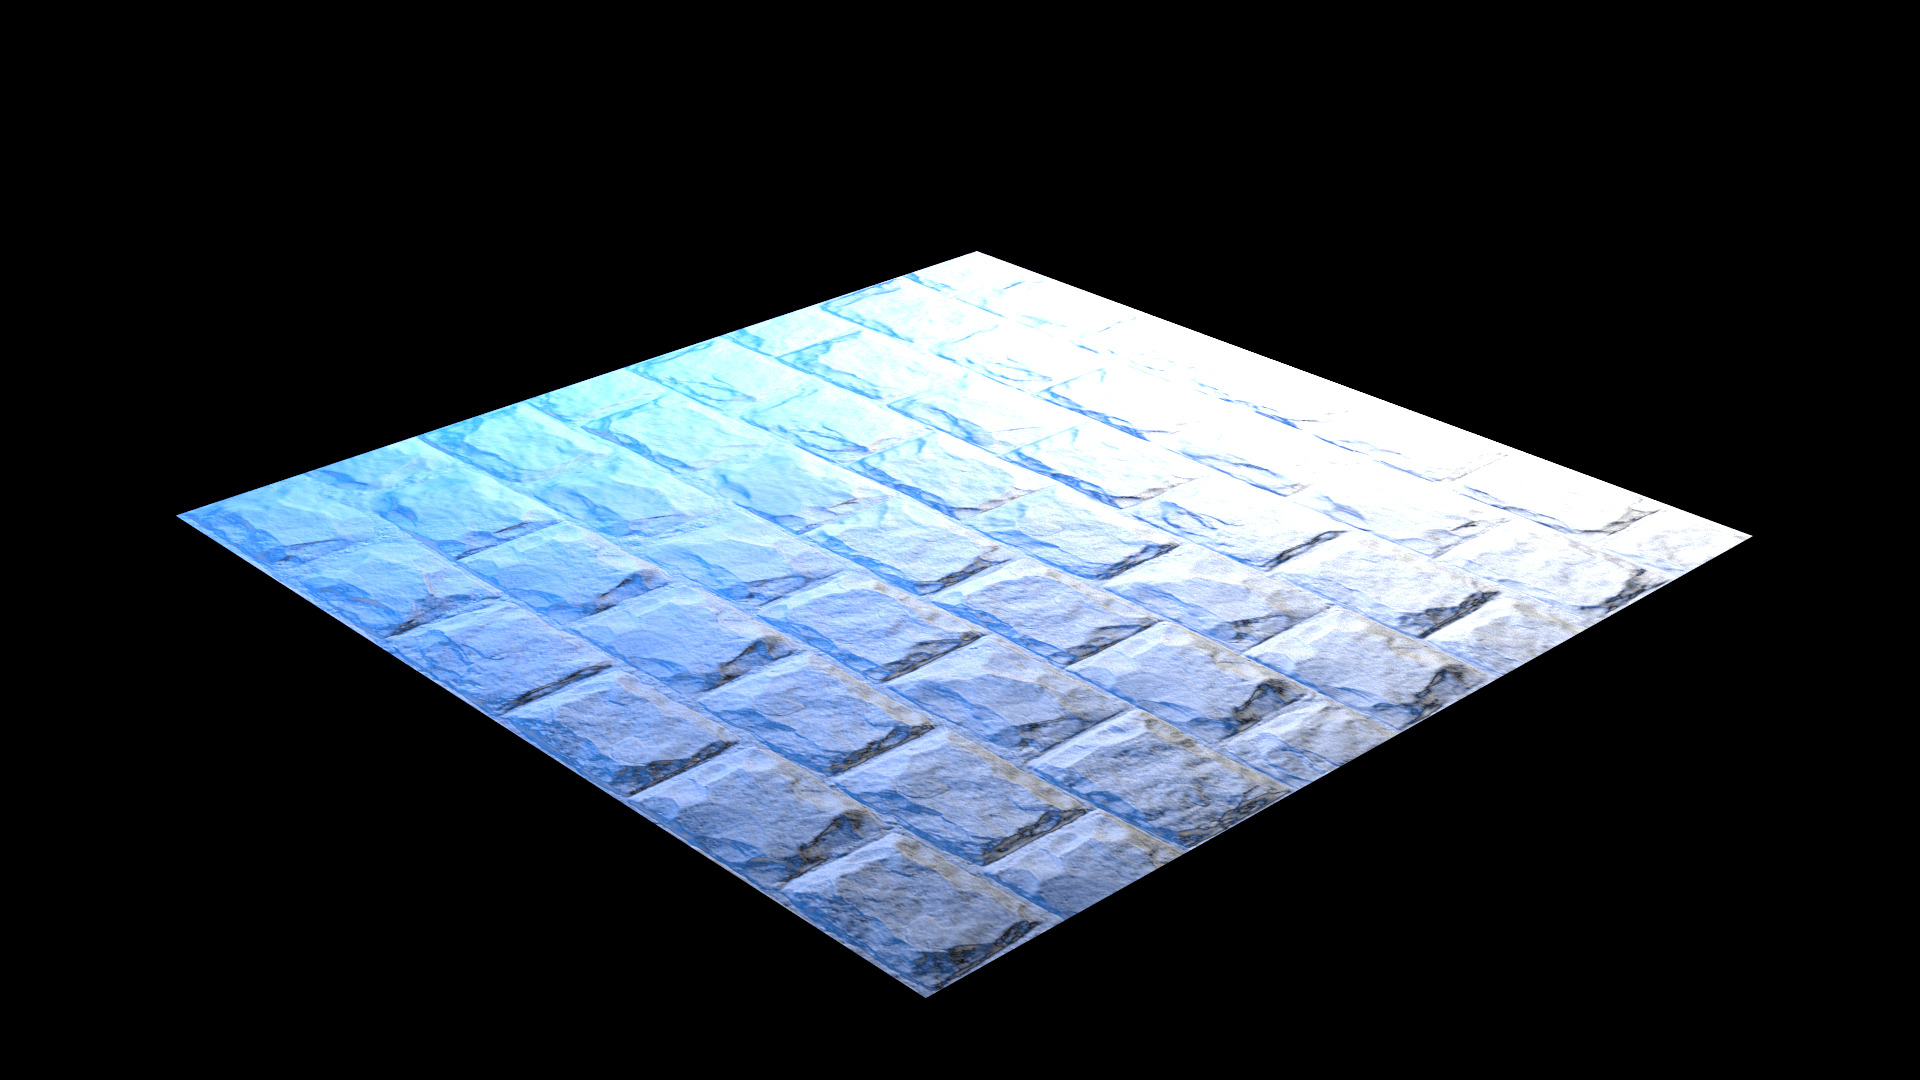 The brick texture has visible depth and detail, including bumps and grooves. |
Feature 4: Halton Sampler
The fourth feature we implemented is the Halton Sampler, which is designed to reduce noise in Monte Carlo-based rendering algorithms. Monte Carlo methods rely on random sampling to approximate complex integrals, such as those used in global illumination, but random sampling can lead to noisy results. To address this, we use low-discrepancy sequences, which are sequences that appear more uniformly distributed than purely random samples. Among these, the Halton sequence is one of the most popular and effective.
- Left: The Bunny scene rendered without Halton sampler or with independent sampler. The image exhibits noticeable noise, particularly in areas with indirect lighting and shadows.
- Right: The Bunny scene rendered with Halton Sampler. The noise is significantly reduced, resulting in a smoother and cleaner image.
| Without Halton Sampler | With Halton Sampler |
|---|---|
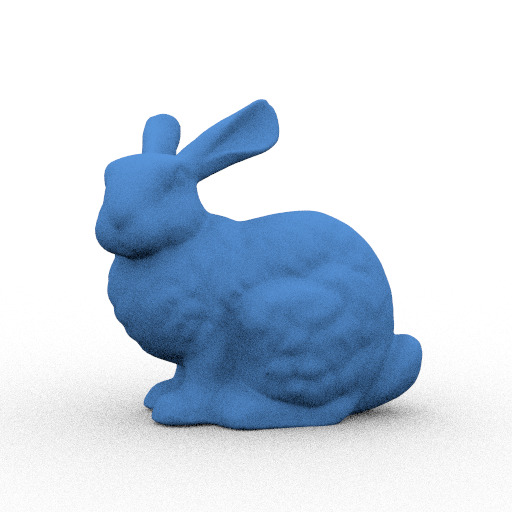 Overall quality is lower, and the image appears grainy. |
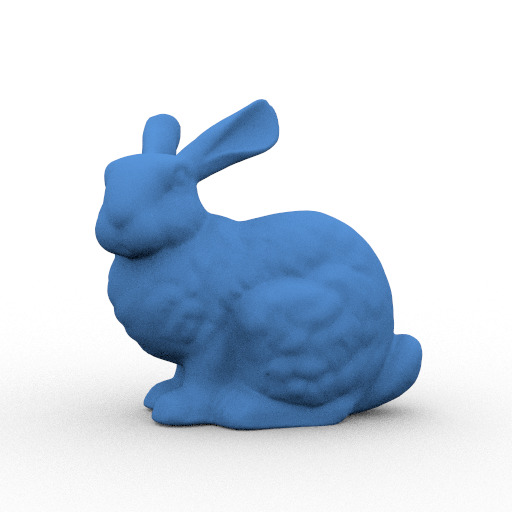 Details in the shadows are more pronounced and realistic. |
Feature 5: Area Lights
The fifth feature we implemented is Area Lights, which allow us to use geometric shapes as light sources. Unlike point lights or directional lights, area lights emit light from a defined surface area, resulting in more realistic lighting effects, such as soft shadows and gradual falloff. This feature is particularly useful for simulating real-world light sources like fluorescent panels or windows.
| Without Area Light | With Area Light |
|---|---|
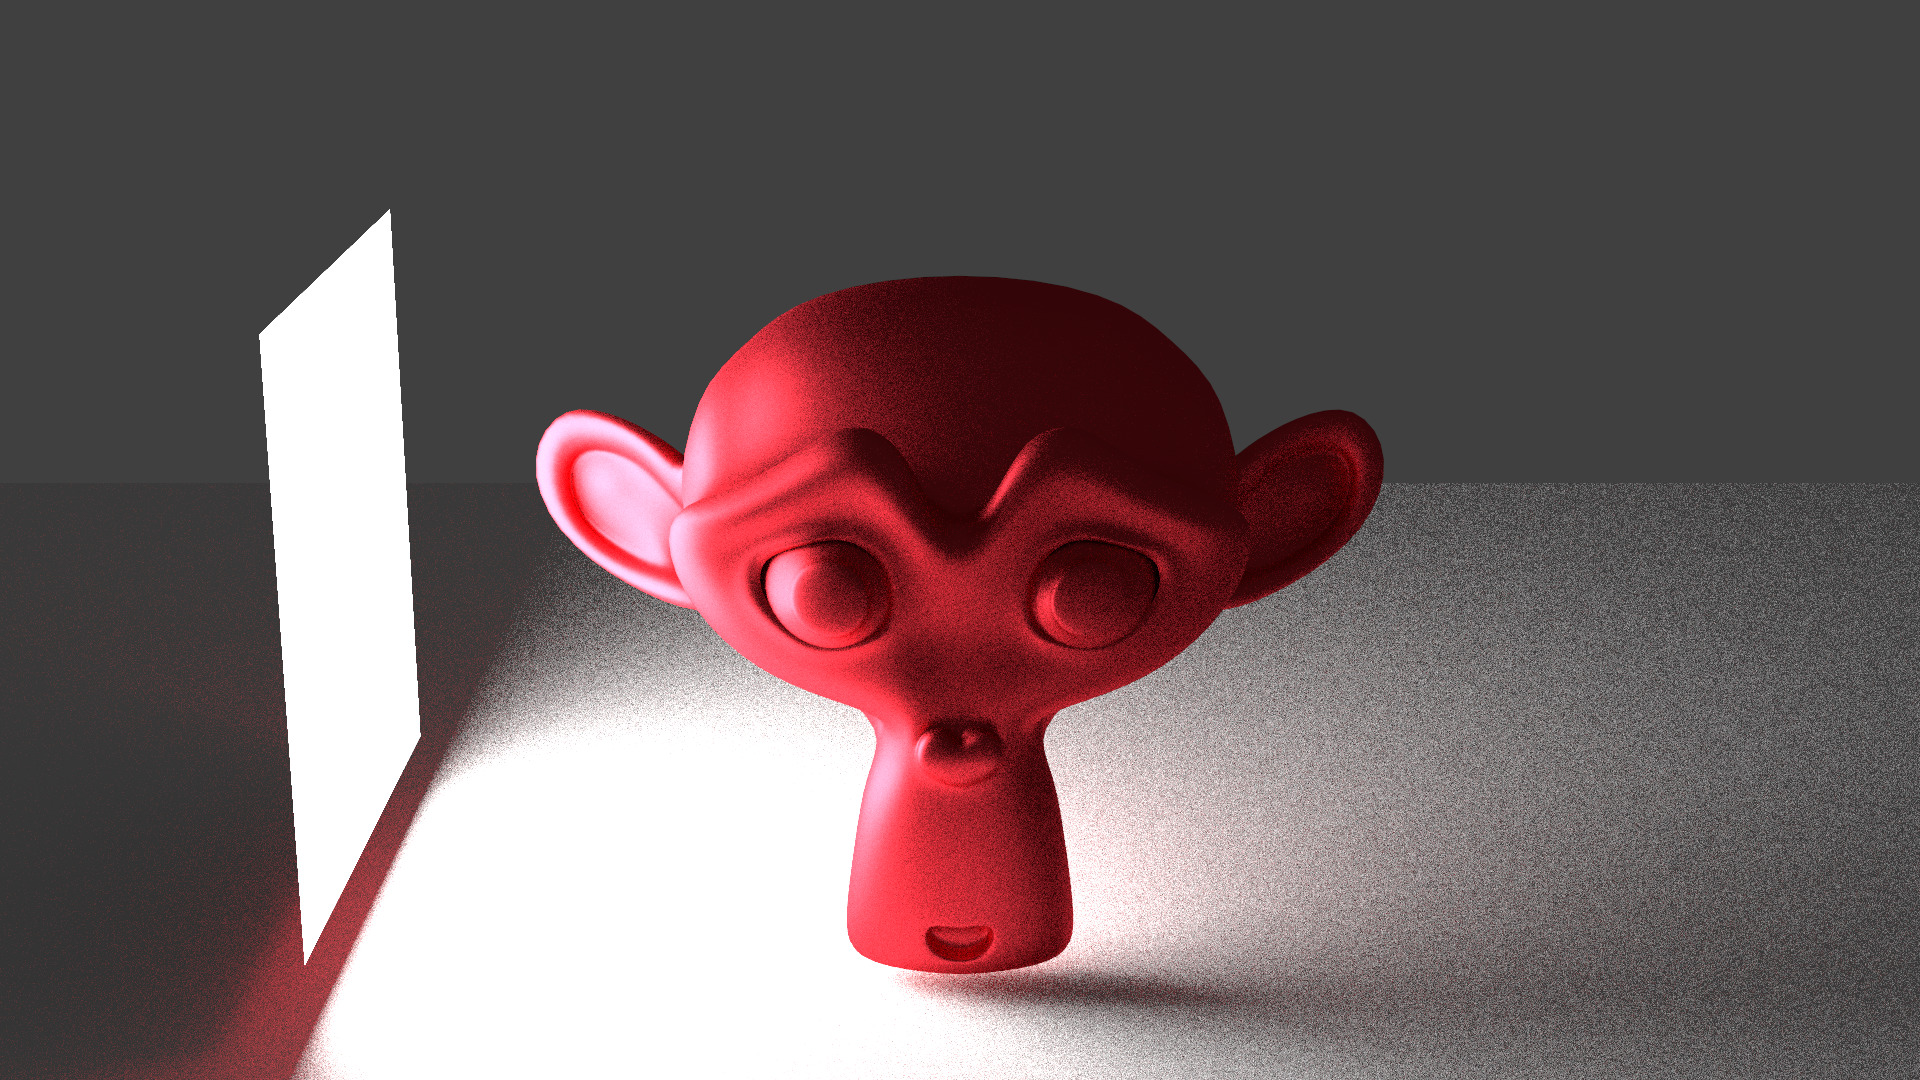 The square emissive material only glows but does not contribute to scene lighting. |
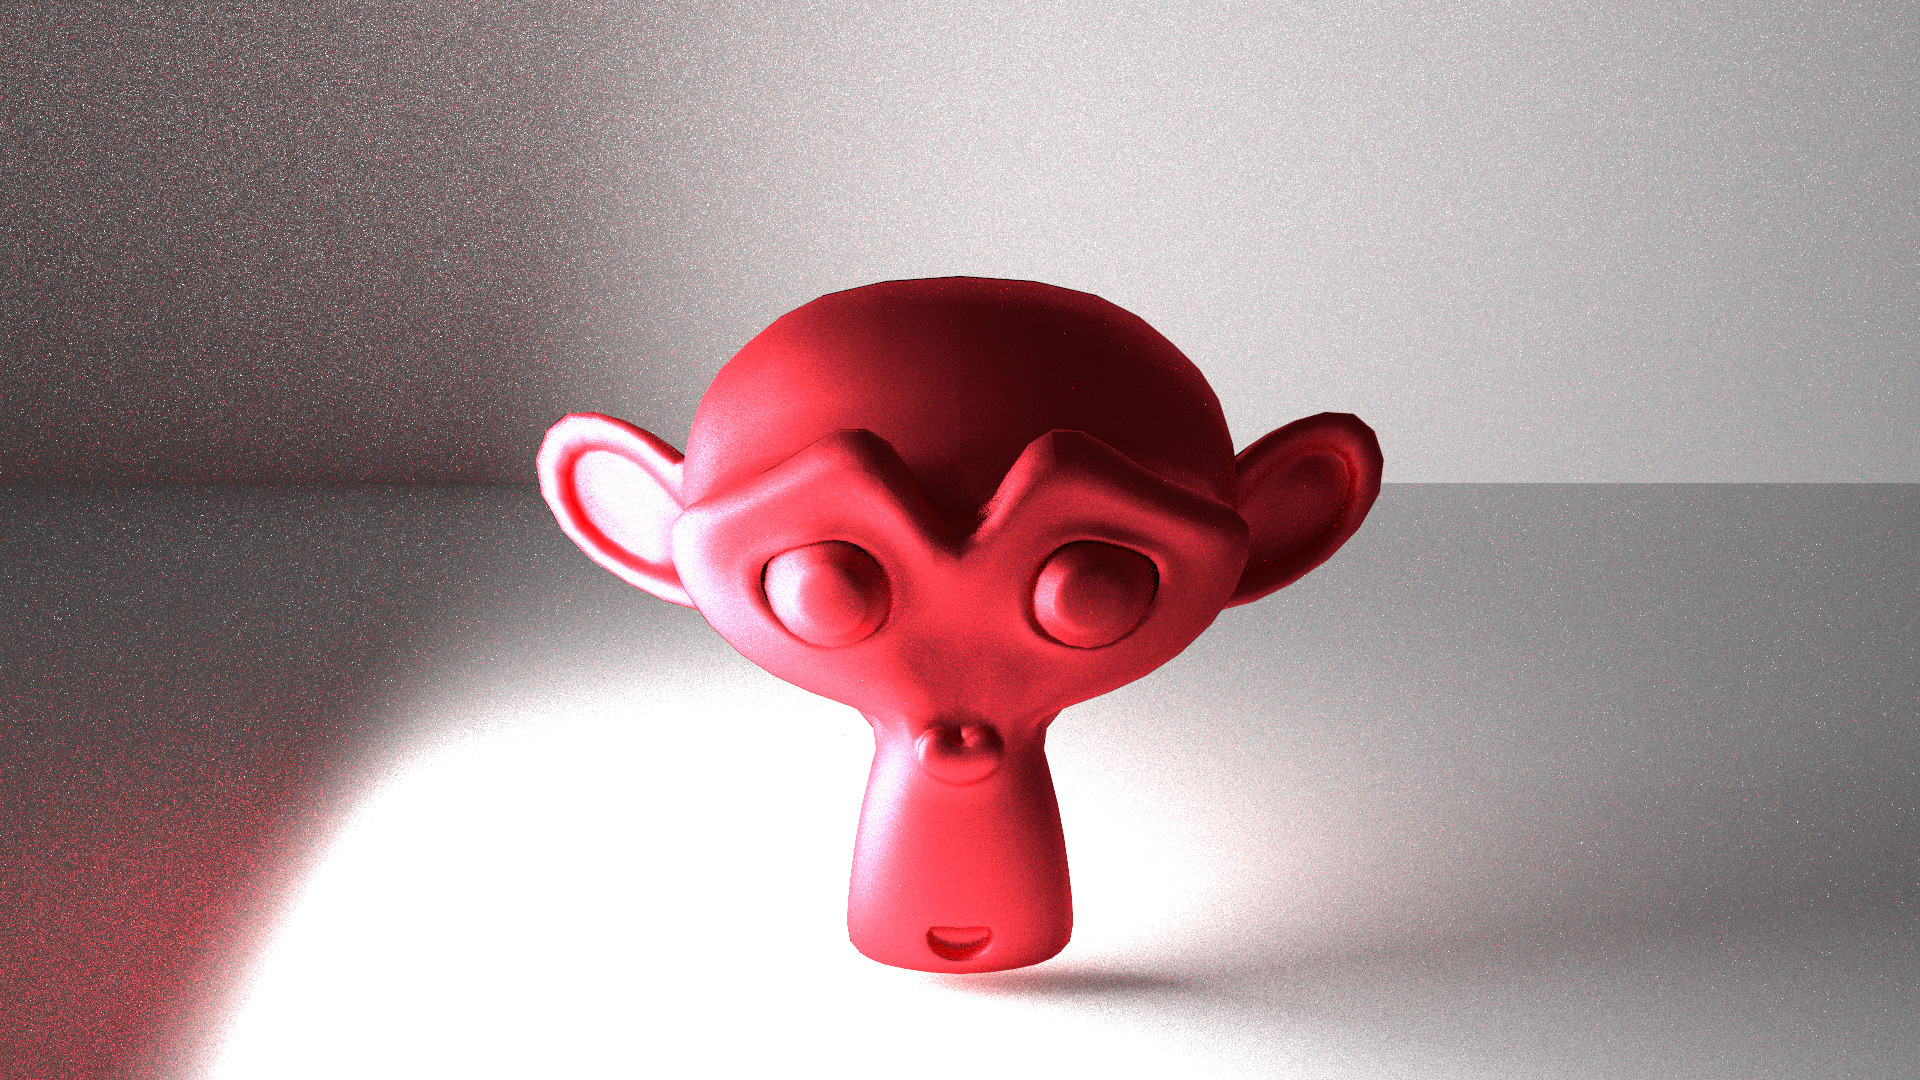 The square emissive acts as a physical light source, illuminating nearby objects. |
Feature 6: Rough Dielectric
The sixth feature we implemented is Rough Dielectric, a material that simulates rough (non-smooth) dielectric surfaces, such as matte plastic or etched crystals. Unlike a smooth dielectric (e.g., clear glass), which produces sharp reflections and refractions, a rough dielectric scatters light across its microsurface, creating blurred reflections and diffuse transmission. This adds a layer of realism to materials that are neither perfectly smooth nor fully diffuse.
| Without Rough Dielectric | With Rough Dielectric |
|---|---|
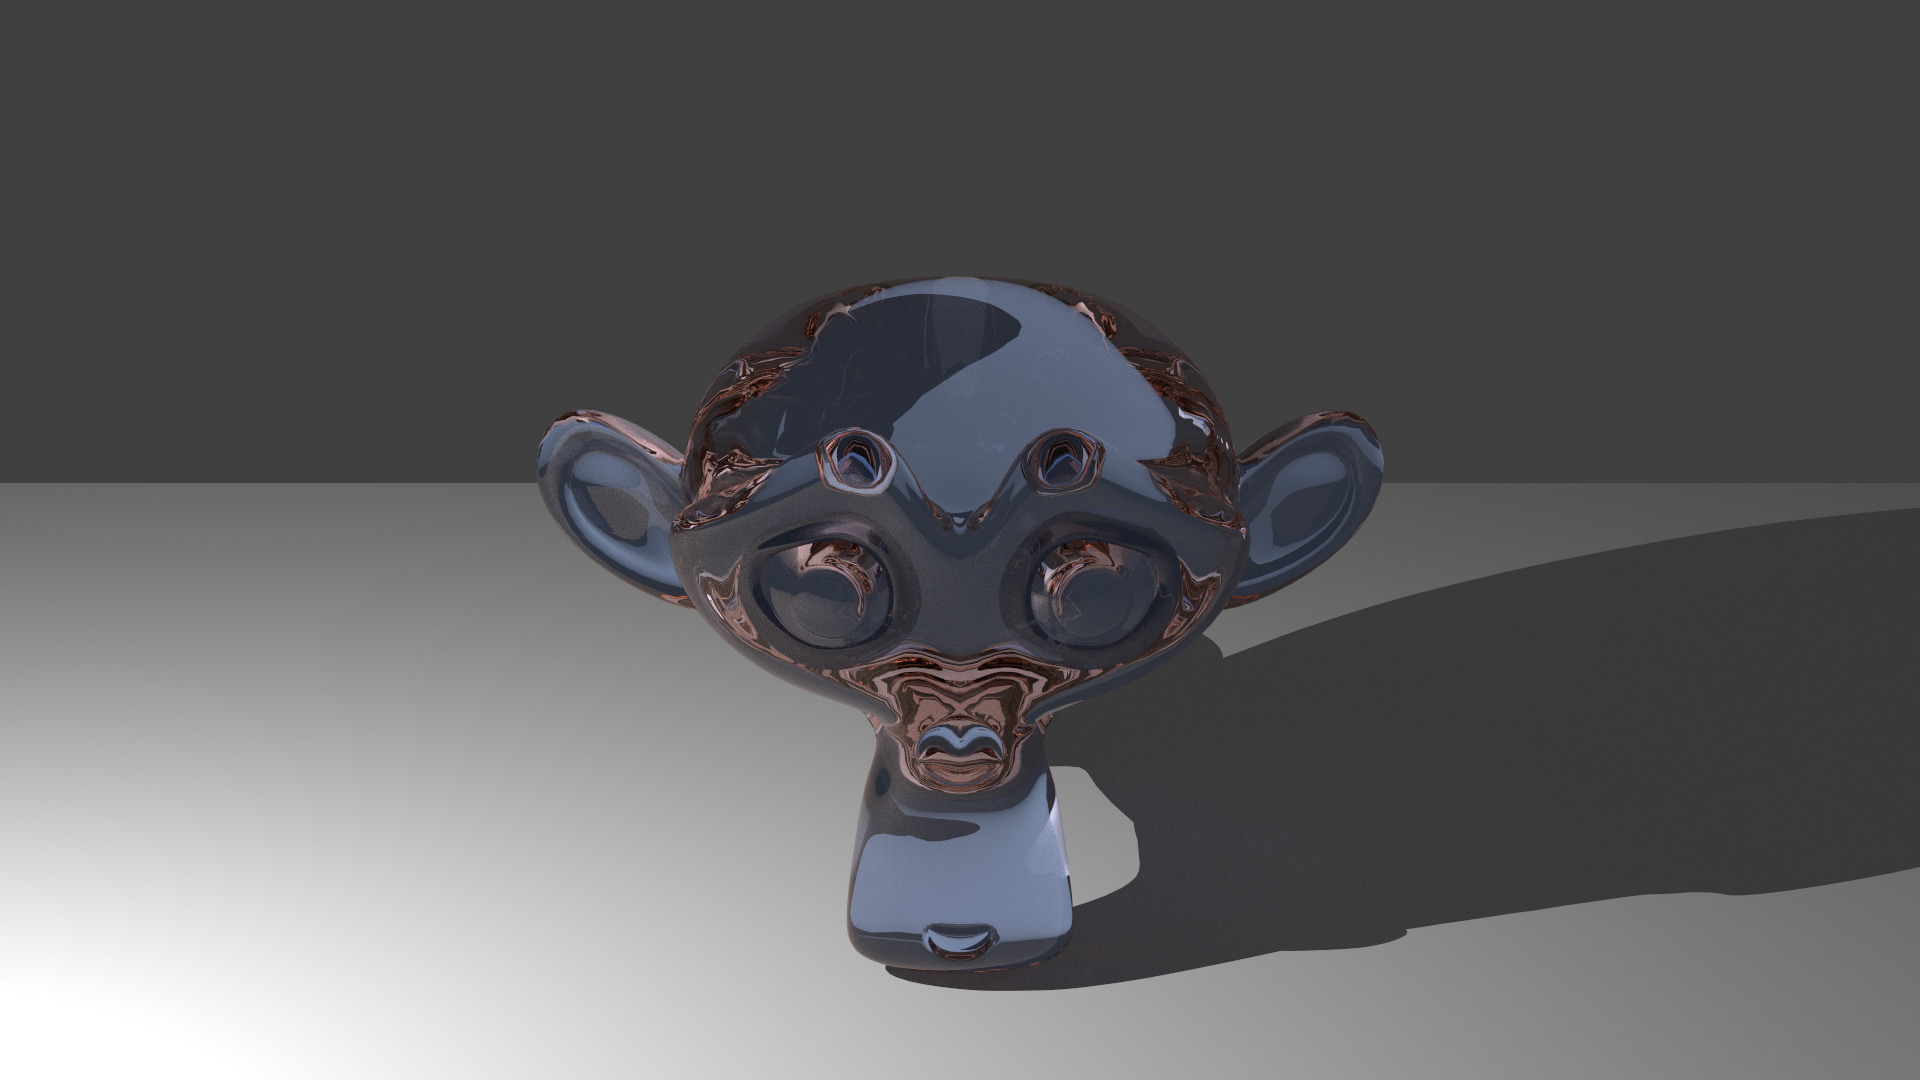 Reflections and refractions are crisp and well-defined. |
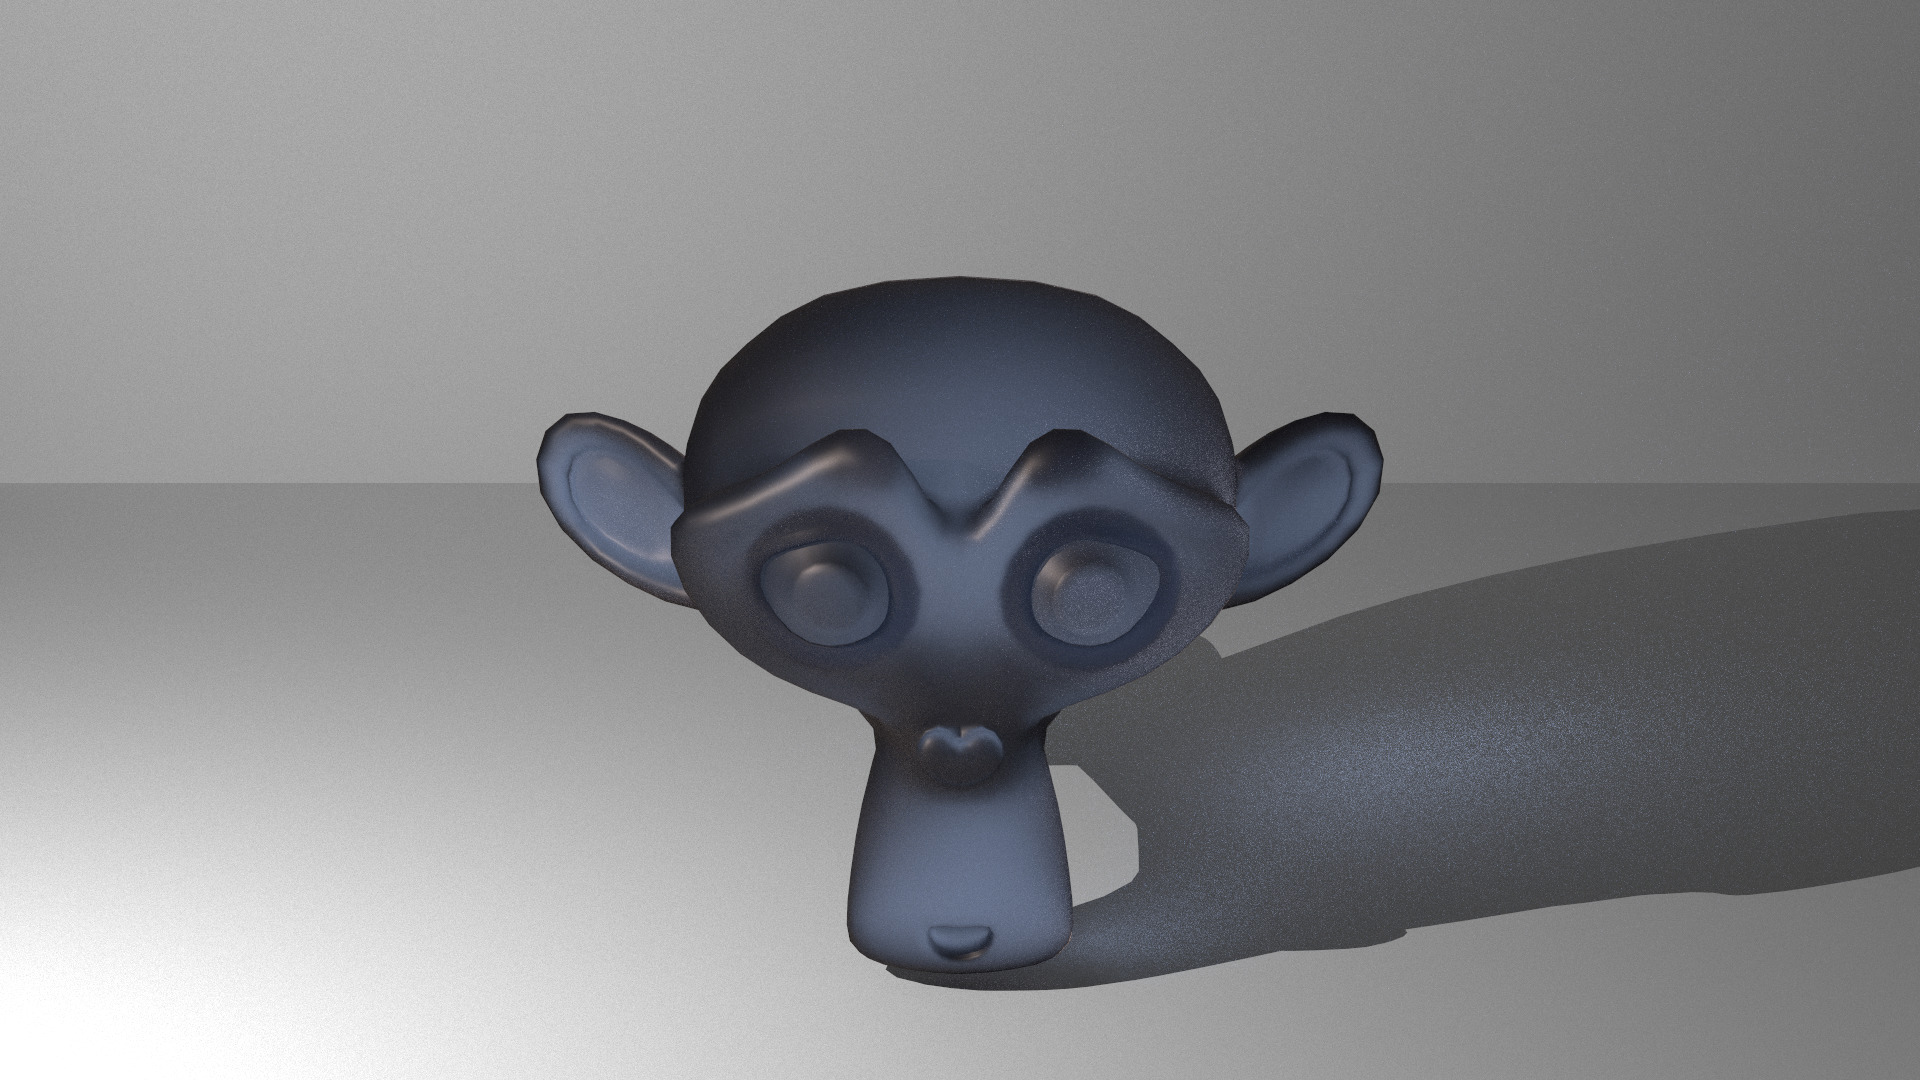 Reflections and refractions are softened and spread out. |
Feature 7: Post Processing
The seventh feature is Post Processing, which allows us to take the output image of the rendering and apply effects on the set of pixels themselves to achieve better clarity or reduce imperfections.
We apply post-processing in stages. The pipeline looks like this:
Pipeline: Denoise → Bloom → ACES Tonemapping
Stage 1: Original Image
This is the raw output from the renderer before any post-processing is applied. It may contain noise and lack the final polish.
| Original Image |
|---|
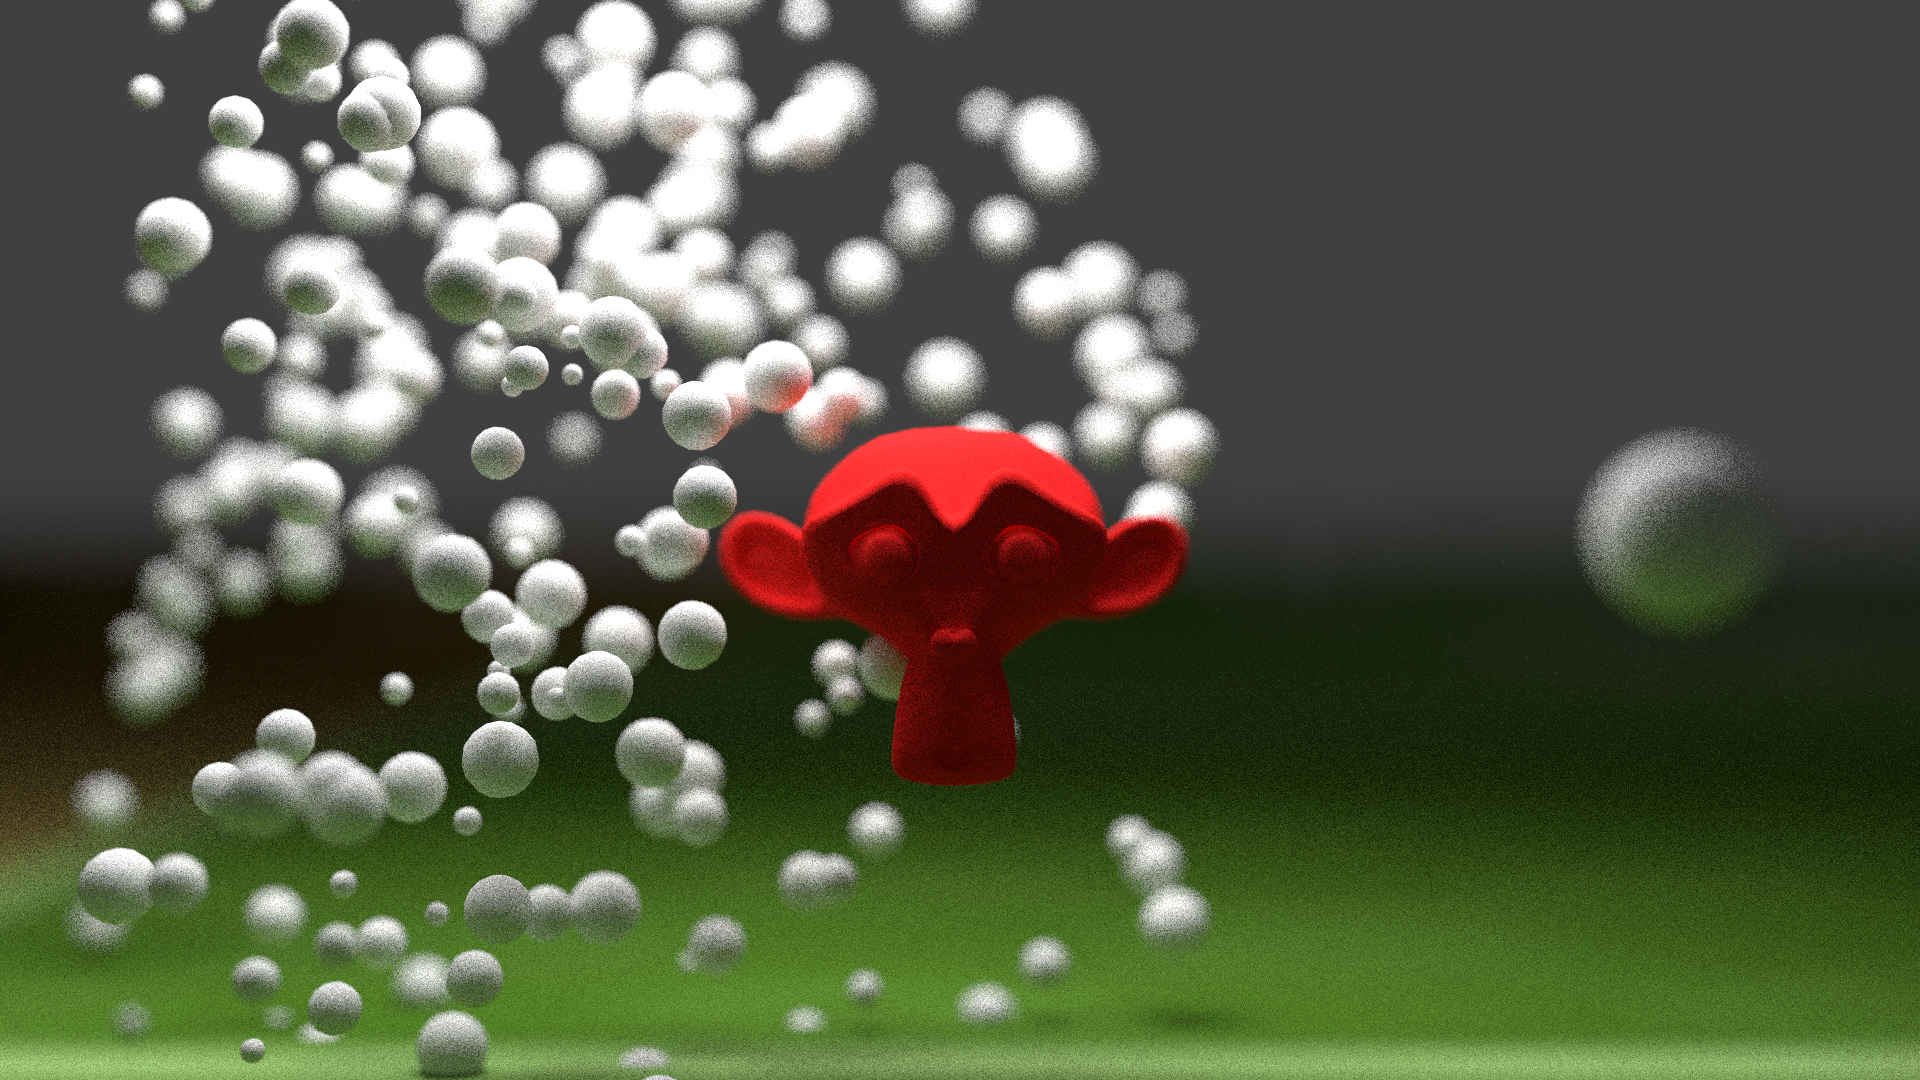 Raw output from the renderer. |
Stage 2: Denoising
The first step is Denoising, which removes noise from the image. This is particularly effective for high-resolution outputs, as it blends pixels to create a cleaner image.
| After Denoising | |
|---|---|
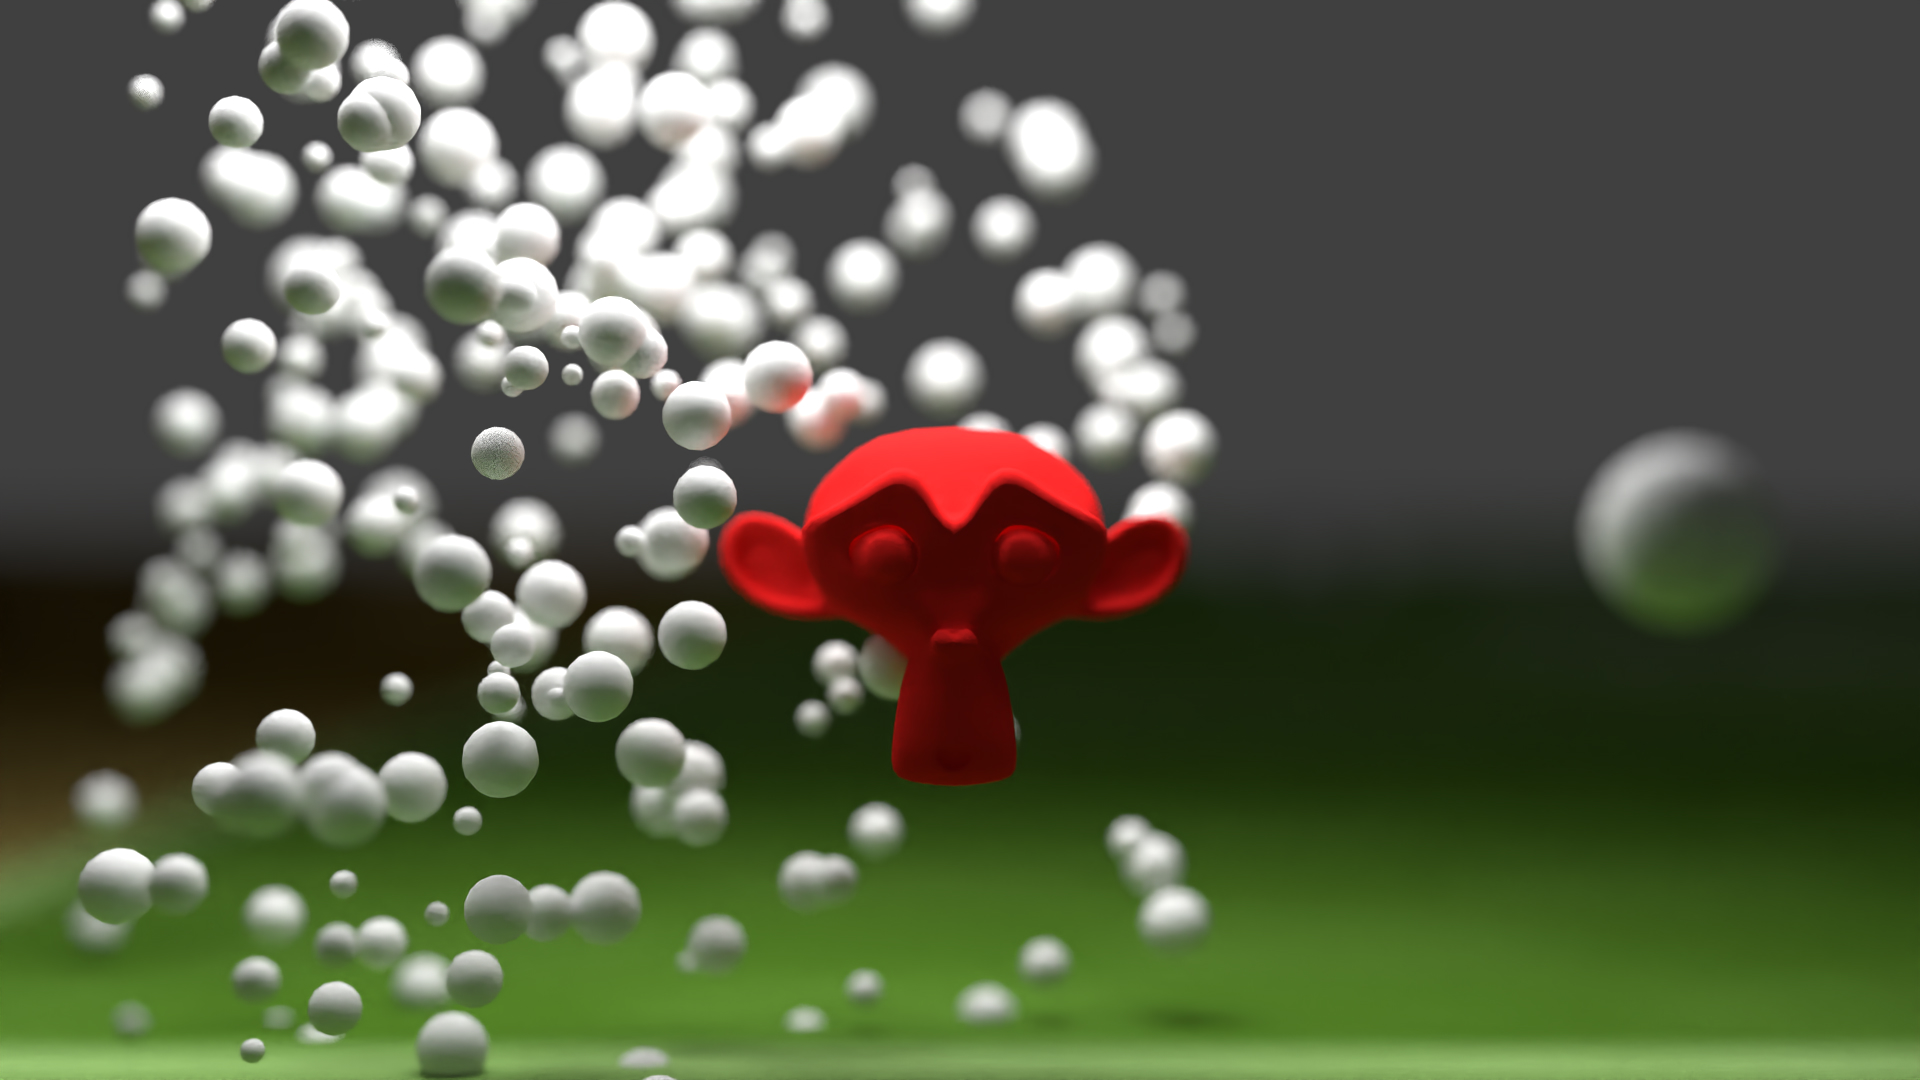 Cleaner image with reduced noise. |
Stage 3: Bloom
Next, we apply the Bloom effect, which simulates the scattering of light in bright areas, creating a glowing effect. This enhances the visual appeal of light sources and highlights.
| After Bloom | |
|---|---|
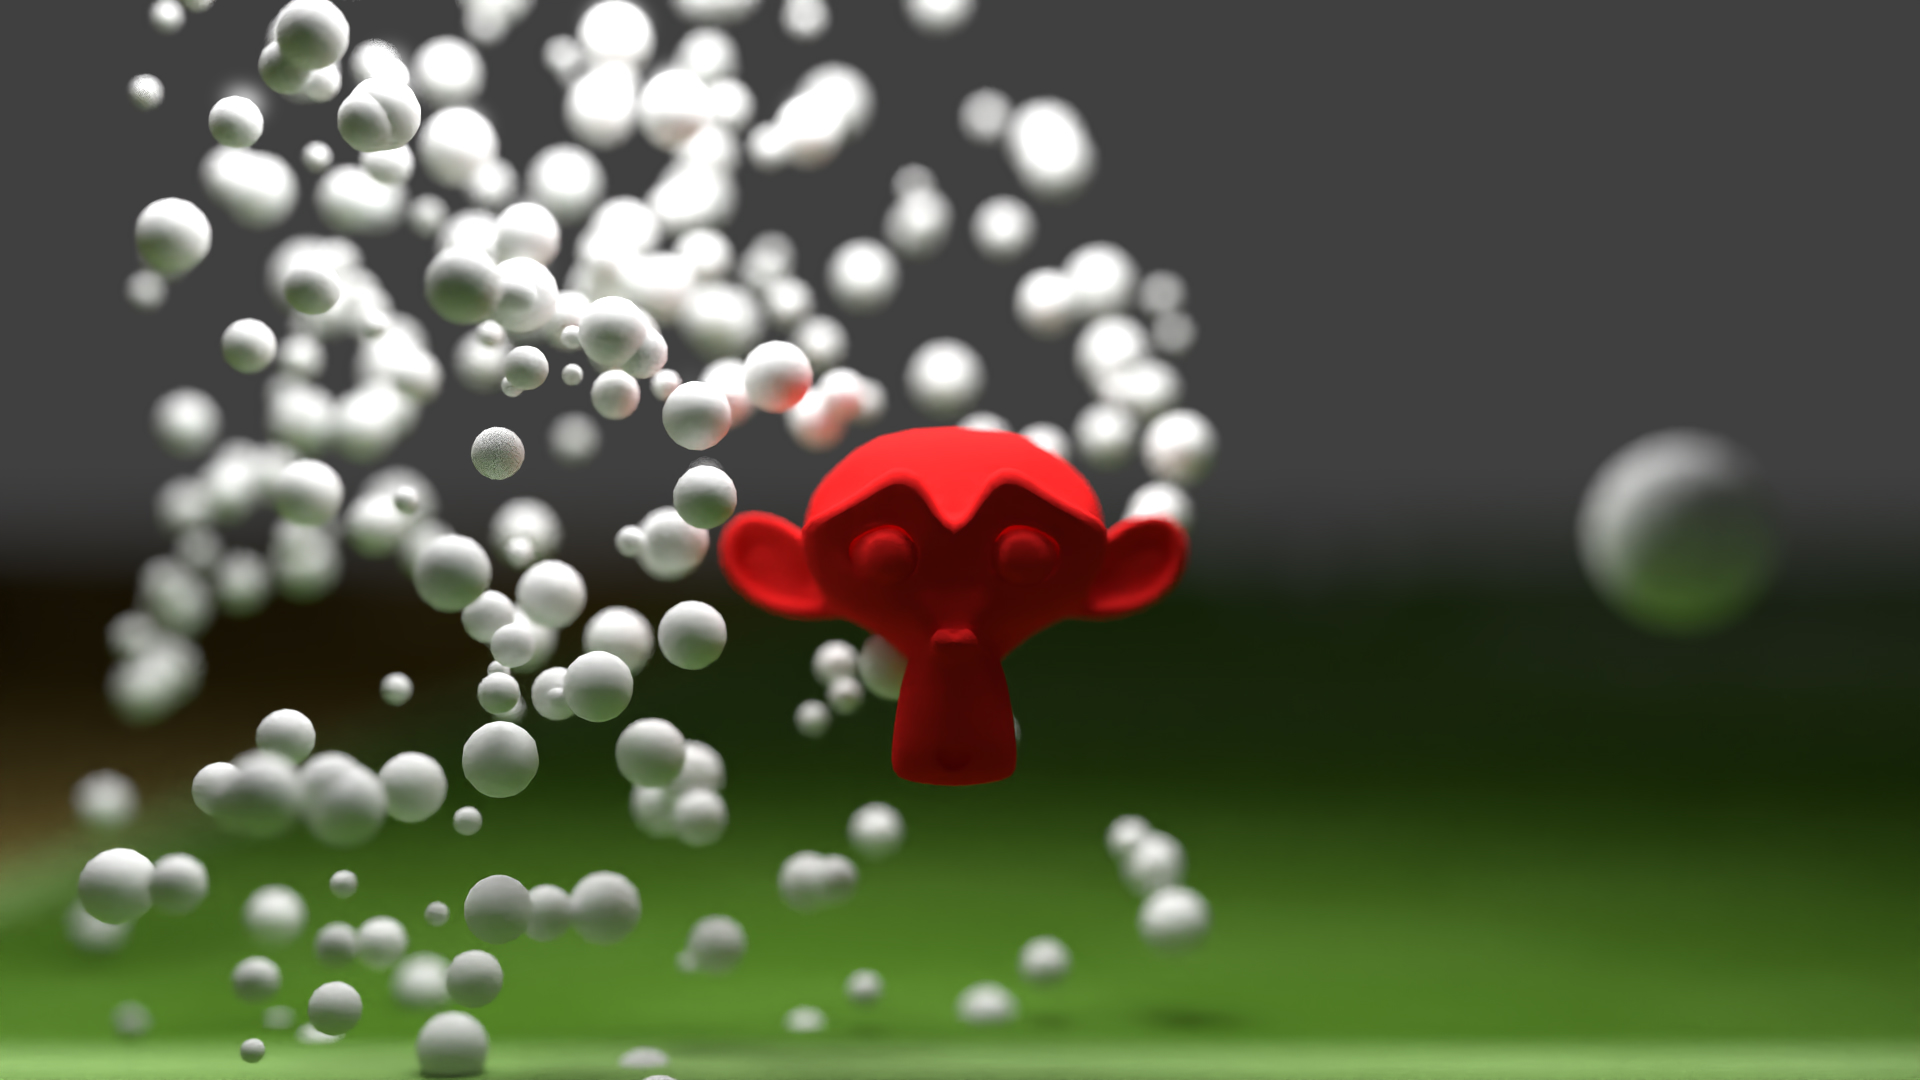 Light sources and highlights now glow. |
Stage 4: ACES Tonemapping
Finally, we apply ACES Tonemapping, which adjusts the color and brightness of the image to better match human vision (from HDR to LDR). This results in a more natural and visually mroe clear image.
| After Tonemapping | |
|---|---|
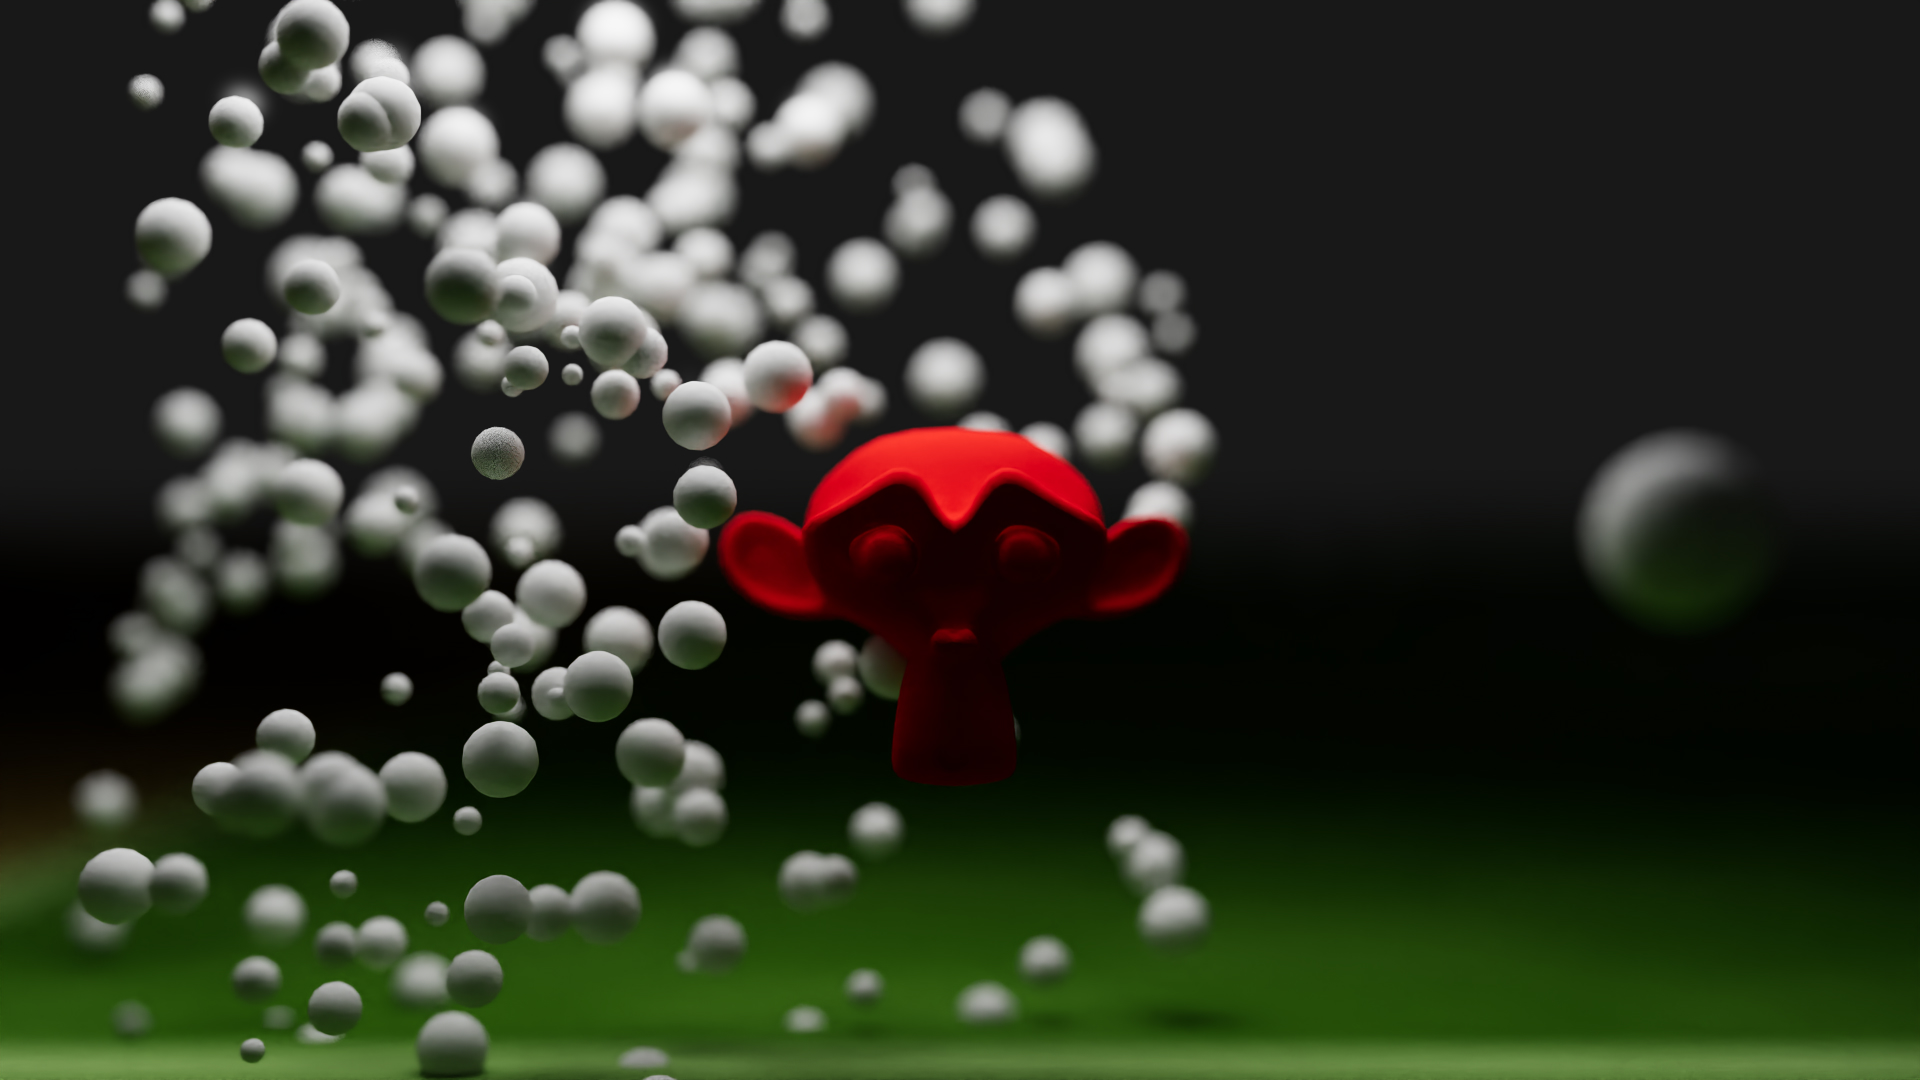 Improved color and brightness balance. |
Now, you are ready to visit the Competition page to see the culminative work!
Resources used
Blog by Bacterius for the thin-film interference (iridescence).
Blog by Matt Taylor (64) for ACES tonemapping.
PBR Book - Projective Camera and Mitsuba Renderer - Thinlens for the thinlens camera.
PBR Book - Halton Sampler and Sampler by Wojciech Jarosz for the Halton sampler.
Walter et al. 2007 for Rough Dielectric.
PBR Book - Sampling light sources and Blog by Joe Schutte for Area Light stuff.