Early Concepts & References
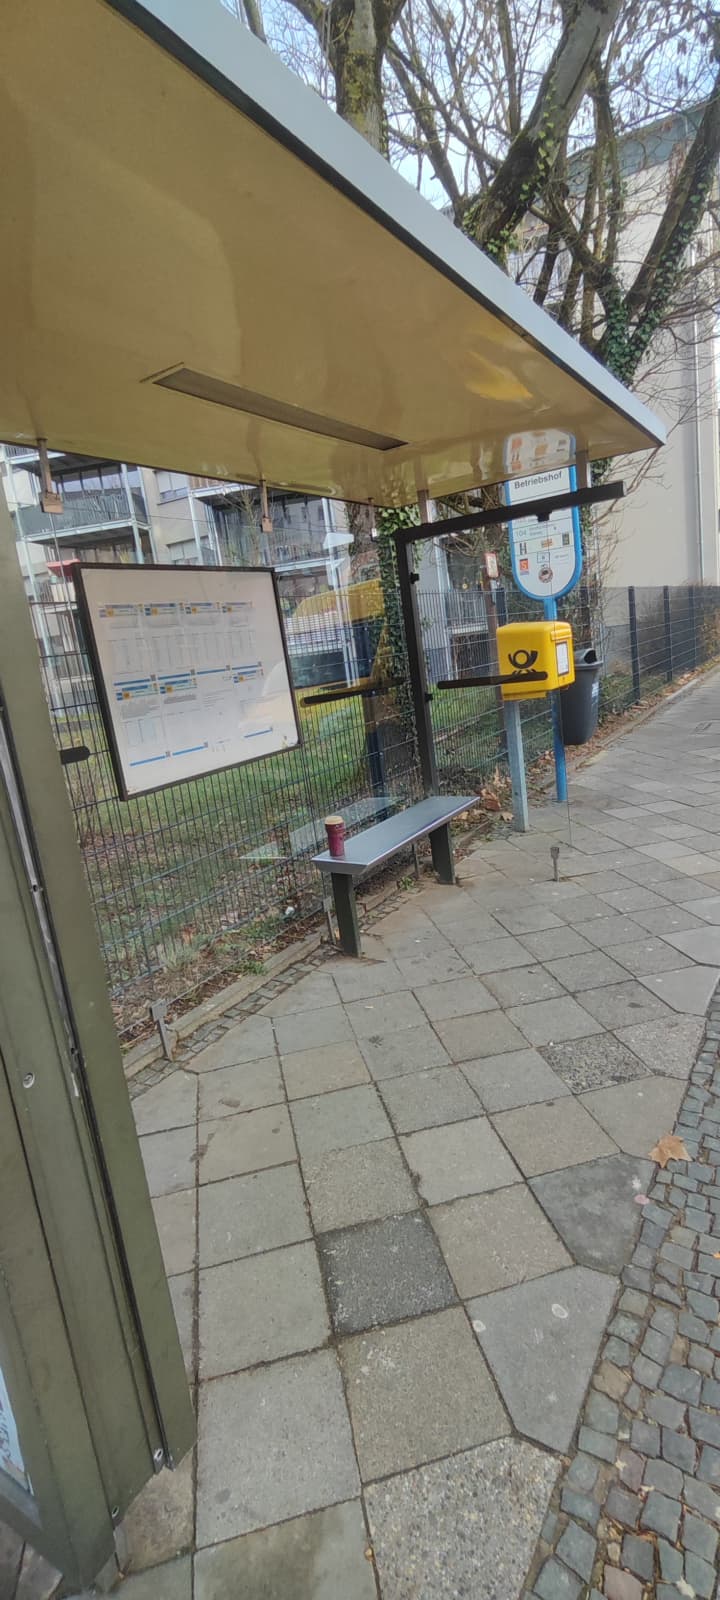
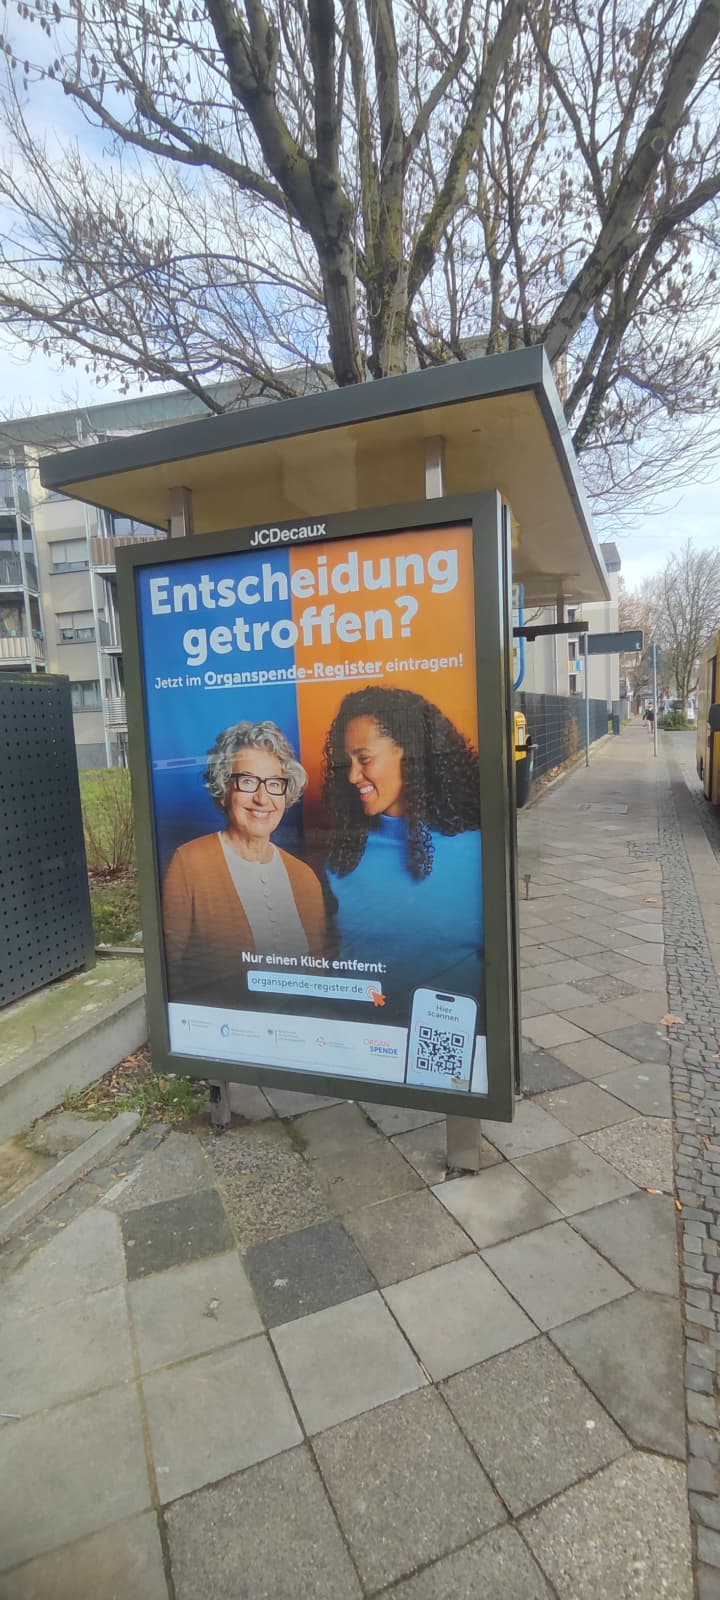
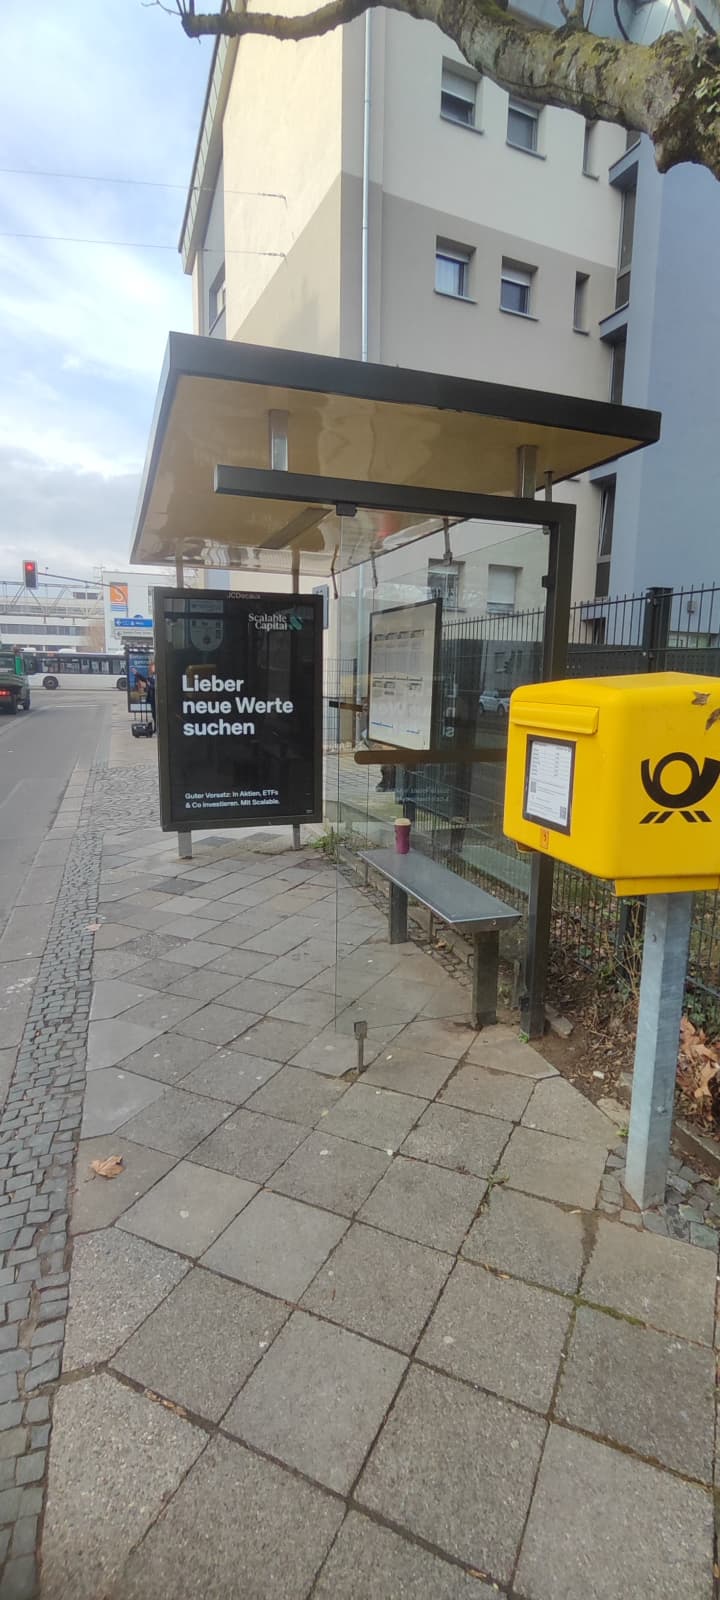
The scene began with simple observations from everyday life. During late walks home, I often passed small bus stops illuminated only by a single warm light. They always had a calm, quiet atmosphere that stuck with me. To capture the details, I took several close‑up reference photos of one shelter — focusing on the metal frame, the proportions of the roof and posts, and the arrangement of the glass panels and bench area. These photos served as my primary guide for modeling.
Modelling & Scene Construction
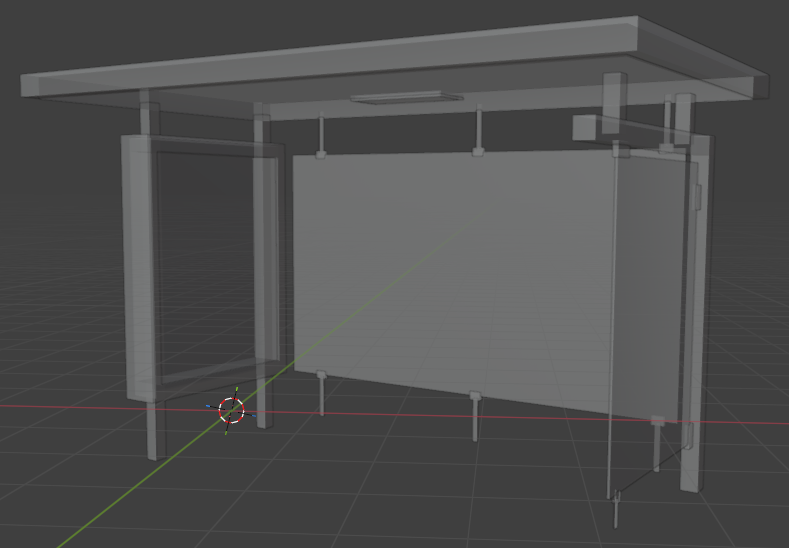
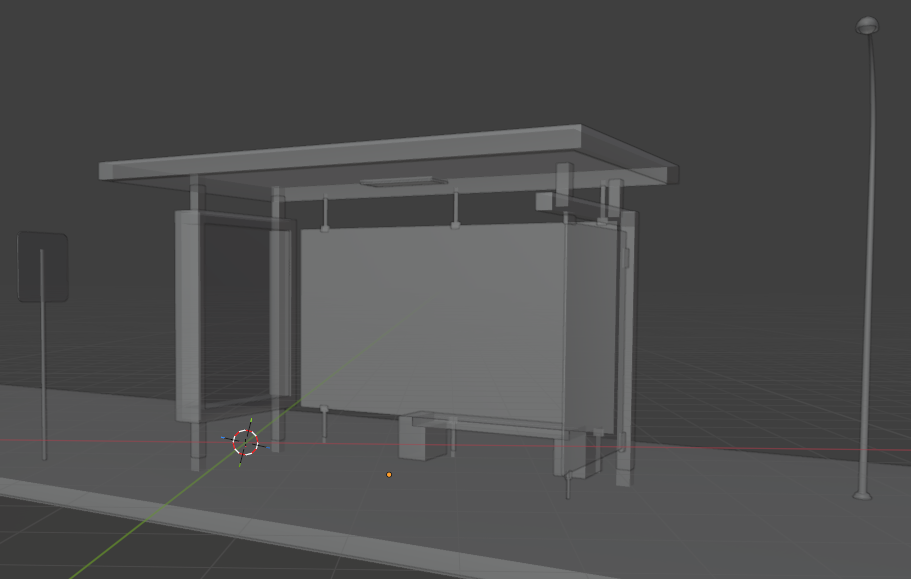
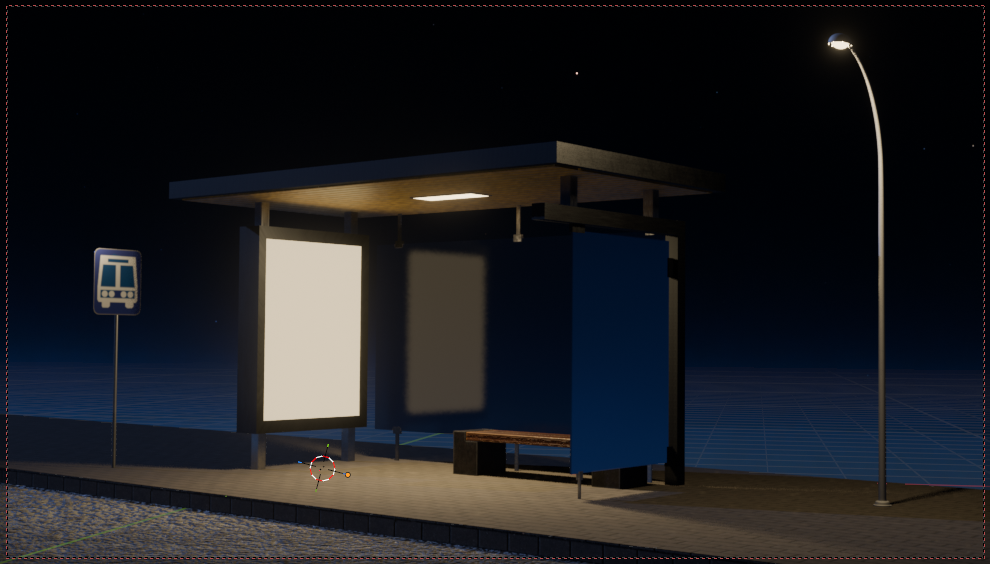
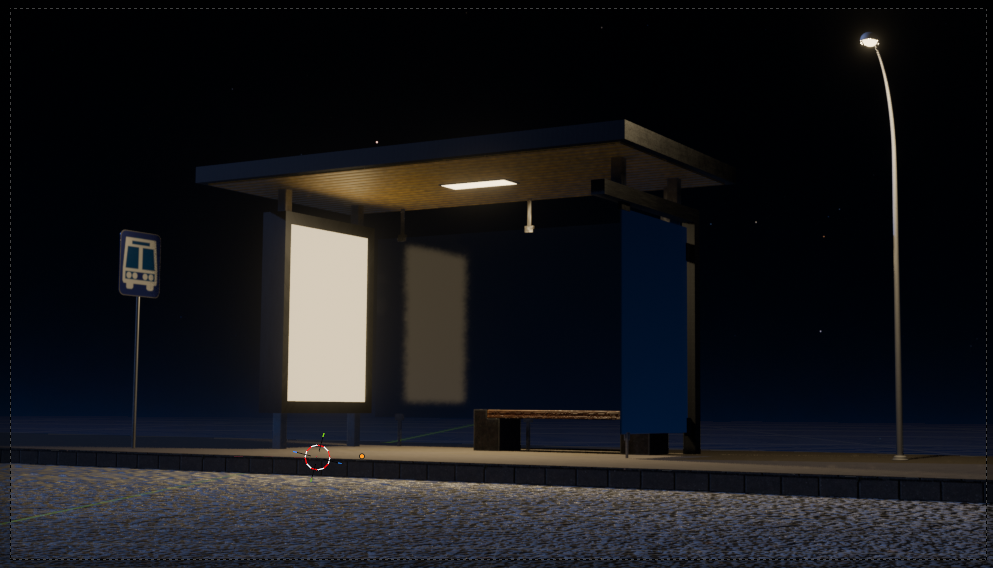
Using these references, I modeled the entire bus shelter myself in Blender. This included the roof, support posts, glass frames, billboard housing, and overall structure. I aimed to recreate the proportions and feel of the real shelter without making a 1:1 replica.
To save time and focus on rendering features, I imported a bench, a street lamp, and a bus stop sign from BlenderKit. These assets were rescaled and repositioned to fit the proportions of the shelter I modeled. I also used BlenderKit’s material library for metal, glass, pavement, and asphalt because it gave me reliable baseline textures without needing to design materials from scratch.
As the elements came together, the shelter began to feel cohesive and balanced within the scene.
Materials & Intermediate Renders
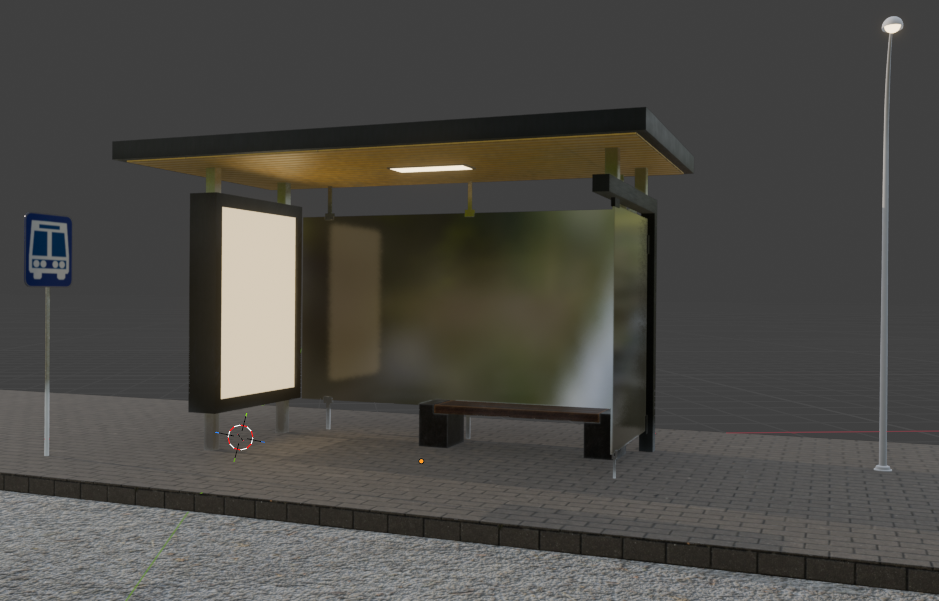
After assembling the geometry, I moved on to materials. The shelter’s glass panels were the most important element, since they rely on my rough‑dielectric implementation. Getting the transparency and reflections to behave correctly required checking the shader against Blender Cycles and adjusting parameters inside my renderer.
The ground plane used a normal‑mapped asphalt material, and the metal components were textured using materials from BlenderKit. I produced several intermediate test renders at this stage to confirm shading, lighting, and surface details behaved correctly.
Lighting Development
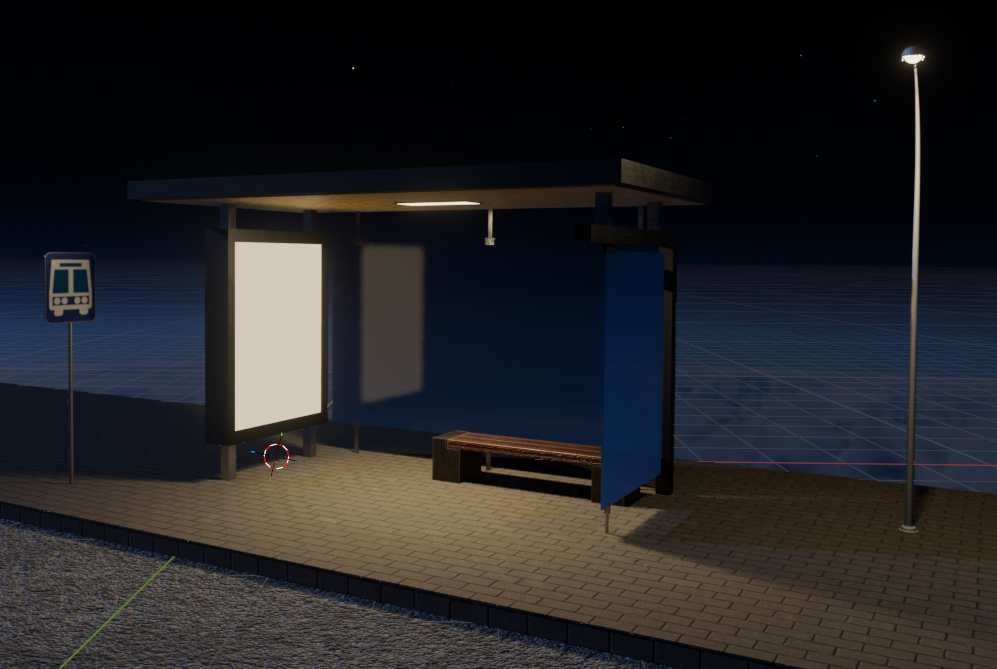
Lighting shaped the mood of the entire scene. I placed a warm area light inside the shelter to mimic the soft glow I remembered from real bus stops. A second area light served as a street lamp, providing direction and depth. An emissive panel was added for the billboard to help create contrast and a natural focus point.
Throughout this stage, I generated lighting‑only renders and adjusted intensities and color temperatures until the composition and atmosphere felt right.
Camera & Variations
The only variations I experimented with were camera angles. I rotated and repositioned the camera several times to explore different framings and ultimately chose the one that captured the shelter’s mood most effectively. I did not create alternative layouts or light setups.
Final Polish & Post‑Processing
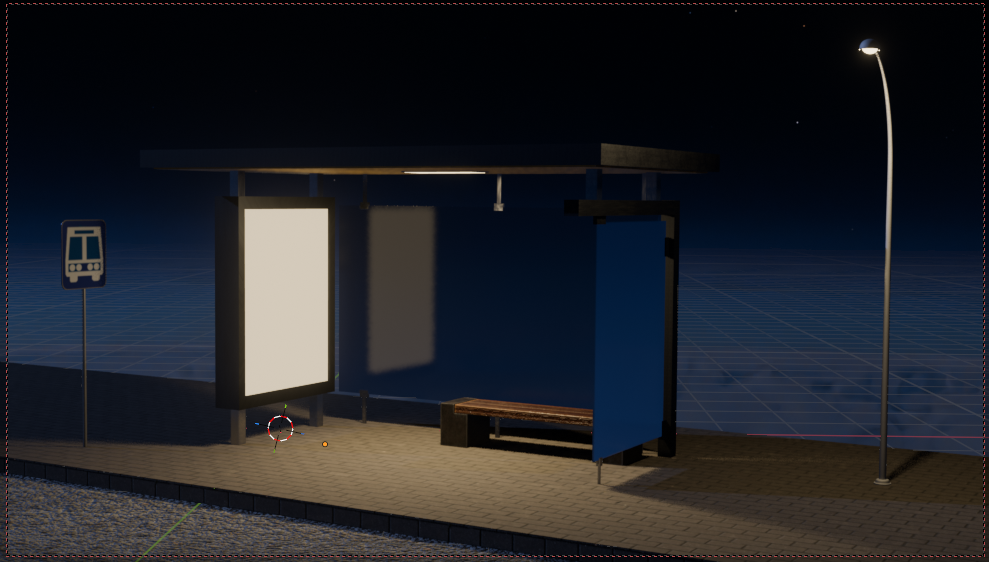
Once materials and lighting were finalized, I applied bloom as part of my post‑processing pipeline. The effect helped soften the bright emissive elements and reinforced the night‑time atmosphere. After small exposure and tone adjustments, the final image matched the quiet, isolated feeling that initially inspired the project.