For this project, I decided to design a scene inspired by one of
my favorite novels, The Road by Cormac McCarthy.
It tells the story of a father and his son,
and their journey south across a post-apocalyptic North America.
The novel deals with themes of isolation, barbarism, and
the tension between hope and despair.
It won the 2007 Pulitzer Prize for fiction, and inspired countless
works and ideas across the media landscape. Notoriously,
it was one of the influences for the 2013 video game, The Last of Us,
which served as another inspiration for the aesthetics of
my scene.
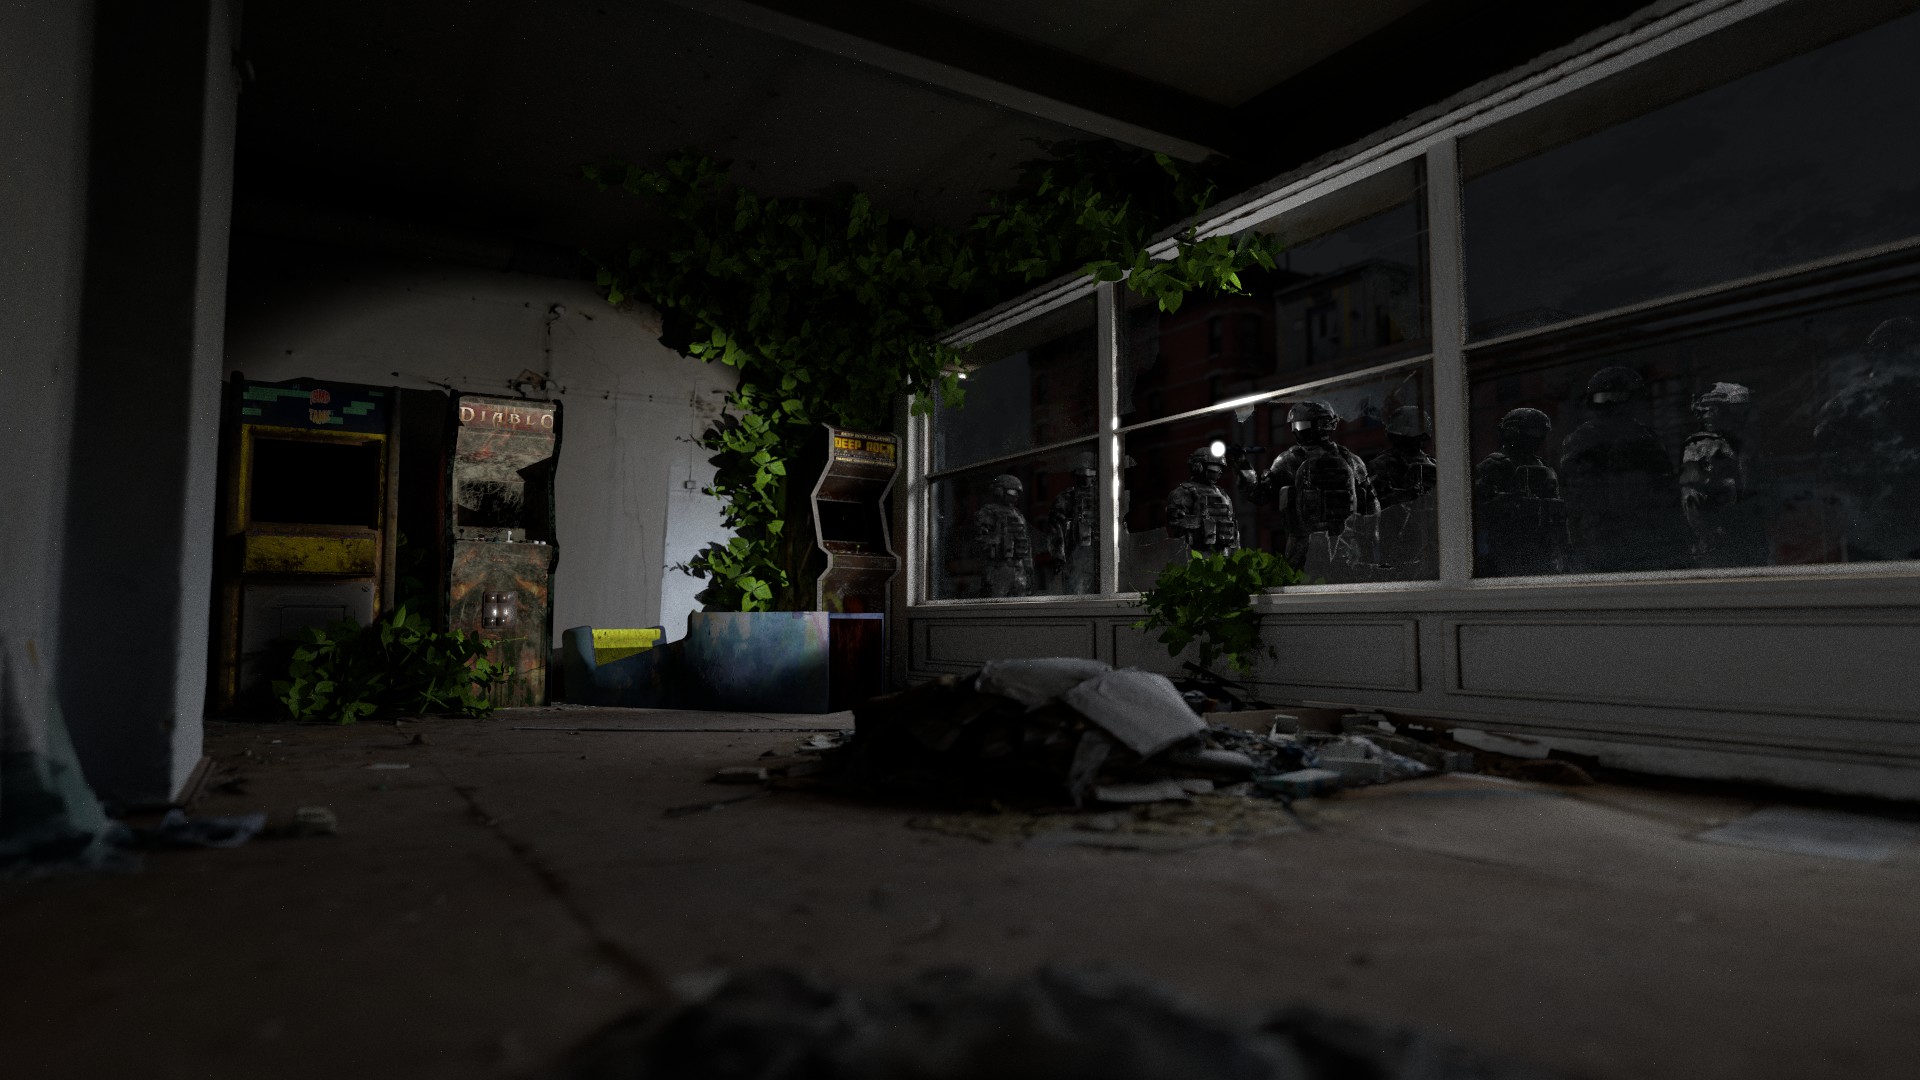
The scene opens on an old, abandoned arcade. The overgrown
foliage and the dilapidated state of the cabinets suggests
that some time has passed since its glory days. The arcade
is obscured if not for a searchlight. Outside its windows,
an armed patrol squad peers into the room.
In keeping with novel's interplay between hope and despair,
and its conflicting view of human nature,
I've left the story of the scene purposefully ambiguous.
It could be that the soldiers are doing nothing more
than reminiscing about better days, the whimsy of the arcade
clashing harshly against the reality of their lives.
On the other hand, their presence could be seen as menacing;
the camera is suggestively placed close to the floor, as if
whoever is looking onto the scene is hiding.
Who are the soldiers searching for?
And what will they do when they find them?
Process
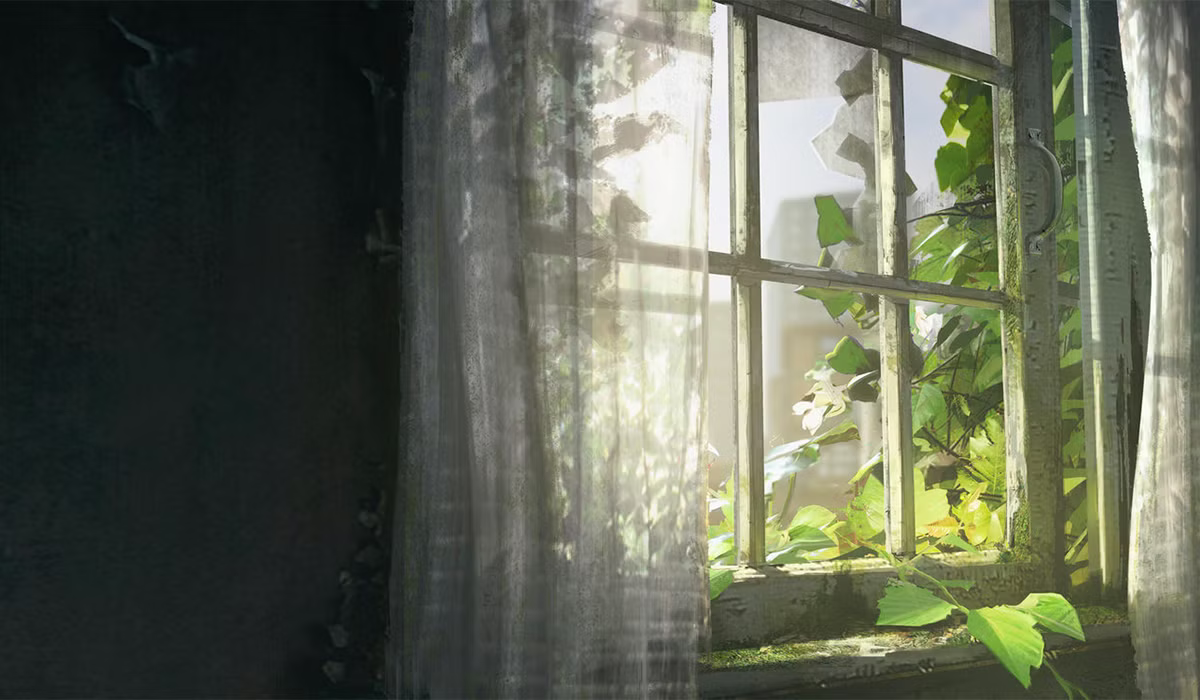
When I started work on the scene, I wanted it to look like something out of the Last of Us. That is, desaturated, gritty, and overgrown. Find below an image of the Last of Us's menu screen for reference.
In this section, I will outline the design process for the rendered scene. Note that all intermediate renders are Blender renders, as I didn't use my own renderer until the scene was ready.
The first step was designing the room in which the scene would take place, and most importantly, its storefront, which was critical for the story of the scene. I could not find a suitable mesh for the room, so what I did instead was use a separate mesh for the inside of the room and the storefront. I then used boolean operations to carve out the room's wall and stitch the storefront in its place.
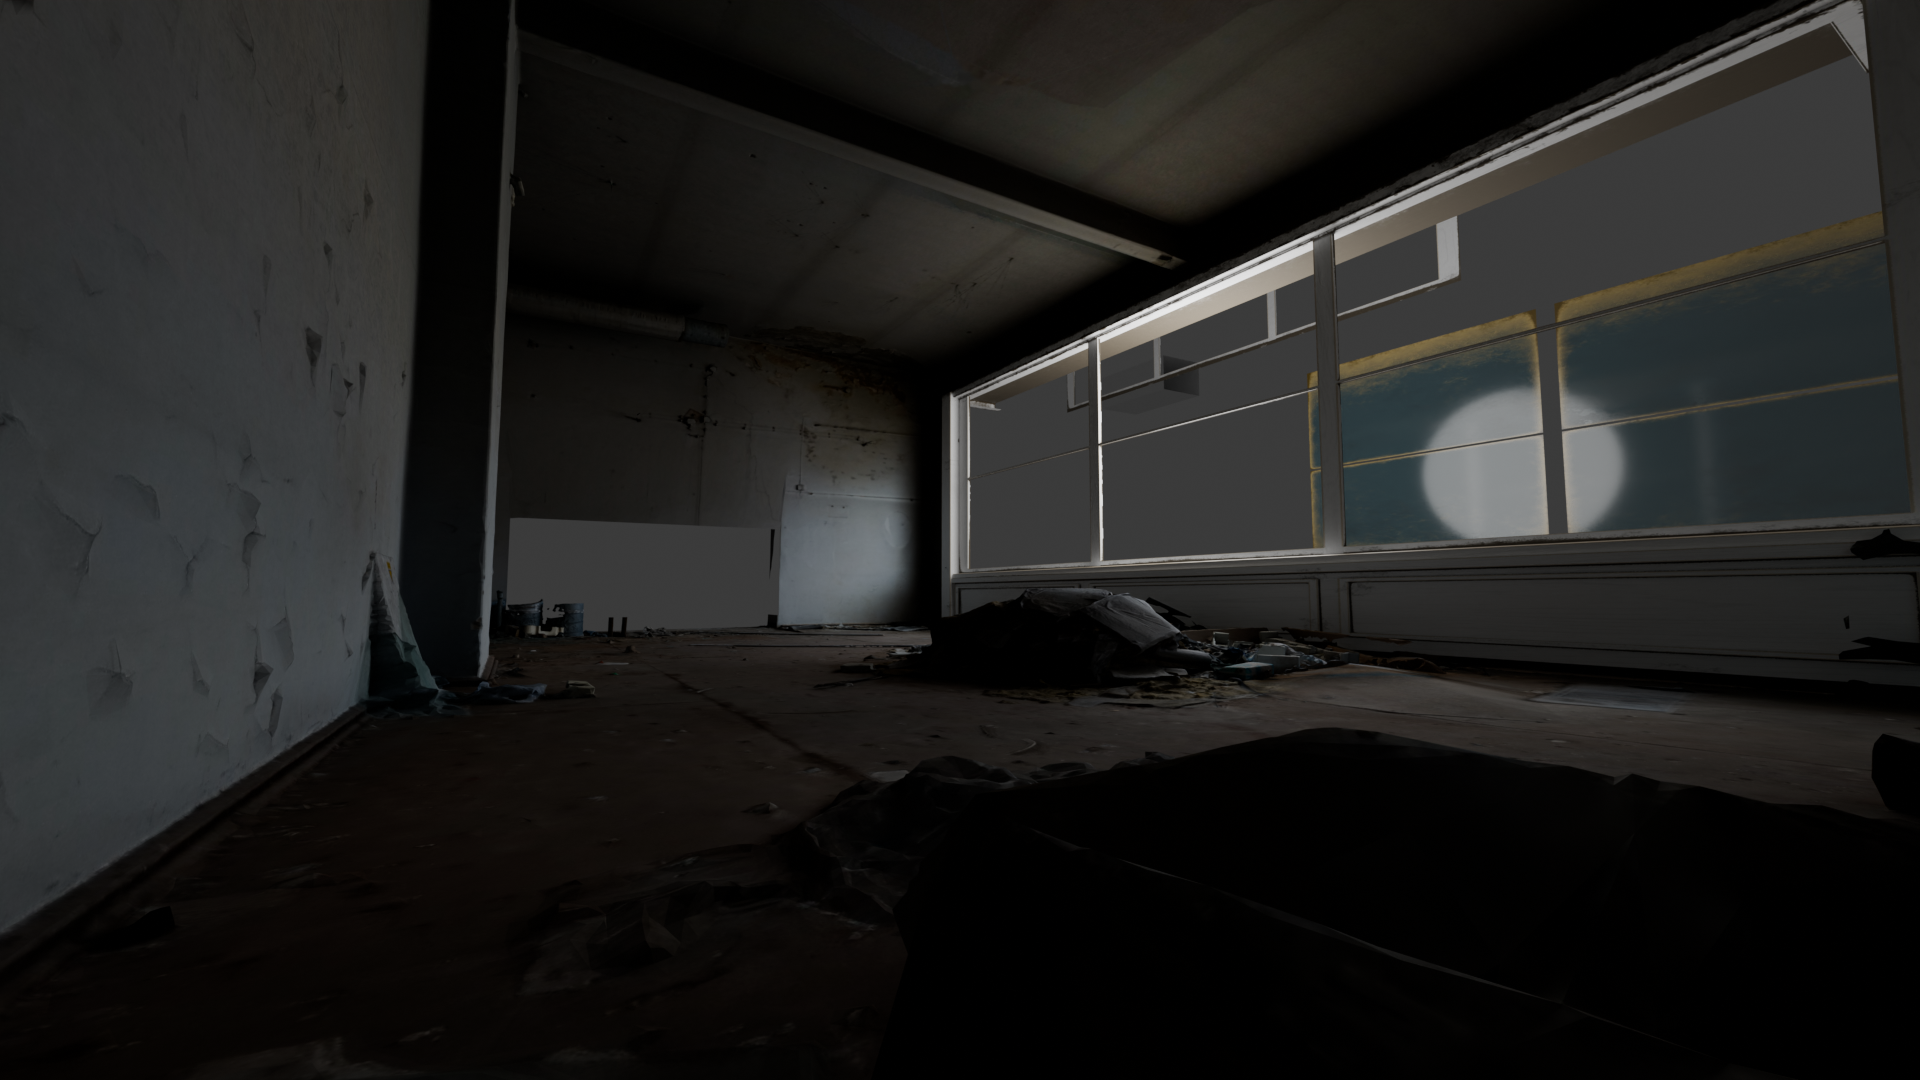
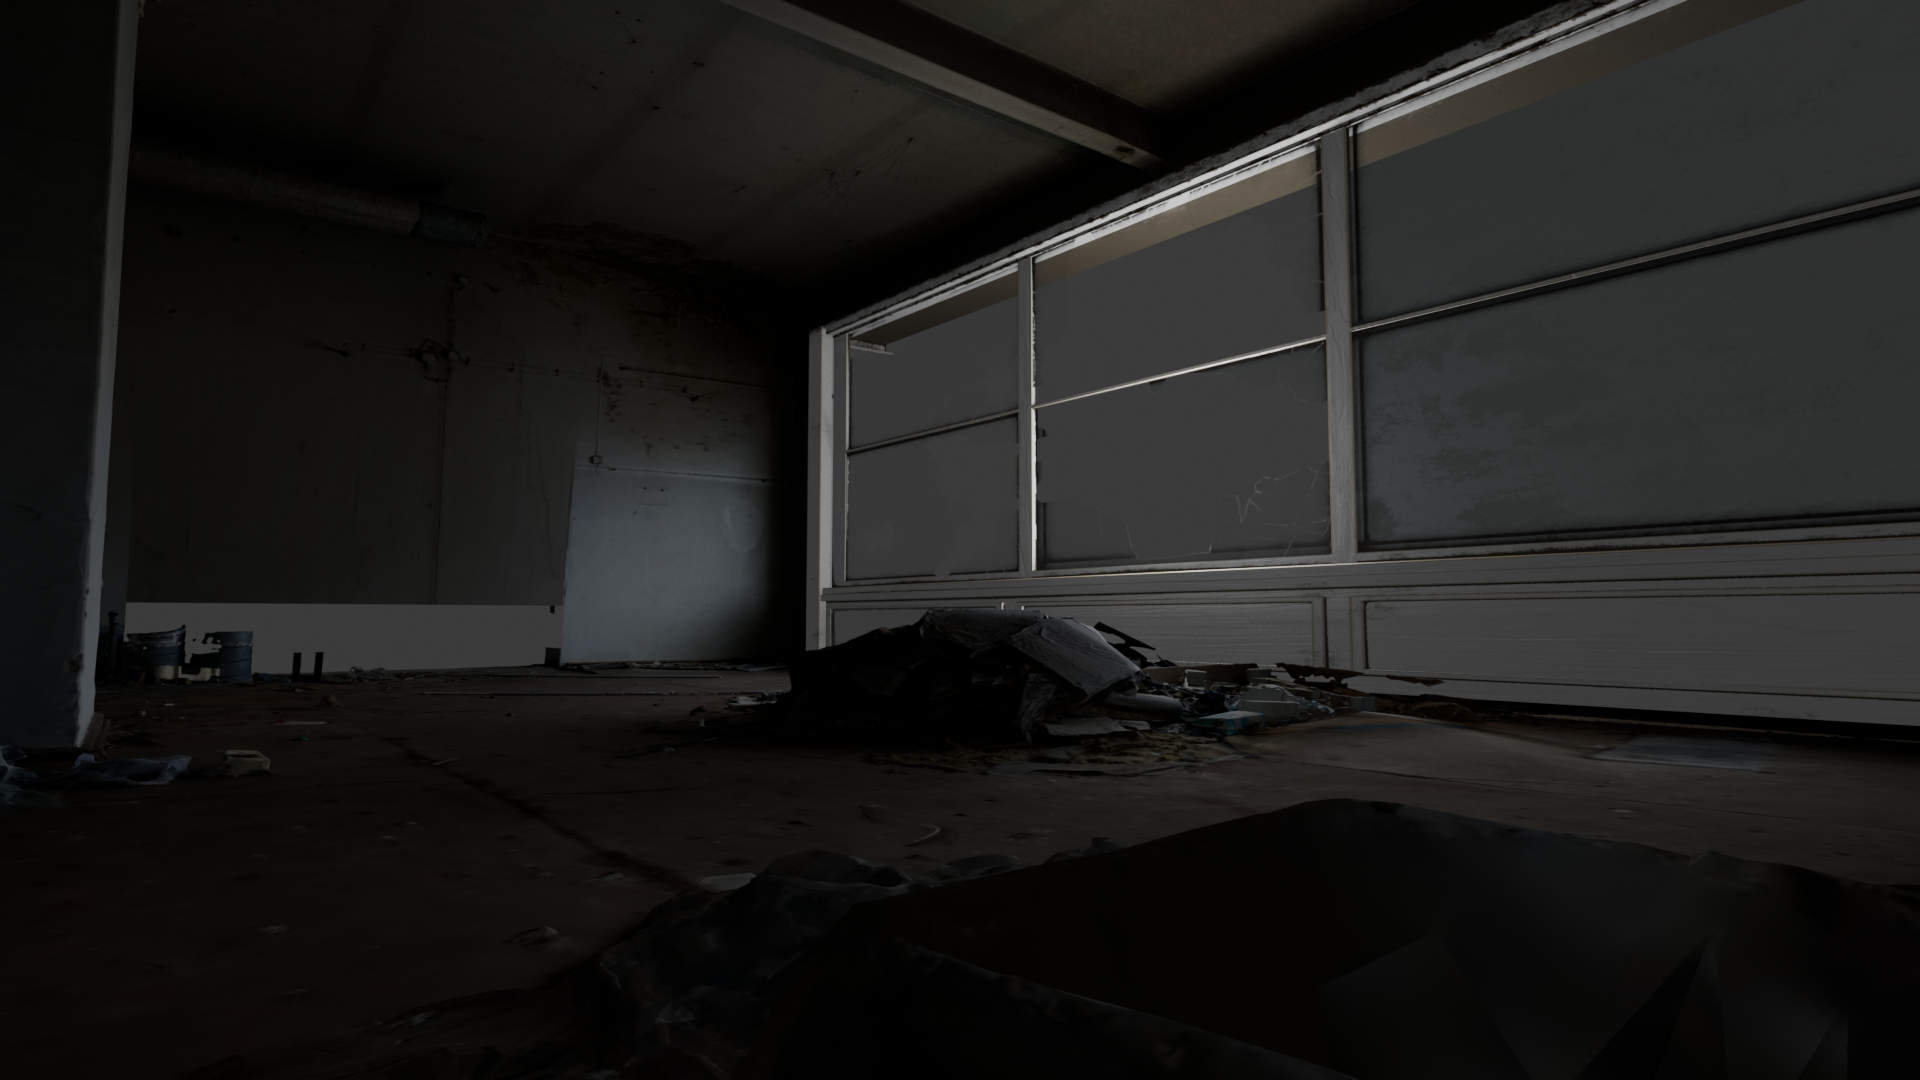
One issue with this storefront however, is the windows. They are far too opaque and in too good a condition for the dilapidated state of the arcade. As such, I downloaded several broken window models and used them on each of the frames. I had to ensure the middle panels had the most broken windows, which in turn would allow the outside to be visible from a favorable angle.
Afterwards, I populated the scene, both with arcade cabinets and overgrown vegetation. For the cabinets, it was important to use old and worn out cabinets, in accordance with the themes of the scene. Some of the arcade cabinets actually lit up, so I had to ensure that any emission was disabled prior to the rendering.
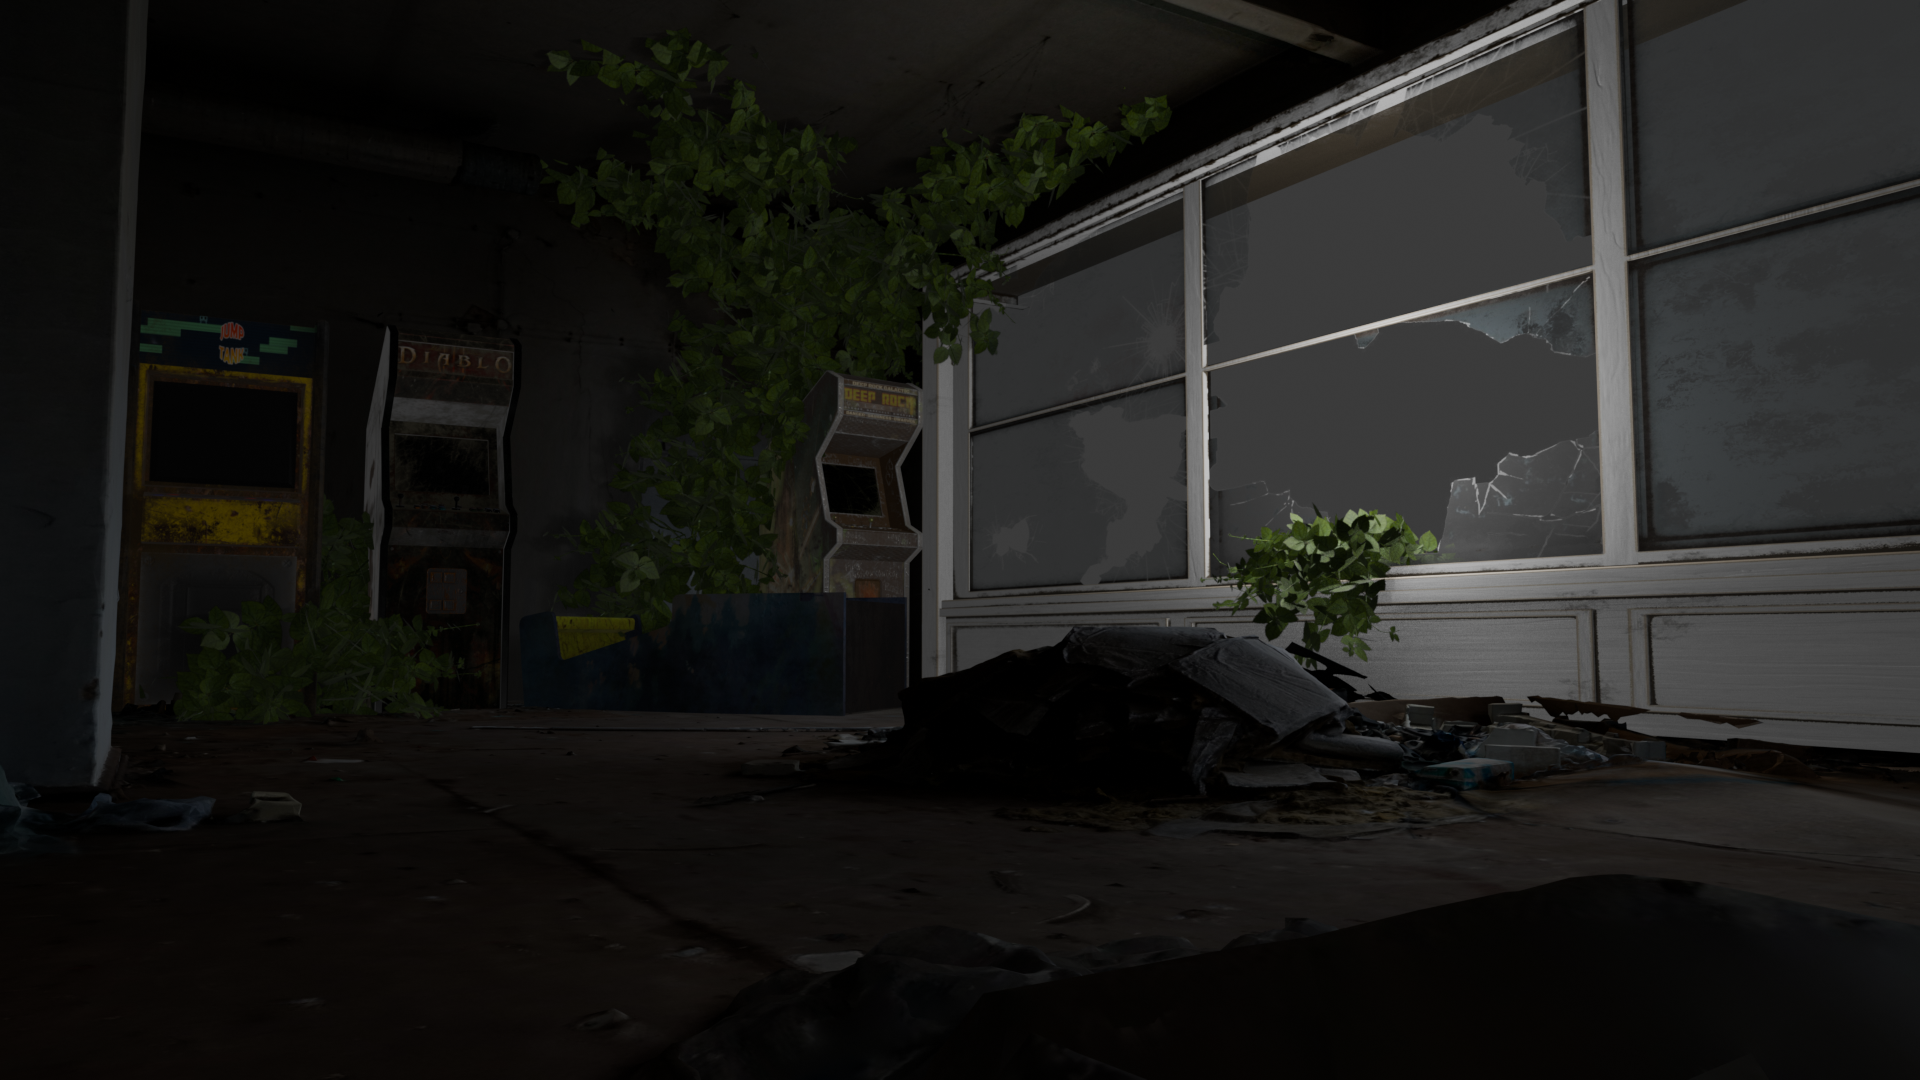
The room at this point had enough detail, so it was time to
start working on the lighting and the outside. Right now, the room
looks overexposed. Any mystery or intrigue is washed away by the harsh
environment map light. So as a first step, I reduced the value of
said light, suggesting the scene takes place at night time.
Afterwards, I added the patrol squad outside the arcade. The soldiers
are all instances of the same mesh. However, as the mesh was
accompanied by a skeleton, I could pose each soldier to look
different from the other; some stoically march on, while
others curiously peek into the arcade. Behind them, I placed
some buildings, to ensure the background did not look too bare.
In order to illuminate the soldiers, I used two spherical area
lights at either ends of the street, suggestive of streetlights.
On the other hand, in order to illuminate the inside
and draw the viewer's attention towards the cabinets first,
then the patrol squad second, I used a flashlight, held
in the hand of one of the soldiers.
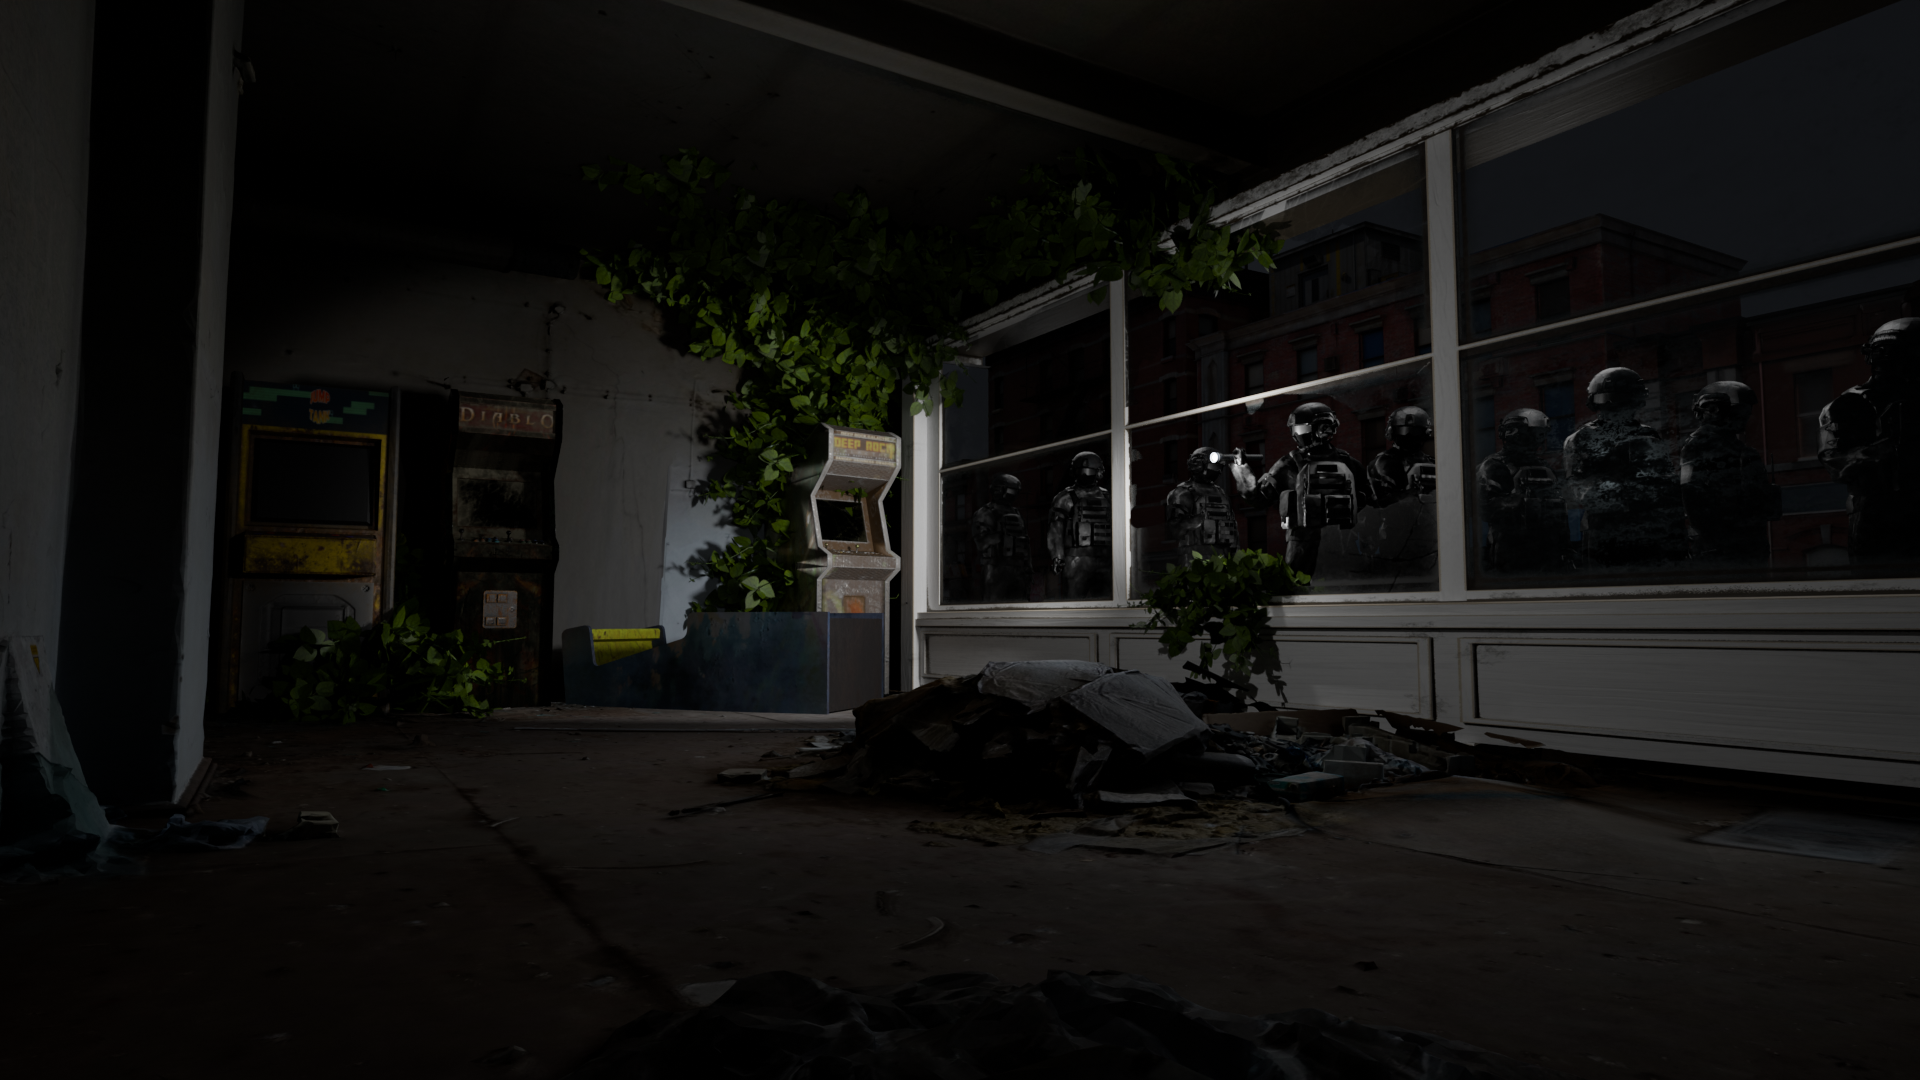
At this point, I was happy with the scene, so I
began porting it over to the Lightwave rendering engine.
This was probably the most tedious part of the process:
ensuring the format of the exported scene actually matched
what the engine expected.
For instance, the engine only knows how to do alpha masking
using a separate texture for the alpha values. However,
most models that I had downloaded used a single PNG
that held the color and alpha data. Moreover, some of the
models used a single texture to blend information like
metallic, roughness, etc... So I had to create
a python script that would isolate the channels
and store them as separate images.
Once I was done, I played around with the lighting
a bit, since the scene looked a bit darker and brighter
in certain places. I also added a thin-lens camera
model in order to blur objects that were close to
the camera, as well as the background buildings.
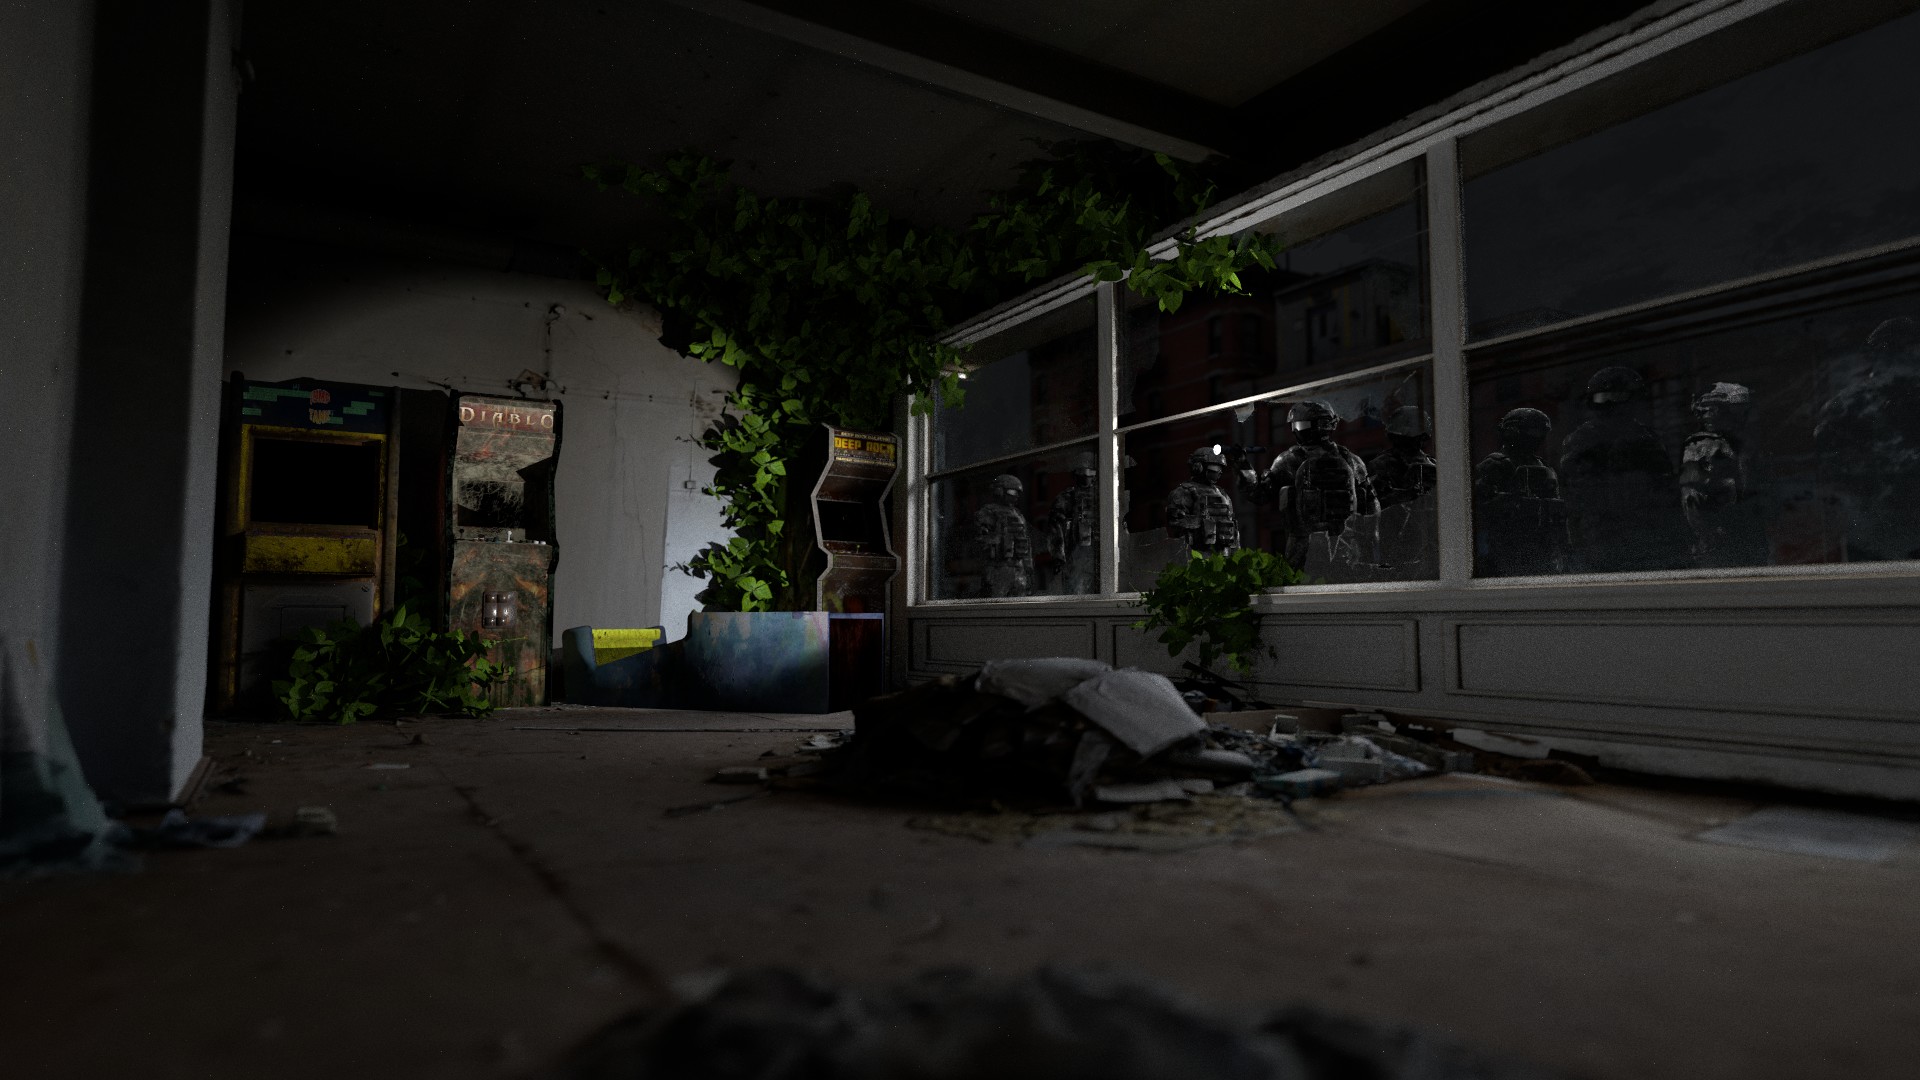
Finally, I applied the postprocessing step, which consists of the Bloom effect. This makes the flashlight look a bit brighter, and draws the eyes to the source of the spotlight.
The XML files for the rendering competition can be found in tests\rendering_competition.
Rendering Information
- Processor: Intel(R) Core(TM) i7-14650HX, 2200 Mhz, 16 Core(s), 24 Logical Processor(s)
- RAM: 16.0 GB
- Operating System: Windows 11
- Render Time: 19744 seconds (about 5 hours and a half)
- Number of Samples: 1024
- Number of Triangles: 771,343