Building the Scene in Blender
The basic idea was clear from the start:
Create both a peaceful water-scene and a menacing underworld which are connected by a portal and have a curious
diver enter this portal only to be greeted by the unknown.
After having a basic scene, I first wanted to add my portal and diver. As I couldn't find any good, free diver models online, I tried sculpting for the first time, the results of which are illustrated below (second image with subdivision modifier):
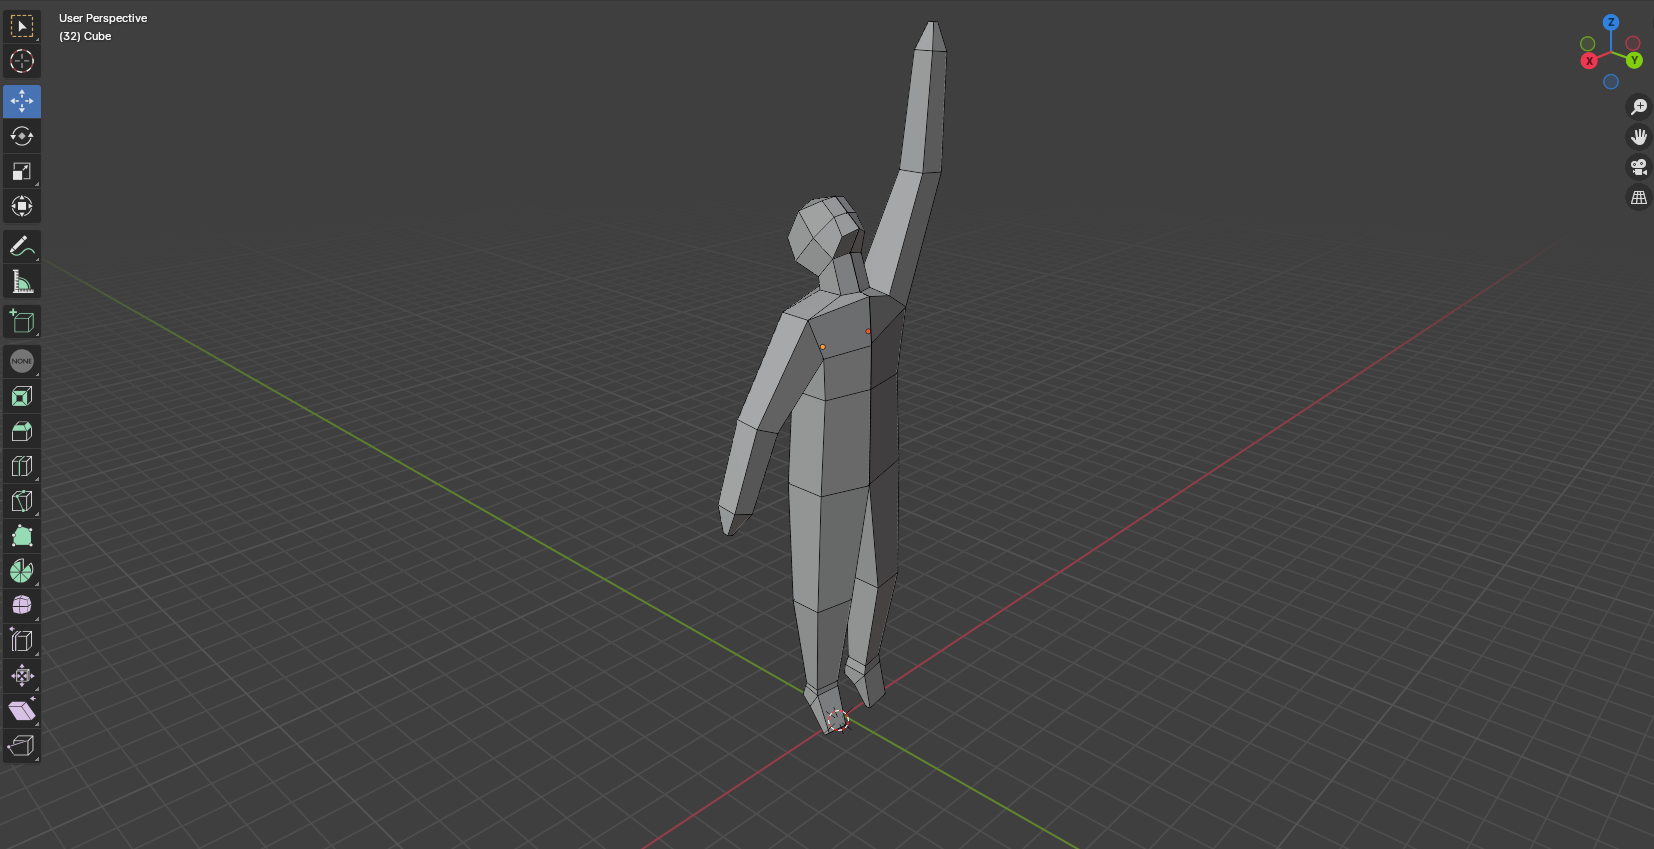
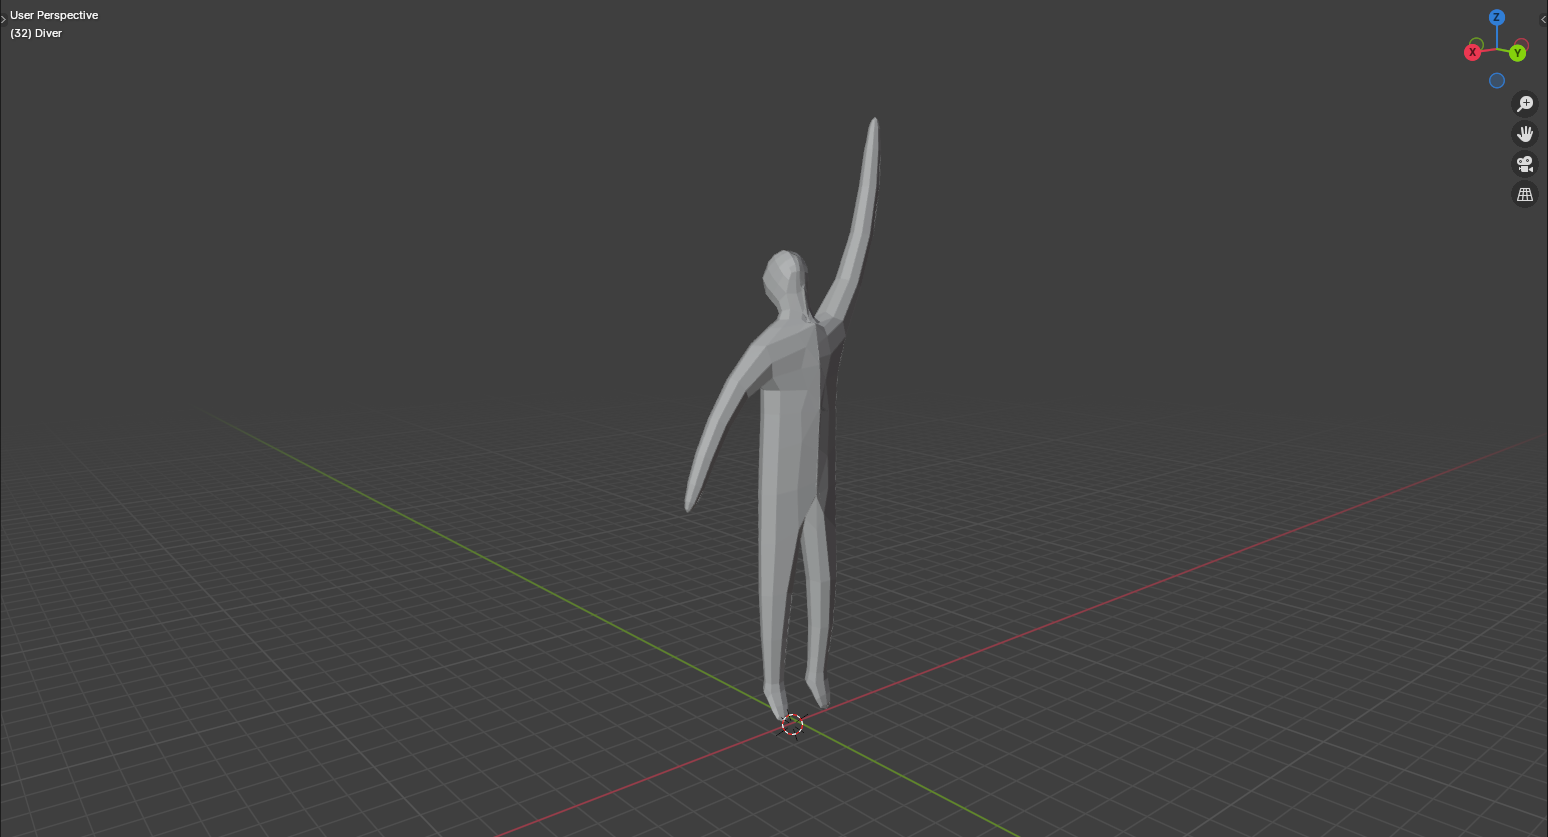
At first I tried out a free portal, then created one with the help of a guide (seen in the following pictures) and later on, I opted for a smooth one which blends nicely into its surrondings. This exercise really helped me understand the extrude mechanic.
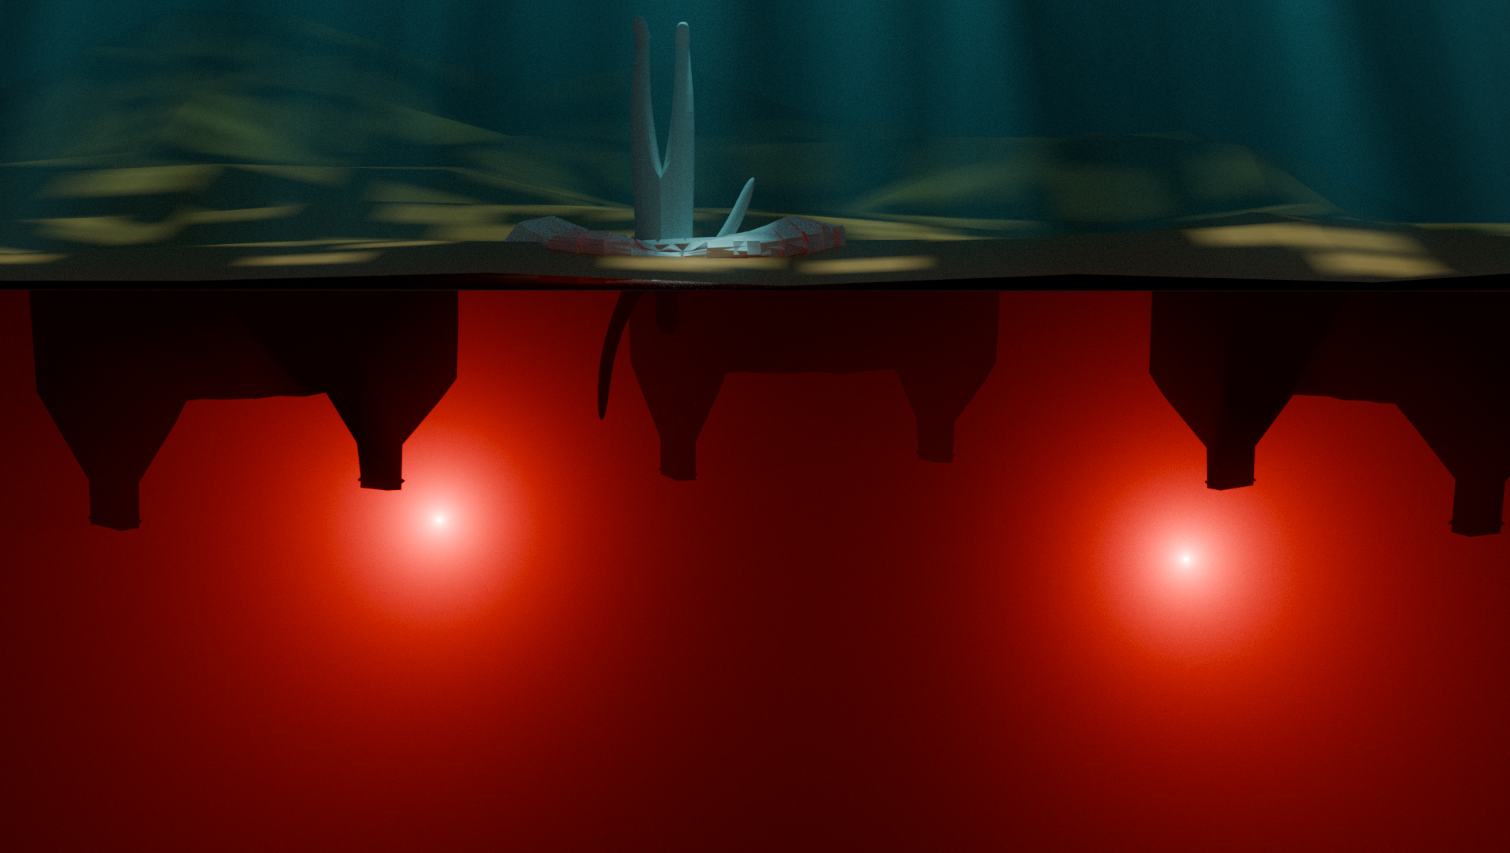
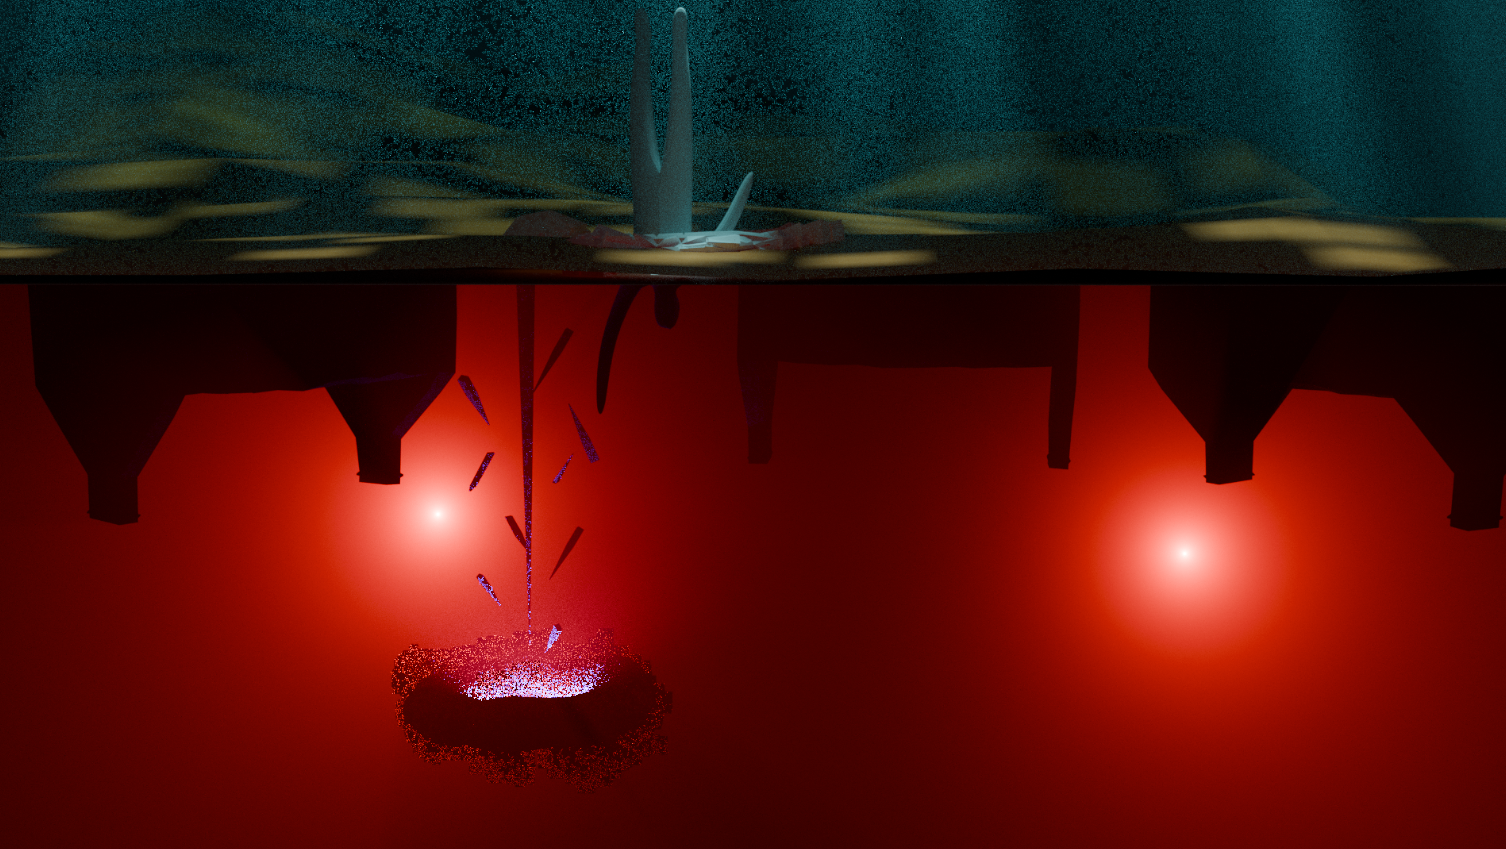
At this point, the rough layout was done and all I needed to do was tilting the underworld so you can actually see the floor, adding some texture, adding some transition inbetween and decorating the world.
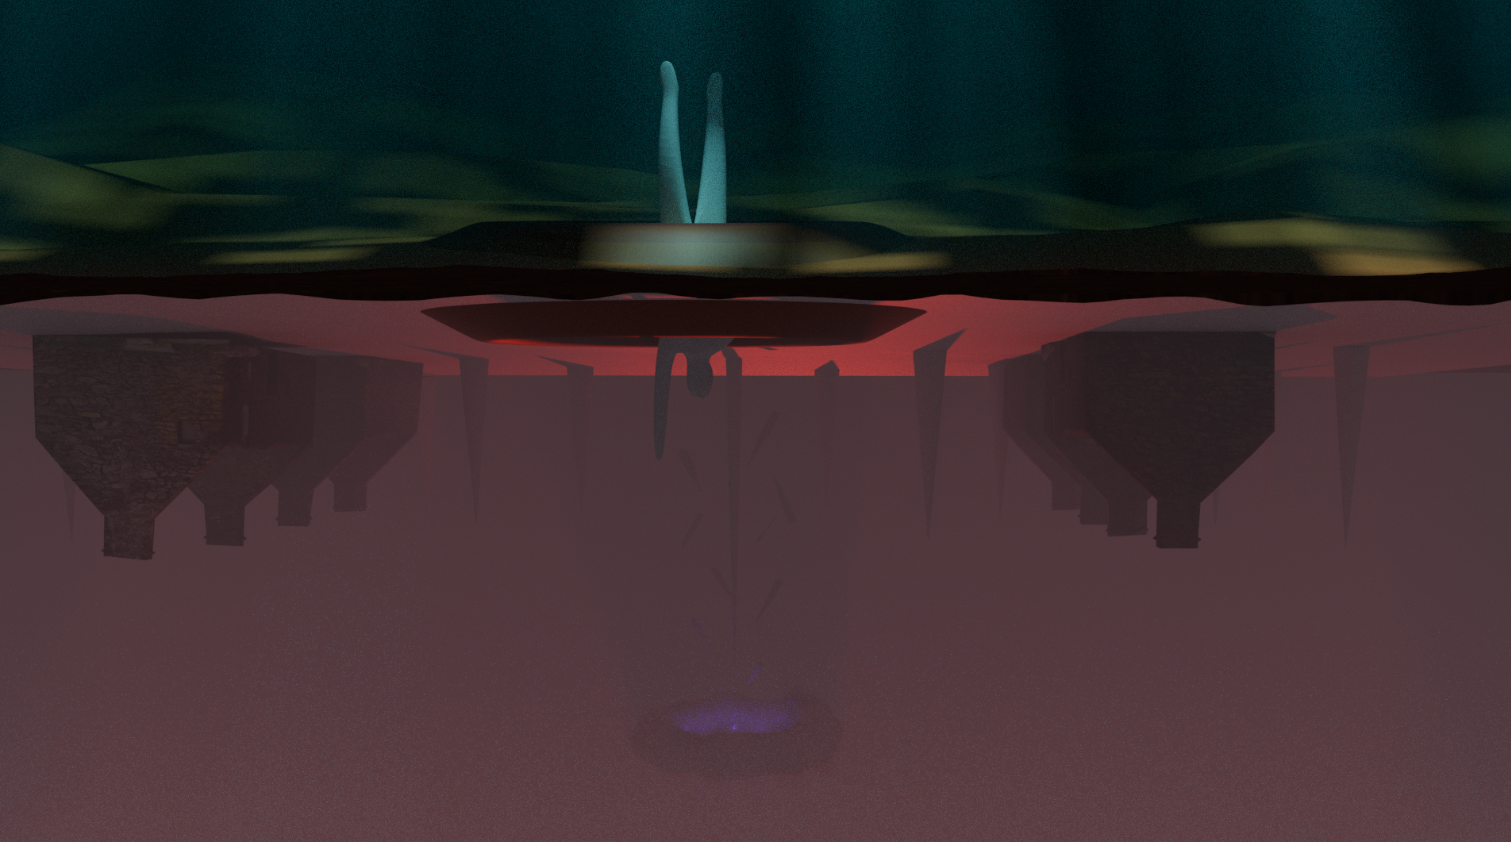
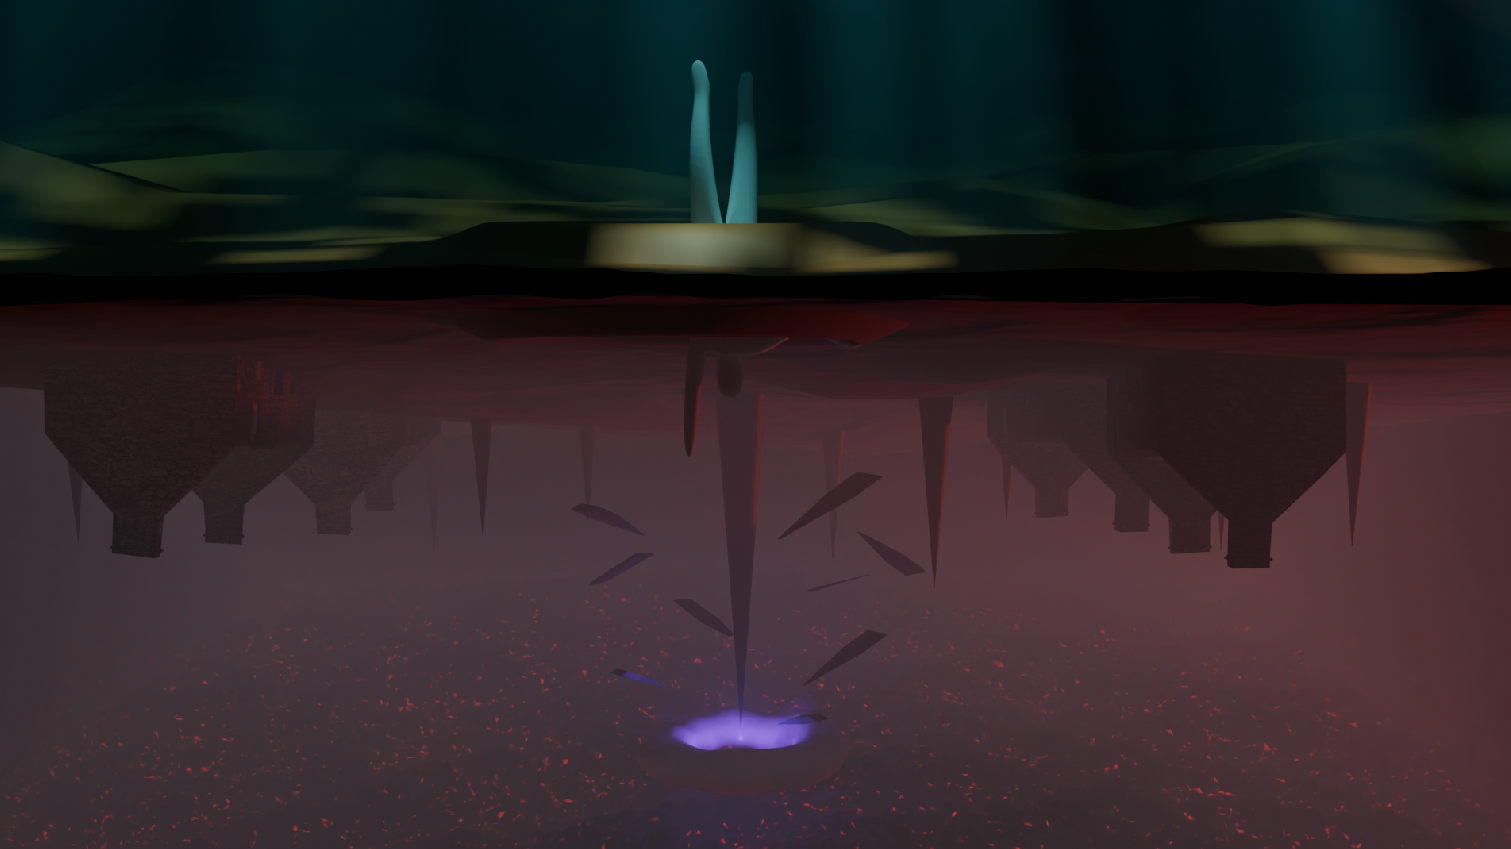
The first time clouds appear but the bounds of the underworld are too small:
You can see the clouds ending on the left / right side of the screen. I also wanted the worlds to "shine" into
one another by adding small area lights at each side of the portal.
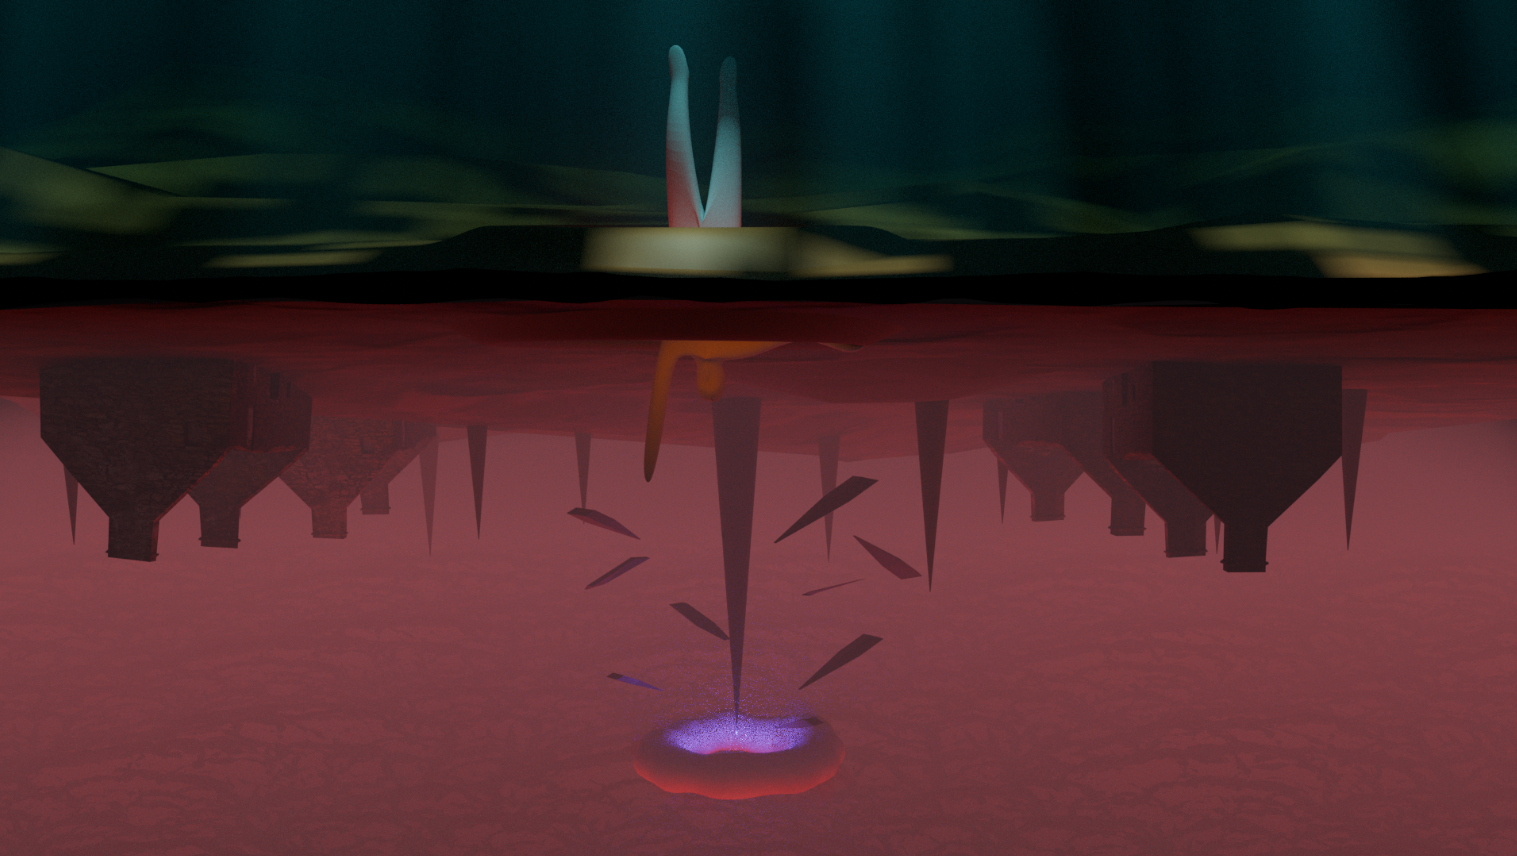
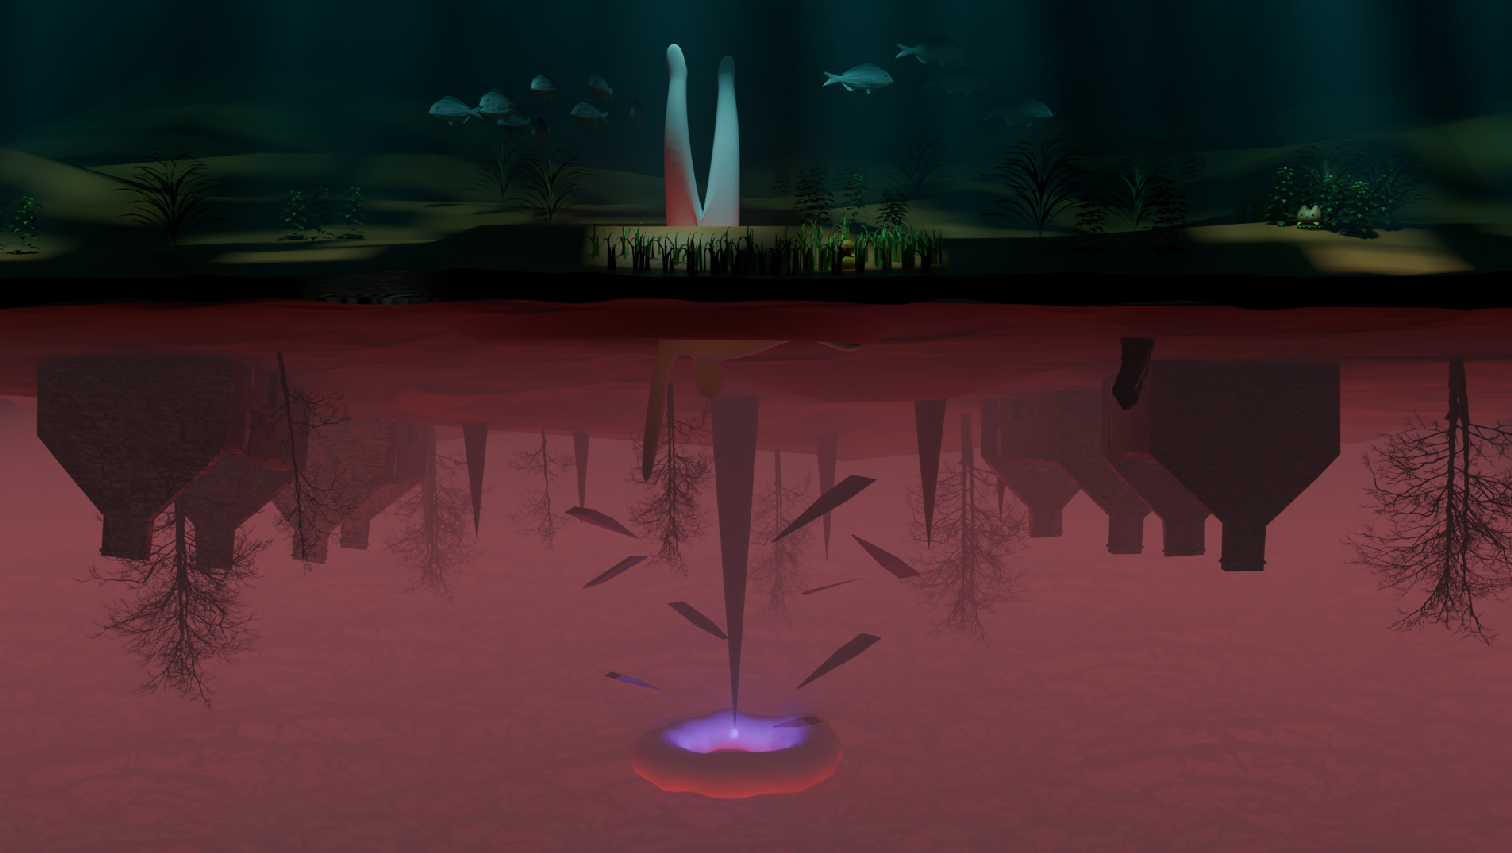
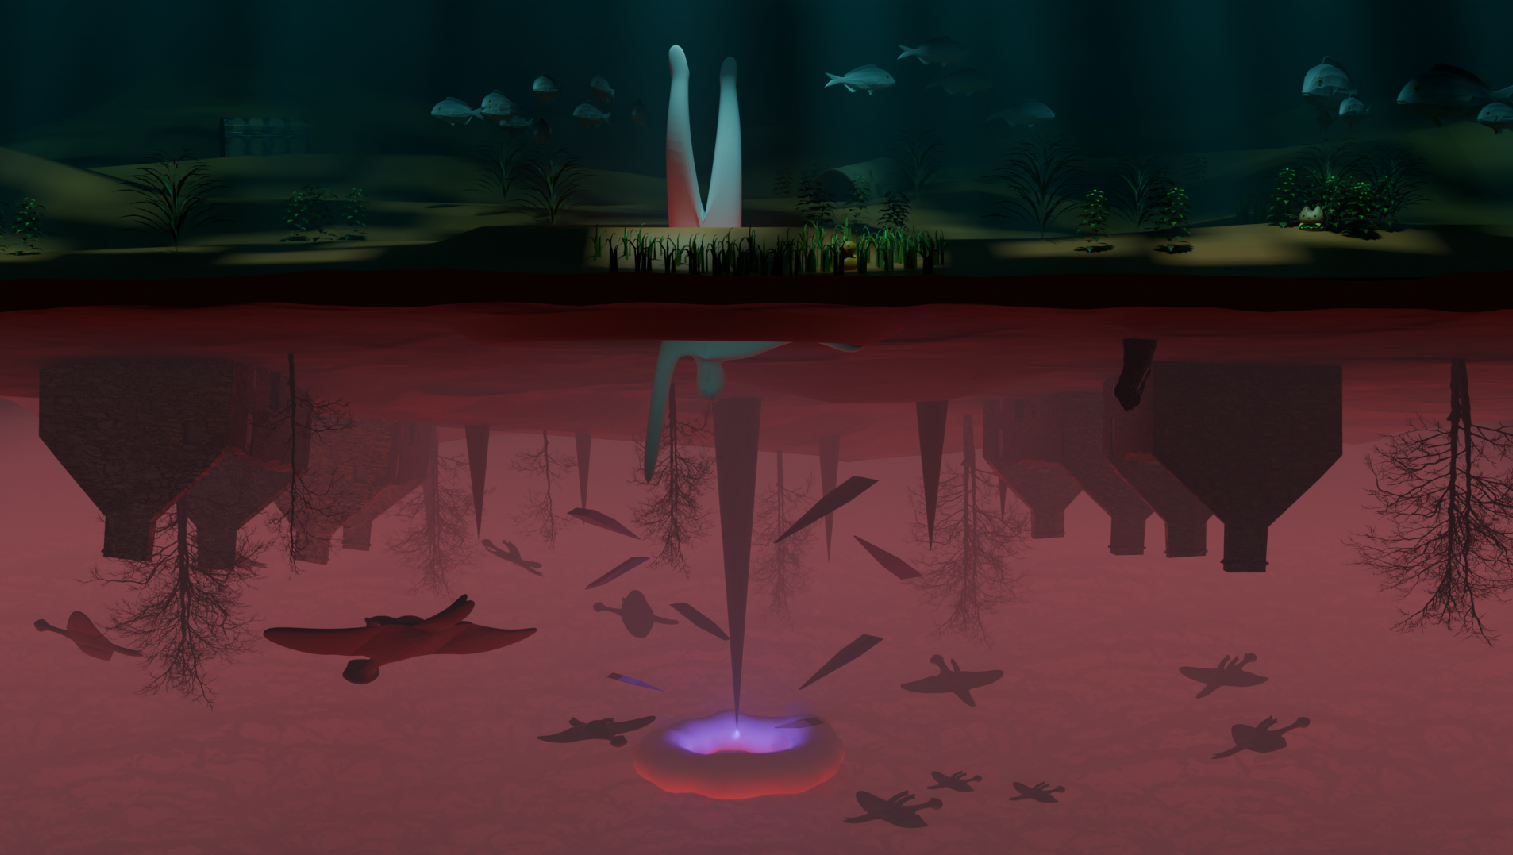

I swapped out my diver for a humanoid model, created my own fins and imported the helmet. The water has changed as I don't use a combine shader anymore and tried to reconstruct the look using a single principled volume.
In the end, I built my own diver (deleted), fins, portal, birds, shadow / blocker planes and underworld-/seafloor.
At one point I tried adding more details to the underworld-spikes but after some hours, I scratched my creation because
it didn't fit the overall theme.
I also tried a caustics approach instead of using a shadow plane but I didn't get it to work after an entire day of reconstructing
the colors, lightfall, etc. and so, I also ditched that idea.
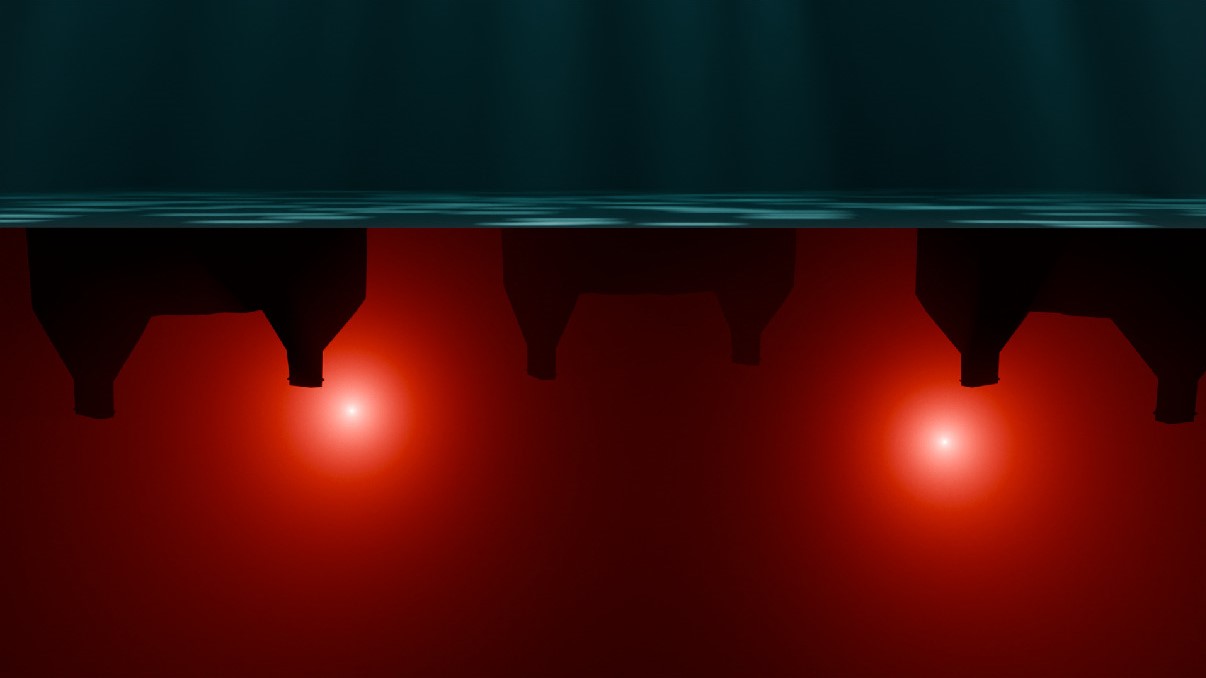
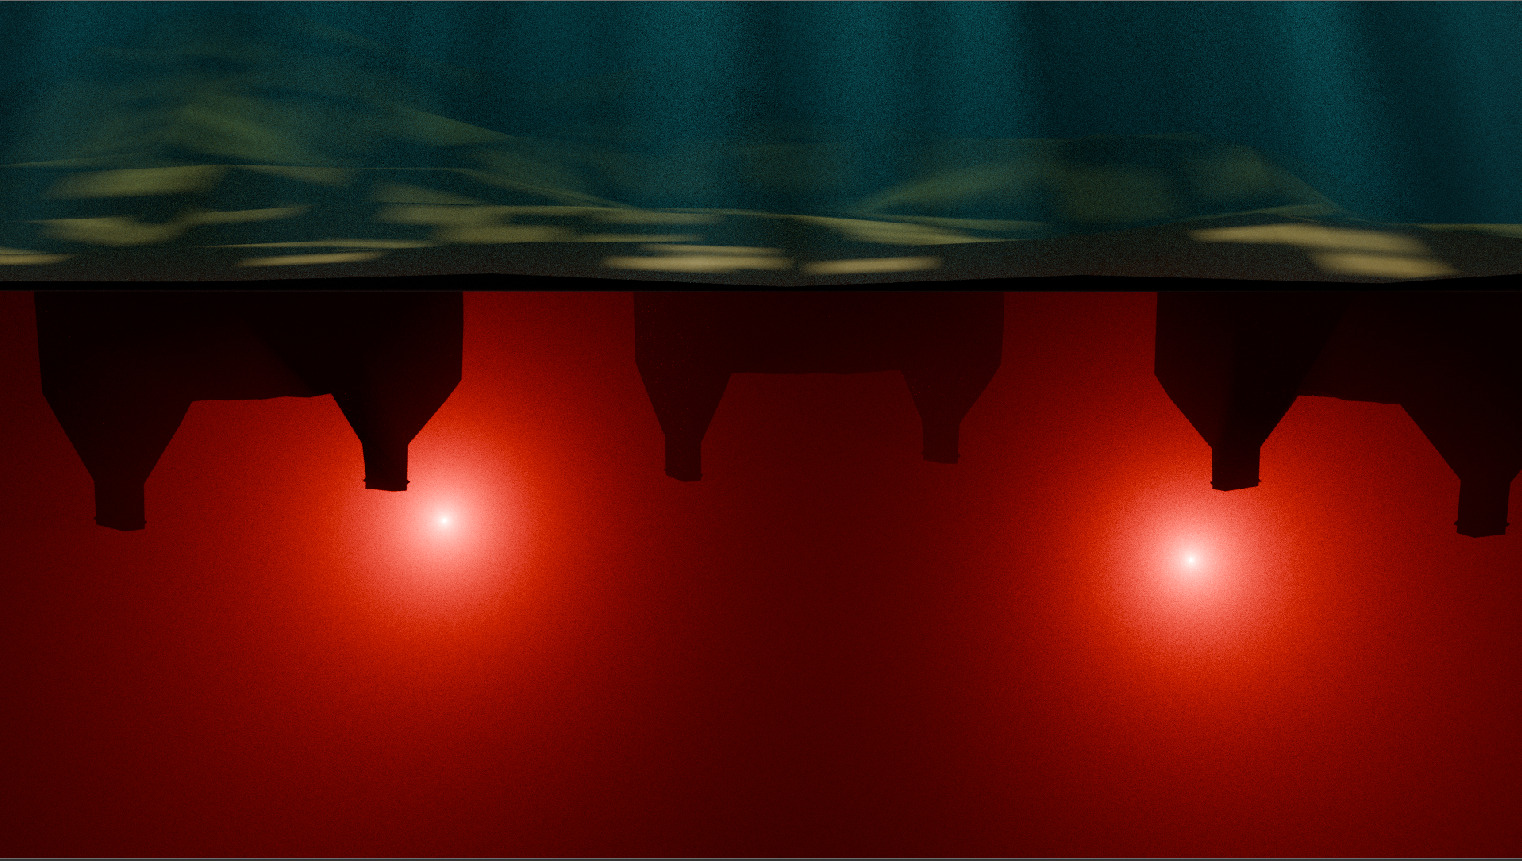
I probably spent too much time creating the scene in Blender as I really struggled with my features to actually render it in Lightwave, as seen below.