The Abstract

The story behind the scene

Final Rendering in Context

Motivation & Story:
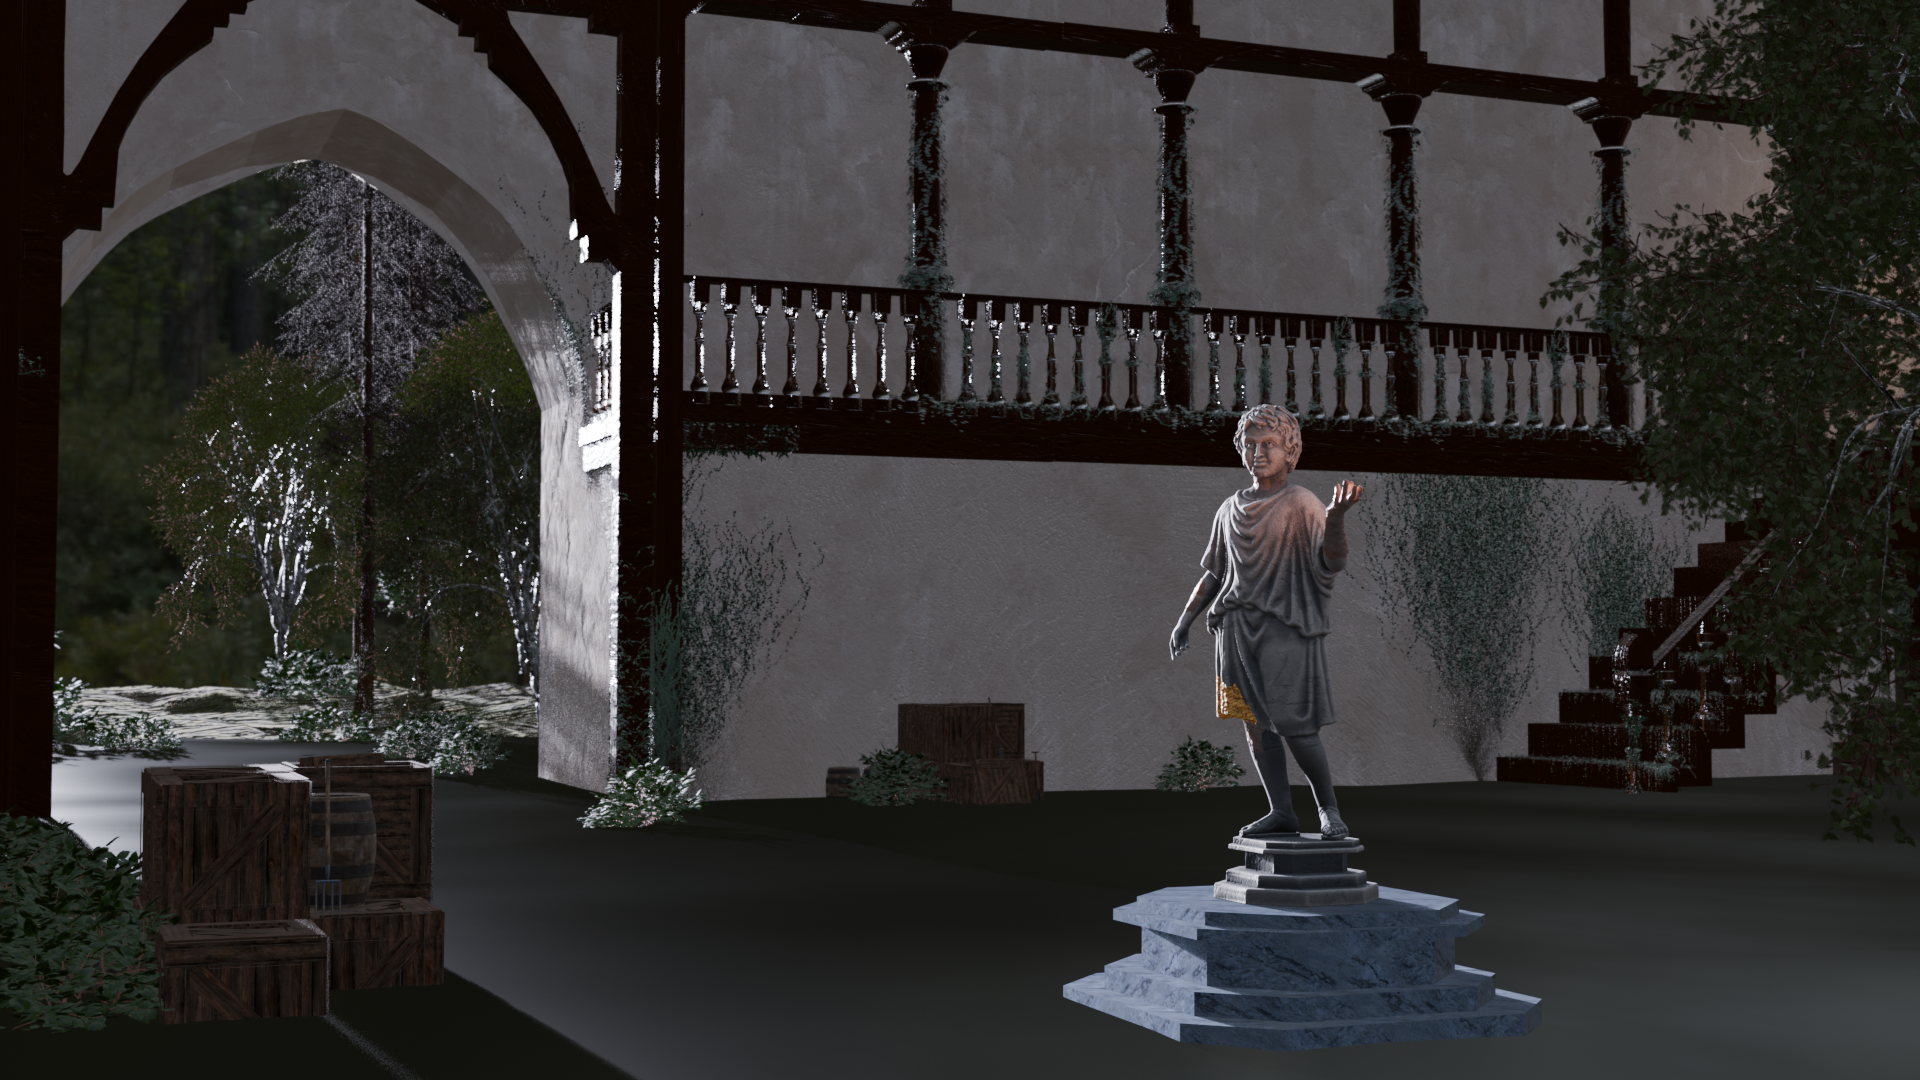
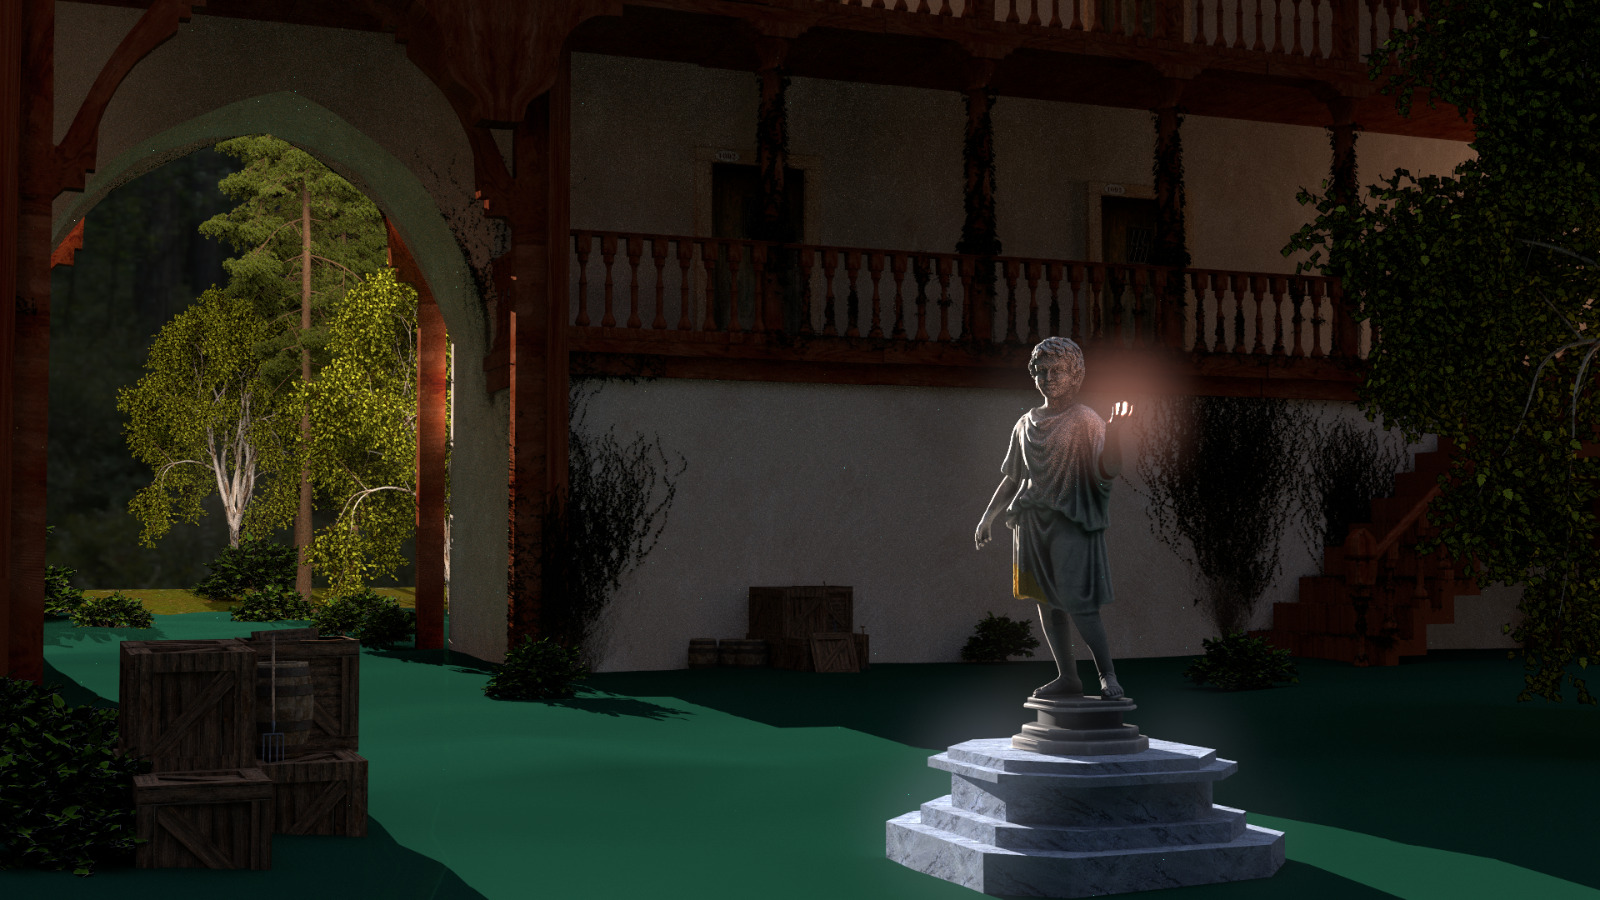
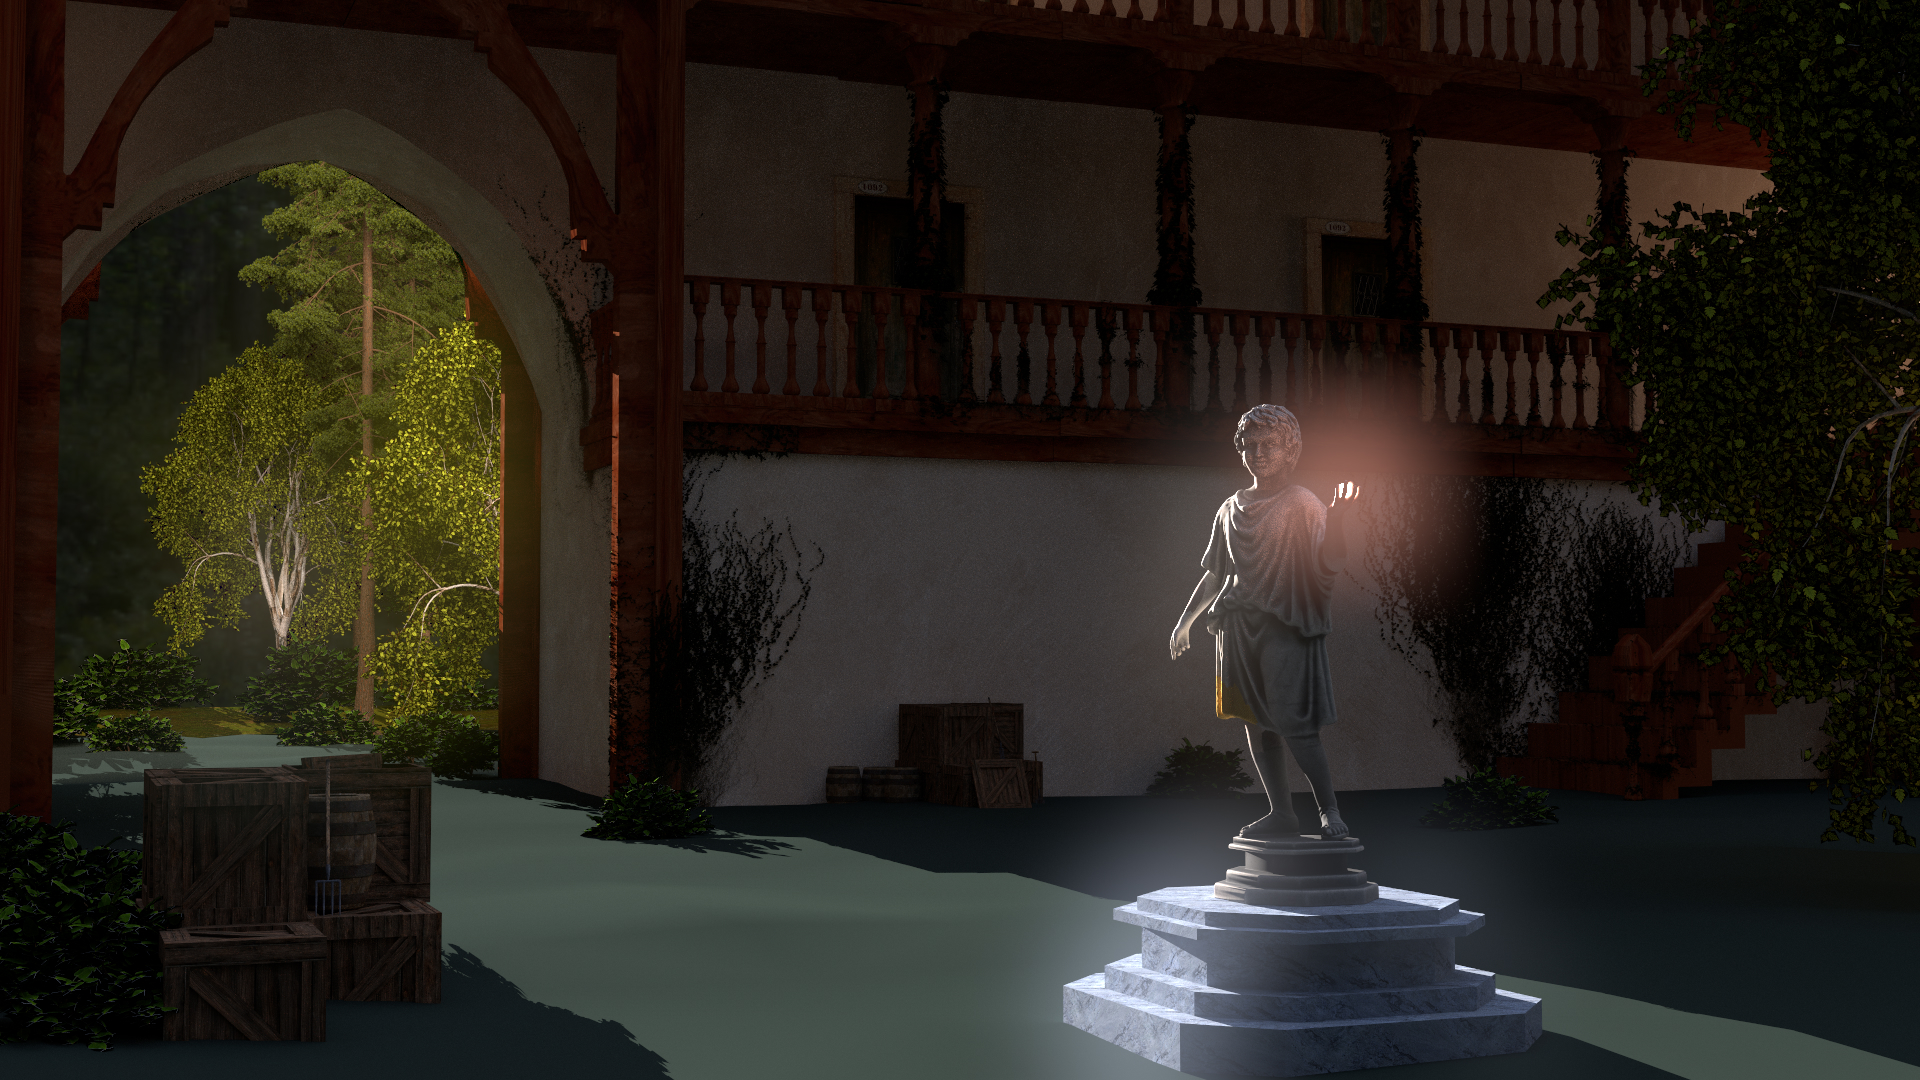
The scene captures a fleeting, ambiguous moment between night and day in a seemingly abandoned location that holds a secret. In a crumbling courtyard reclaimed by ivy, a lone statue stands guard: Camillus. Yet, this is not a cold stone figure, but a prisoner of time. As the specific light of the golden hour touches him, the statue begins to wake.
The courtyard itself tells the story of his struggle: it is overgrown but partially tended, which is a quiet hint that someone is trying to hold back the chaos. The stacked crates contrasting with the overgrown walls serve as evidence of unfinished work. Camillus uses his brief windows of life to care for this place, keeping a promise long after others have gone. But the tragedy lies in his limitation. He never has enough time before turning back to stone, allowing nature to reclaim the sanctuary once more. What is the nature of his prolonged existence? Is it firm dedication, or just a prison of duty? How long does the fulfilment last, if every time one comes just short?

Hidden Details:
While the figure appears to be solid stone at first glance, subtle elements reveal the magical nature of the transformation. Bathing in the light of the golden hour, the true self begins to break through the outer shell. A closer look at the tunic's hem shows a distinct yellow patch where stony greyness transforms into velvet yellowness. The stone is actively turning into real, golden fabric. Further evidence lies in the figure's hand. It has already shed its rigid texture, transitioning from cold rock into warm tissue. The returning skin tones contrast sharply with the rest of the arm that has yet to wake up.


Process & Evolution

From initial ideas to the final render.

In one of the first lectures, there was a comment that it would be a great idea for the rendering competition to already collect any ideas one came up on the fly. So when the competition actually started, we already had a list of loose ideas, ranging from “black hole” and “robots” to “swans in a lake”.
These were conceptually nice, but not really useful, and the competition guidelines did not give us a starting point. So, we met up and discussed which common ideas we had. This resulted in a first mood board.

Common Ideas were “overgrown architecture”, “lake”, “night”, “nature”, and “mystical”. Thus, we started with a first version of an actual scene, and decided to place a statue as a centerpiece.

Setup 1
Setup 2
Setup 3

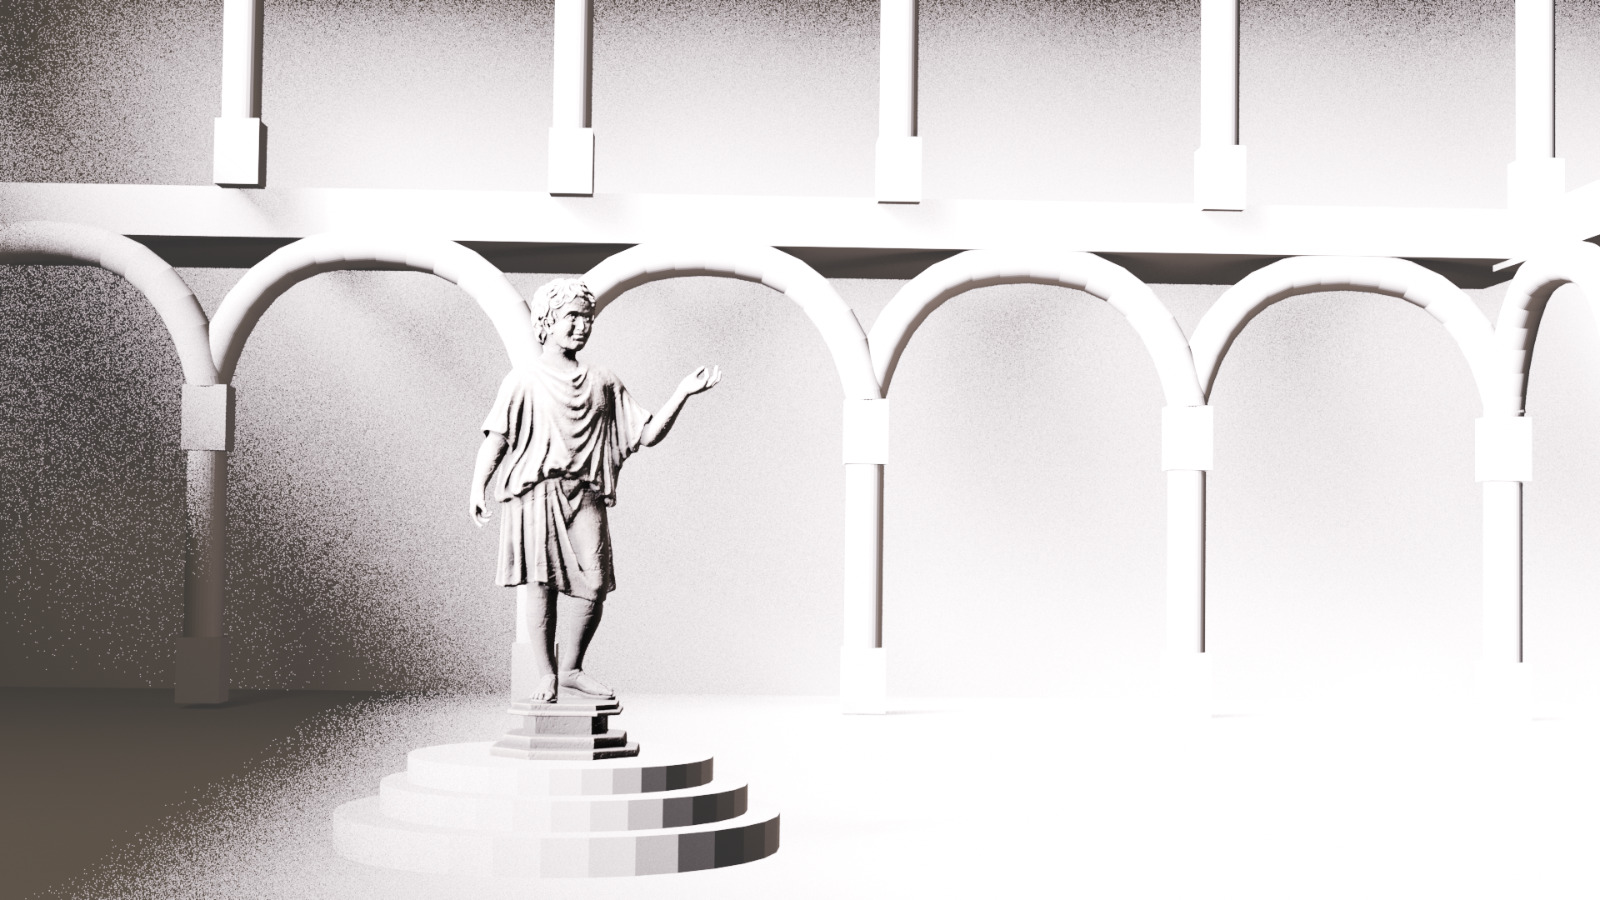
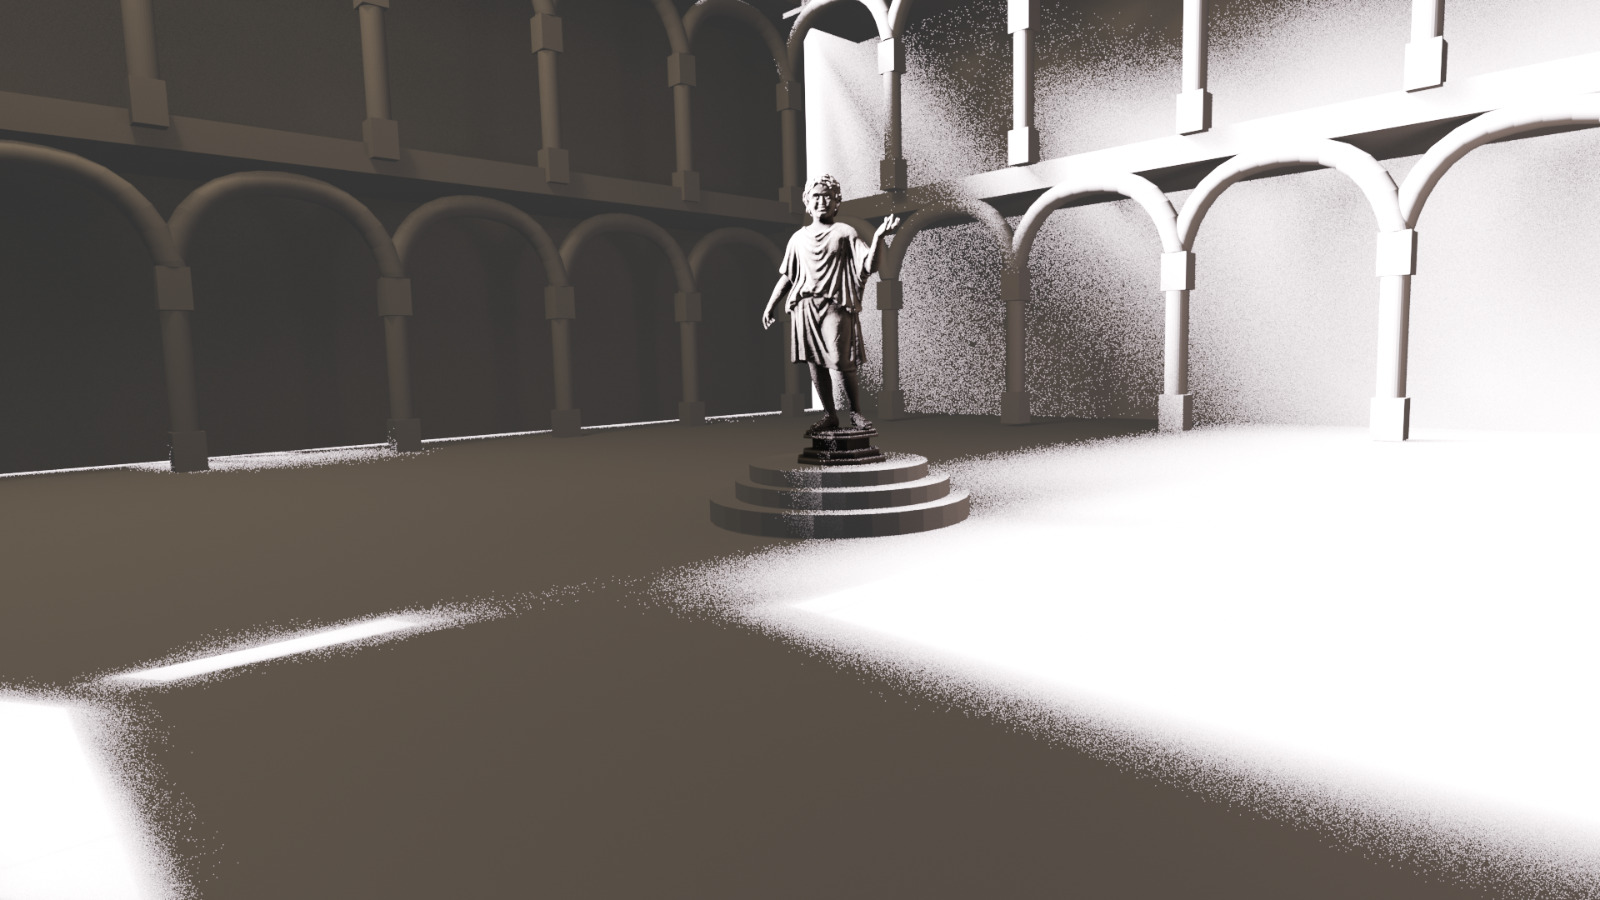
First Scene Setups & Tests

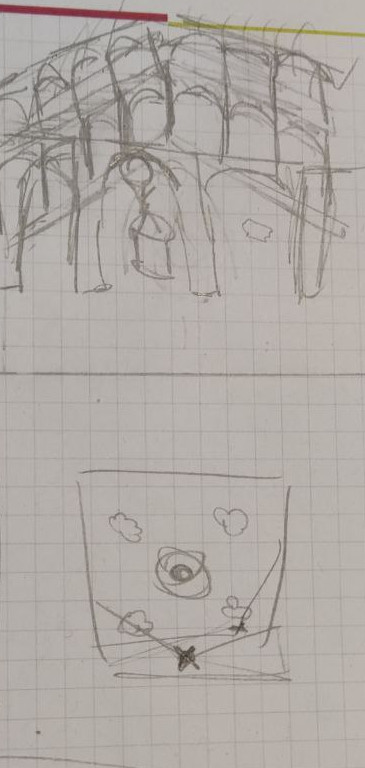
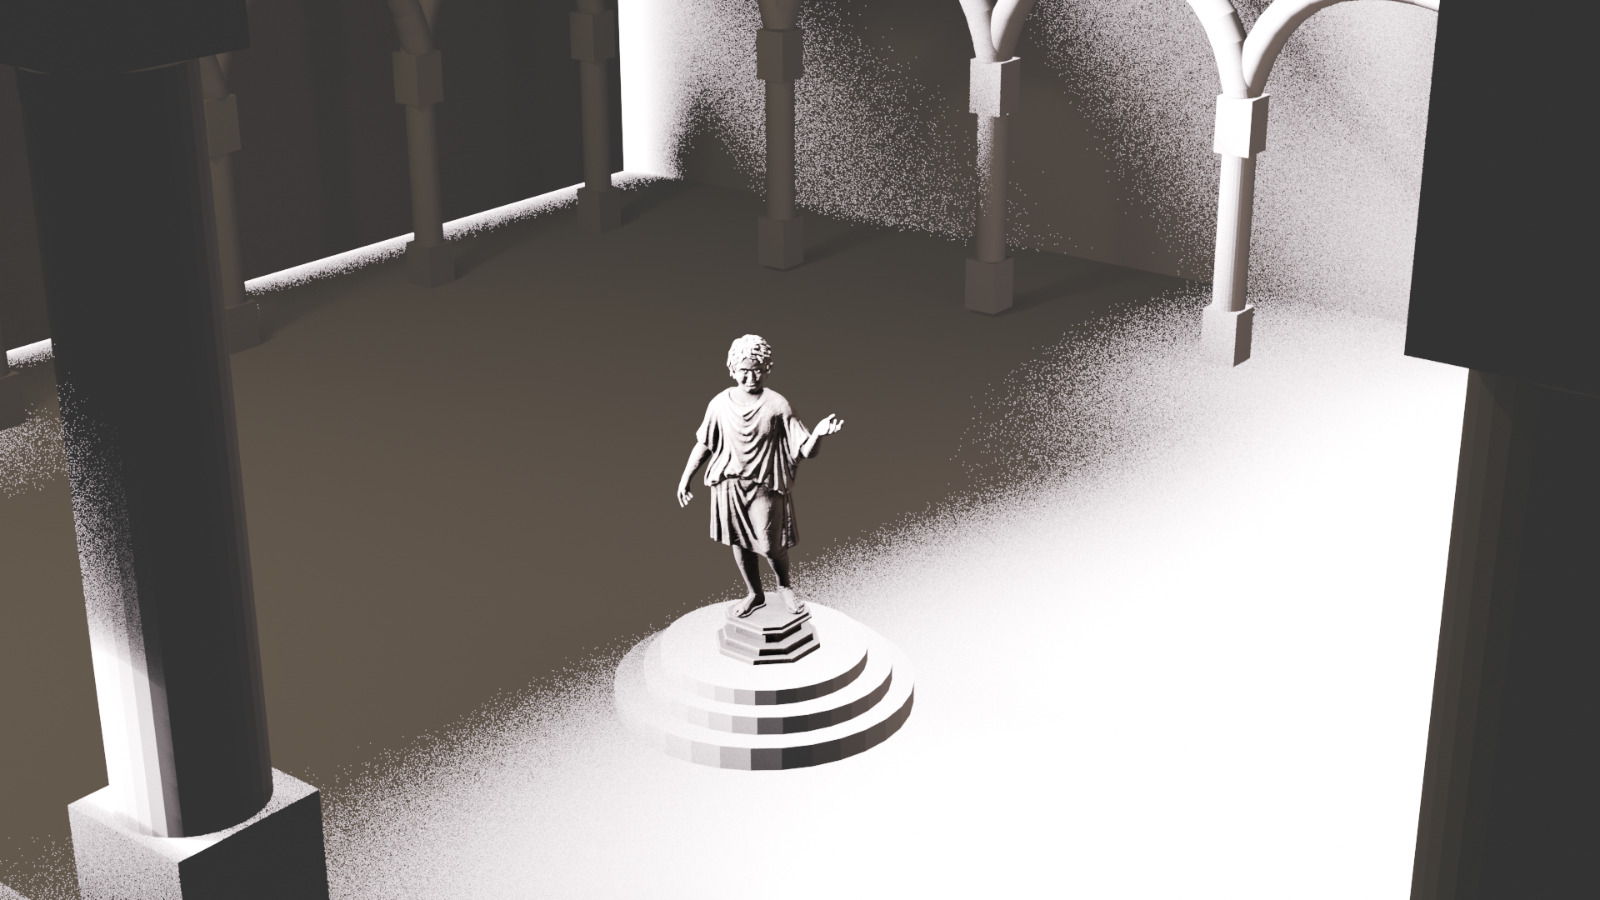
We discussed on possible viewing angles, and eventually were convinced a very geometric architectural backdrop would be a suitable surrounding.

Concept Drawing

Concept Drawing

We were still not super inspired, and took some inspiration from potential features one could implement. Subsurface scattering seemed like an appropriate challenge, but we also needed to find an application for it. A little later, a new idea came to our mind: “What if the statue was alive?”. This was enough to transition from scene sketching to proper modeling.

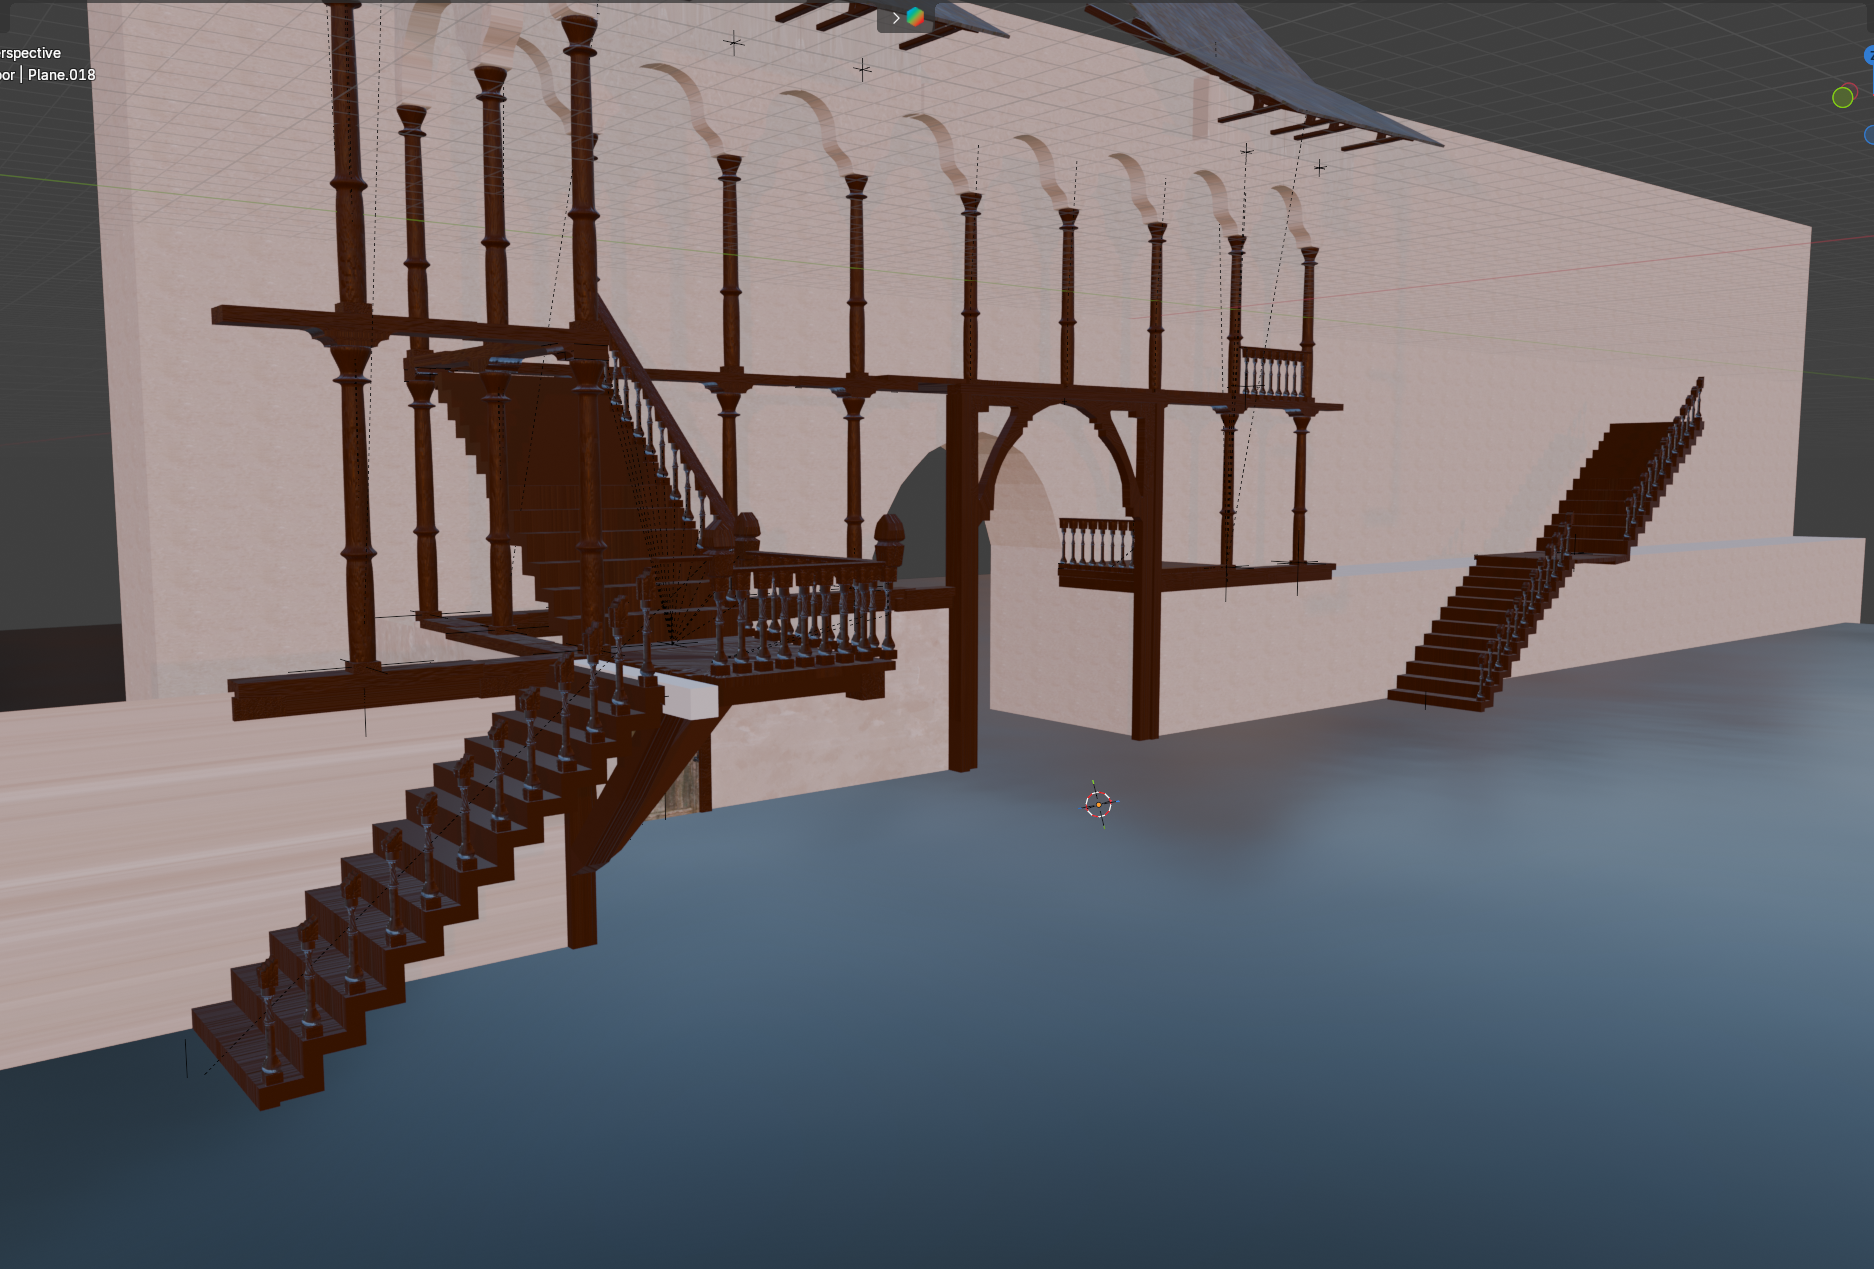
Blender Modeling View

Modeling in Blender

Because we already had a clear viewing angle in mind, and already a scene setup, there was little need to experiment in-between, and we continued straight into texturing, shading, and compositing.

Blender Preview Render

Blender Preview

But it was not quite as simple to continue, as exporting from Lightwave to Blender is a non-trivial task, and the resulting .xml file required some manual tweaking. We made some shading compromises, and got a minimal viable solution.

First Lightwave Render

First Export & Render Test

A few things got lost in translation, for example the lake looked more like a carpet, and there were some places in need of patching in some details. From then on, we just needed to experiment with some parameters like pathtracing depth, samples per pixel and postprocessing details. Then we rendered with higher and higher image qualities.
Feature 1 Name

Feature 1: Alpha Masking

Description:
Alpha masking is a technique used to simulate complex geometric structures such as ivy without the computational overhead of high-polygon meshes. Instead of modeling every detail with triangles, the renderer evaluates a texture channel to determine visibility. This allows us to "cut out" specific parts of a surface based on a texture, effectively treating them as holes.

Implementation:
The Instance class was extended to support an optional m_alpha texture property. The interesting part of the implementation is the use of stochastic intersection testing. Inside the intersect loop, we evaluate the texture at the hit point and compare the alpha value against a uniform random sample (rng.next()). If the alpha value is lower than the random sample, we reject the intersection entirely and treat the surface as transparent. We applied the same logic to the transmittance function to ensure that shadows are correctly masked by the texture.

Biggest Challenge:
Getting the m_alpha property to load correctly from the scene file was the first hurdle. But the longest bug was the shadow logic, which was overlooked at first. While the visibility check was working fine, the transmittance function was initially unmodified. This meant objects looked transparent but still cast solid, boxy shadows. Long searching for the bug, was the solution quick after discovering that the shadow logic was never implemented. Fixing this required applying the same random alpha check to the shadow rays to finally get the physics right.

Feature 2 Name

Feature 2: Post Processing-Bloom

Description:
The feature Bloom can be used to simulate the scattering of light within a camera lens. This post-processing effect allows high-intensity light sources to bleed into neighboring pixels, creating a glow that visually represents the energy and brightness of the light sources.

Implementation:
We implemented a new class subclassing the includes/lightwave/postprocess.hpp interface in bloom.cpp. There are three main steps after the main rendering. First every pixel that is bright enough is stored to create a map to locate the bright light sources. A horizontal blur pass is executed, followed by a vertical blur pass. The blurred highlight map is additively blended back onto the original image to produce the result.

Biggest Challenge:
The hardest part was adding the post-processing step to the existing pipeline. It meant shifting focus from the 3D scene to the final 2D output. Unlike the core engine, which deals with geometry and light rays, Bloom just works with the finished image. Making the jump from object-based interactions to pure pixel editing required a different way of thinking compared to the standard rendering logic.

Feature 3 Name

Feature 3: Subsurface Scattering

Description:
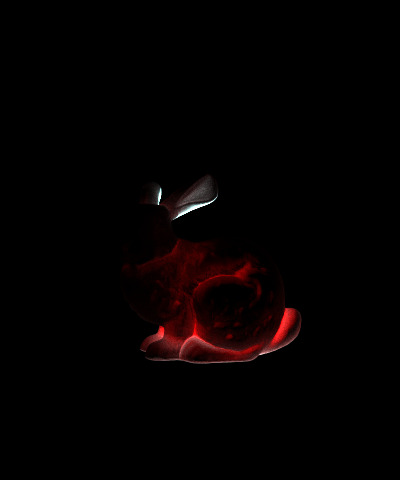
Subsurface Scattering simulates the physical phenomenon where light penetrates a translucent surface, scatters internally within the volume, and exits at a different location. This effect is essential for rendering organic and soft materials such as skin, wax, or jade realistically. Without this simulation, such materials appear unnaturally hard, as light interacts only with the surface rather than the volume.

Implementation:
To support BSSRDF besides the standard BSDF the rendering pipeline was extended with a new Bssrdf interface in include/lightwave/bssrdf.hpp. The core logic utilizing the Dipole Approximation is implemented in src/bsdfs/subsurface.cpp. Some adjustments were made in the src/integrators/pathtracer.cpp to handle these materials specifically. When a ray intersects a subsurface material, the integrator does not reflect it immediately. Instead, it samples a new exit point on the surface based on the material's mean free path. Crucially, we perform Next Event Estimation at this new position to gather direct lighting that has transmitted through the object volume.

Biggest Challenge:
The primary challenge was fully grasping the theory and the calculations involved. As the mathematics behind the Dipole approximation are quite complex, gaining a solid intuition for them was the most demanding aspect. The difficulty wasn't just writing the code, but simply wrapping the mind around the equations to achieve a theoretical understanding of the physics without getting lost in the mathematical details.

OFF: Feature 4 Name ON: Feature 4 Name

Feature 4: Thin Lens Camera

Description:
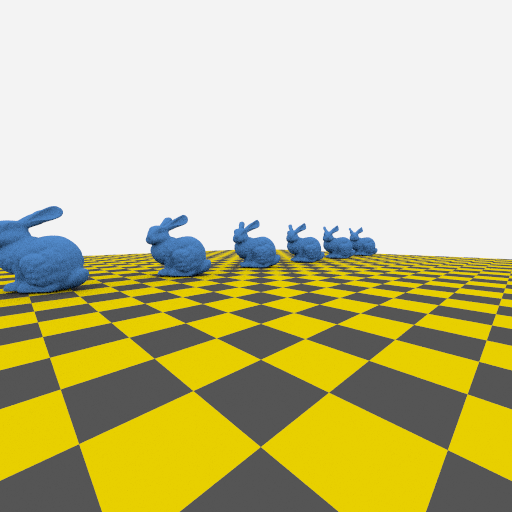
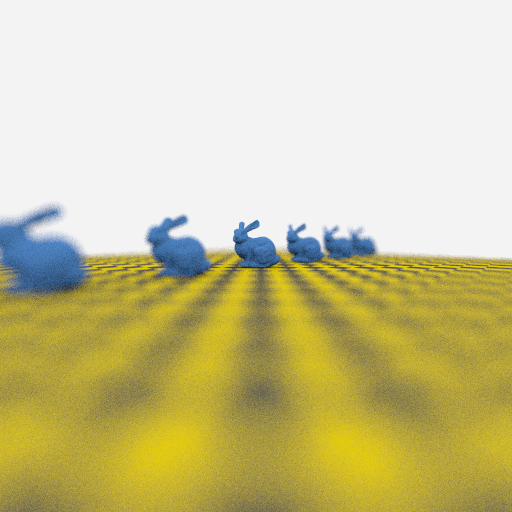
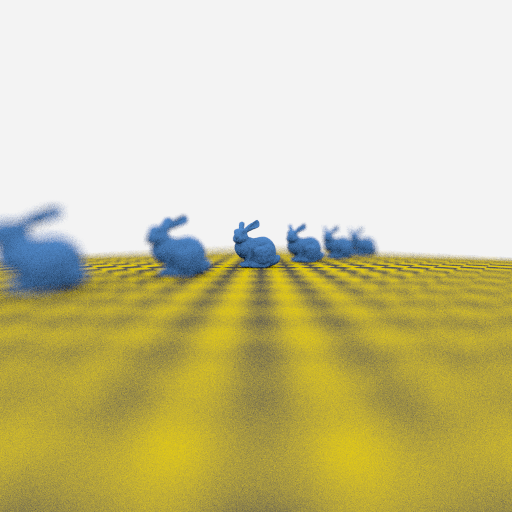
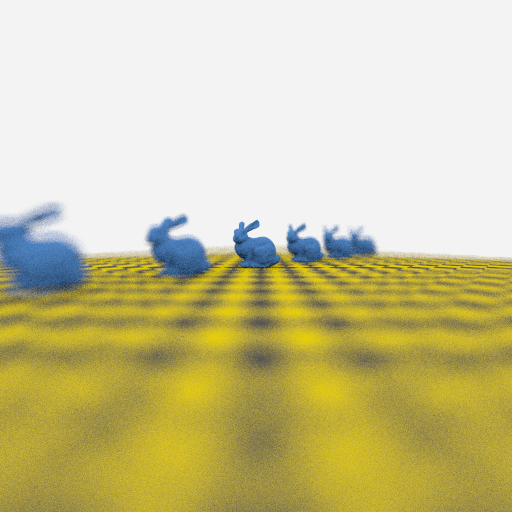
So far, we only rendered with a perspective camera – or more precisely, a pinhole camera. This is not very realistic, and it is not possible to render depth of field with it. A thinlens camera resolves this issue. It models a simplified actual camera lens, however one assumes it to have no thickness so one does not need to model refraction by its glass material.
Conceptually the camera is very simple. Instead of shooting a ray through the origin, one samples a point on the lens (within a configurable radius) and starts from there. To find the proper direction, one shoots a temporary ray into the scene, and reports its intersection with the plane of focus of the thinlens camera (the distance to which is also configurable). Then connect that intersection point with the previously sampled point on the lens and trace that ray.

Implementation:
For Implementation, we closely followed the PBRT book. We added the thinlens subclass to our cameras. As we need a temporary perspective camera ray anyways, we also requirea all of its methods, which we copied over. Then one could implement above way of function. As everything is in a new class, basically no changes to previous code needed to be done.

Biggest Challenge:
We decided to default parameters so one can engineer tests quickly. However, we later changed the name of the configurable field, resulting that our camera did behave unexpectedly. As we did not logged a warning when default parameters were used, we never looked at the input parsing again, and searched for the bug everywhere else first.
Configuring the input parameters is very time consuming and scene-dependent, and we did not find a better way than using trial and error for controling focus and amount of blur.

Square: Feature 5 Name Pentagram: Feature 5 Name Rhombus: Feature 5 Name

Feature 5: Custom Bokeh Shapes

Description:
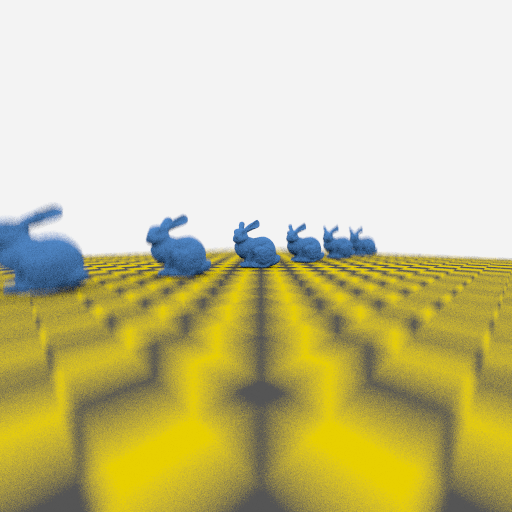
The Bokeh is the shape of the lens on which we sample points. In real life, lenses are almost always circular. In theory, other shapes are possible, for example a pentagram, squared or a cross. To achieve this, we can sample from a different shape rather than a circle, or, equivalently, cover the lense with a stencil that only allows light of a desired shape to pass through.

Implementation:
There are two possible ways to implement this: either by adapting the sampling strategy, or by adding an image texture of the generated camera rays. We decided to do the first approach, because we considered it to be annoying to search for stencils, and liked a procedural approach more (although it is harder to extend).
We used rejection sampling for sampling points on the bokeh, to als guarntee uniform probability for each sample: sample points as normal, whenever it lies outside of the bokeh shape, reject, and try again. Now one only needs to define the bokeh shape. We decided to use signed distance fields, a way to represent the distance to the border of the shape within a signed distance (positive numbers are located within the shape, negative number outside). The required vector transformations of the sampled points are well-defined, and for implementation we looked them up.
The new bokeh methods were added to the renderer via its own registry, and thus did not interfere much with existing code. We only needed to add registration methods to the registry.hpp file. Other than that, a thinlens camera object maintains a bokeh shape, which essentially only overrides the specific lens sampling function.

Biggest Challenge:
We never interacted with the registry before, so it took a while to figure out how registering classes exactly worked. During this, we found out that it is not possible to register two classes with the same namestring.
Finding suitable test cases is not very easy. The thin-lense camera is very light-dependent, while much light makes the individual bokeh shapes hard to see precisely.

Technical Details & Credits

Render Time ~ 4 hours and 9 minutes (14989.90s)
Hardware AMD Ryzen 9 5900X (24 Threads @ 4.50 GHz), 32 GB RAM
Resolution 1920 x 1080 px
Render Settings 2048 Samples per Pixel, Path Depth: 10


Used Assets

The following third-party assets were used in this scene:

Meshes

  • • "Stubby Beer Barrel" by Mad Lobster Workshop Dolzall (BlenderKit) - Royalty-Free
  • • "Wood Stair Railing Part 1" by Nobody (BlenderKit) - Royalty-Free
  • • "Pine Tree Sylvestris" by Andrei Petrukovich (BlenderKit) - Royalty-Free
  • • "Tree" by Toby Noby (BlenderKit) - Royalty-Free
  • • "Old Door" by Rex Hans (BlenderKit) - Royalty-Free
  • • "Shrub" by BlenderKit Community (BlenderKit) - Royalty-Free
  • • "Pitchfork" by LeviEntity Pierre (BlenderKit) - Royalty-Free
  • • "Rusted Spade 01" by Biemonade (BlenderKit) - Creative Commons
  • • "Statue of a Camillus" by dadadesign (BlenderKit) - Royalty-Free
  • • "Wooden Crate" by Anthony Magdelaine (BlenderKit) - Royalty-Free

Materials

(Materials not automatically referenced with their associated asset)

  • • "Blue Marble" by ydd 3D (BlenderKit) - Royalty-Free
  • • "Wooden Planks" by chroma 3D (BlenderKit) - Royalty-Free
  • • "Yellow Fabric" by ydd 3D (BlenderKit) - Royalty-Free
  • • "Forest Moss" by Sanchos (BlenderKit) - Royalty-Free
  • • "Human Skin" by James Middleton (BlenderKit) - Royalty-Free
  • • "Ivy" by James Middleton (BlenderKit) - Royalty-Free
  • • "Ivy Stem" by BlenderKit Community (BlenderKit) - Royalty-Free
  • • "Shadowed Forest Lake (Procedural)" by Austin Michaud (BlenderKit) - Royalty-Free
  • • "Adobe Plaster Wall Texture" (Poliigon) - Educational Use
  • • "Slate Roof Tiles" by Abdelrahman Mohamed (BlenderKit) - Royalty-Free
  • • "Mud Soil" by James Middleton (BlenderKit) - Royalty-Free
  • • "Varnished Wood" by Mat Karmon (BlenderKit) - Royalty-Free