Image
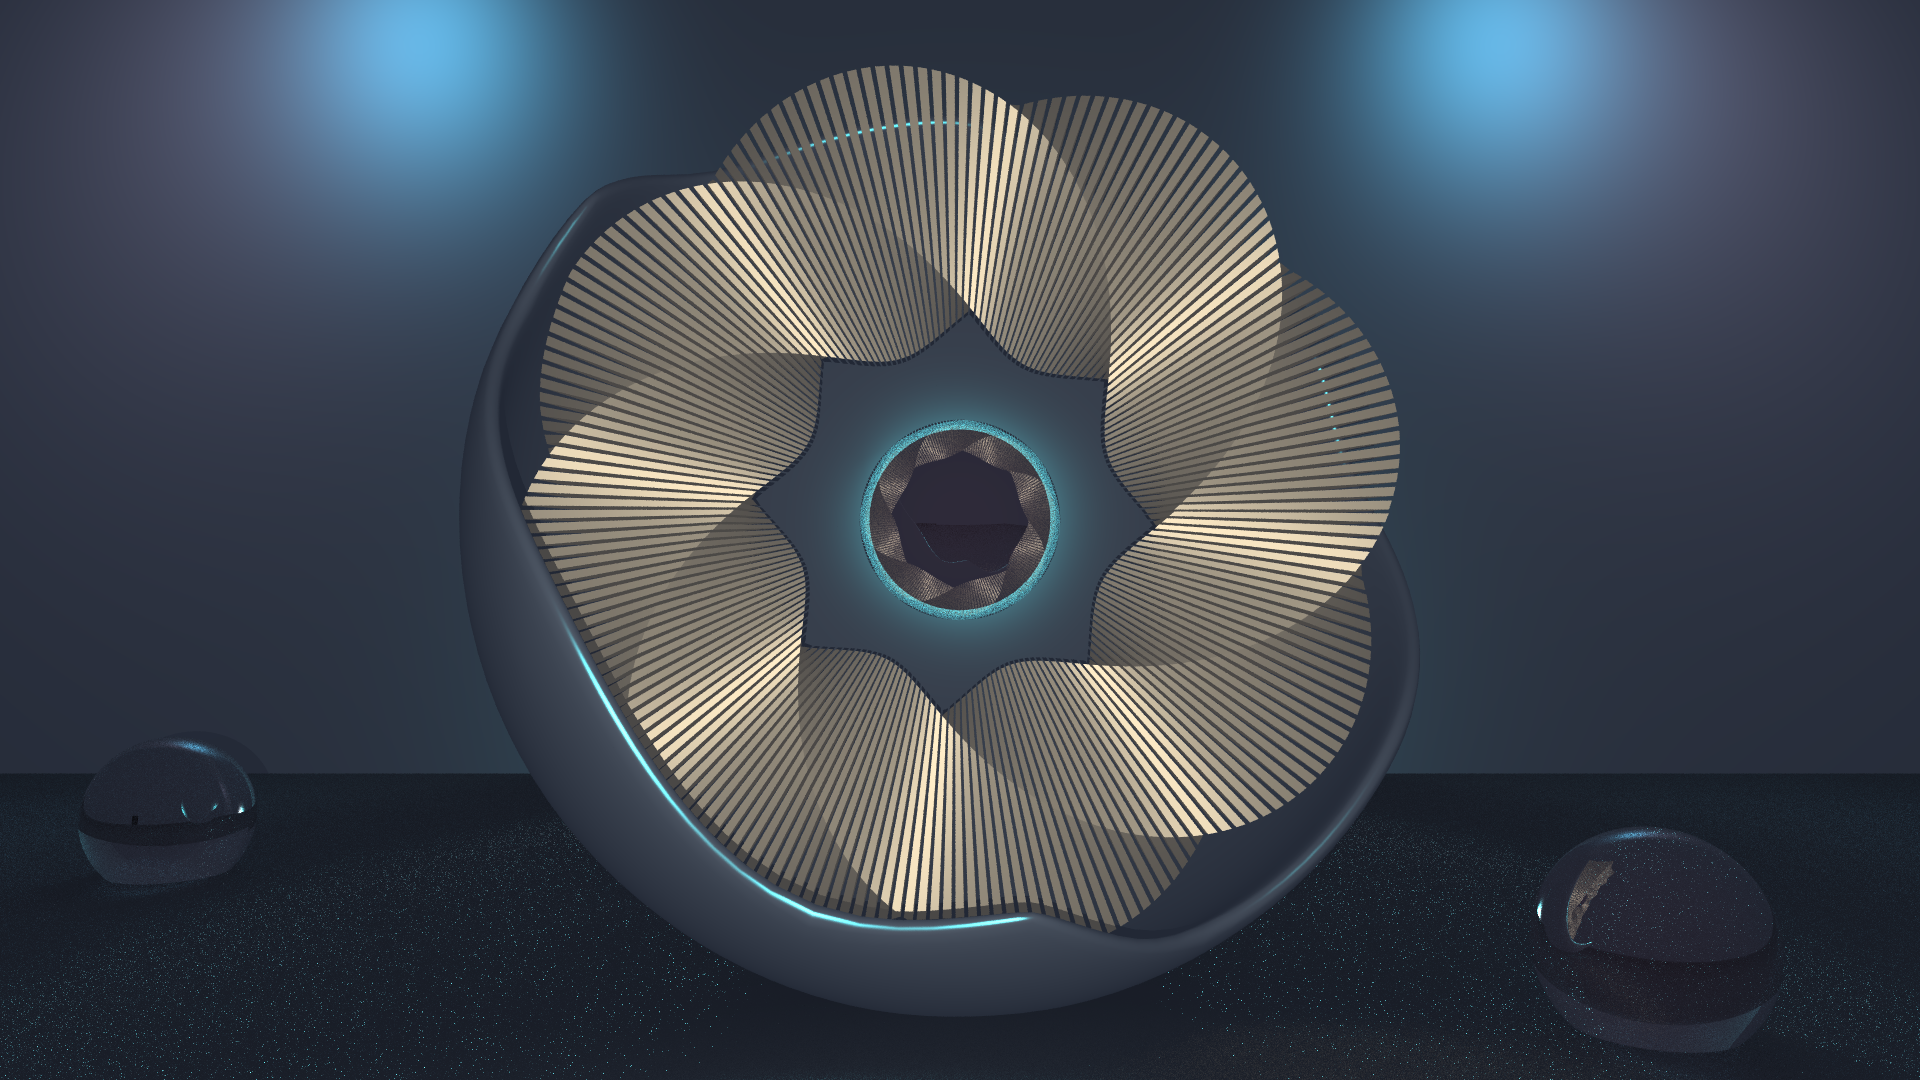
The final result of our Efforts creating an artistically pleasing image using the key features of our 3D Renderer.
Concept
We wanted to create a Scene that uniquely represents our artstyle and allows us to demonstrate the core features of our 3D Renderer.

Development
We implemented both core functions as well as some additional feature to further optimize or increase the visual quality.
Generating our Image. A journey
In the next few sections we will walk you through our Journey of starting with nothing and slowly building a functional Raytracer which can produce results such as the ones displayed on this Blog and so much more.
See the Development section for further details.
Concept. An Explanation
We wanted to create an image that both is pleasing to look at as well as show the core strengths and features of our 3D Render Engine.
In order to show off the strengths and features of our Render Engine we needed a Scene which contributed to this.
This is why we created a Scene which uses most of the core features such as "Fuzzy Mirrors", "Glass Materials", "Smooth Triangles", Different Materials, Different Textures and a "Depth of Field Perspective Camera" and "Muilticore Rendering".
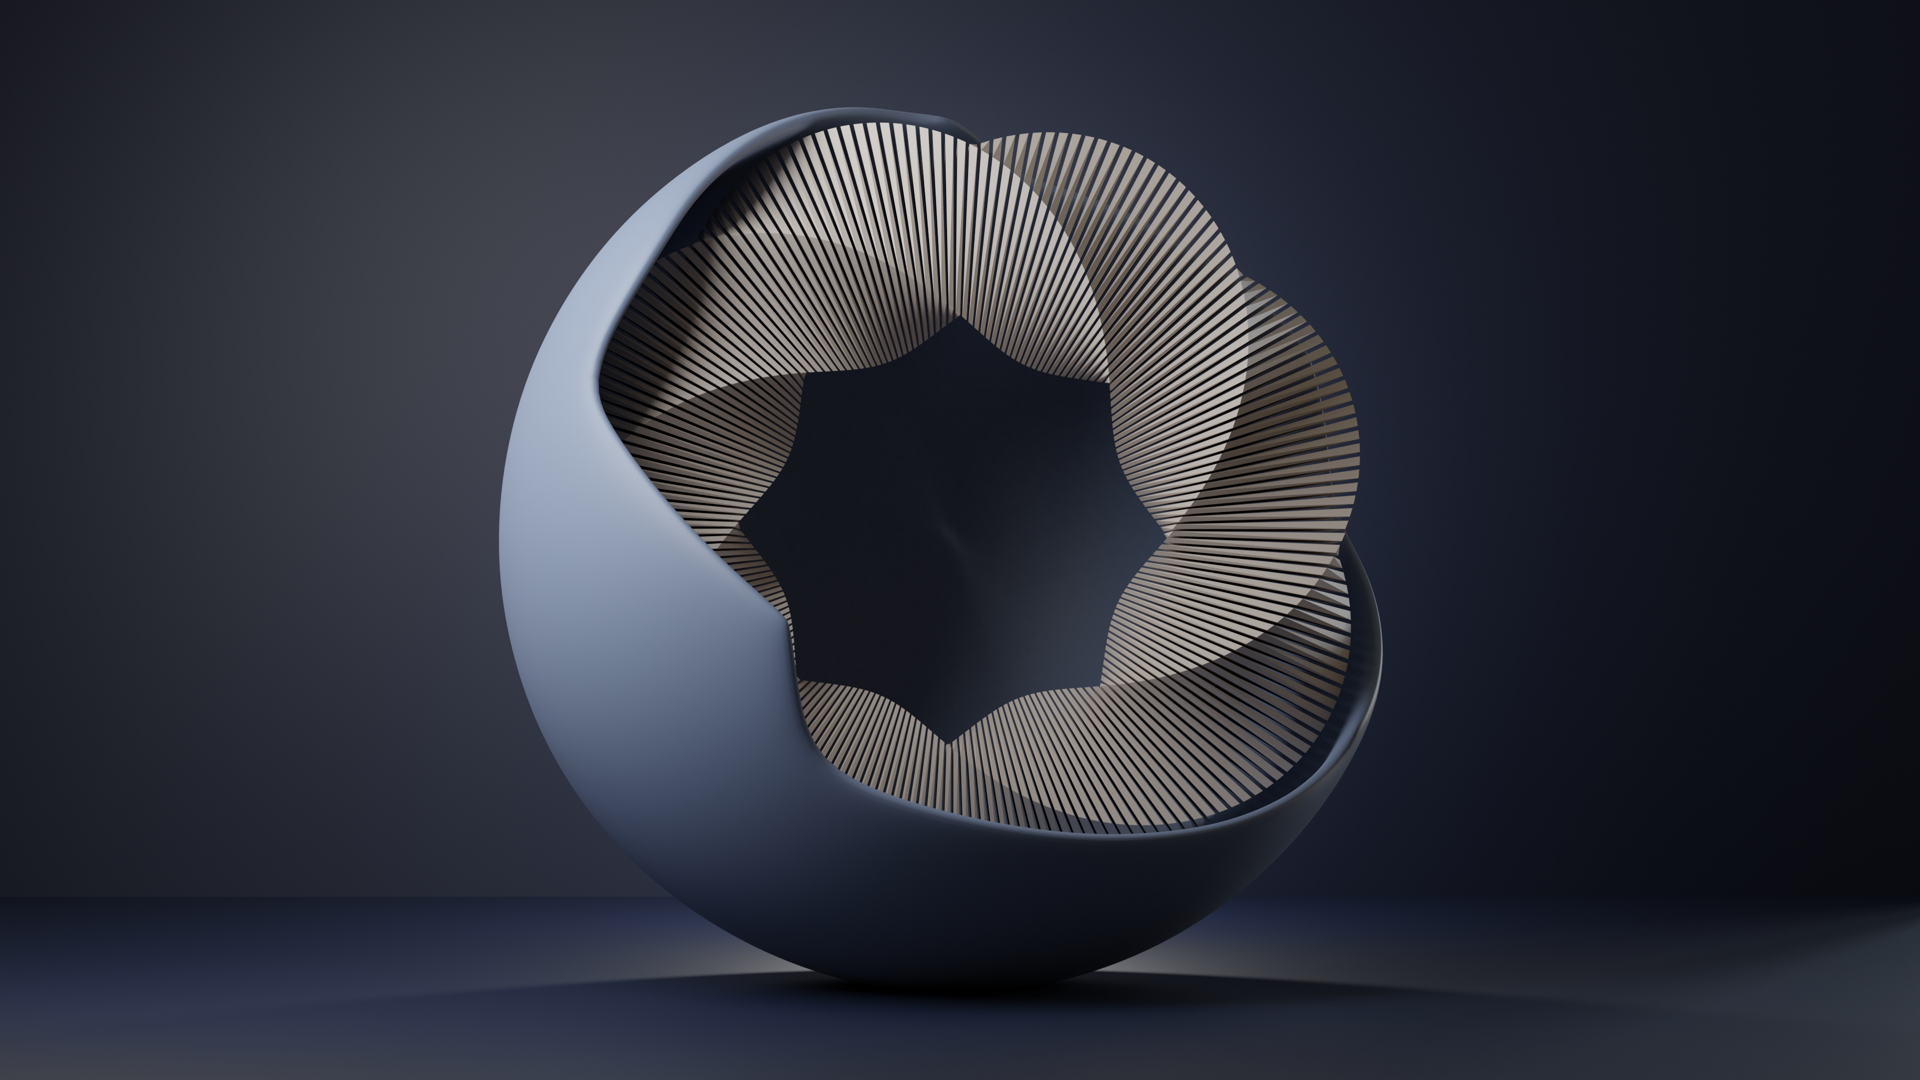
The image next to the left shows a Scene which inspired us to create this Scene. This Scene was created in Blender and worked as a general Reference for our Raytracer.
Development. Features and Contribution.
Let us first look at what was implemented by whom.
This section is designed for Tutors and evaluators to see who contributed to creating which Features. To summarize we both contributed roughly an equal amount to the implementation of the RayTracer.
Development. A simple starting Point.
We first started by creating the two more complex opjects in Blender and importing them as OBJ files in our Raytracer. We placed all of our Scene creating in main/m_rendering_competition.cpp
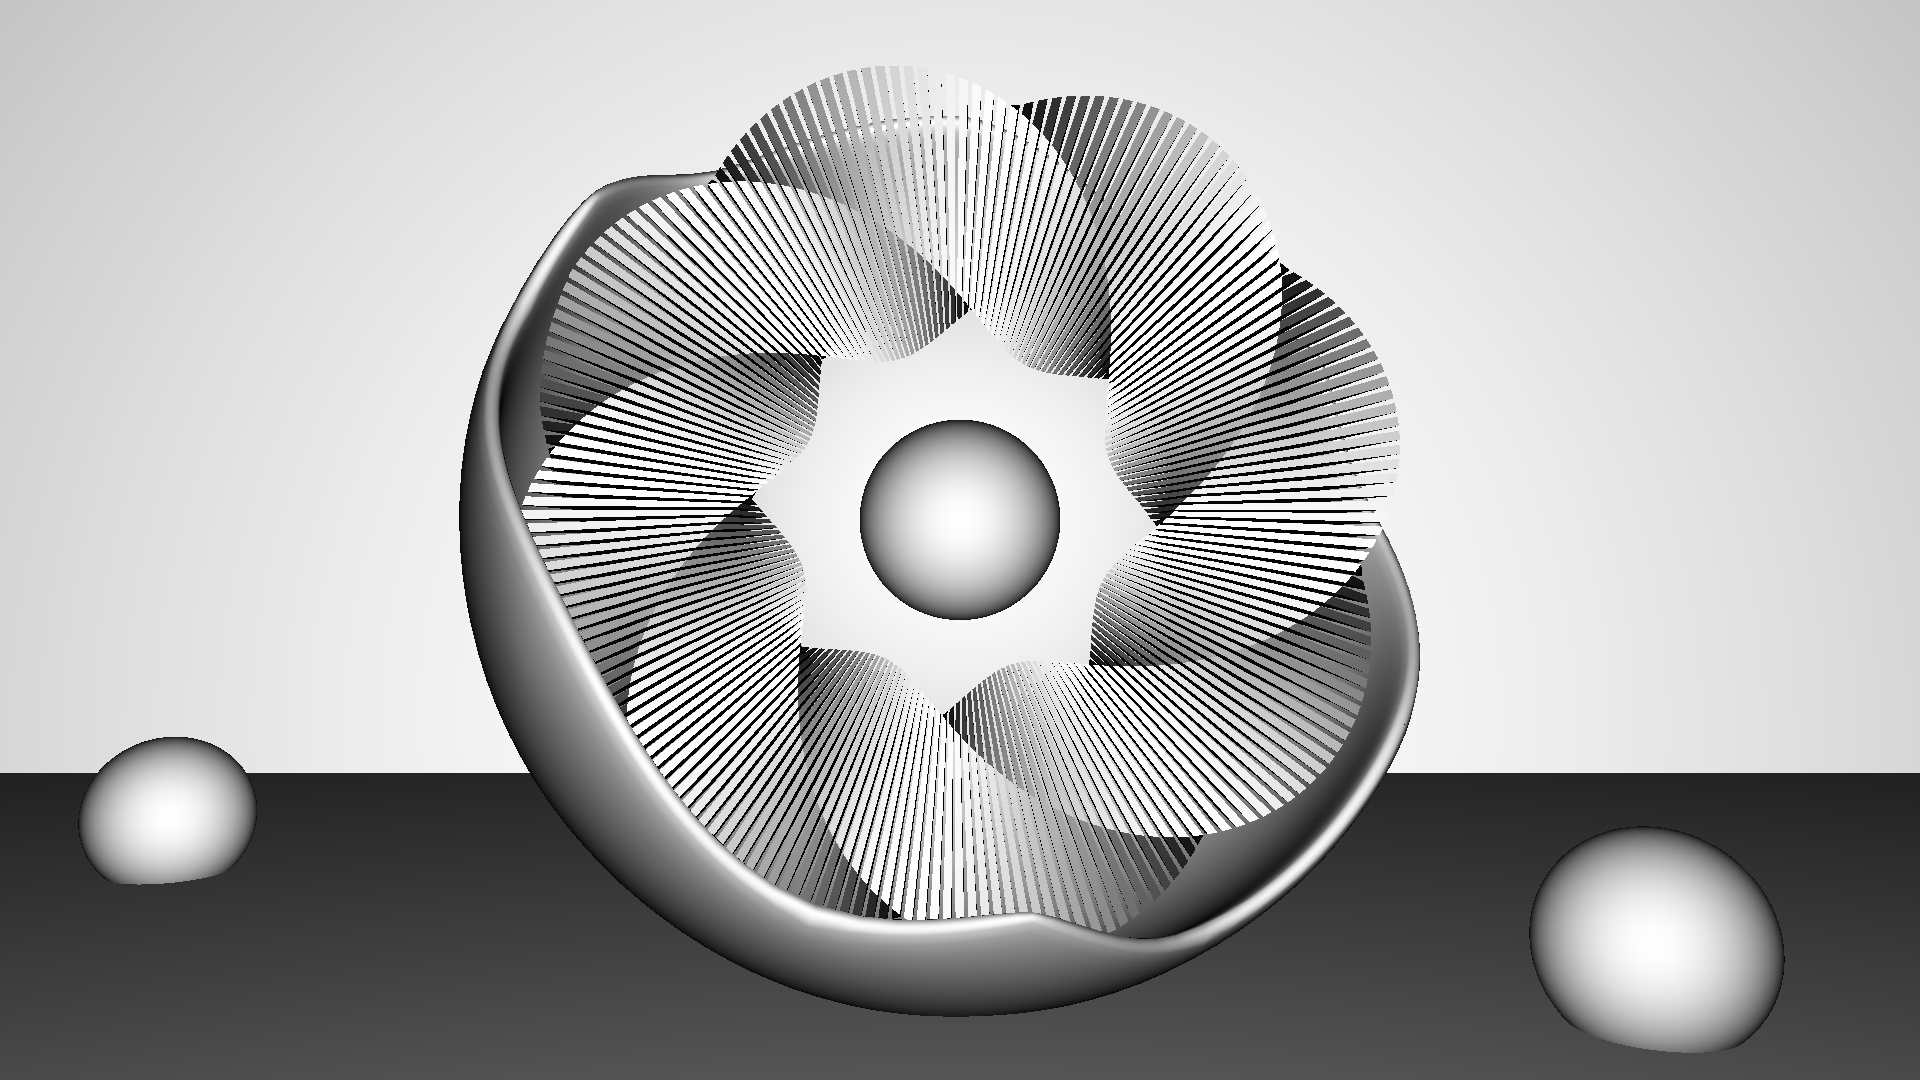
We then started by positioning the Camera and all the different other objects in the Scene. This lead to the image shown on the right. The Scene consits of 2 imported OBJ Files in the center and quads that were used as the floor, roof and walls. Additionally to make the Scene look less empty we decided to add another 2 Spheres.
Development. Adding Materials.
In order to make the Scene less "Boring" we added different Materials to the different objects in the scene.
We started by giving the Floor a "FuzzyMirror" Material. And giving the Walls A "Lambertian" Material combined with a "Phong" Material. In the next Step we then gave the Spheres a "Glass" Material in combination with a "Lambertian" Material so that the glass has a slight color to it.
The next step was to add some Lighting to the Scene. For this we used a total of 5 Spotlights in different colors.

Development. Sampling and Depth of Field.
In order to reduce the Amount of Noise we decided to crank up the Samples to 20.
We decided against the use of a Depth of Field Camera as we found it did not augment the visuals of our Scene.
Development. Adding Multicore Rendering
The rendering of the Scene with the use of 20 Samples took to long so we decided to add a very simple implementation of Multicore Rendering to our Renderer. In this Multicore rendering implementation each Thread is responsible for rendering 1 specific Pixel.
It is important to note that this method is in no way the maximum of gain one could get from Multicore rendering, but a rather easy way to increase the rendering Speed.
The rendering of the image took approximately 30 Minutes using an AMD Ryzen 7 5800X Processor and utilizing 16 Threads in our Renderer.
Assets. Creation and Inspiration
All of the 3D Models used in this Scene were either generated internally of of our Render Engine or created by Thierry Jegen using Blender.
For the creation of this Scene we were heavilly inspired by Ducky 3D and his amazing Blender Tutorials.
For the Design of this Website we used the front-end source toolkit called Bootstrap.