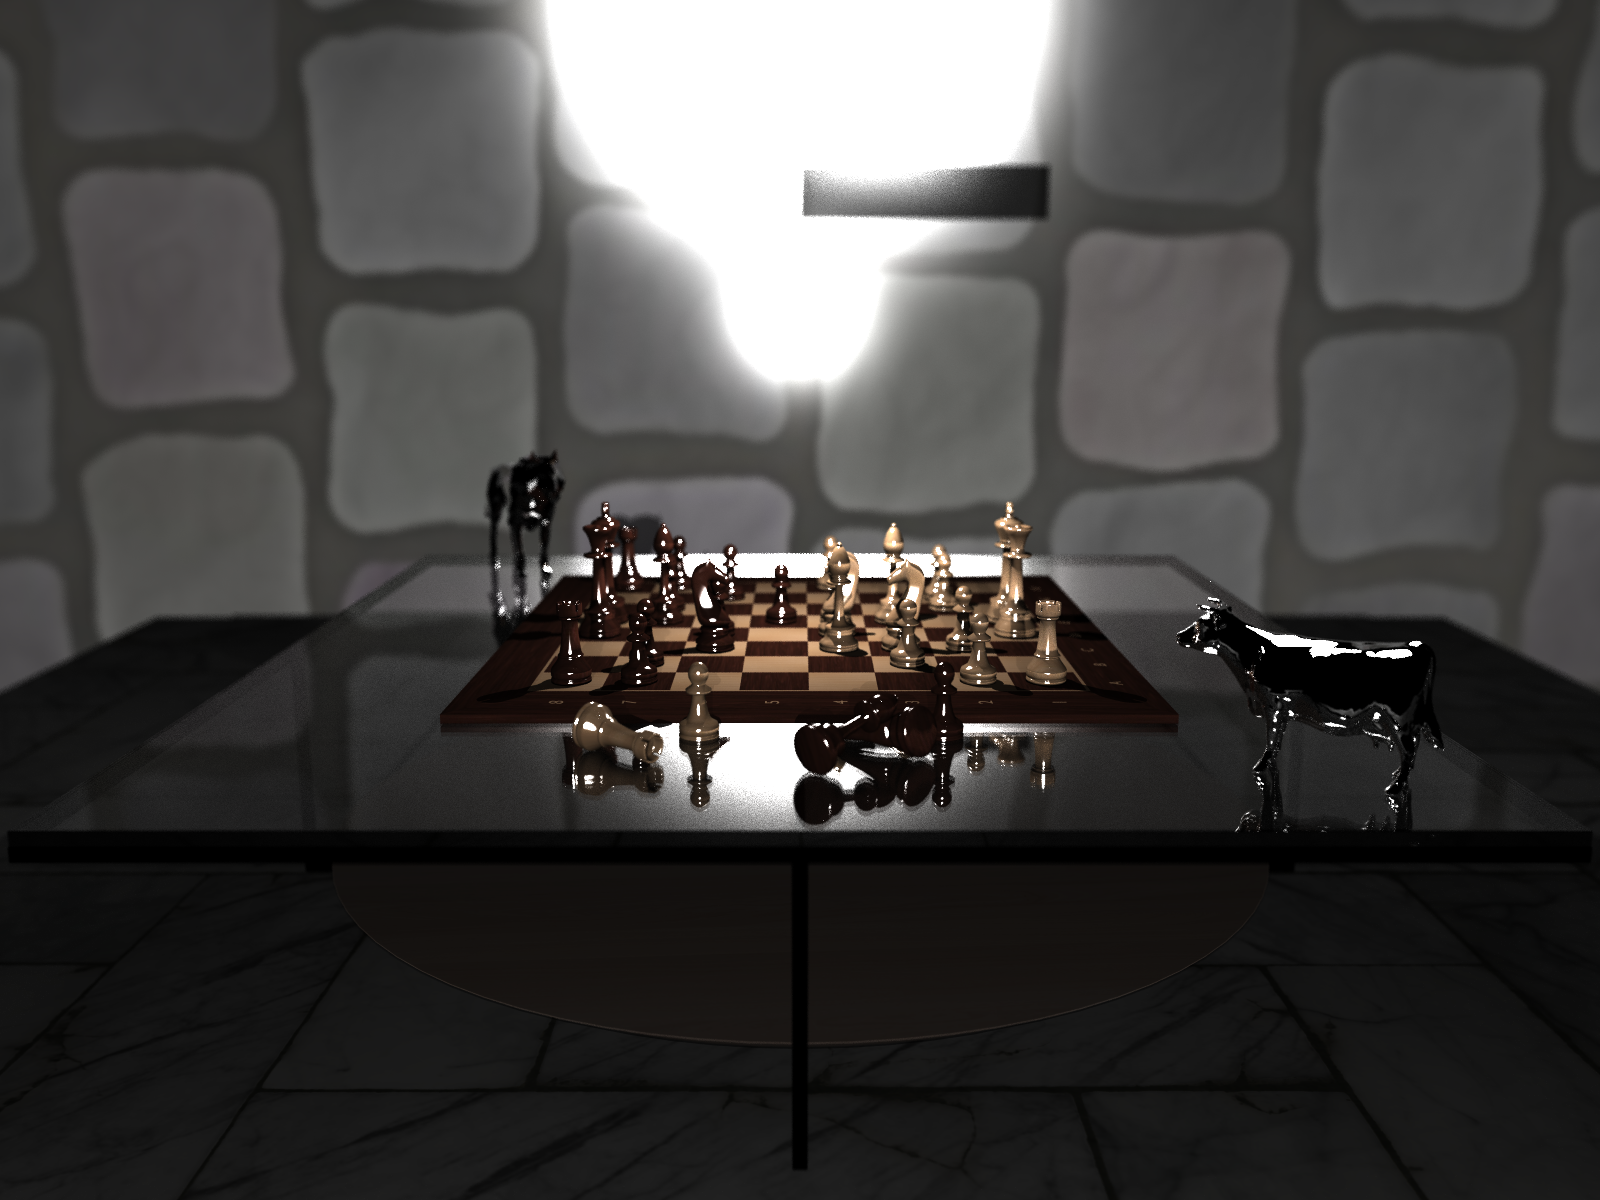
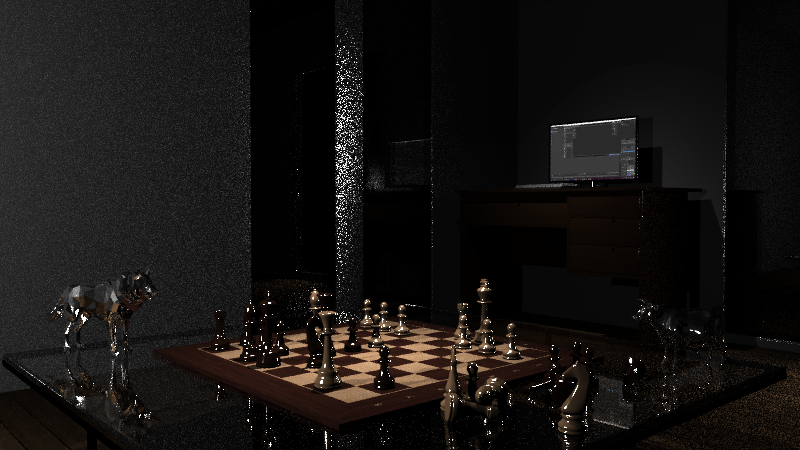
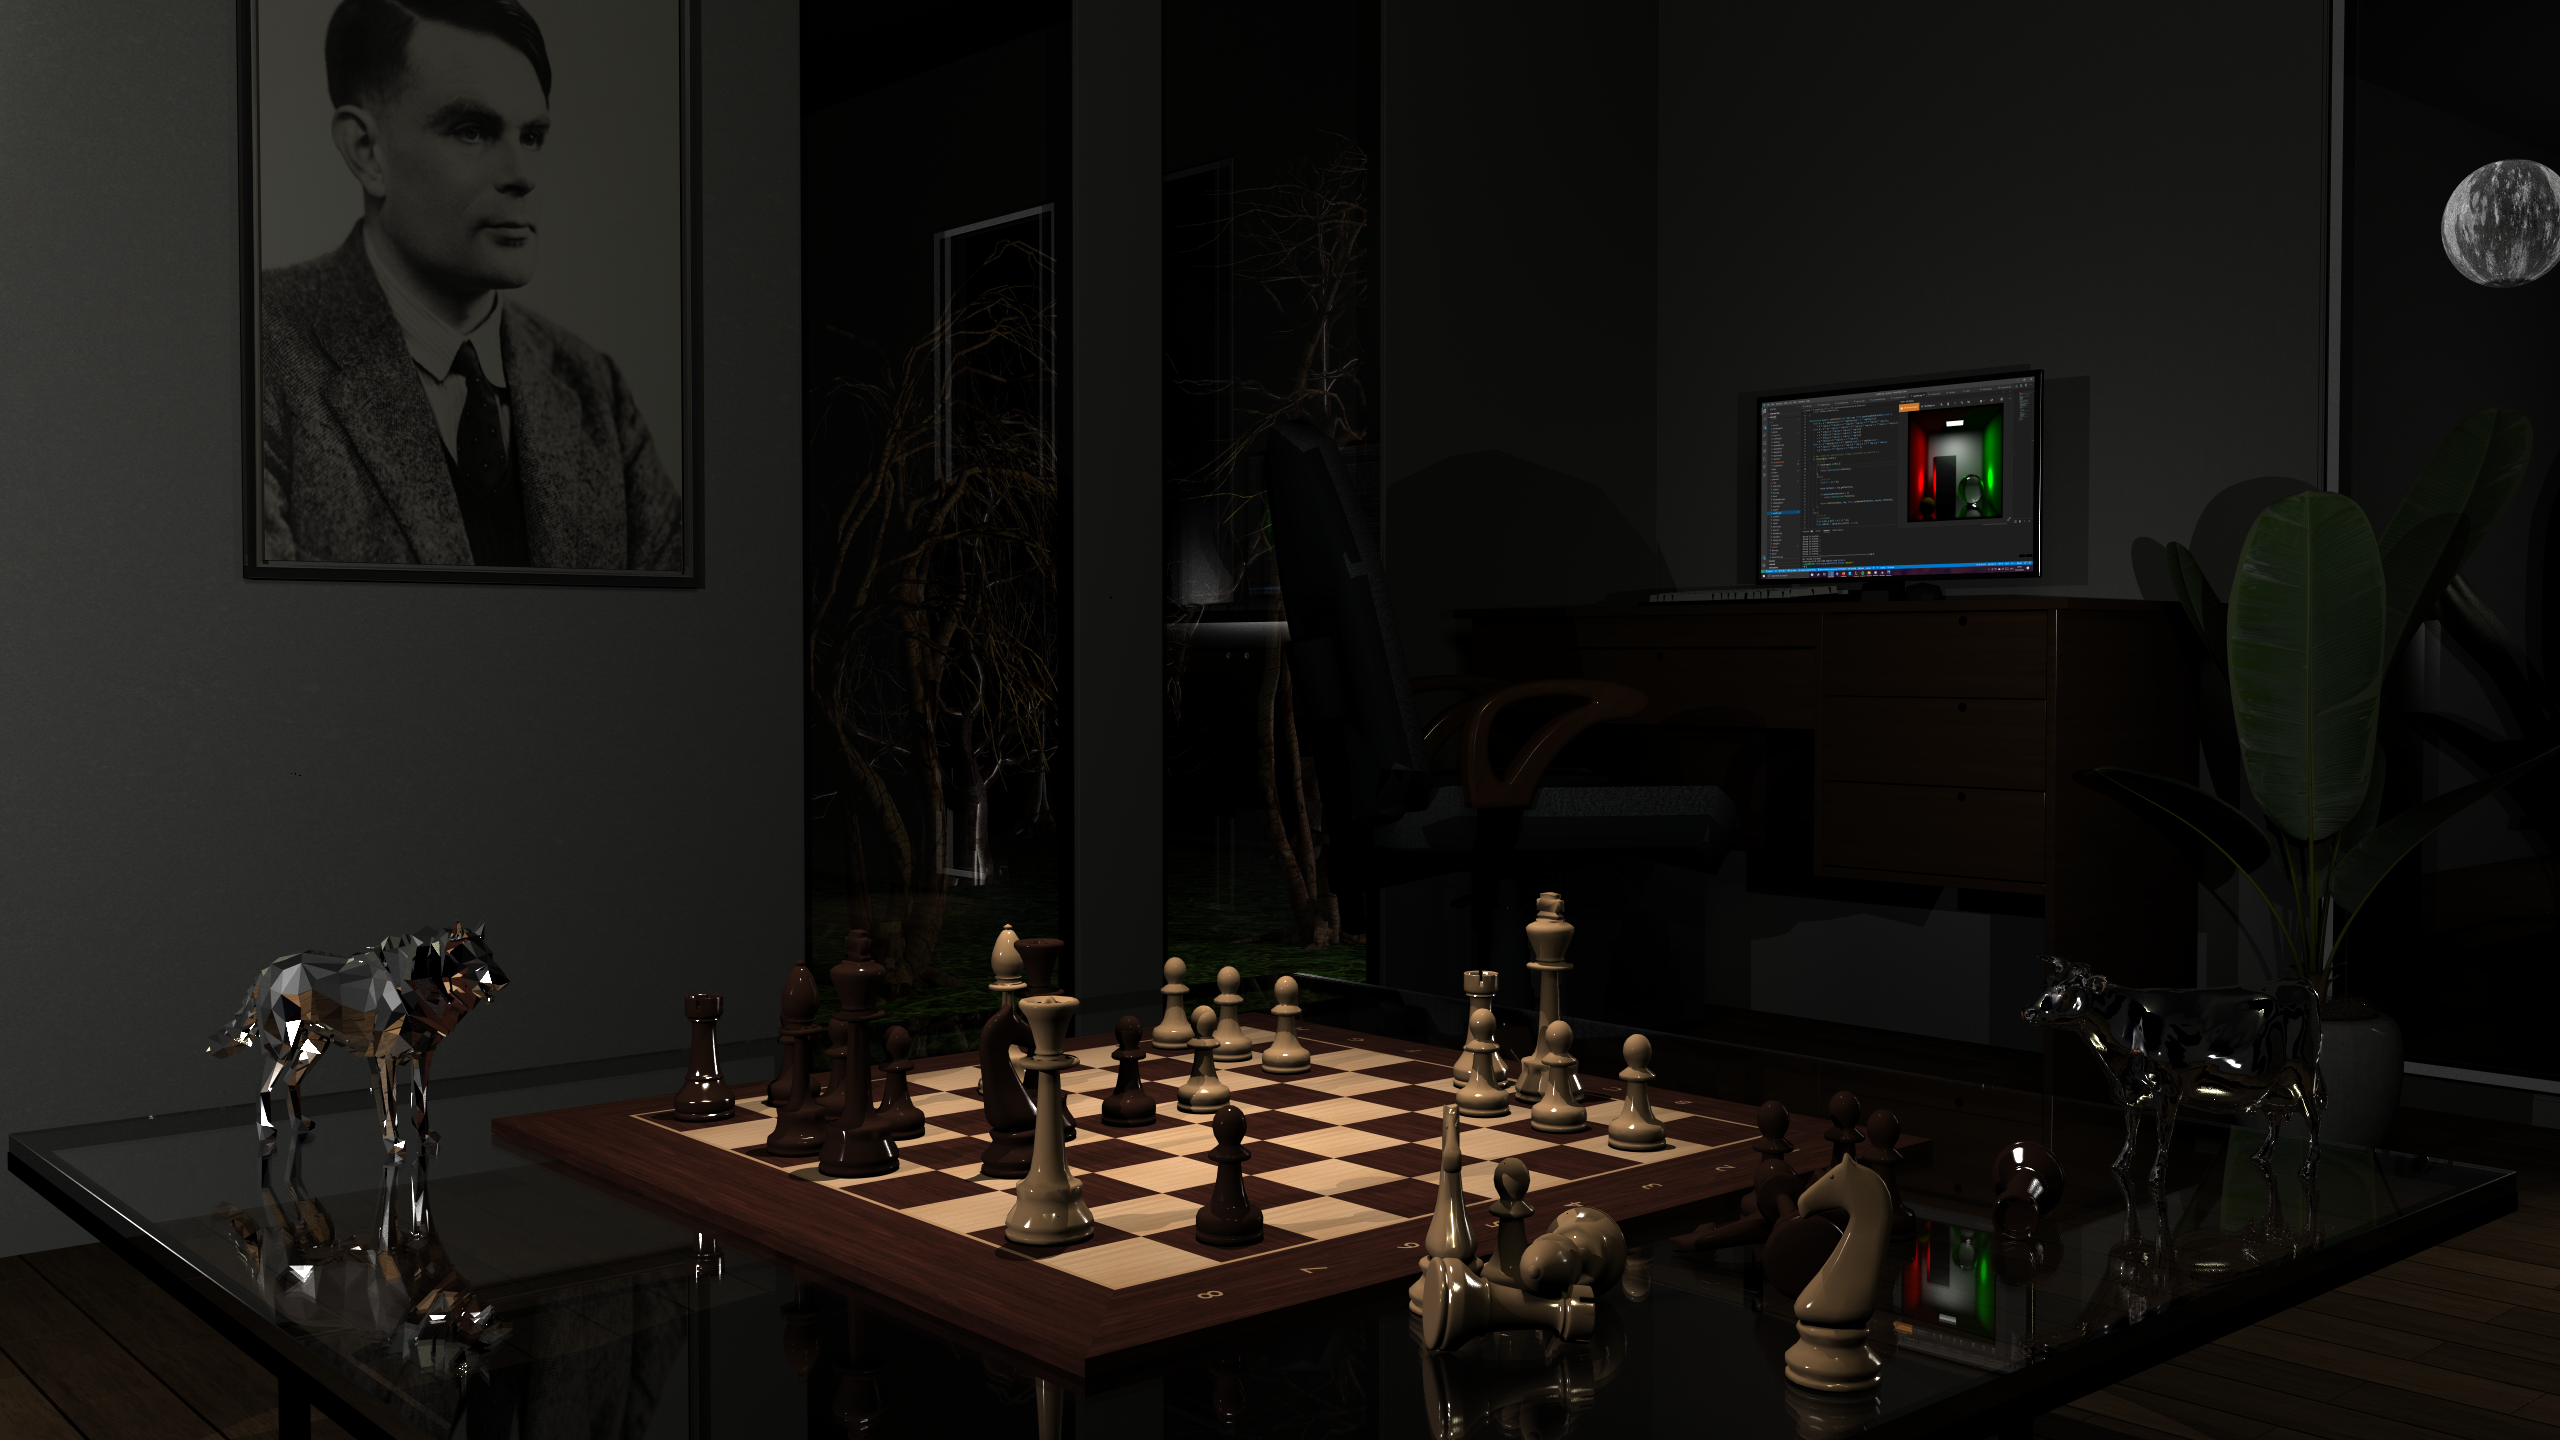
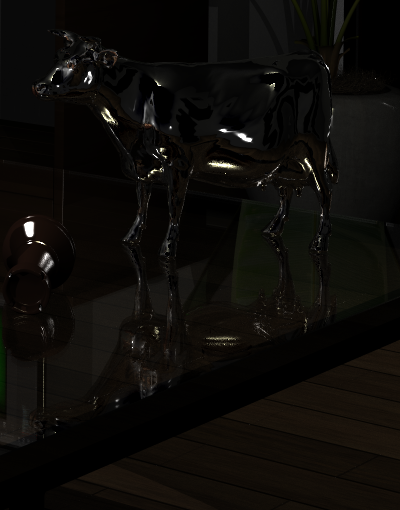
We decided to design the chessboard first as this is the part of the image we wanted to focus the viewer's attention on. We searched for an appealing chessboard and table. To make the board more exciting, we put some of the chess pieces in front of the board and tilt them to lie on each other. Then we added the two players made of mirror material, the cow of the indexing assignment and a wolf we found online and found fitting. Rendering this scene with some lighting and the depth of field cam did yield the image above, which seemed to be a good start. We especially liked the double reflections in the table because of the double glazing.
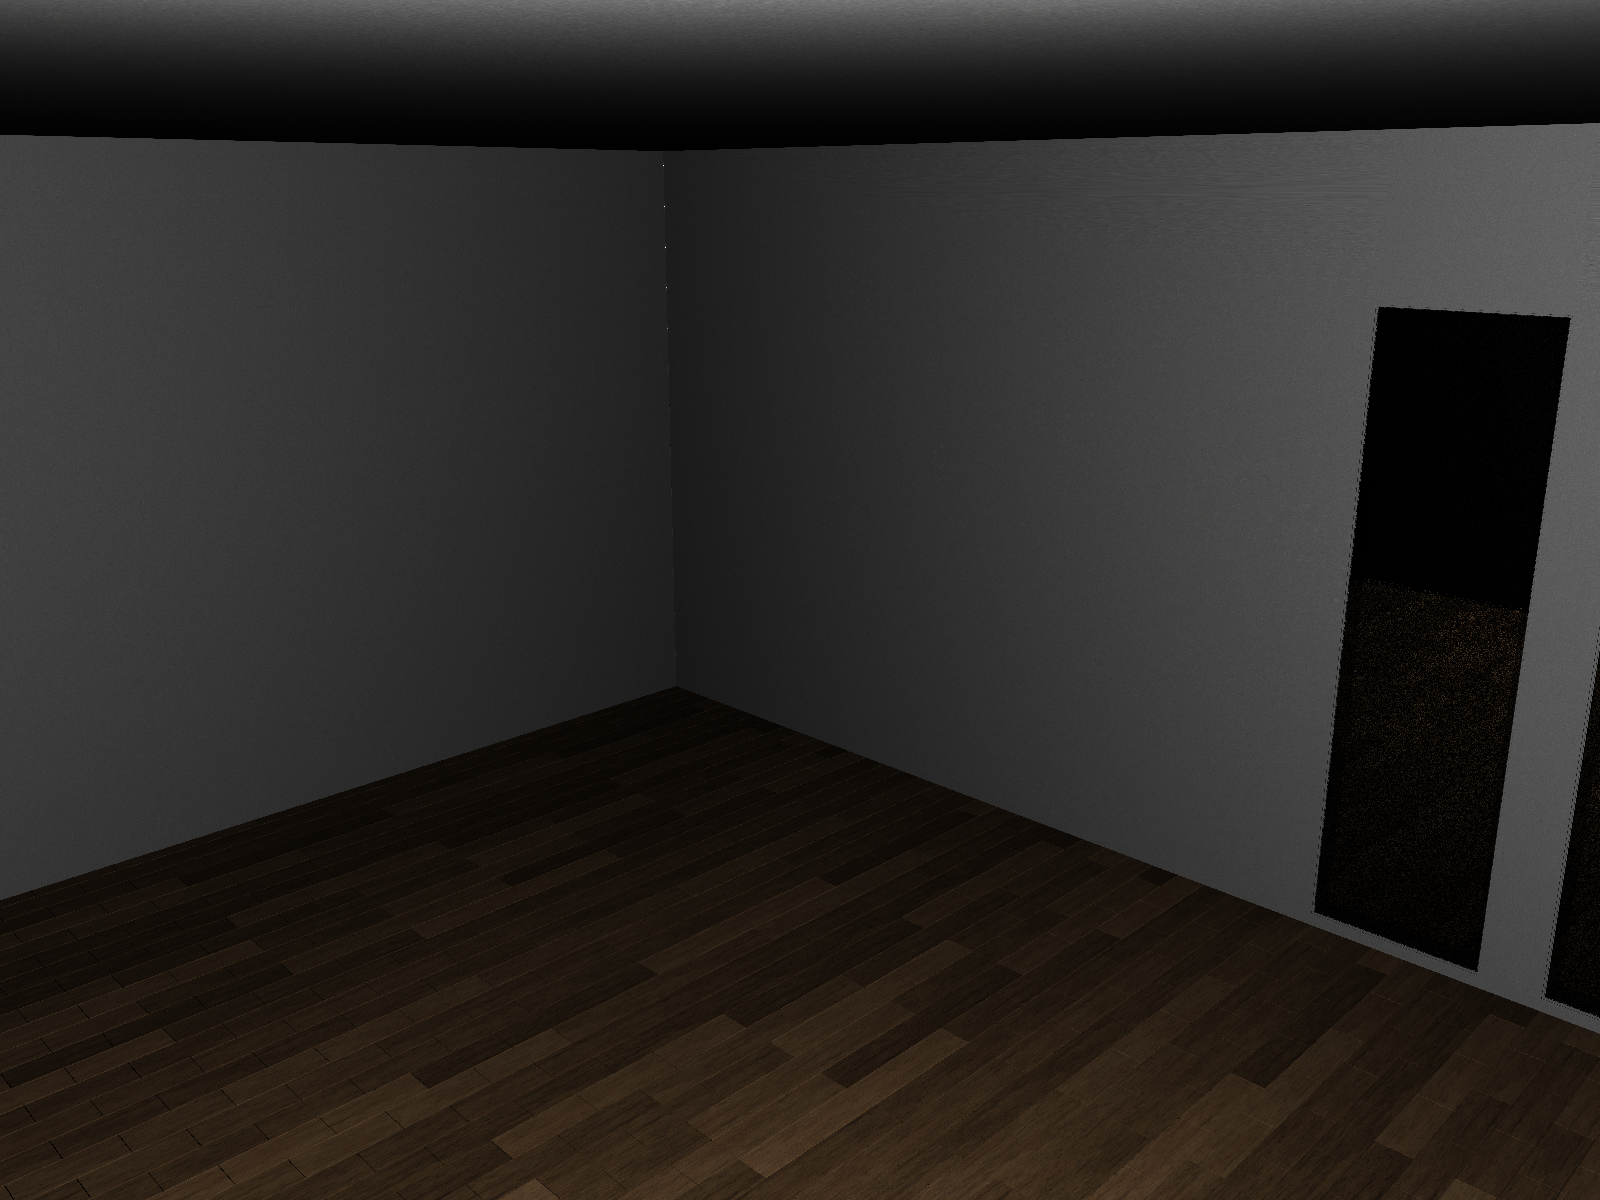
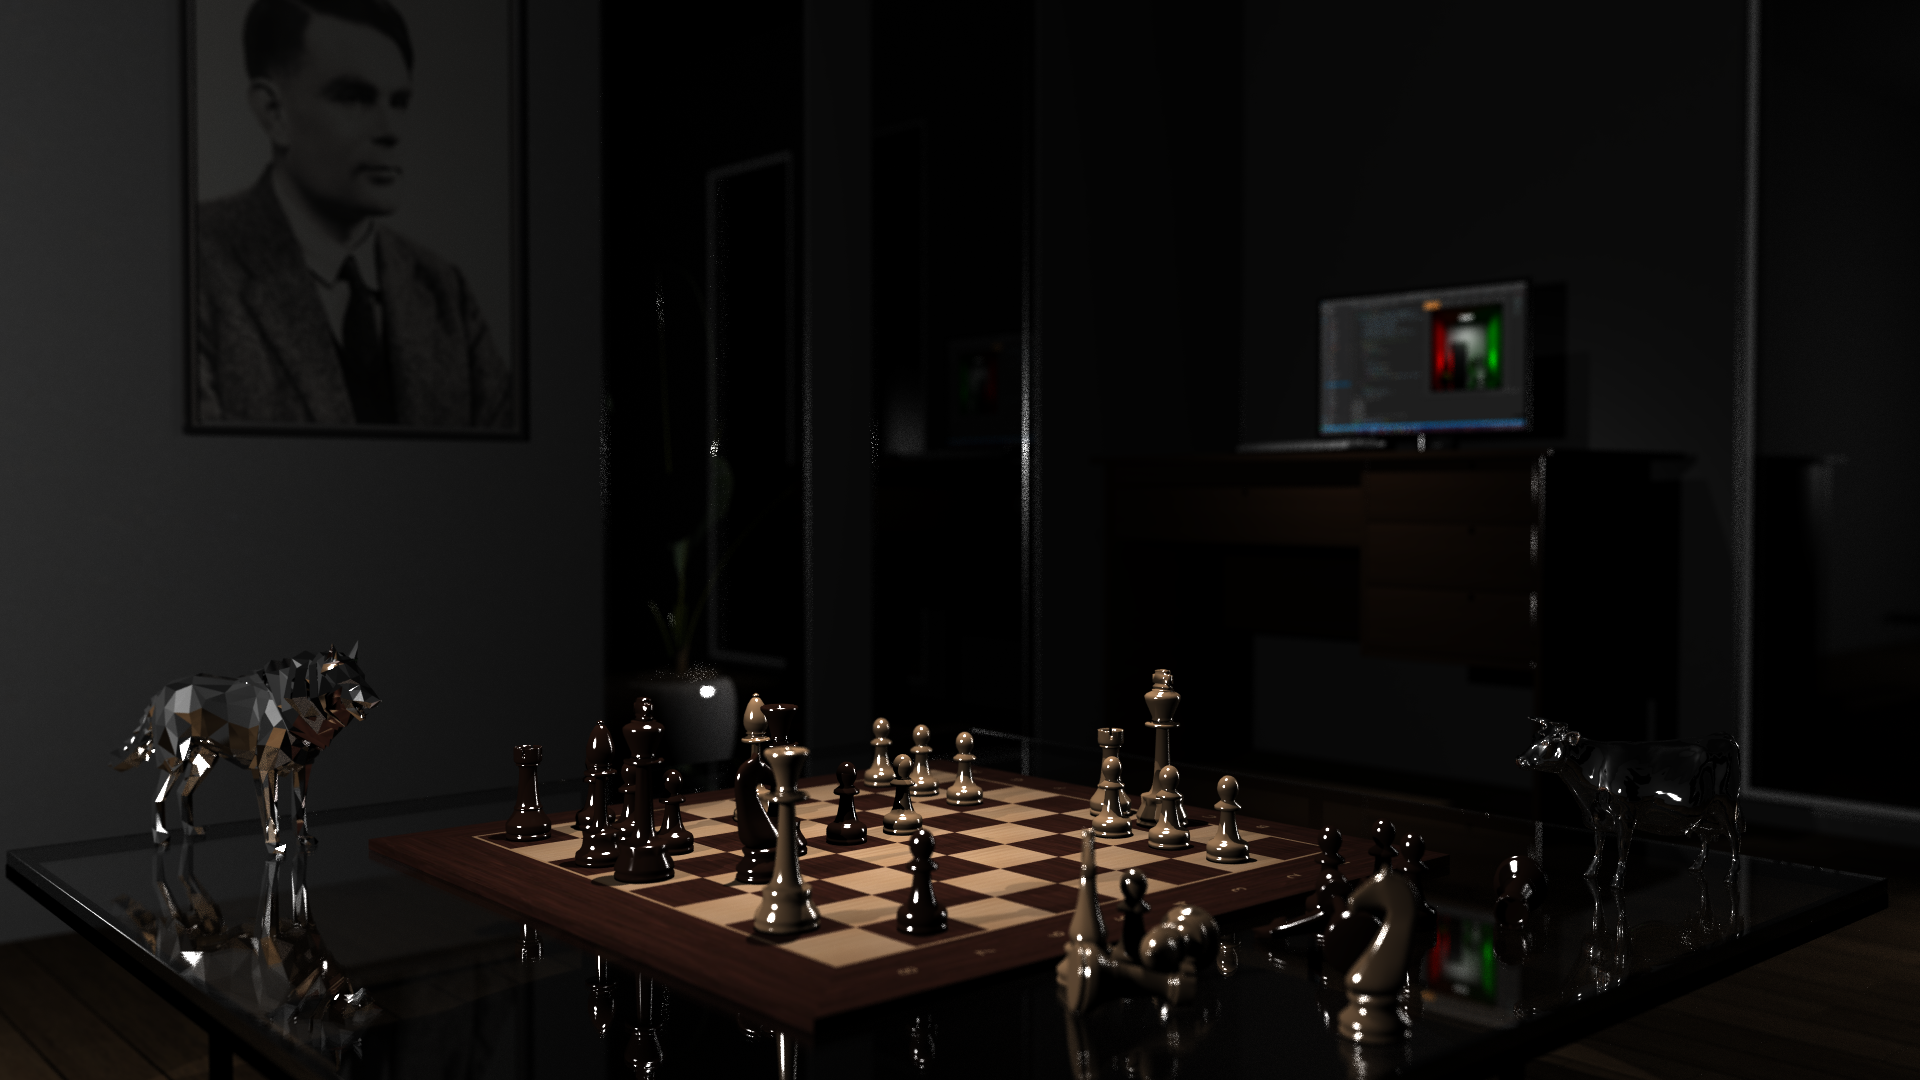
Next, a room was needed to build around the chessboard because the stony walls above are not really pretty. We almost decided to build the room ourselves when we found a room while looking for textures for the floor. The floor texture we chose was simply a flat wooden texture. Since we implemented bump mapping in our raytracer, we implemented support for bump mapping in our material loader.
The room did have empty spots for windows, but there wasn't any glass in it, so we needed to add these. Altogether, we added twelve glass planes since we used double glazing such that the refraction of light is more natural.
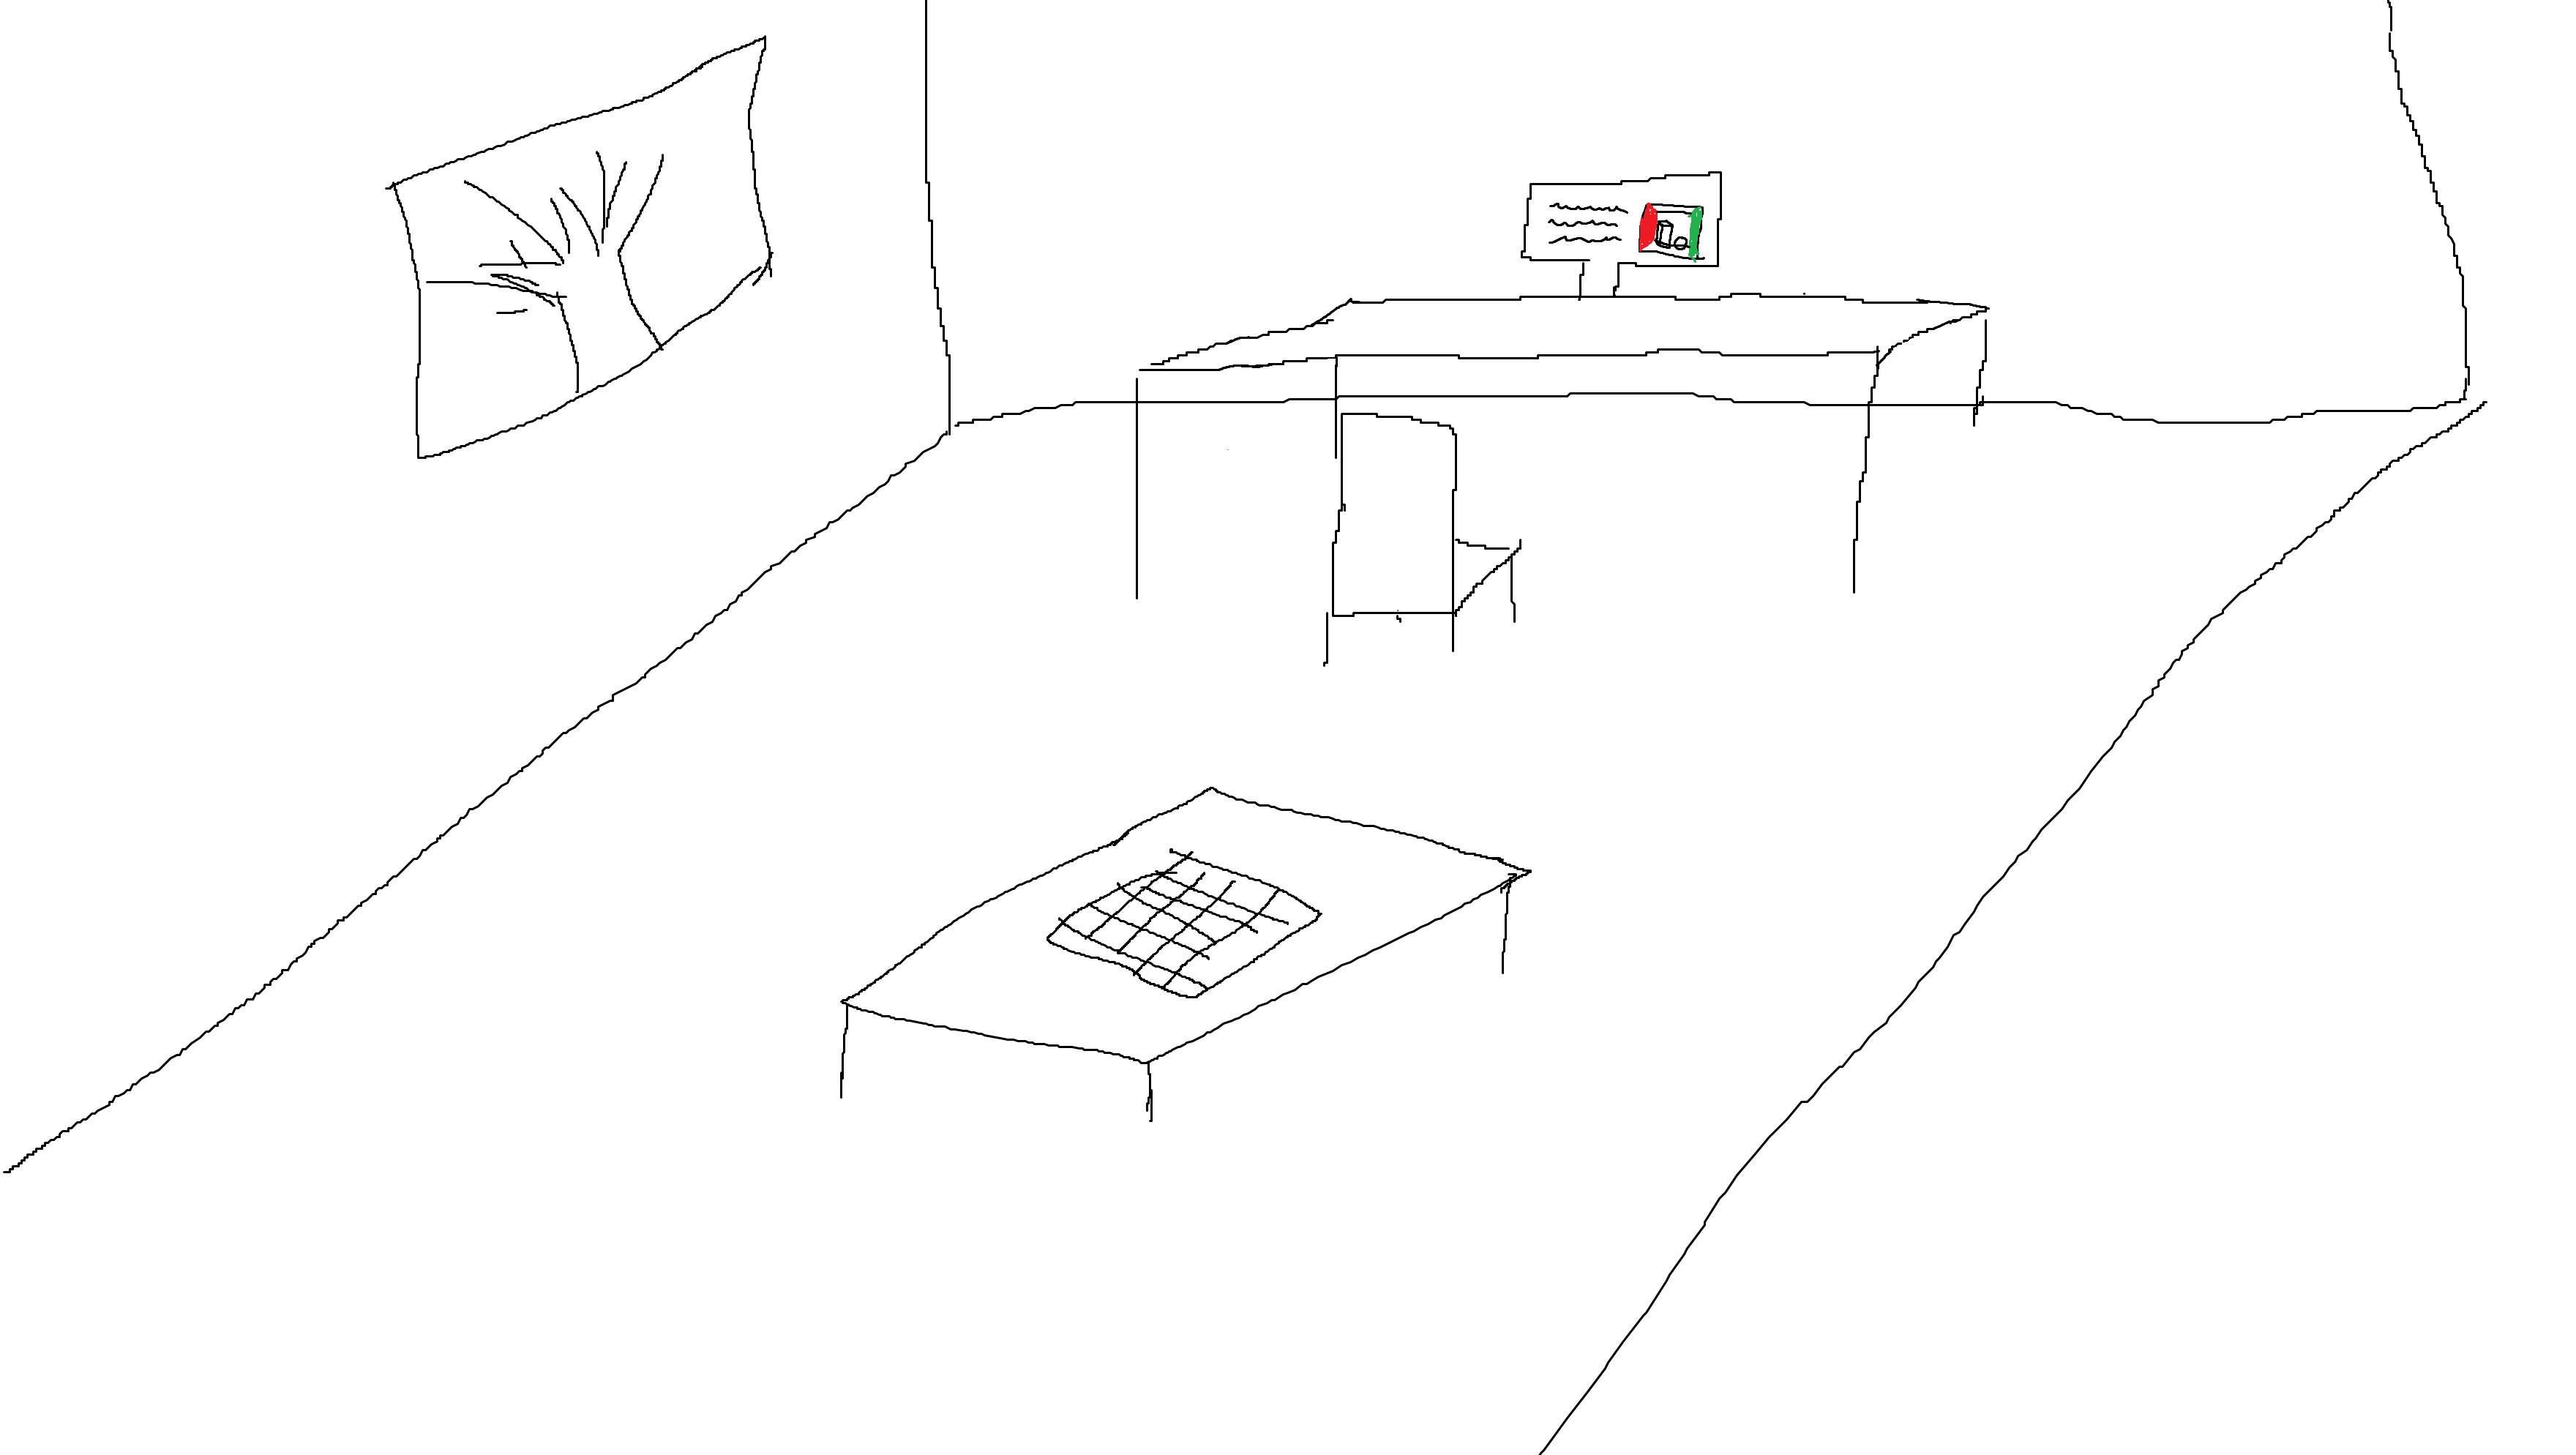
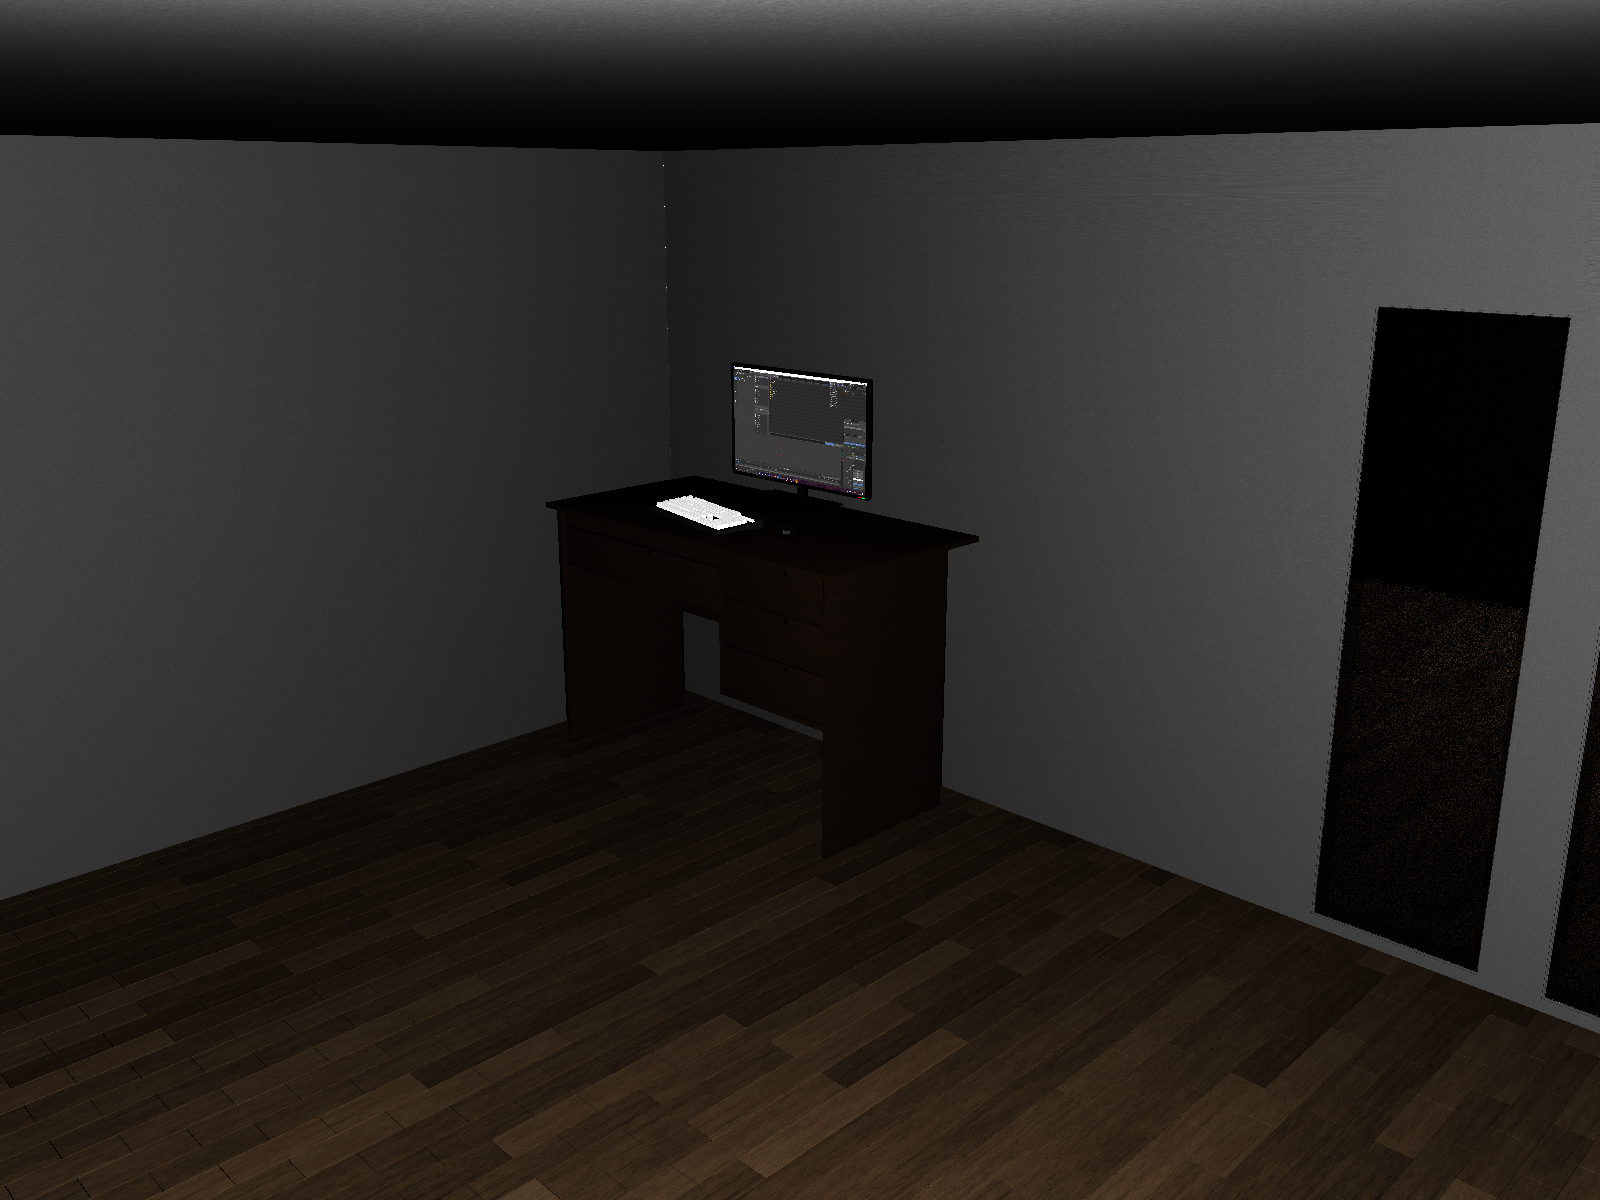
As described in the concept, we wanted to illustrate our workflow during the semester. To achieve this, we wanted a monitor that shows a screenshot of a typical view we had while working on the project. Since the desk still looked quite empty, we added a mouse and a keyboard to it. Later in the process, we also added an office chair and a pc below the desk.
One of the problems with these pictures still is the perspective. We wanted to focus mainly on the chessboard, which is not the case yet. So we rearranged the room. Obviously, the lighting was just provisional.
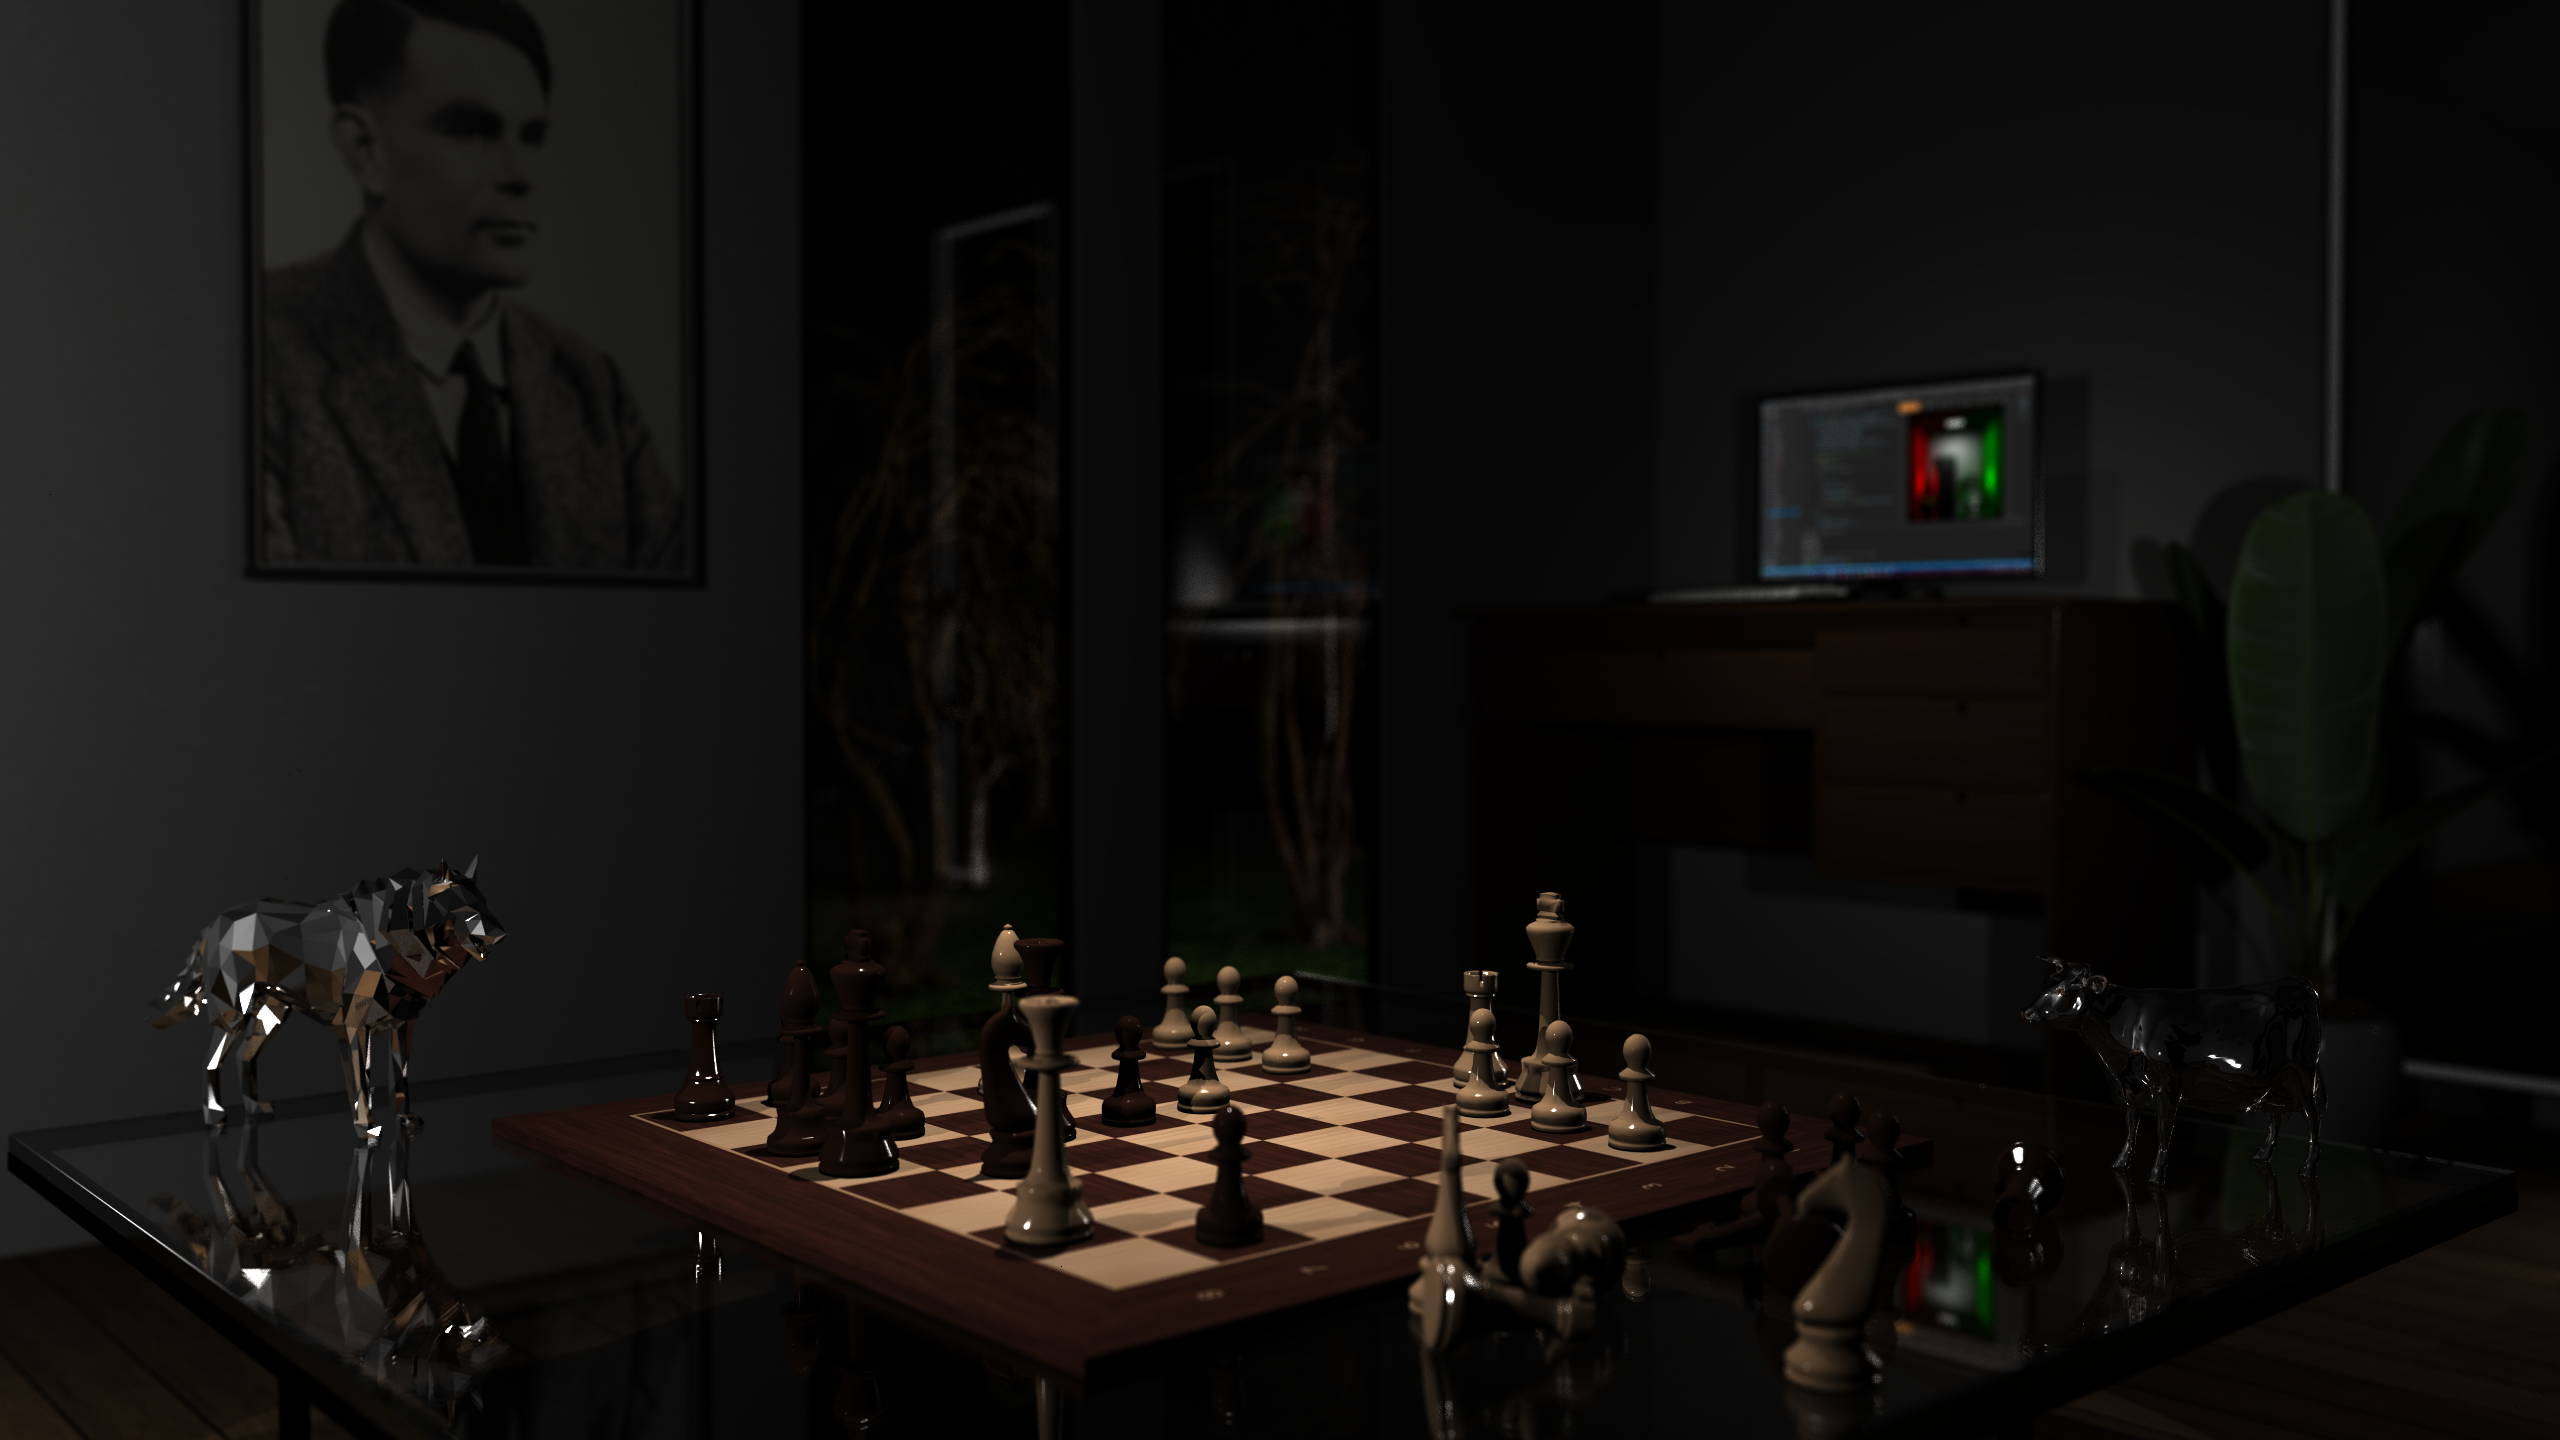
As you might have realized, we also changed the placement of the chess pieces. We did not want a random placement but a well-known one. For the ones of you that don't know famous chess matches, the placement we chose is from the Opera Game, where Morphy played Karl II, Duke of Brunswick, and Comte Isouard de Vauvenargues. Our placement is after white decided for a queen sacrifice, so it is now the last turn of black.
Seeing this picture, we decided that the wall to the left was too empty and added a painting to it. And who else could be a better fit for a computer science scene than Alan Turing? We looked for a frame and inserted a textured plane into it ourselves. Also, it was time to replace the random screenshot in the monitor with the one we wanted to have in the final one. A detail we looked at was that the chess pieces frame the monitor's reflection in the glass table.
In the sketch, we also wanted to have trees outside the window. It turned out to be quite difficult to add trees since all the trees we found online use quads as leaves with transparent textures. Our first try was to put a pot plant on the outside, but as you will see in the following rendered image, this does not look right. The depth of field cam is actually used for this render already too.
Slowly the scene is starting to look like we planned it to. There are still important details missing and we did not tweak the lighting yet but we are getting there.
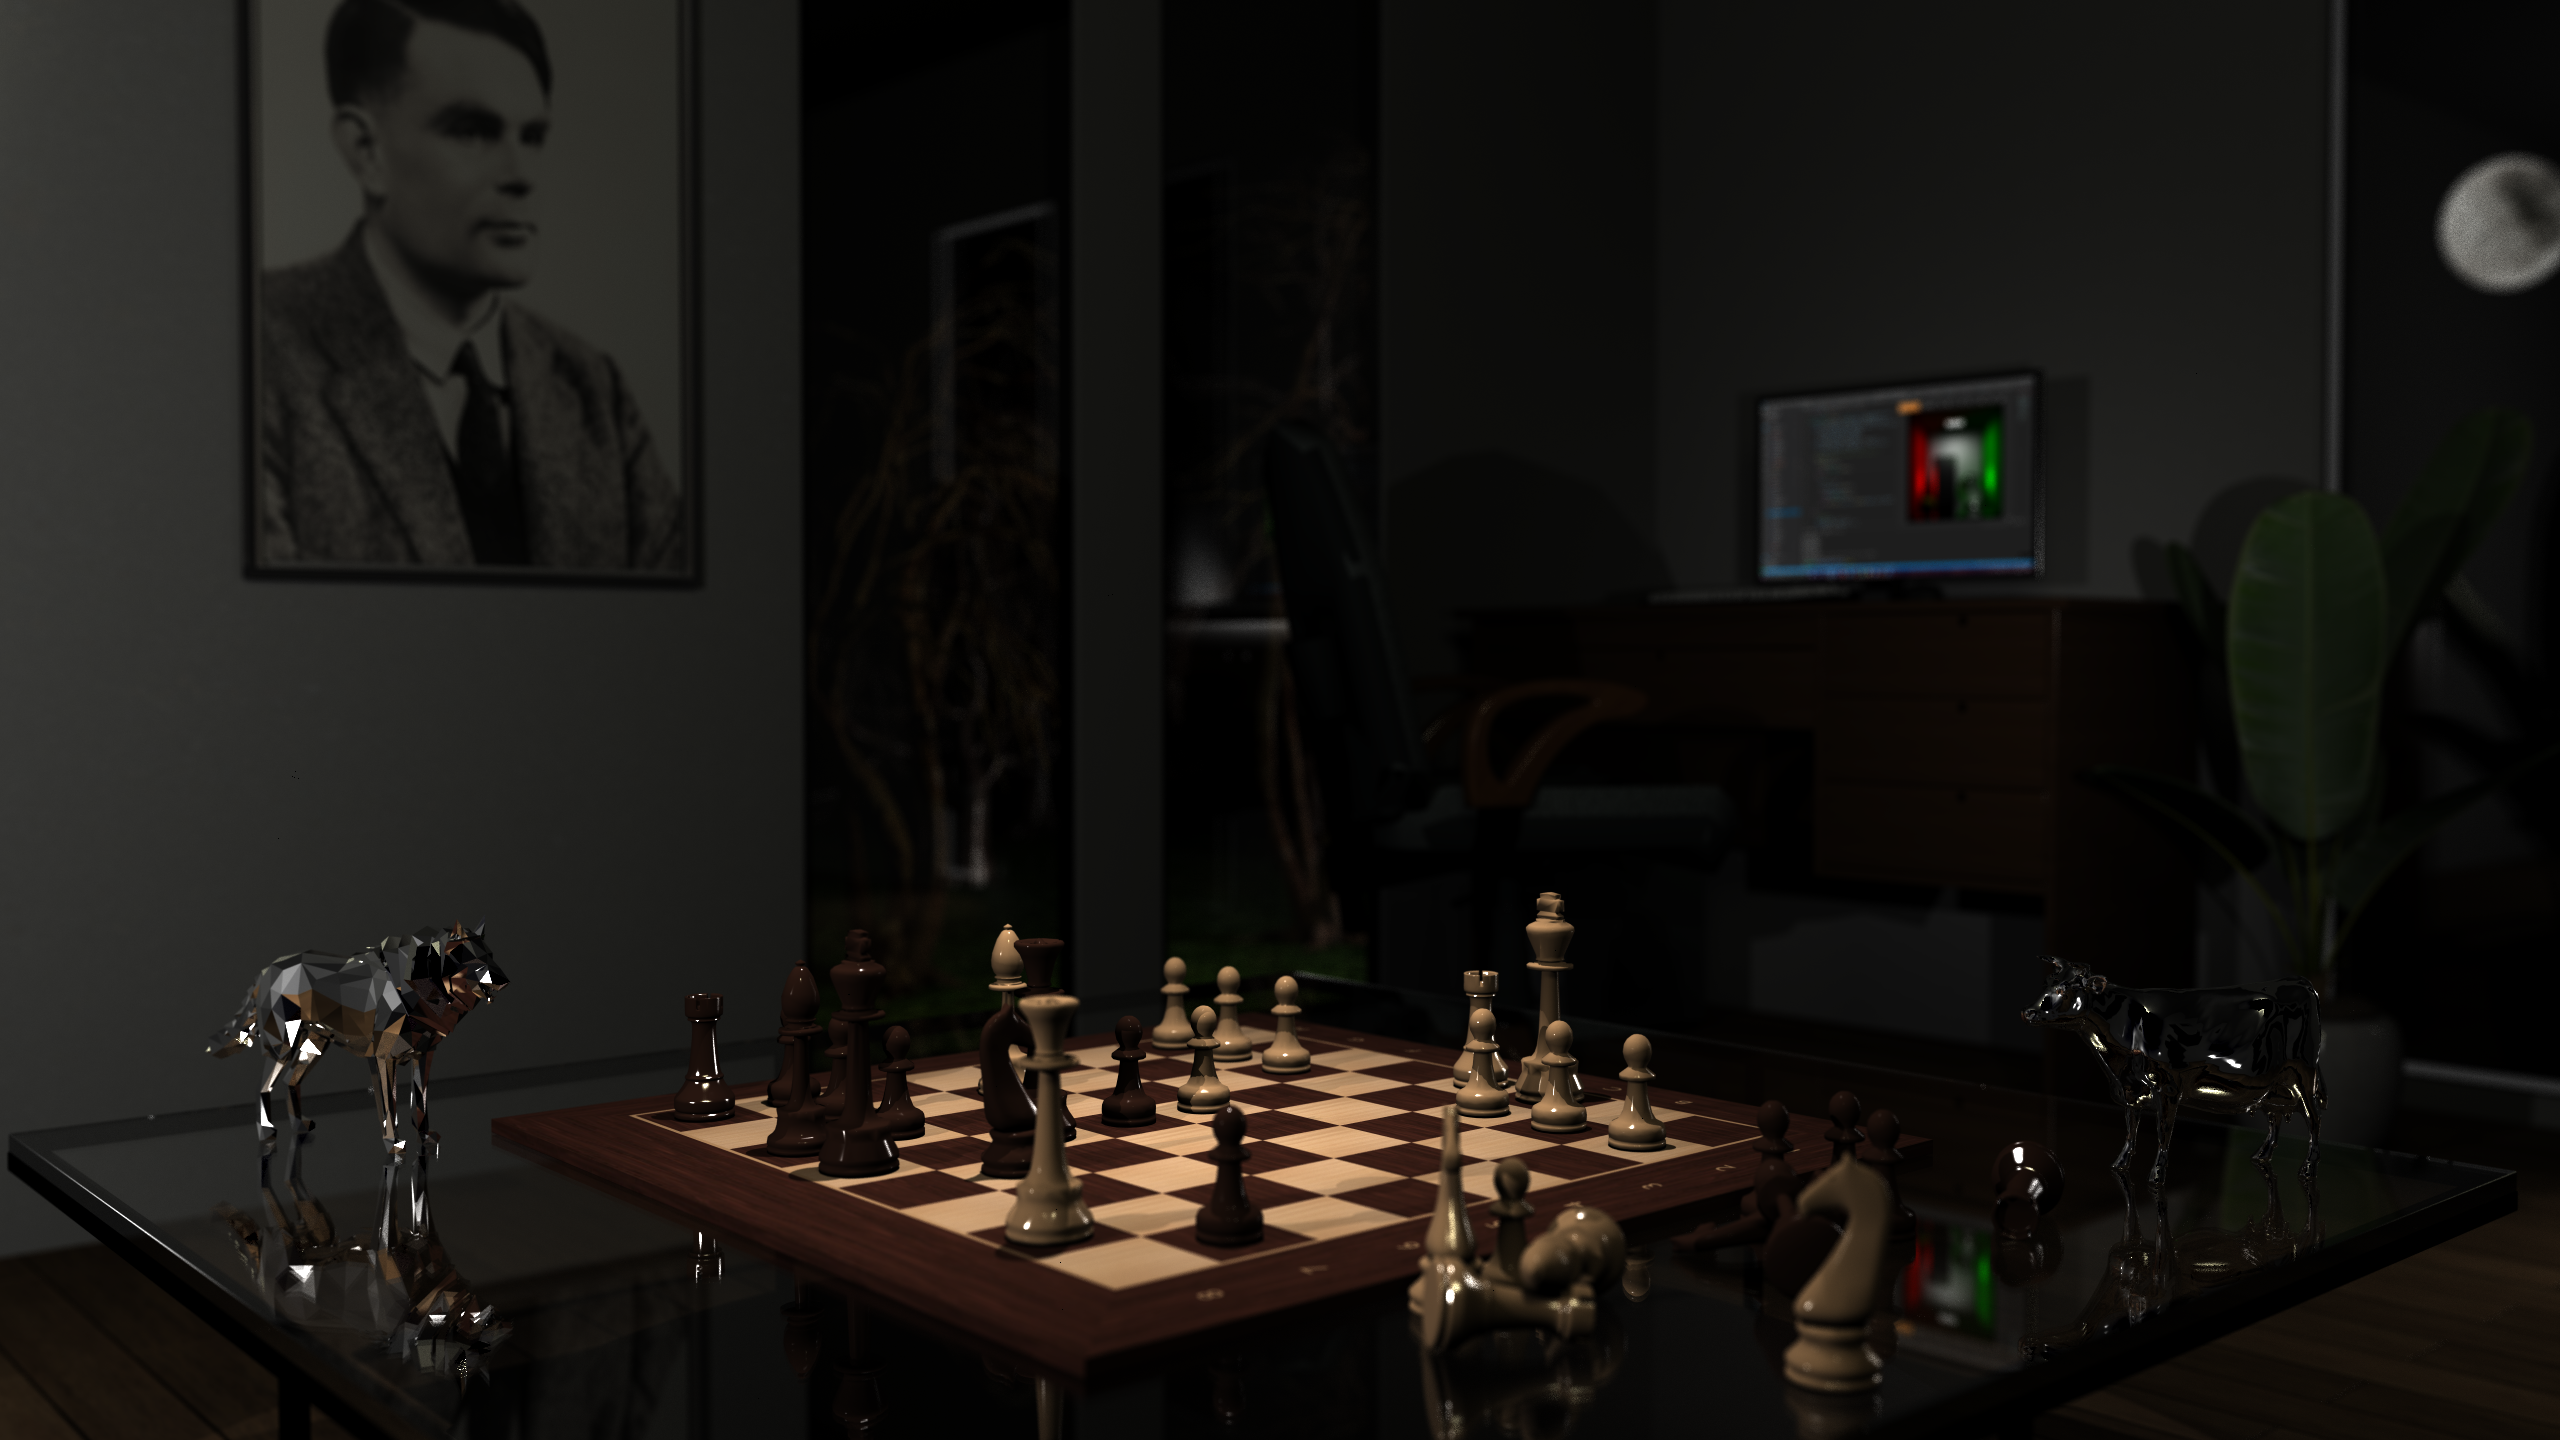
Next, we put trees and grass on the outside and took the plant to the inside (where a pot plant probably belongs). Also, the chess pieces are looking like they are covered in oil, so we made them less specular to remove this effect.
The last step was now to add the still missing components like a chair and a computer and also to tweak the lighting finally. Some scaling and placement changes were also still necessary (e.g., the wolf, which looks like its floating).
In our scene, we decided to use two pointlights, one of which is left from the viewer outside the viewing angle and the other one is very weak behind the bar between the windows to imitate some light coming from the inside (our light iteration process thinks that glass blocks the incoming light from this direction which is somehow true because of the refraction but some light still should come through). Then we have two spotlights: One to illuminate our main aspect of the scene, the chessboard, and the other one illuminating the plant and desk from the right. Last but not least, we have two area lights: One with a warm color above and behind the camera to add some ambient light that does not reach every object with the same angle and another large white one from the outside of the room to the right where it should imitate the lighting of the moon we also inserted. This virtual moonlight then also illuminates the trees on the outside.
With this, we arrived at our final image for the rendering competition: