Interactive WebAssembly Version

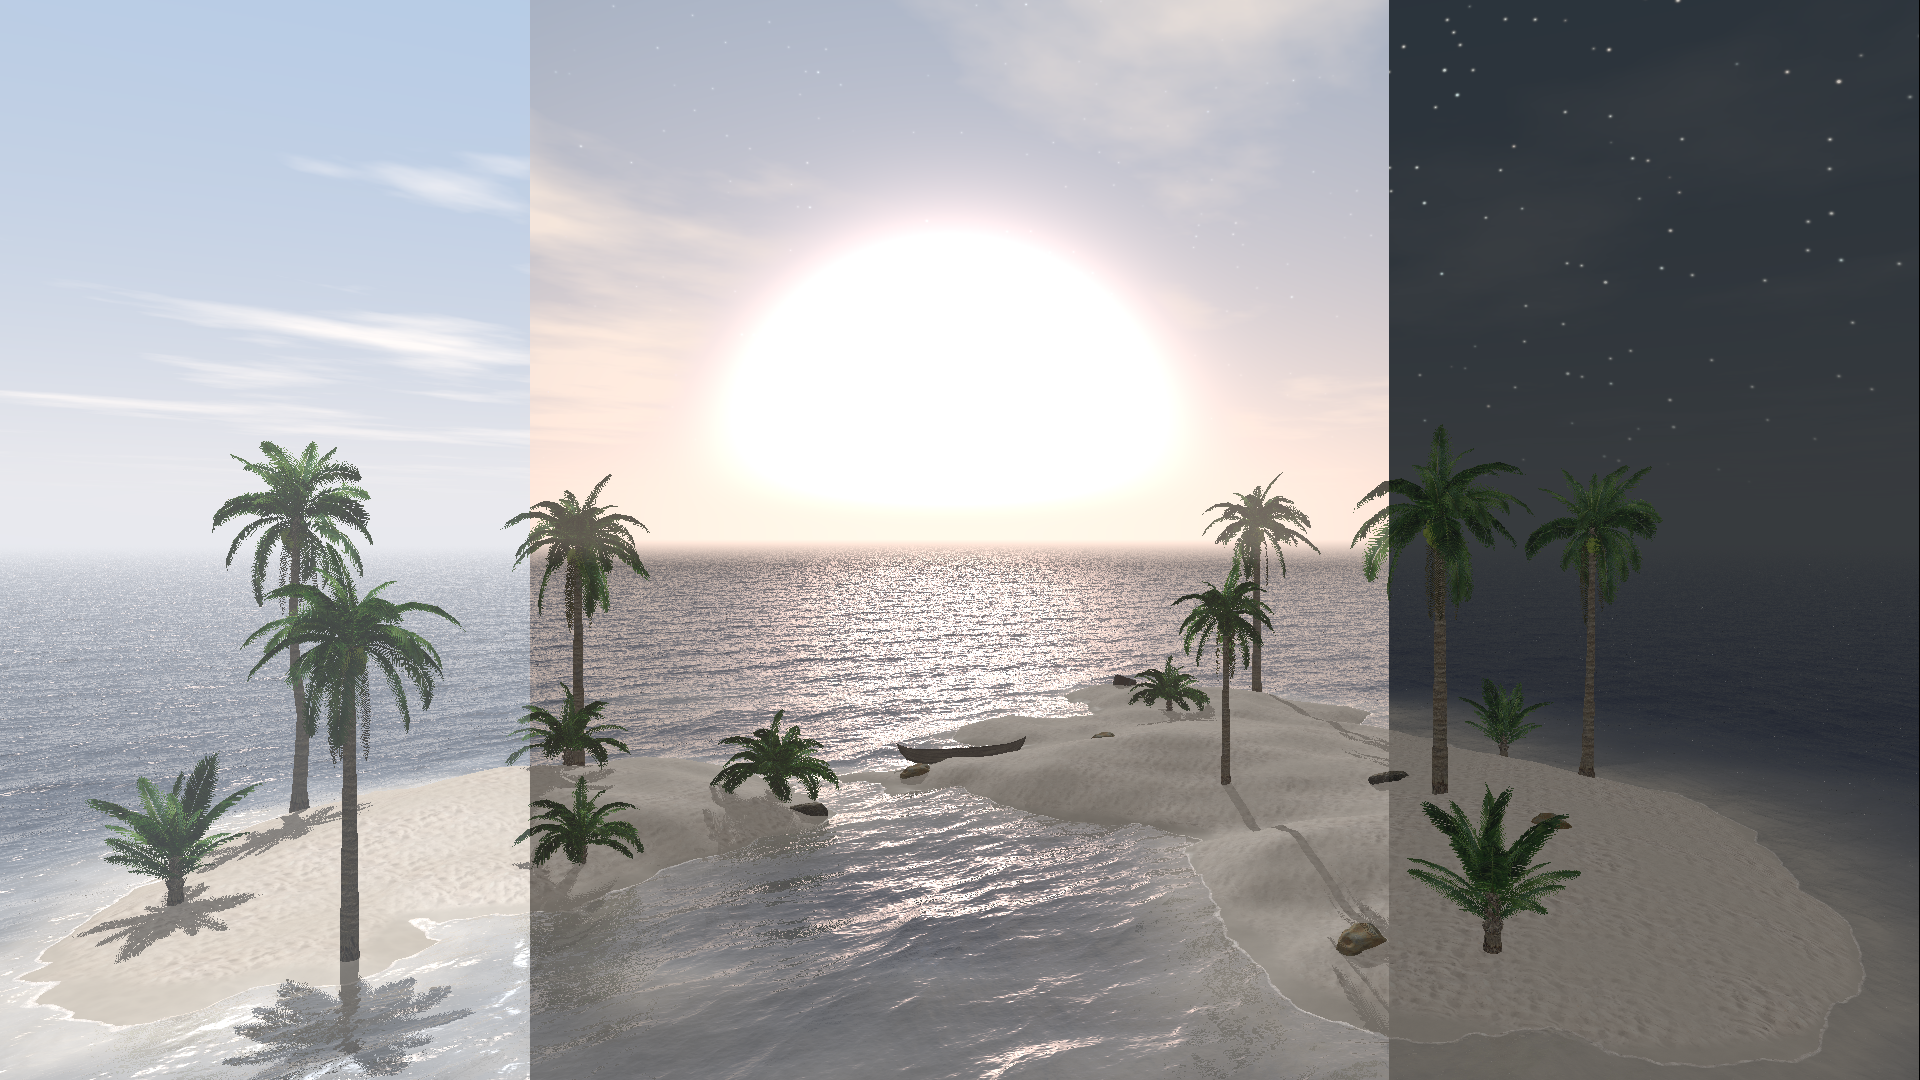
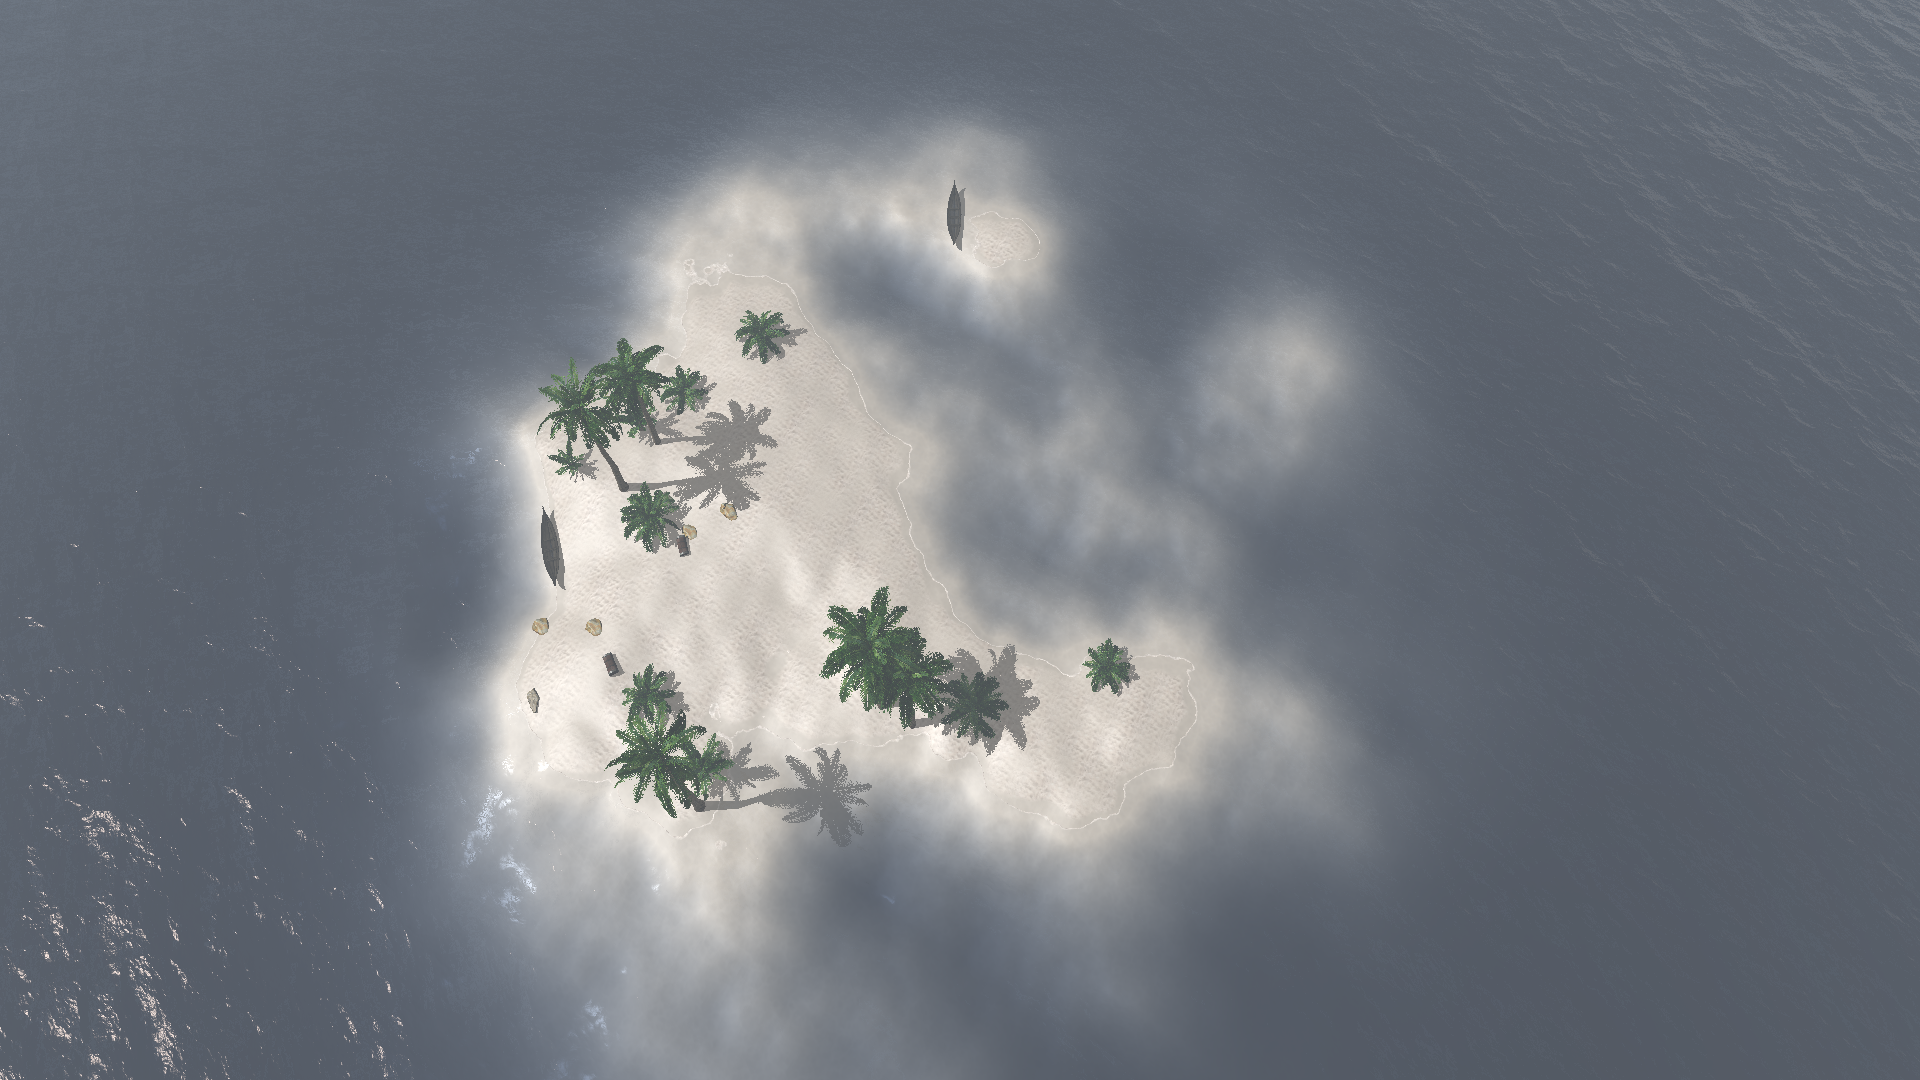
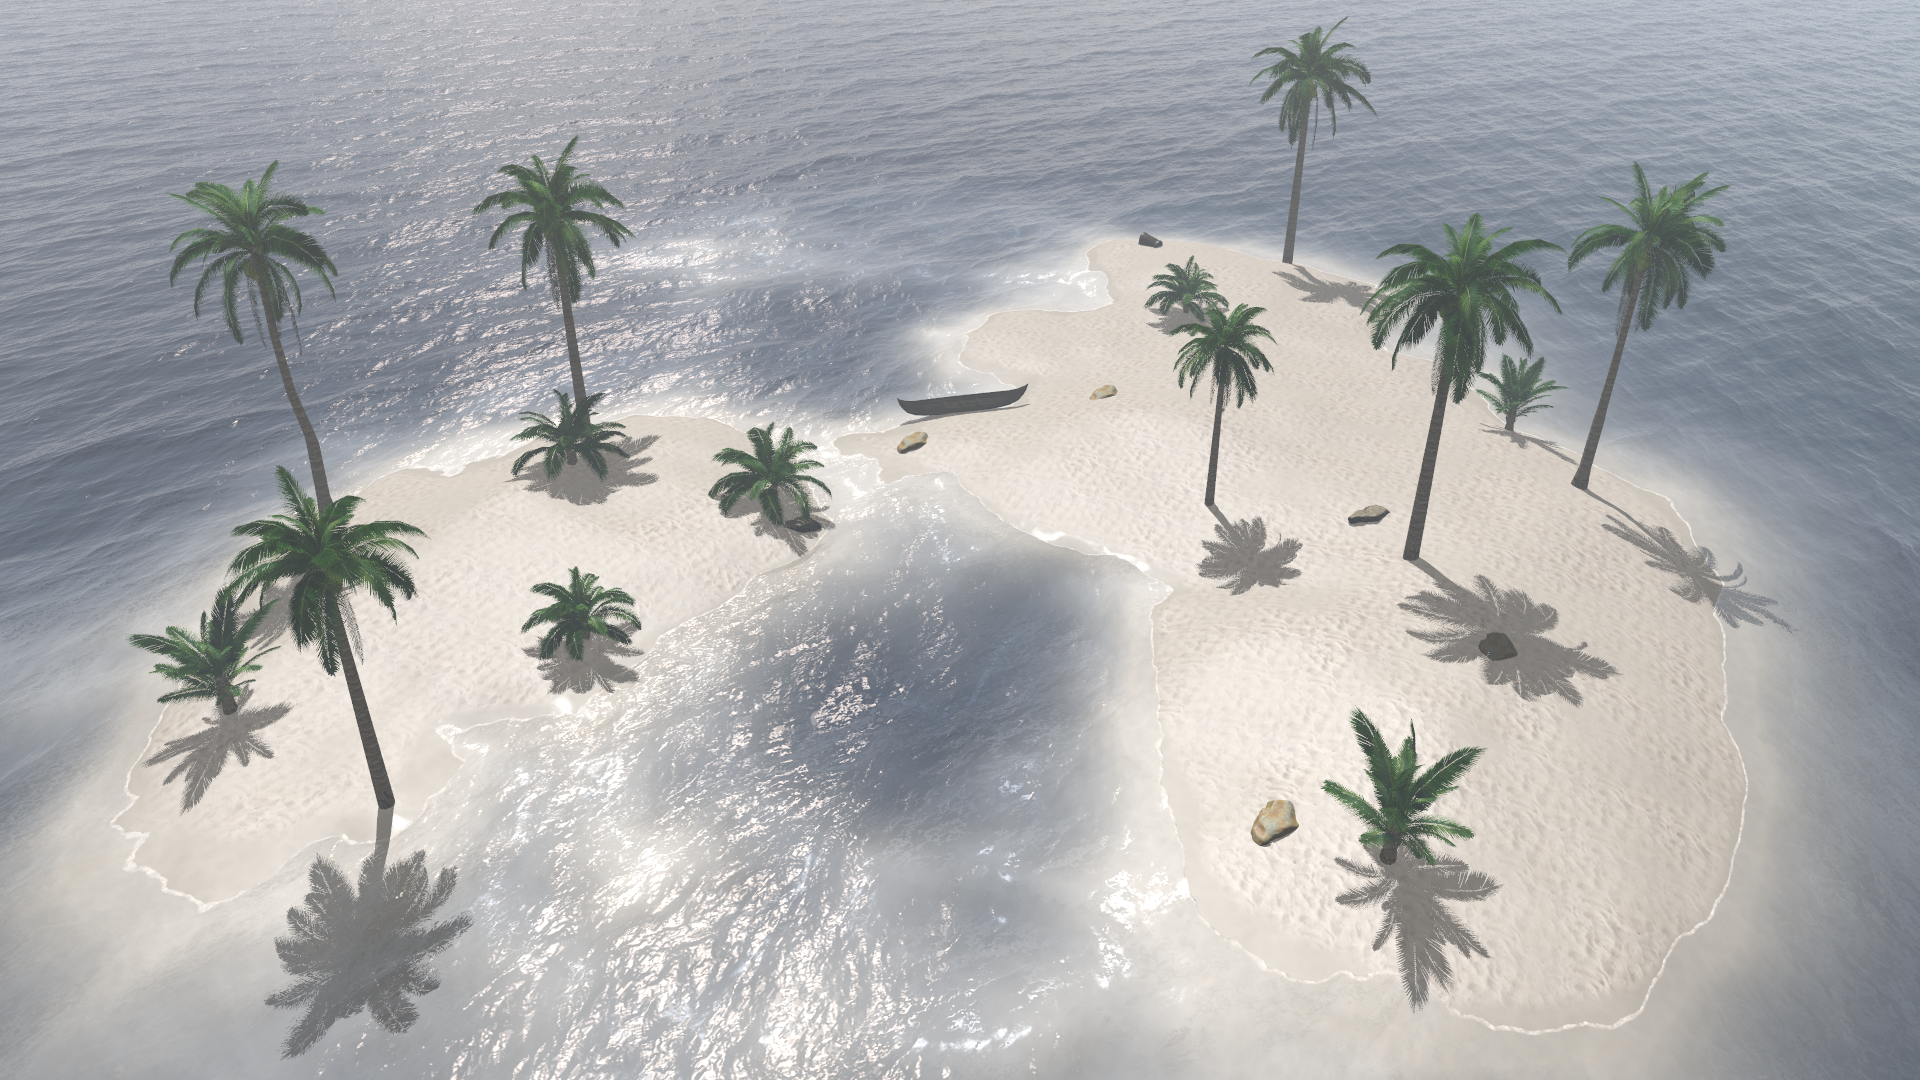
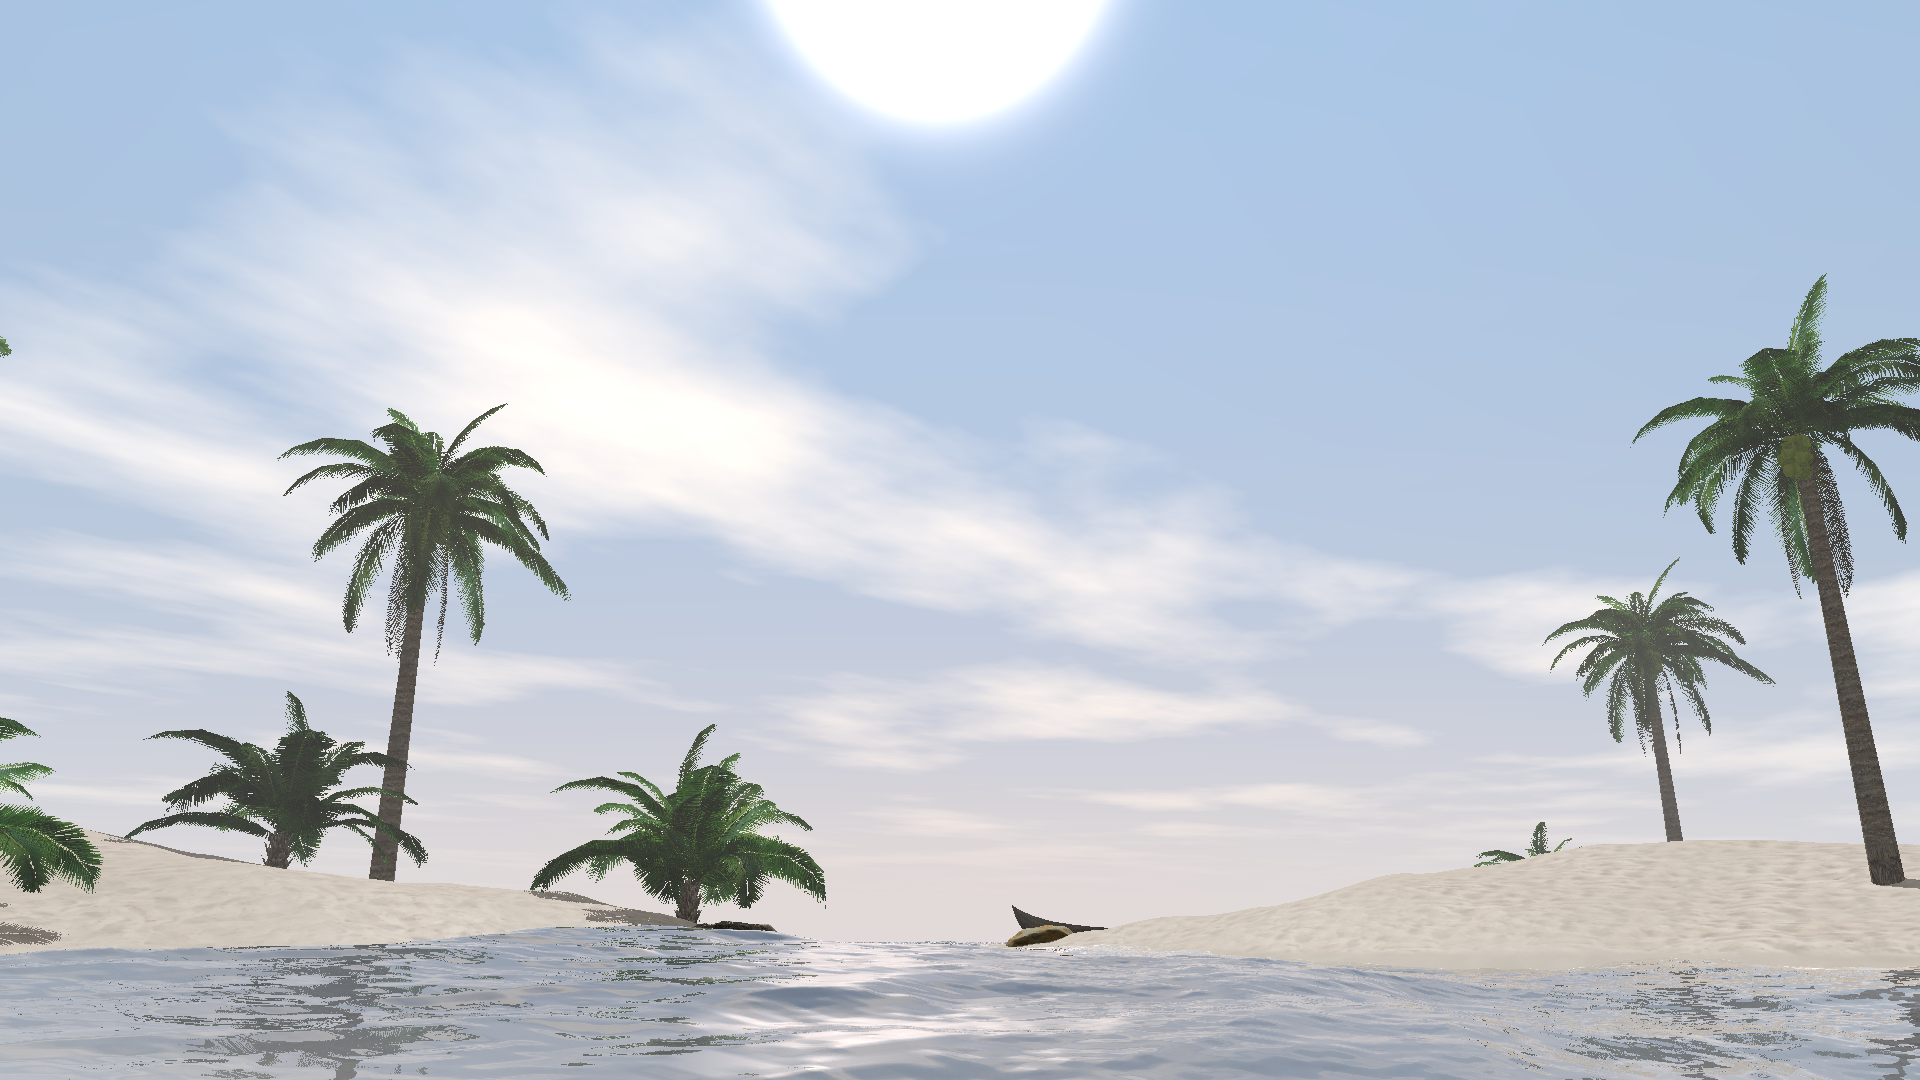
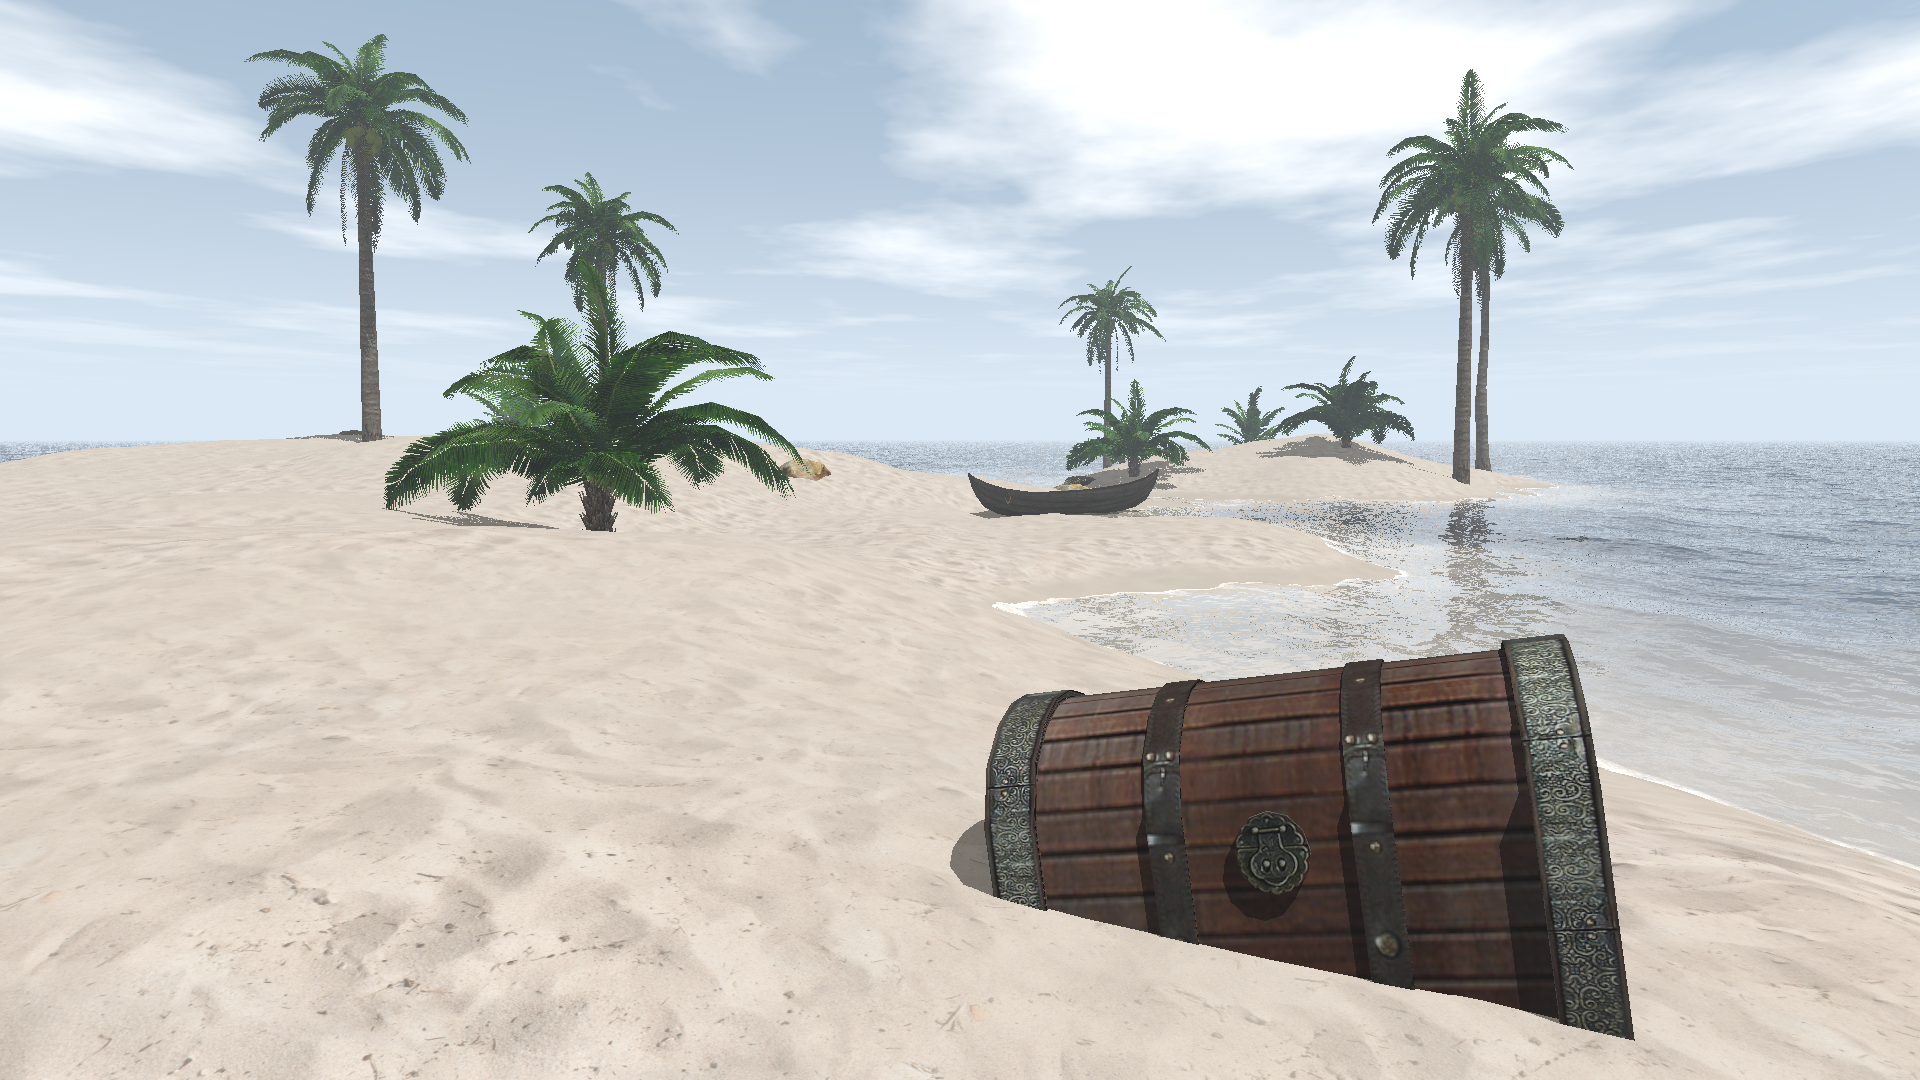
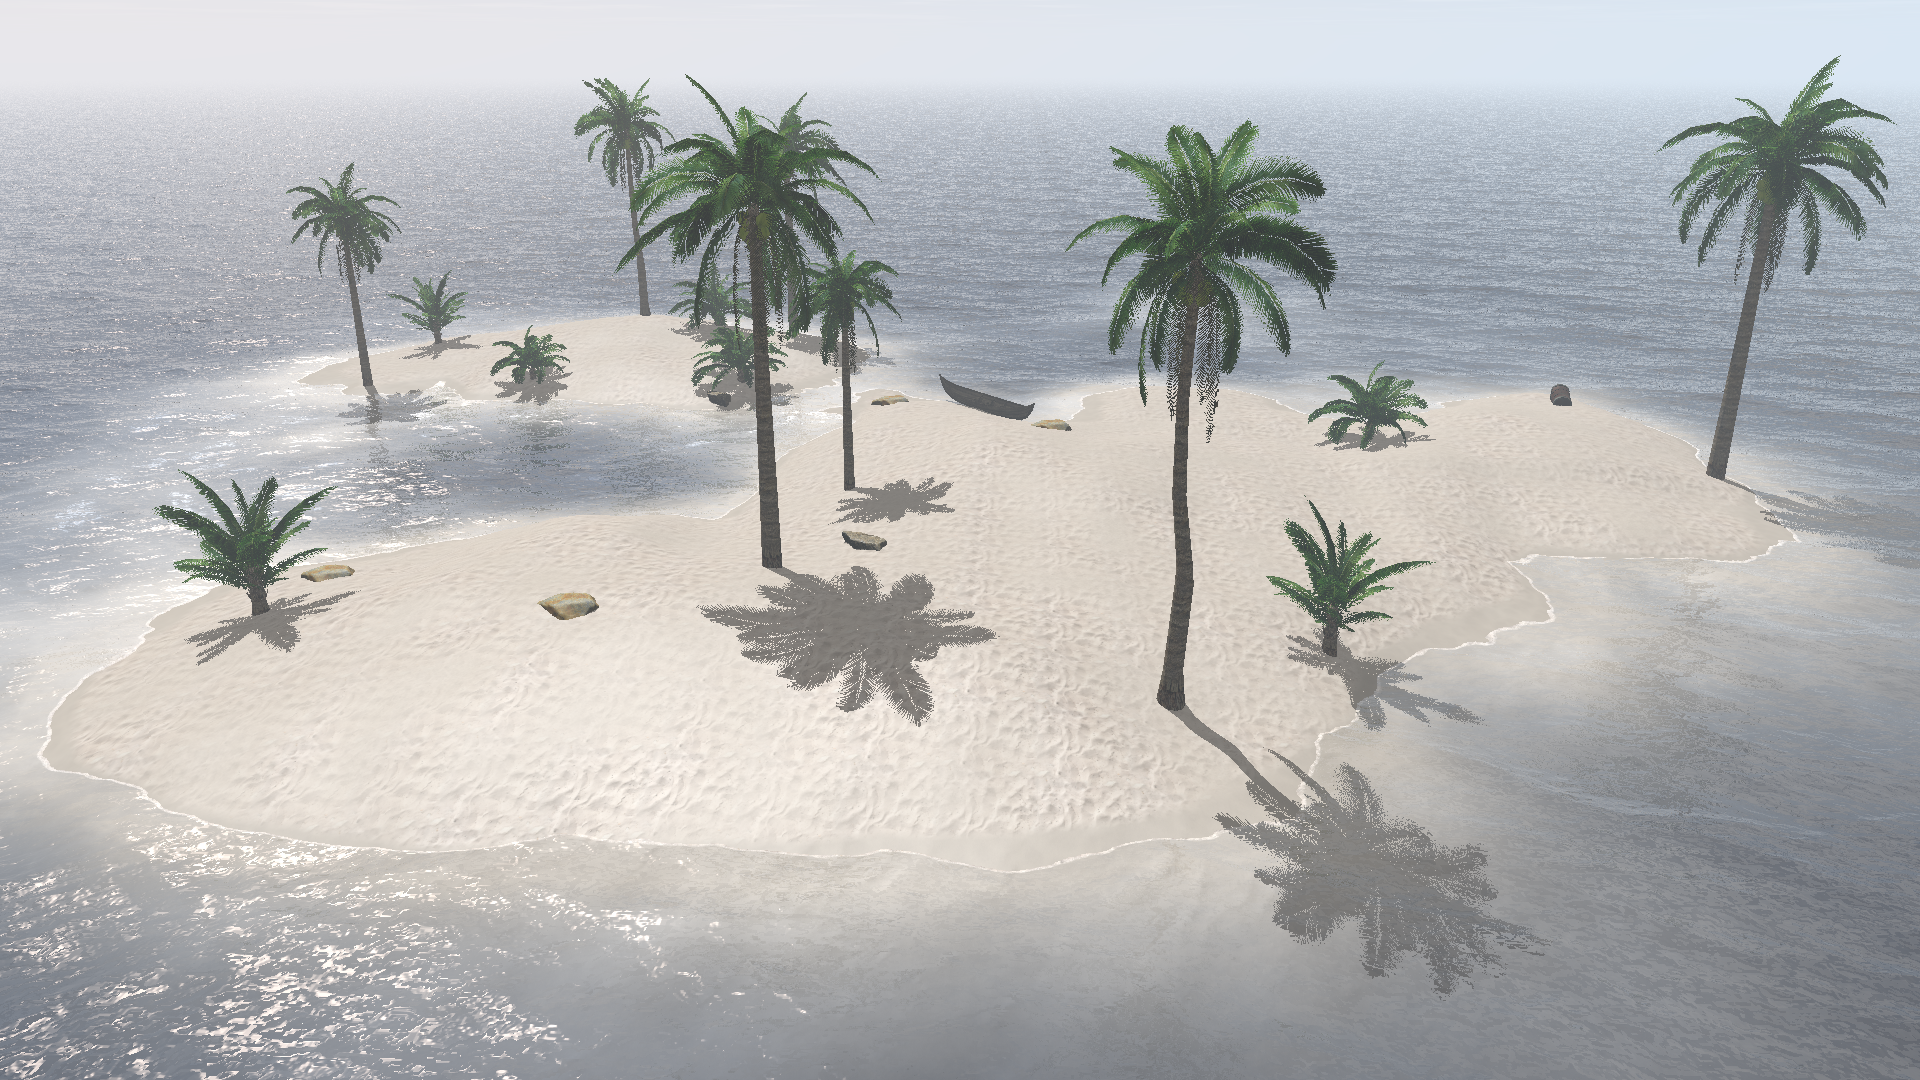
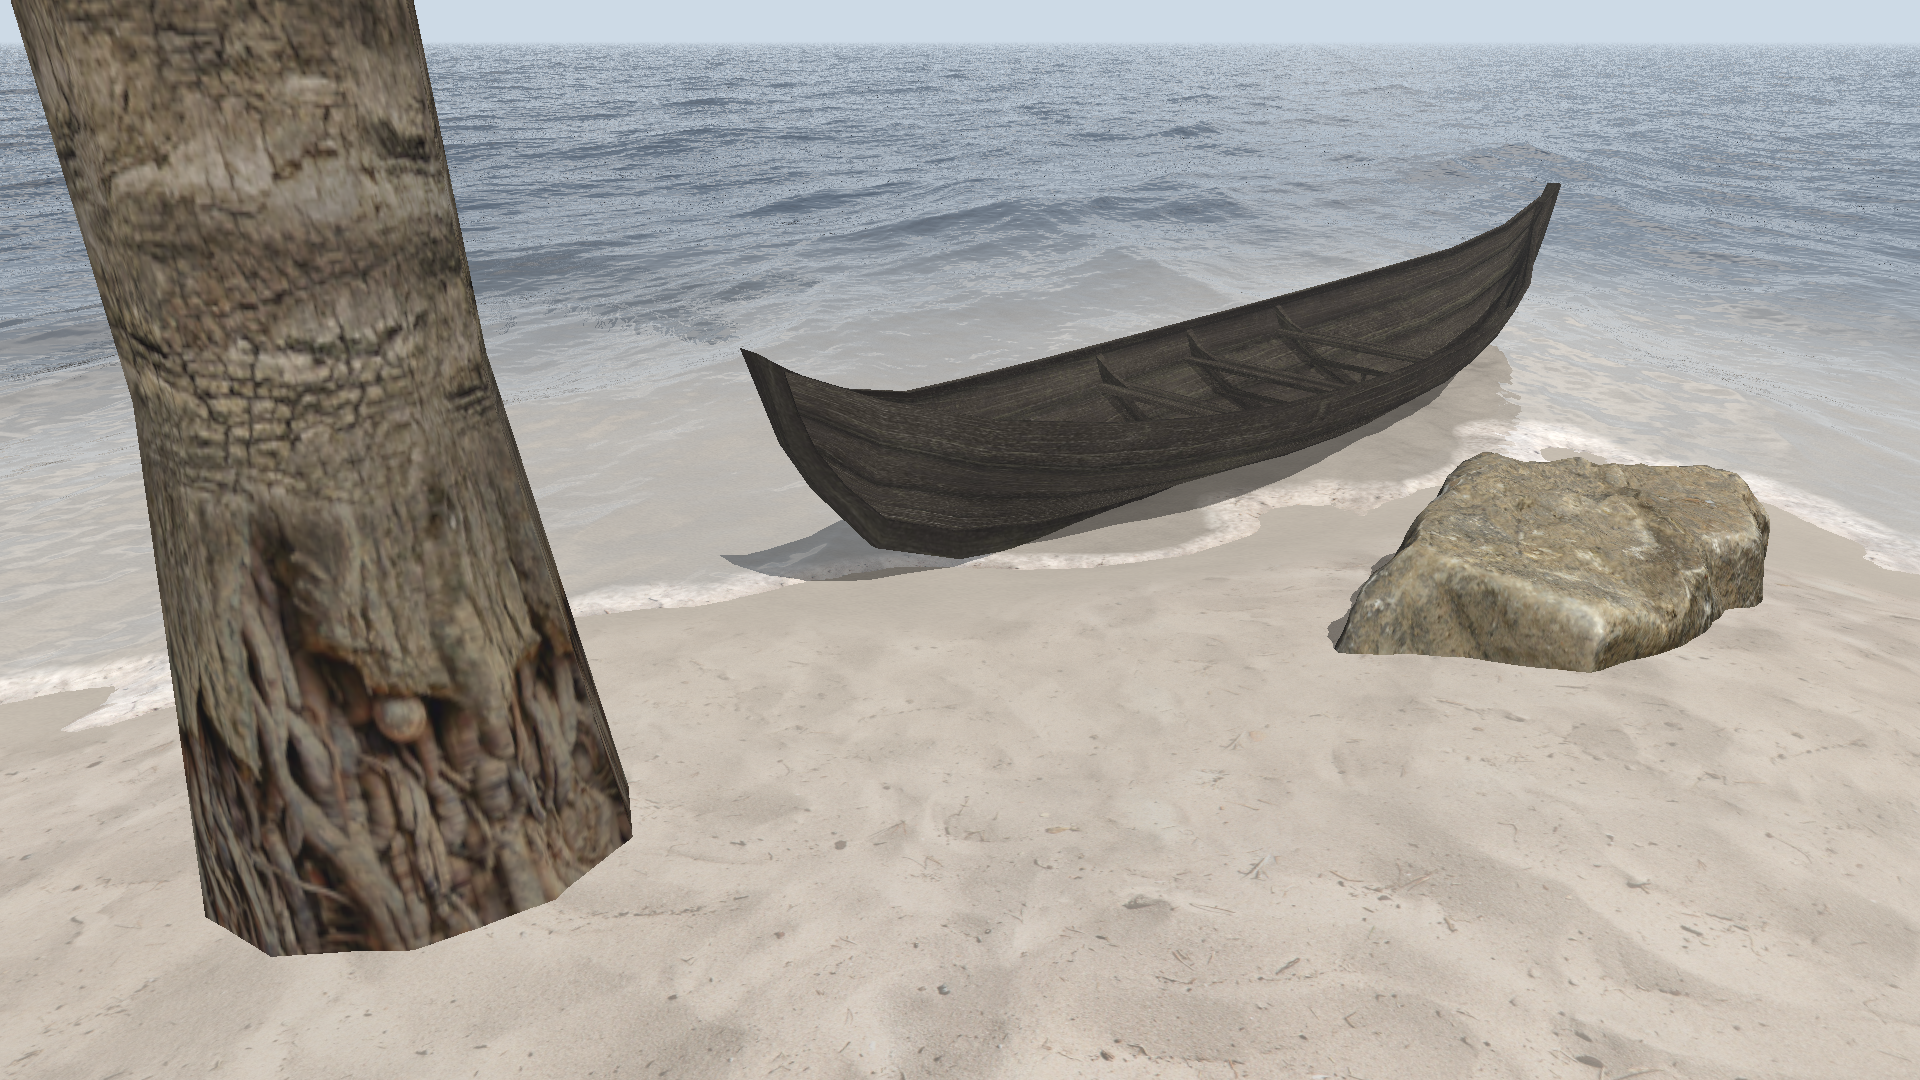
One says an image is worth more than thousand words. Pursuing this path even further, we thought that running our ray tracer at interactive framerates would be worth more than a thousand images. With the help of Emscripten, we ported the engine to WebAssembly. In order to make use of multiple cores, our wrapper creates multiple web workers that receive jobs from the main program. When standing still, a high-quality (720p) rendering is triggered.

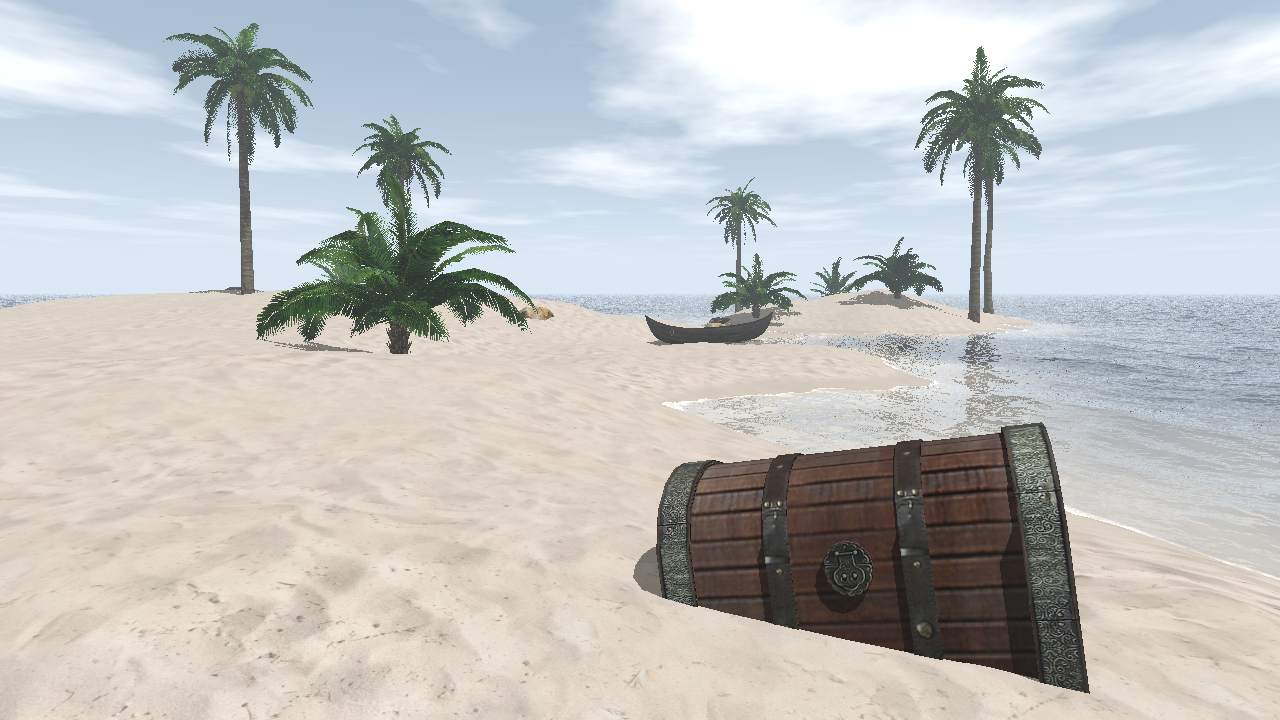
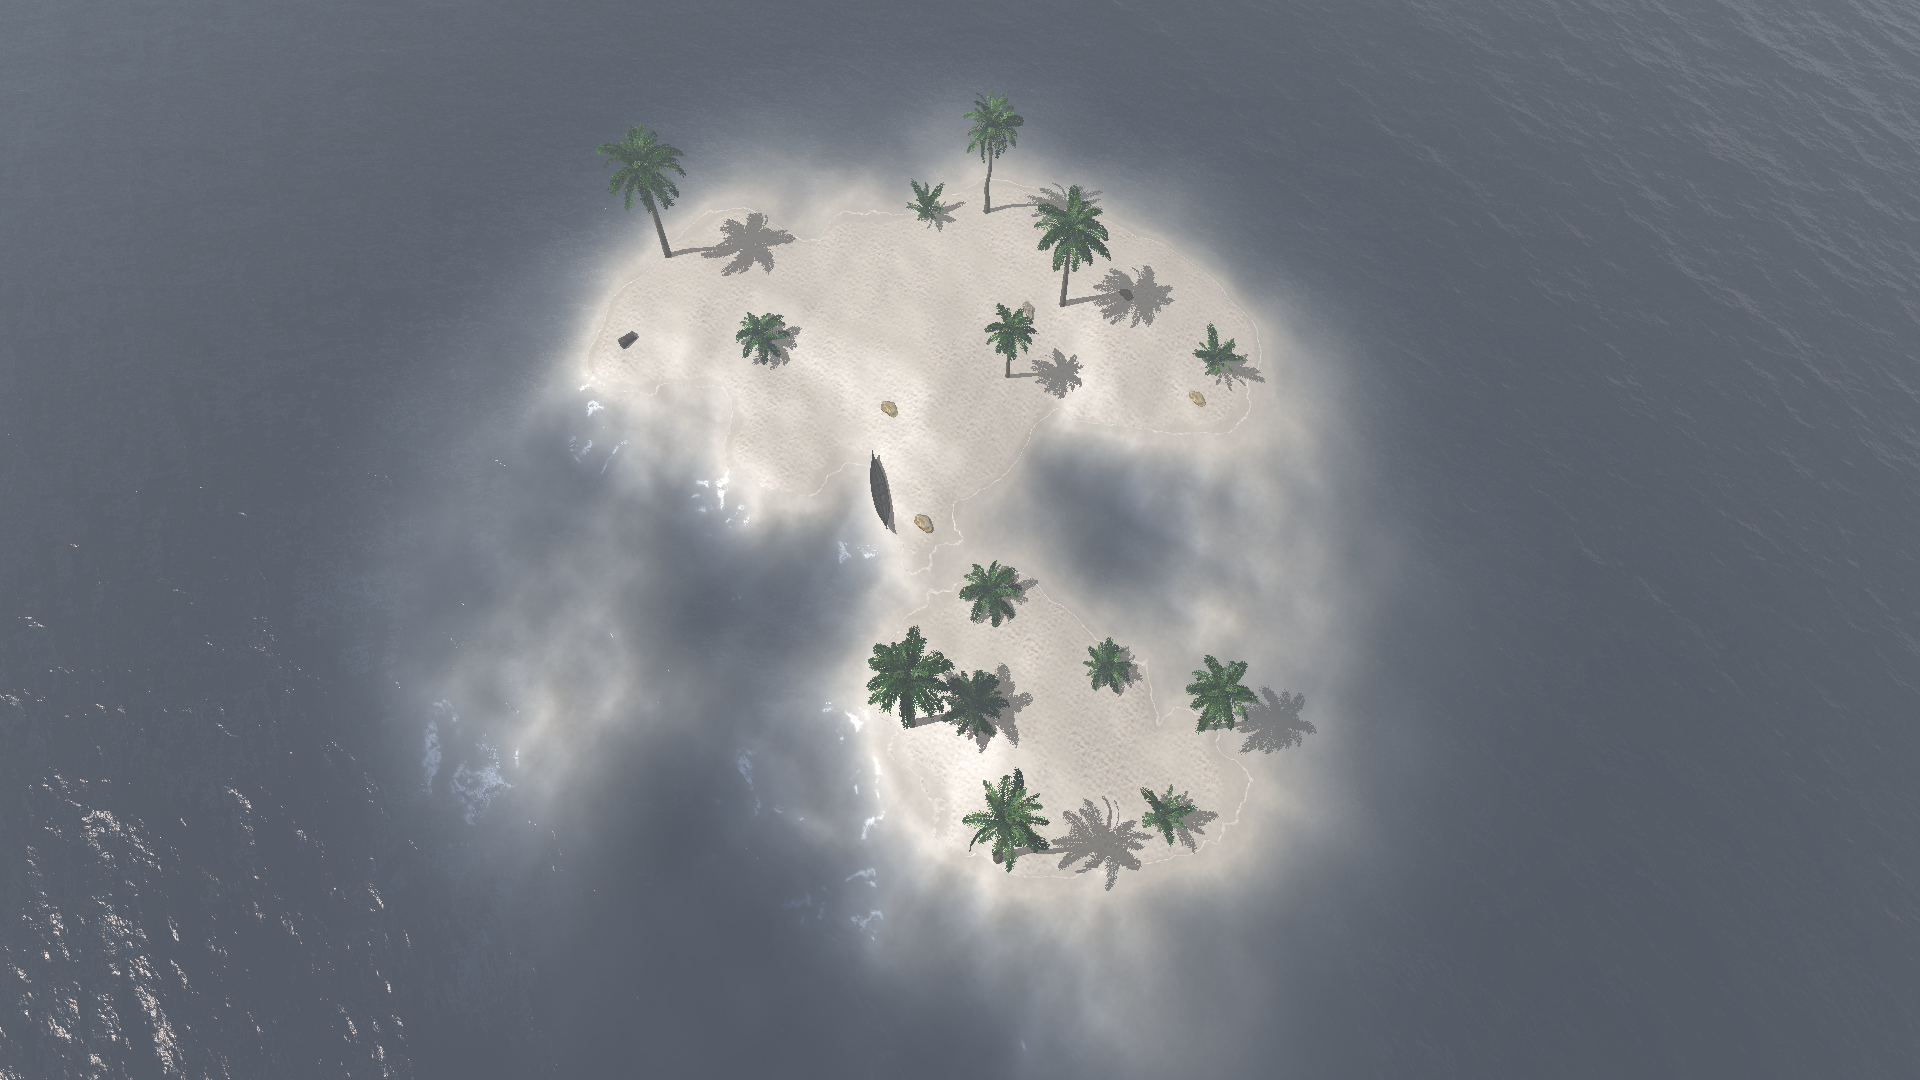
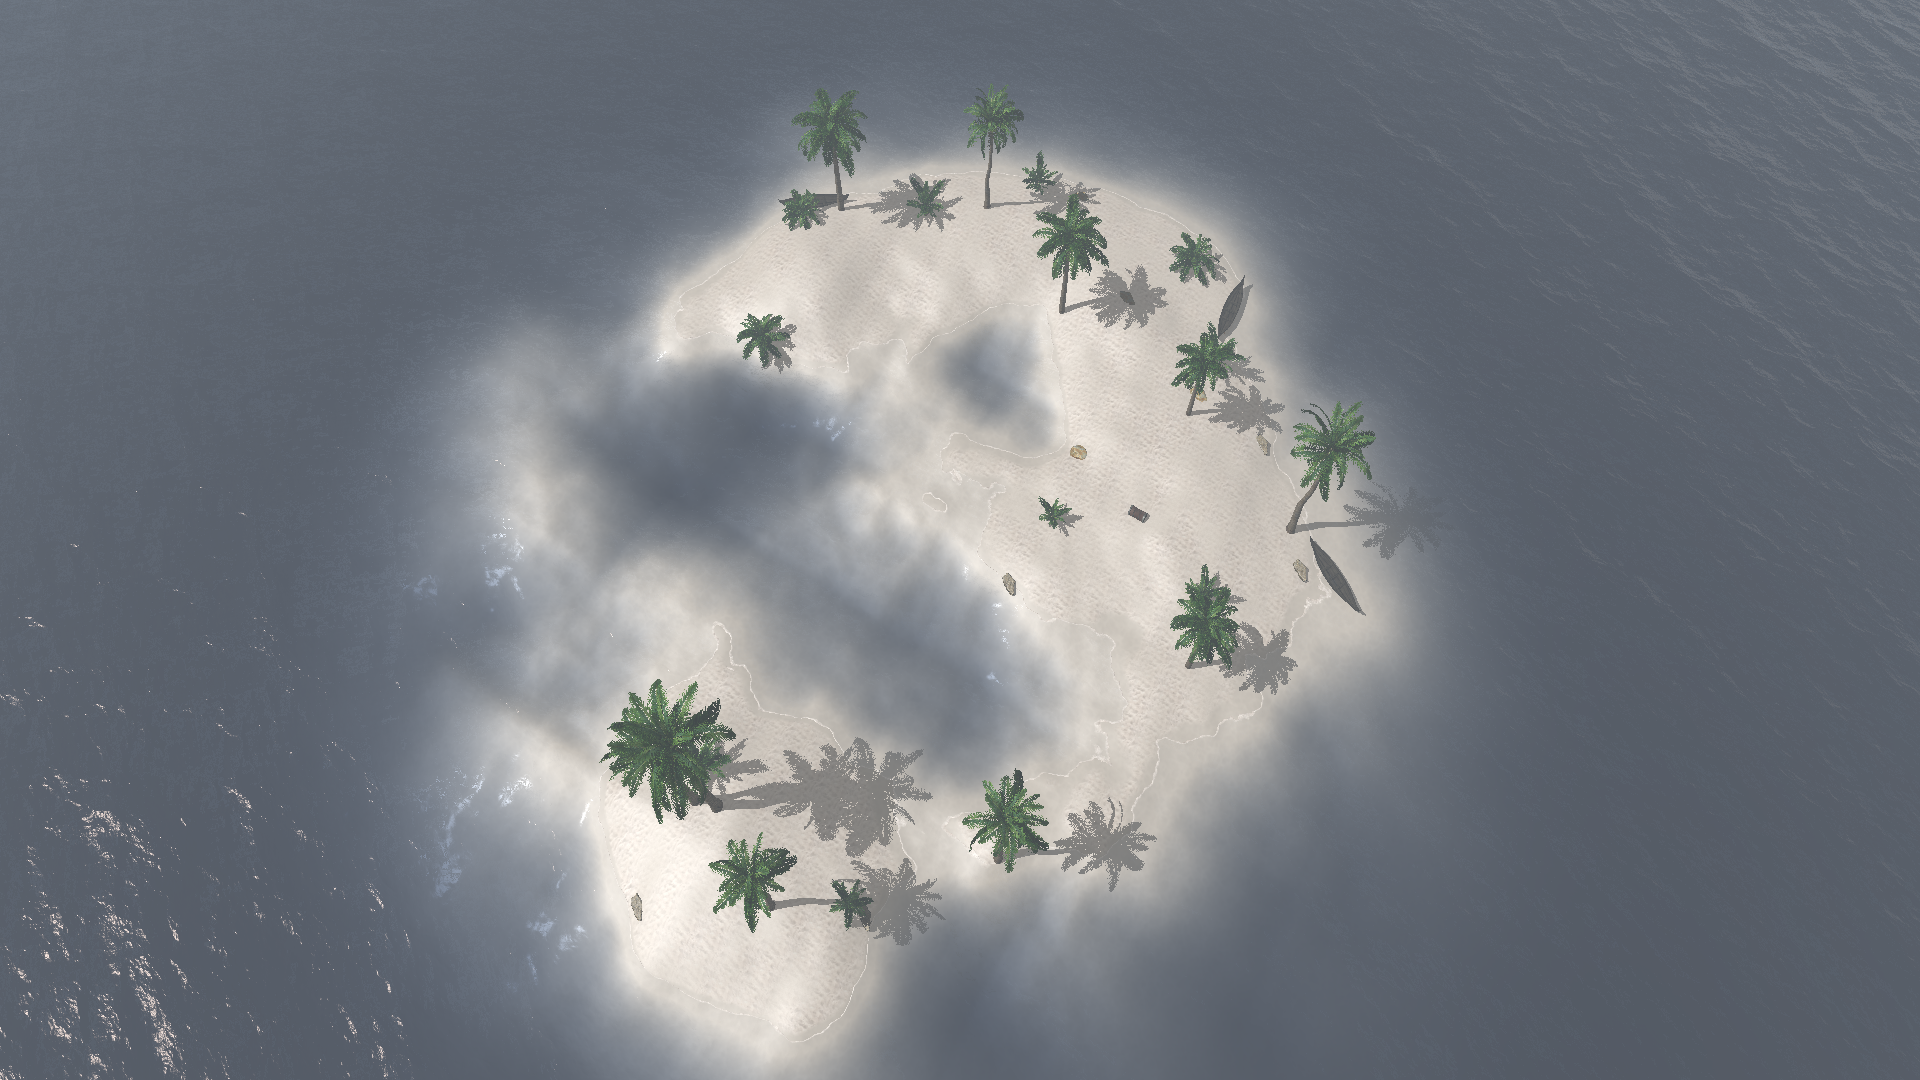
There is a little easter-egg somewhere on the map. Can you find it?

Warning: Running this may crash your browser if your machine is not powerful enough.

Action: Move Height Time Randomize
Keys: WASD EQ RF ?

Note that this version consumes way more memory than the native one, since each web worker has to load the scene and textures independently. We could have used SharedArrayBuffer to reduce memory usage (and probably improve performance a little bit), however this is currently disabled by default on most browsers due to security reasons.

The Scene

We knew from the beginning that we wanted to create a beautiful outdoor scene that profits from an interactive camera. Since the weather in Saarbrücken was not really comfy in the weeks leading up to the deadline, Tropical Island (Main Image) we instinctively pivoted towards a warm and welcoming island. You can see our final image on the right.

Right from the beginning, we had to idea to create a WebAssembly version for the project website. This also allowed us to make the scene very dynamic. Not only was the viewing perspective customizable, but instead of having a fixed time of day we designed an entire day / night cycle. And while we were at it, we discarded the pre-made heightmap and introduced procedural terrain generation and object placement.

All of this actually brought up a problem: It was hard to select a single image to represent my scene. We experimented with different solutions, such as rendering a tryptich (an artwork divided into three parts, showing different aspects of a fixed topic) like the one on the left, but ultimately rejected this idea and put the focus on the original feeling that we wanted to convey.

However, we want to emphasize that the scene as a whole (including the time-of-day effects) constitutes the submission for the rendering competition. So please take a look at the other images provided on this website.

Mip Mapping

Creating a scene that looks great wherever the camera is positioned spawns many challenges. The sand textures are very detailed, which would introduce aliasing. Since we wanted to archive interactive frame-rates, we could not just throw expensive sampling at the problem. Instead, we implemented mip mapping.

When mip mapping is requested, we create multiple copies of the original texture, that are all half the size of the previous one, that is: Four pixels are averaged into one. When sampling the texture, we choose two of these mip maps, sample them and blend the results (i.e. trilinear filtering).

We used a simple algorithm to calculate which mip maps to use. However, it gives great results and works with steep angles. When creating a primary ray, we set its mip-value to 0. When spawning a ray based on it (e.g. after intersecting a volume, for reflectance, ...), we perform the following calculations: \[ \textrm{mip}' \leftarrow \frac{1}{\cos\measuredangle(\textrm{raydir}, \textrm{normal})}(\textrm{mip} + \textrm{distance}) \\[1em] \textrm{level} = \log_2(\textrm{mip}) \]

Mip Mapping Off
Mip Mapping On

Time of Day

Our scene is basically surrounded by an infinitely large sphere. The ray direction is used to compute how a given point should look like. To create a convincing sun, we are using the dot product of sun direction and view direction, add a very small number (basically the radius of the sun) Tropical Island and raise the sum the power of a large number. After clamping the value, this gives a bright disc that fades quickly into the background.

The clouds are clamped perlin noise. To make the clouds at horizon smaller, we divide the view direction by its \(z\) component and use that to look up our noise value (which increases the frequency as \(z\) becomes smaller). Tropical Island Additionally, we add an offset vector before lookup to be able to shift the clouds as time passes. They are finally blended together with the sky background color, which of course also depends on the current time, and the sun.

To make the night scenes appealing as well, we wanted to add stars. This was harder to implement than the above, since stars are typically very small Tropical Island but really bright, which leads to high-frequency content and hence horrible aliasing in the resulting image. To combat this problem, devised the following algorithm. Start by dividing the sky sphere into chunks of approximately equal size by using spherical coordinates (illustrated on the right, exaggerated). Each chunk is assigned a certain brightness that determines if it contains a star and how bright it would be. We then take the distance to the center of the nearest chunk and raise it to a power that depends on the resolution of the image. This lets the stars appear bigger but darker on lower resolutions, which is not totally unrealistic. This solves the aliasing problem. The result is multiplied with the chunks brightness. Additionally, we can easily rotate the star using our spherical coordinates. Note that the stars being visible during sunrise and sunset is not on accident, we just thought that it looks nice.

Raymarched Terrain

Raymarching is not only used to render the actual island terrain, but also the water as well. When talking about terrain here, we mean both. Figuring out the intersection point between a ray and the terrain turned out to have a great impact on performance, e.g. looking into the sky gives a huge frame rate boost.

We begin by intersecting the ray with the bounding box of the terrain object to get a minimum intersection distance. We then continue from that point forwards in small steps along the ray. The step size depends on the height difference to the terrain under the current position, such that large valleys are skipped quickly. We use numeric differentiation to compute a normal vector (which is later used for shading).

The material used by terrain of the island itself blends between two different sand textures to reduce tiling and has a third, quite reflective material at regions near the water to suggest wet sand. The water is a glass-like material. Additionally, we added foam near the beach using perlin noise.

Procedurality

The heightmap of the terrain is generated from a 15-octave perlin noise and cached as a bitmap. We also added a smooth falloff to actually always end up with an island-like heightmap. The seed changes the offset into the perlin noise. Below, you can see the result of the seeds 1 (which is also used by the other images), 2 and 3.

After generating the terrain, the objects are placed. Here, perlin noise produced bad results, so we added another layer of pseudo-randomness using the typical fract() after multiplying large numbers. Additionally, we consider the height of a given terrain point, such that for example a boat does not spawn in the middle of the island. We tried to pay attention to the details, e.g. randomize object orientation or aligning the boat with the coastline (see the right image, which was taken with seed 2).

Some more of our usage of perlin noise is described in the sections for time of day and raymarched terrain.

Miscellaneous

Using actual geometry for the palm leaves would be expensive to model and render. We therefore employ alpha masking to discard intersections on transparent regions. The fog seen in the distance is exponential height fog, whose attenuation and emission (the later especially when the sun is near the horizon) is computed analytically. All our images are gamma corrected. Only the main image was rendered using 3x3 stratified sampling. All other images do not use sampling. Rendering time is less than 10 minutes each for the main image.

Credits

Asset
Tropical Palms
Wave Heightmap
Sand One
Sand One
Sand Two
Rocks
Shark
Treasure Chest
Hielo Template