Implemented
features
Thinlens camera
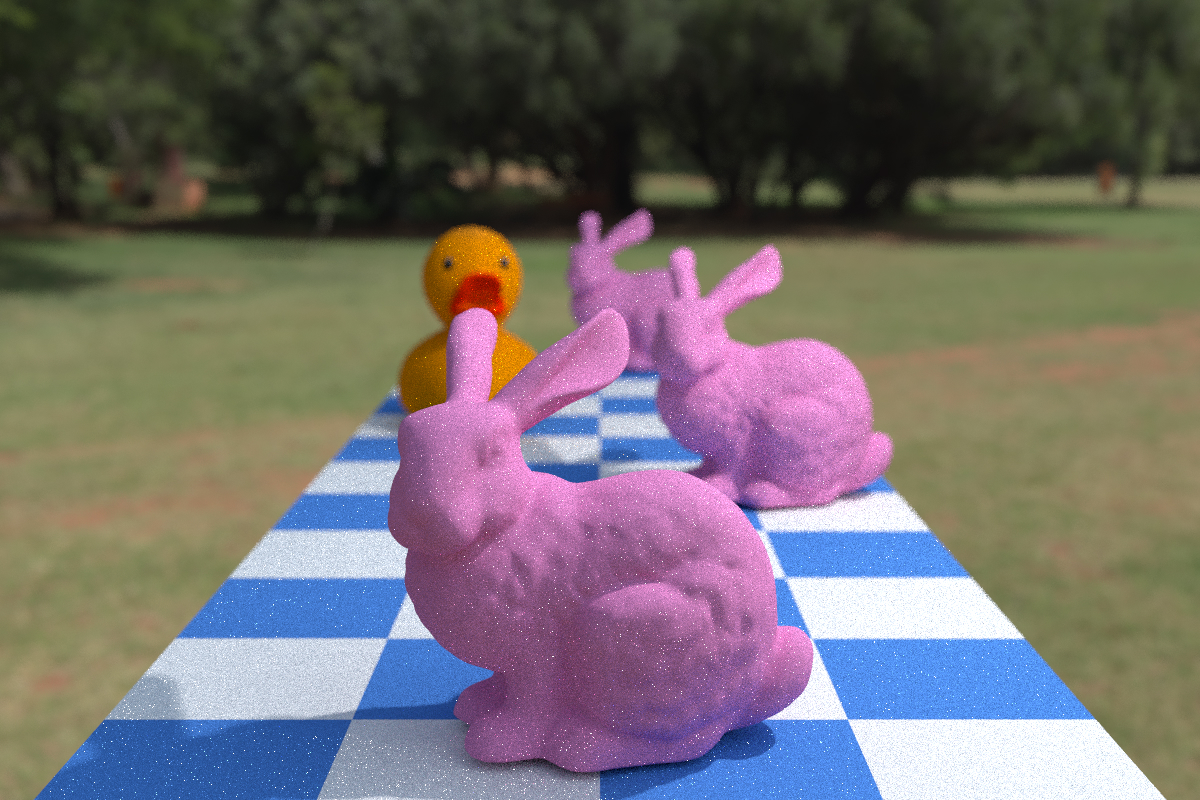
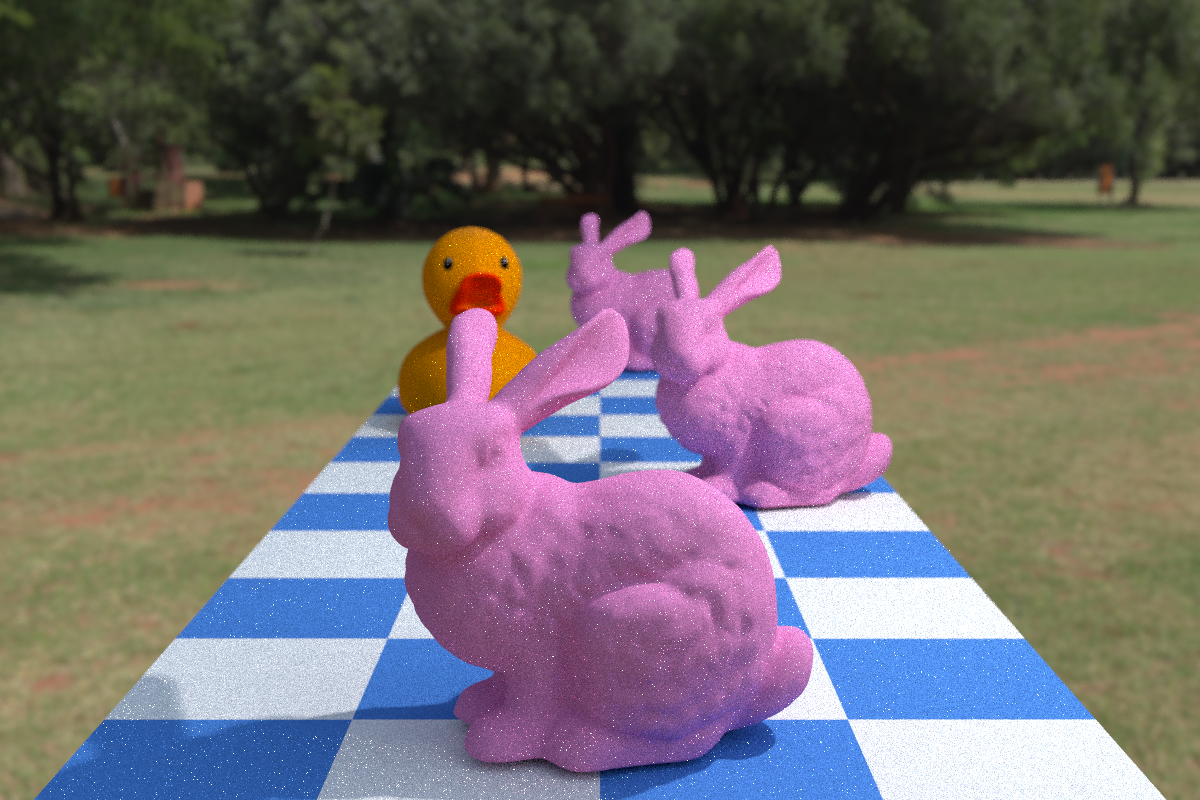
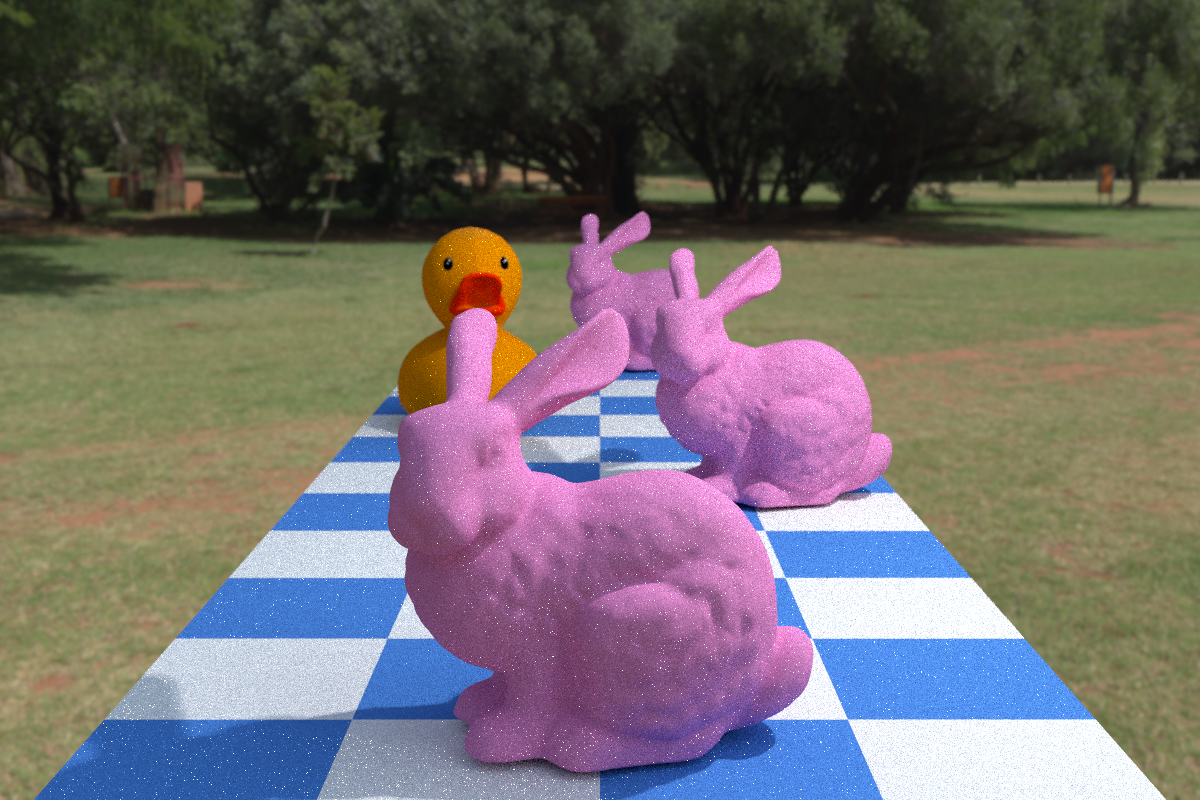
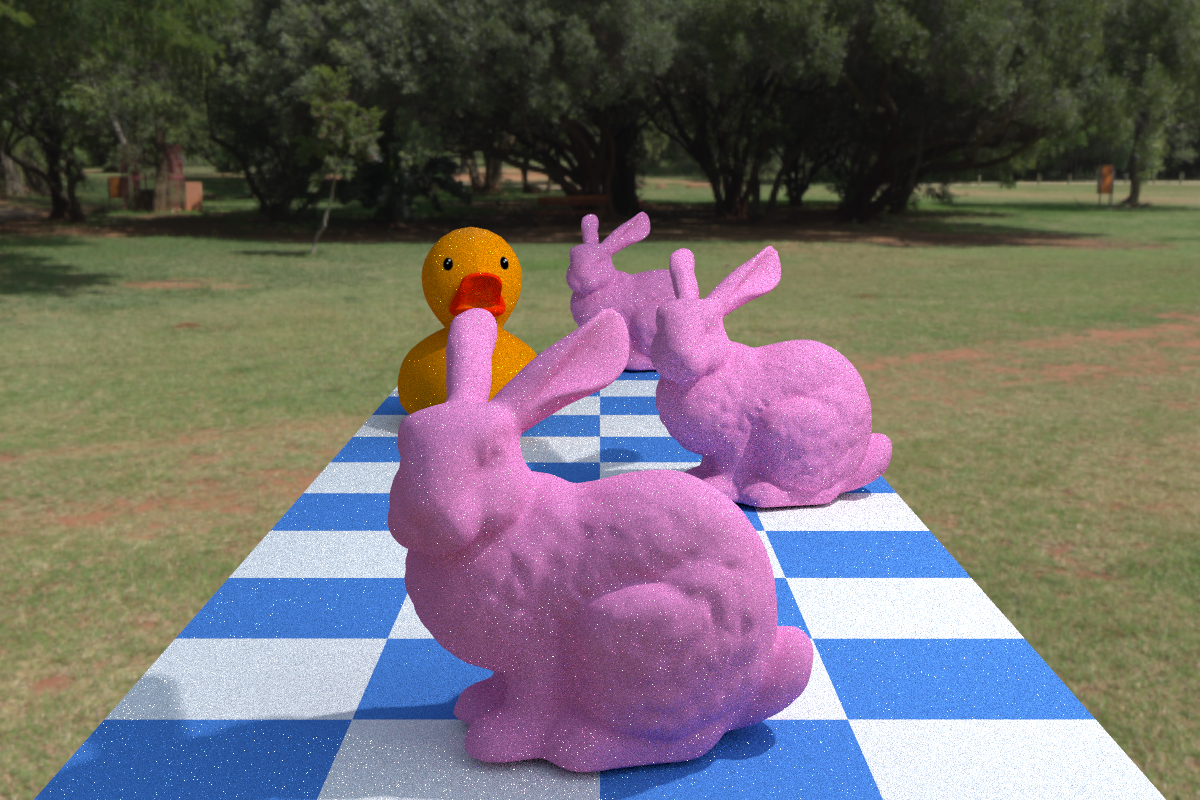
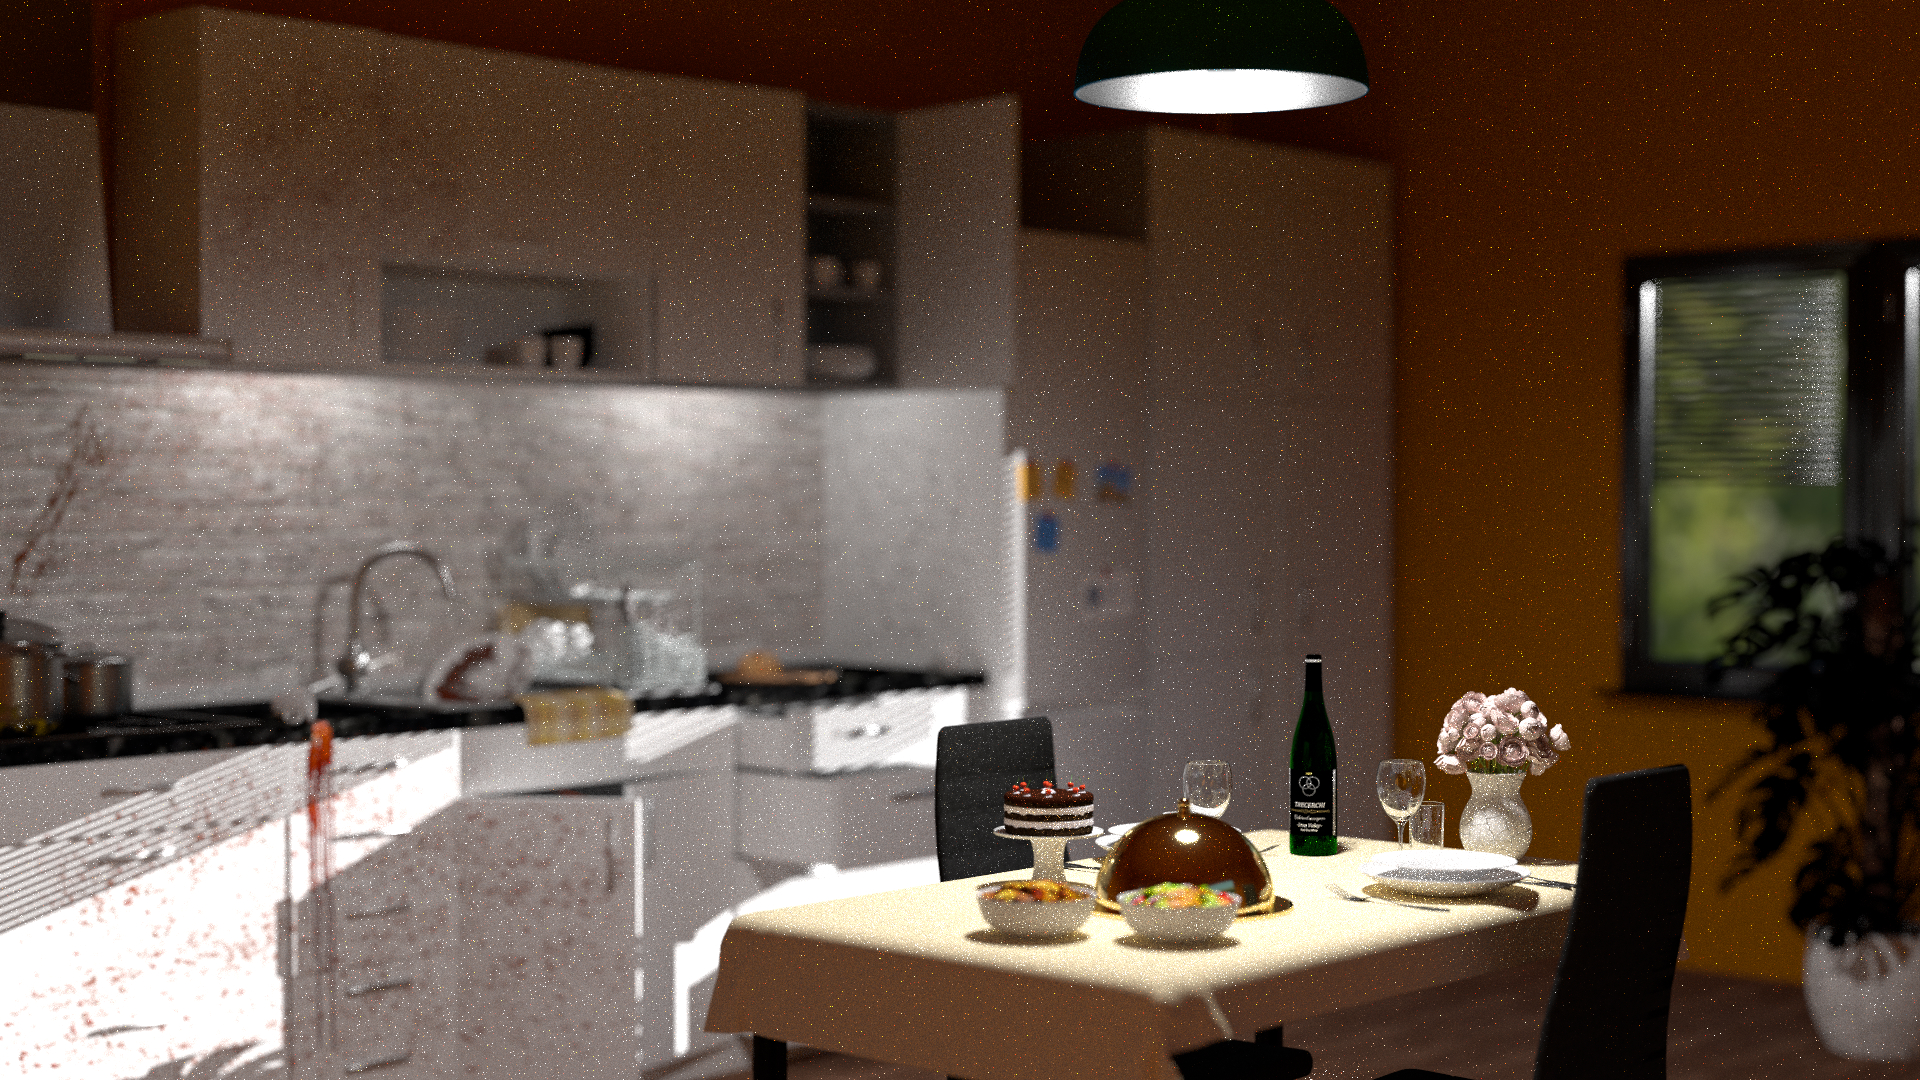
Thinlens camera is an approximation of a realistic camera lens. It adds a depth of field effect to rendered images by performing a simplified simulation, improving the realism of the scene. Similarly to a real-world camera, we can control the amount of blur in the image by adjusting the f-value.
Shading normals
Shading normals (also often called normal maps) are a simple way to add detail to a surface without increasing the geometry. They are used to simulate the appearance of bumps and dents on a surface. The idea is to store a normal vector in the texture map, and then use this normal vector to compute the lighting. This way, the surface appears to have more detail than it actually has.
We are making use of this feature to render more realistic bricks in the kitchen, plastered wall paint, the wooden floor panels and other objects.
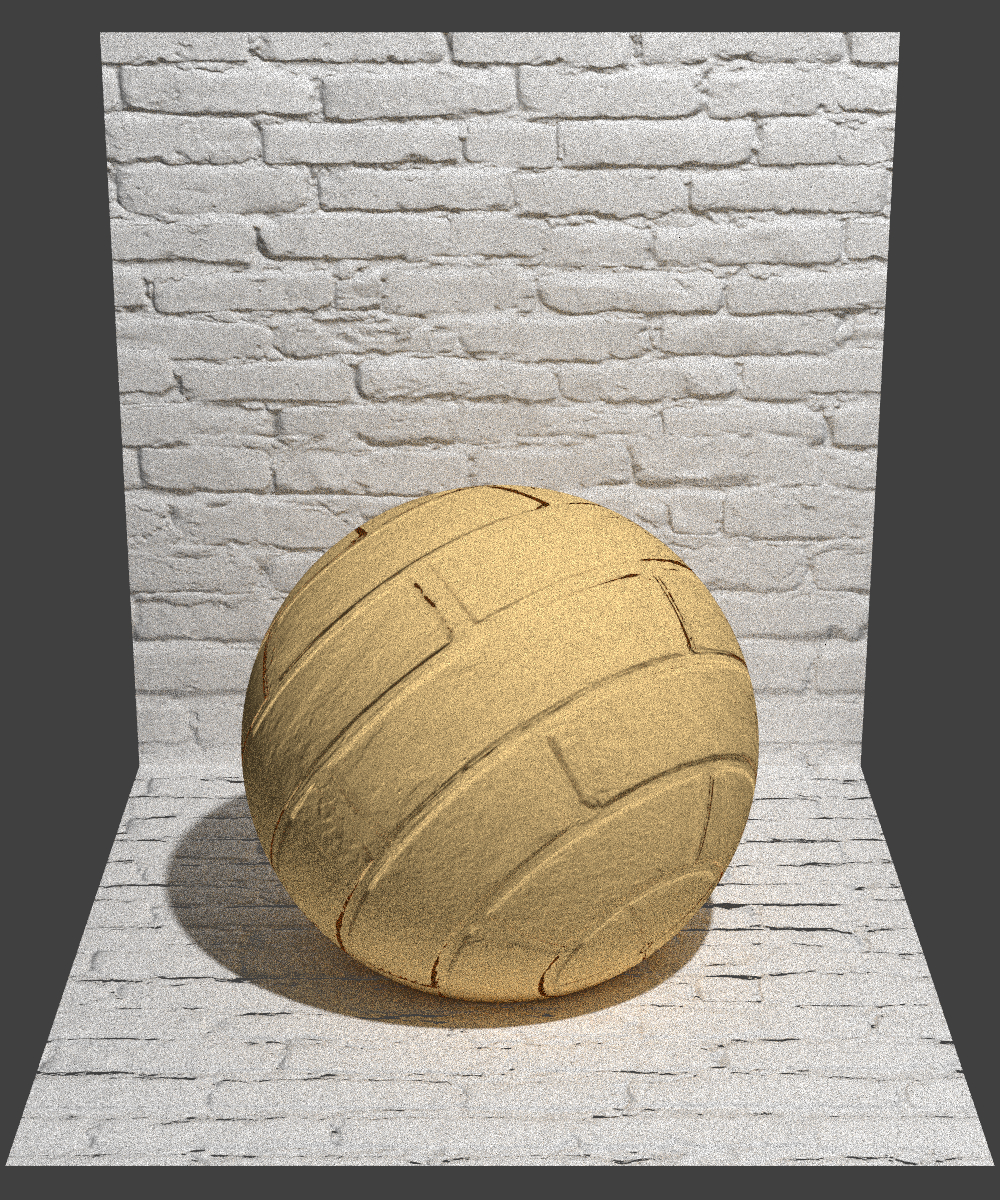 With shading normals
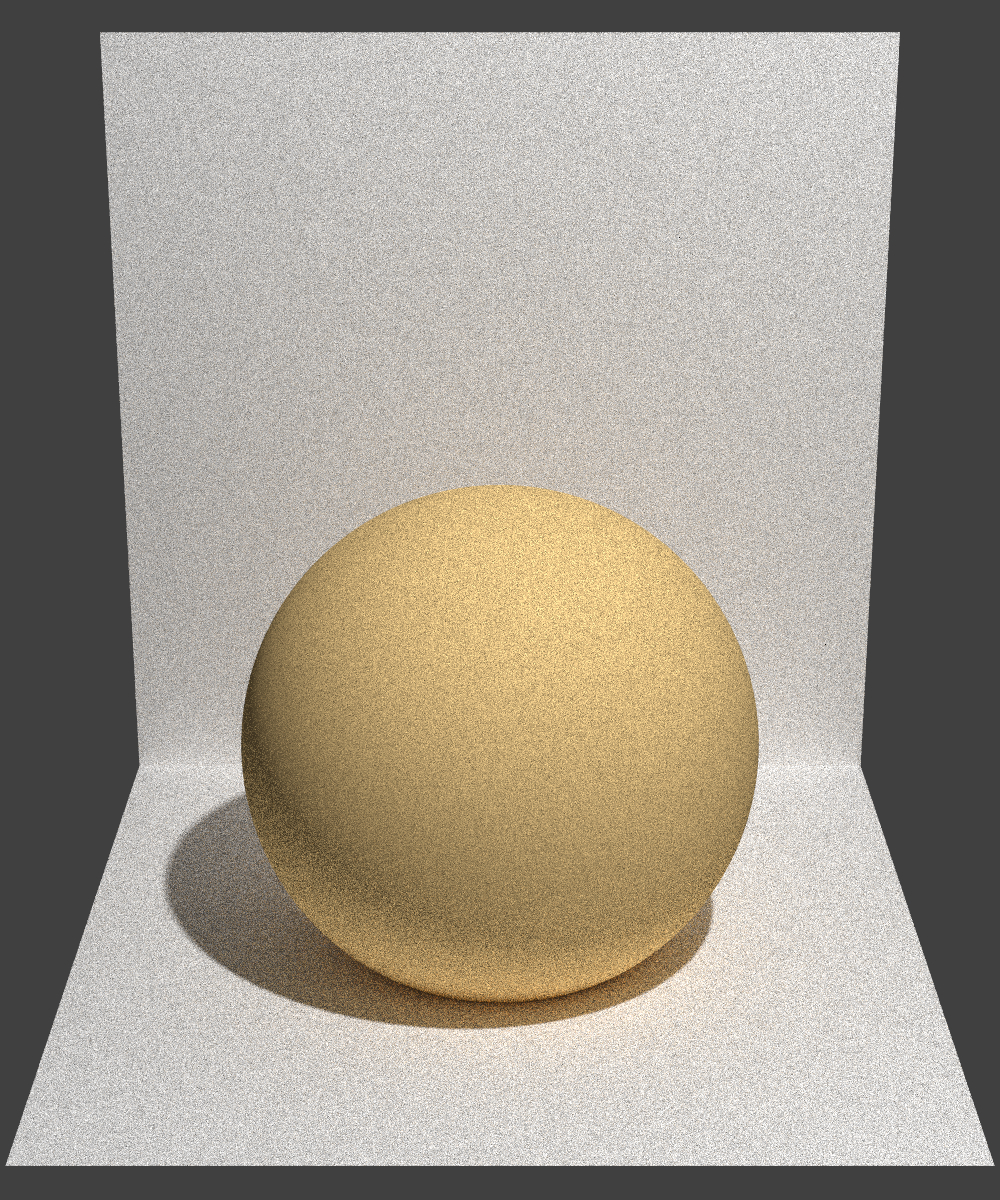 Without shading normals
Alpha masking
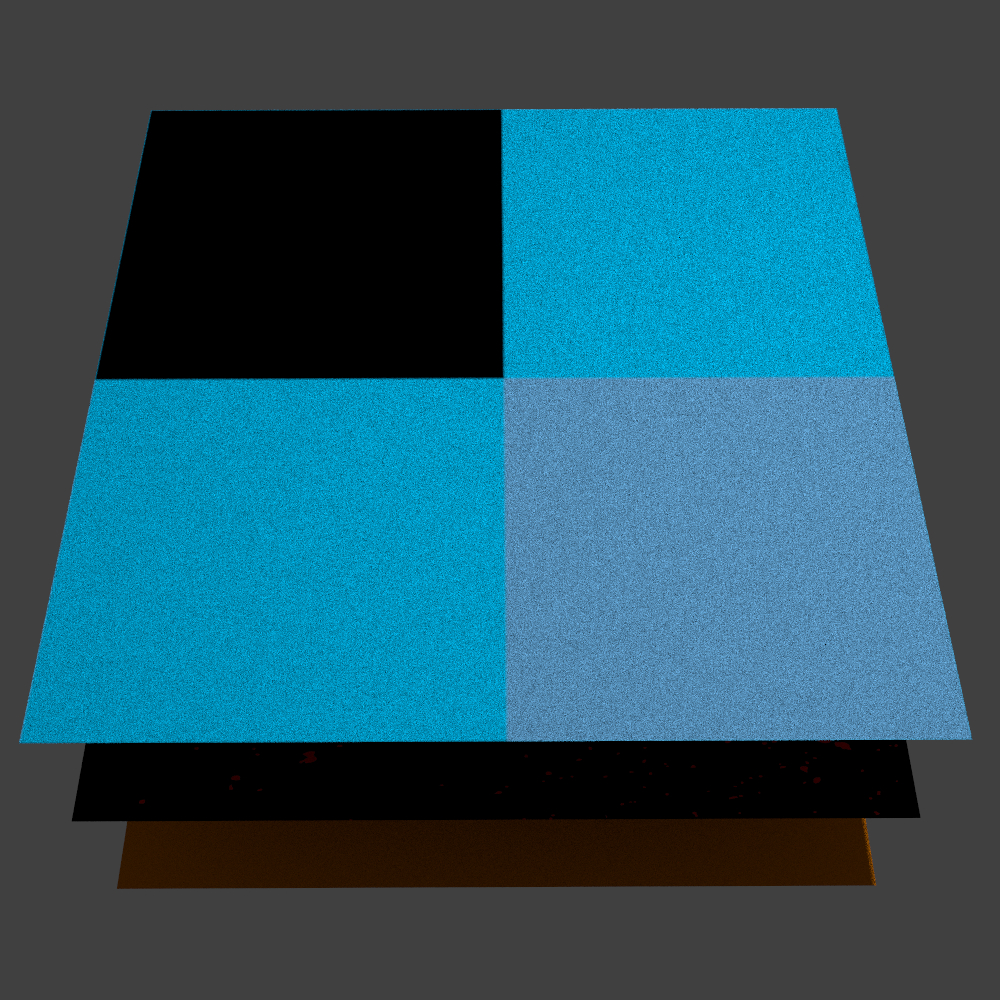
Alpha masking is a technique where we pass some rays through the object, ignoring the collision. The alpha value defines what fraction of the rays should intersect the object. To implement this feature, we have extended the Color class to support Alpha channel alongside RGB. This way the alpha values are read directly from the texture image.
We have used this feature extensively in the kitchen, by "shrinkwrapping" planes around multiple objects to add stains and splashes without having to create custom textures for multiple objects. This also gave us greater flexibility to adjust their position in the scene without the need to repaint the textures. We have also used this feature to add post-it notes and magnets to the fridge. Of course, this approach has the drawback that splashes do not include normal maps of the objects they are on, but it is not (that) noticeable, especially from the distance in the final render with blur from the lens model.
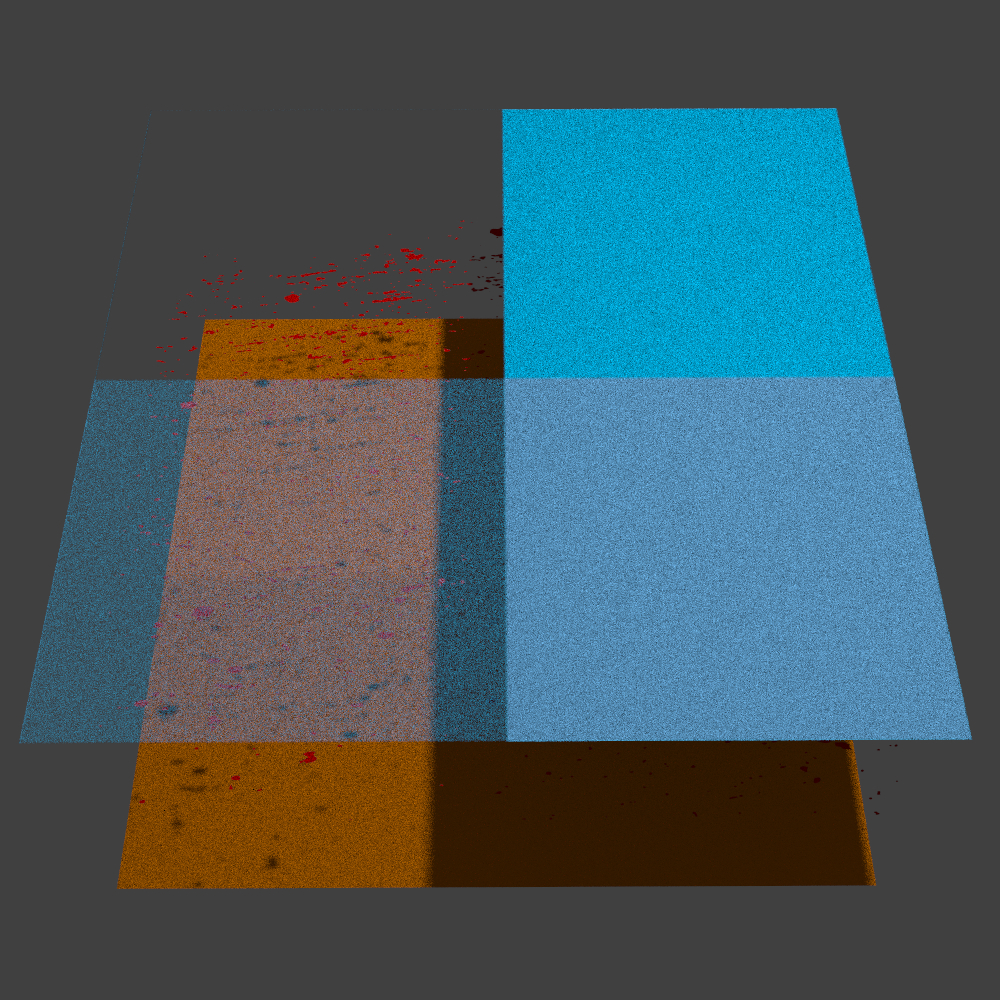 Three planes with alpha masking
 Three planes without alpha masking
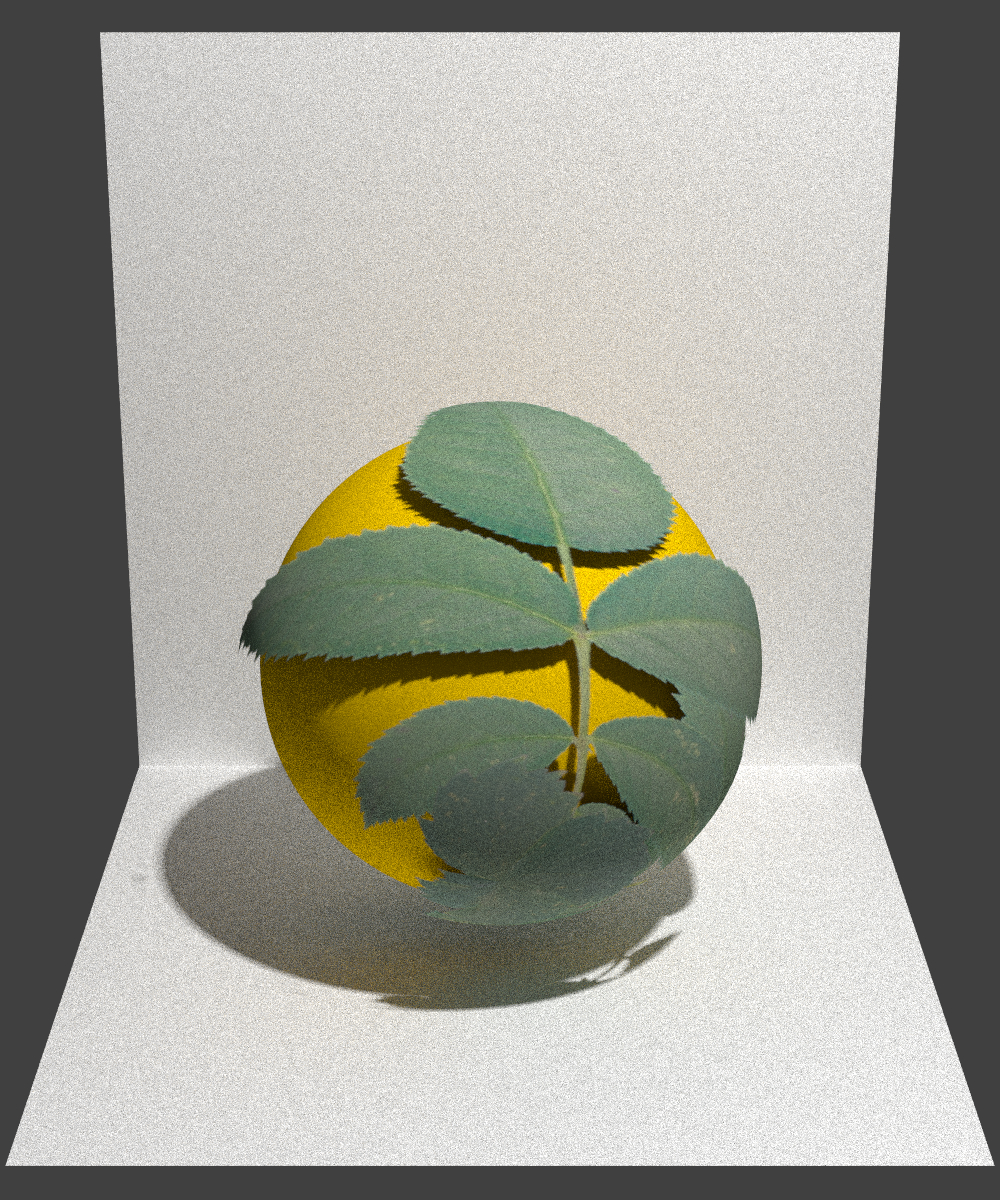 Two spheres with alpha masking
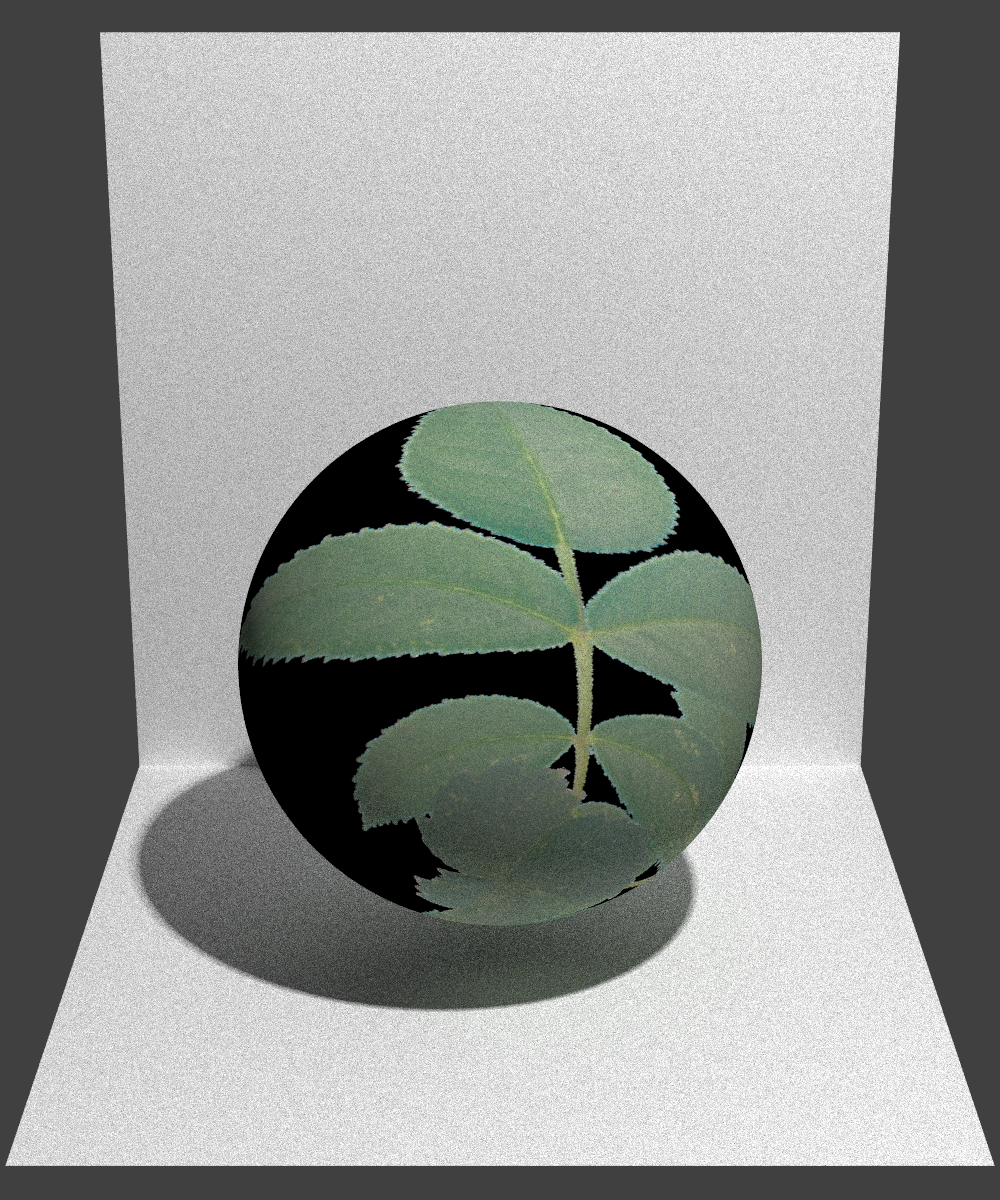 Two spheres without alpha masking
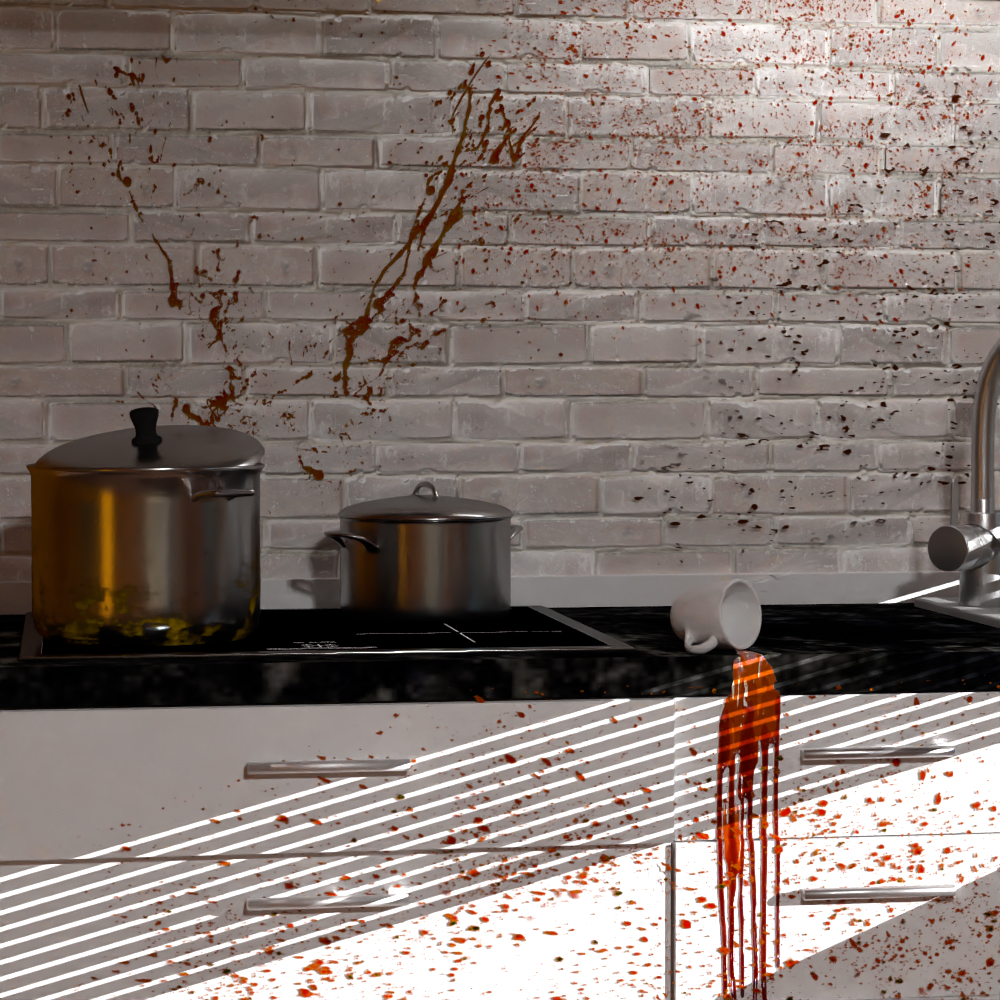 Alpha masking used for splashes, spill and grime on the pot (denoised)
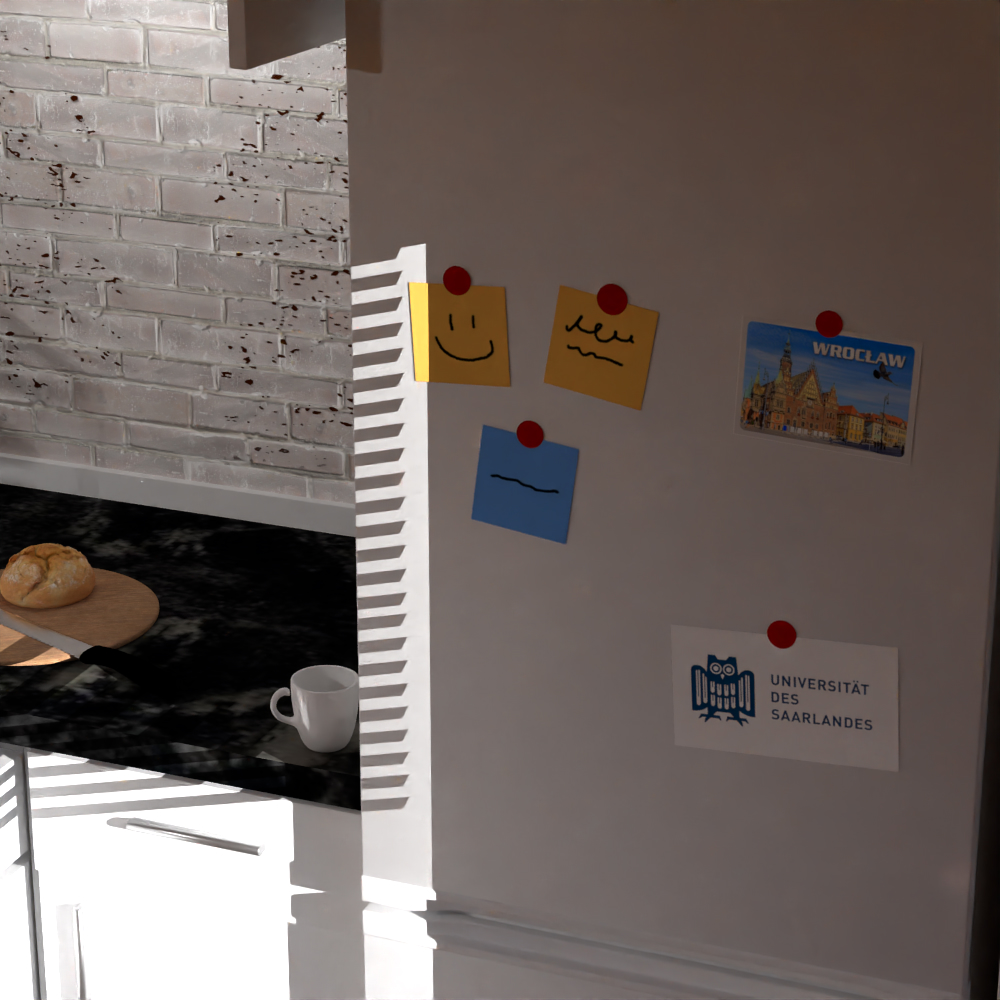 Alpha masking used for splashes and magnets on the fridge (denoised)
Area lights
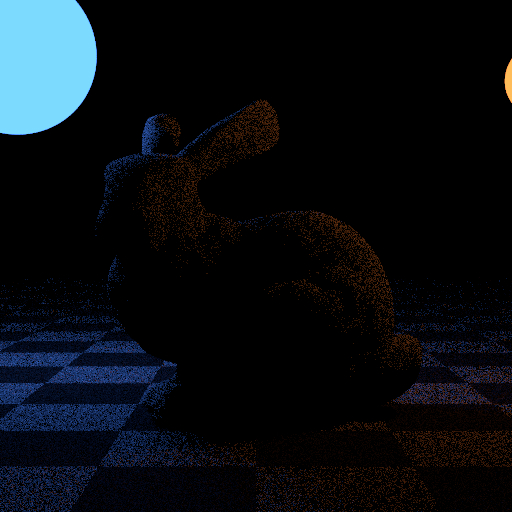
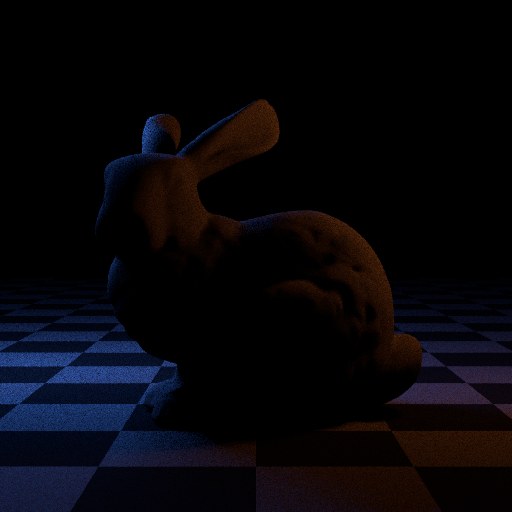
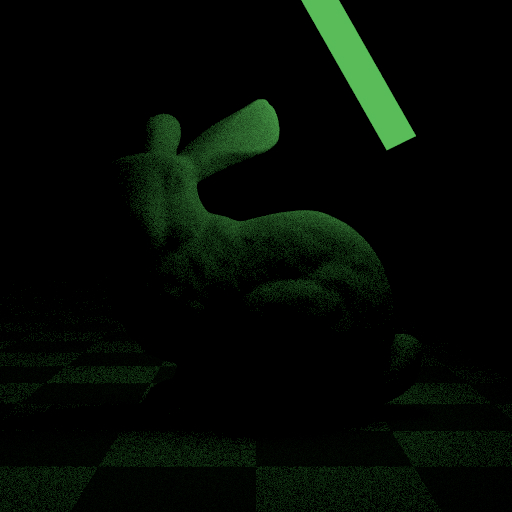
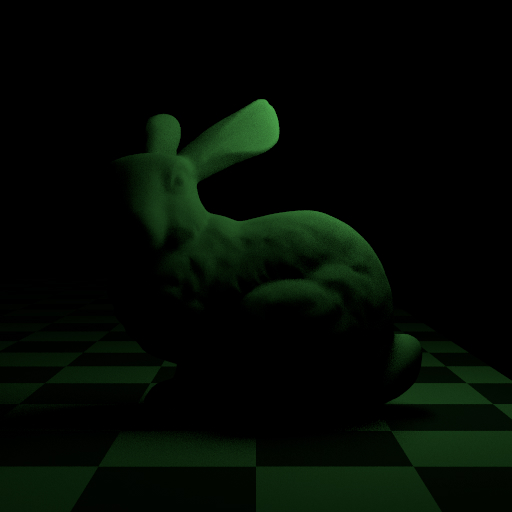
Area lights are similar to emissive shapes that we have implemented as part of assignments. However, in contrast to emissive shapes we sample from them at every ray intersection points, not only when the ray hits the emissive shape. This results in lower levels of noise in the image if the light emitting object is small, as then the rays are less likely to hit it. Since we have implemented area lights to not be intersectable, they are not visible in the final images.
Emissive objects | Area lights
Emissive object | Area light
Denoising
The image produced by our ray-tracer is often noisy, even with quite high values of samples per pixel. Denoising is a technique used to remove this noise from the image. We use
Intel® Open Image Denoise library for this purpose. We feed our noisy render alongside a normal and albedo buffer to the library, which then produces a denoised image.
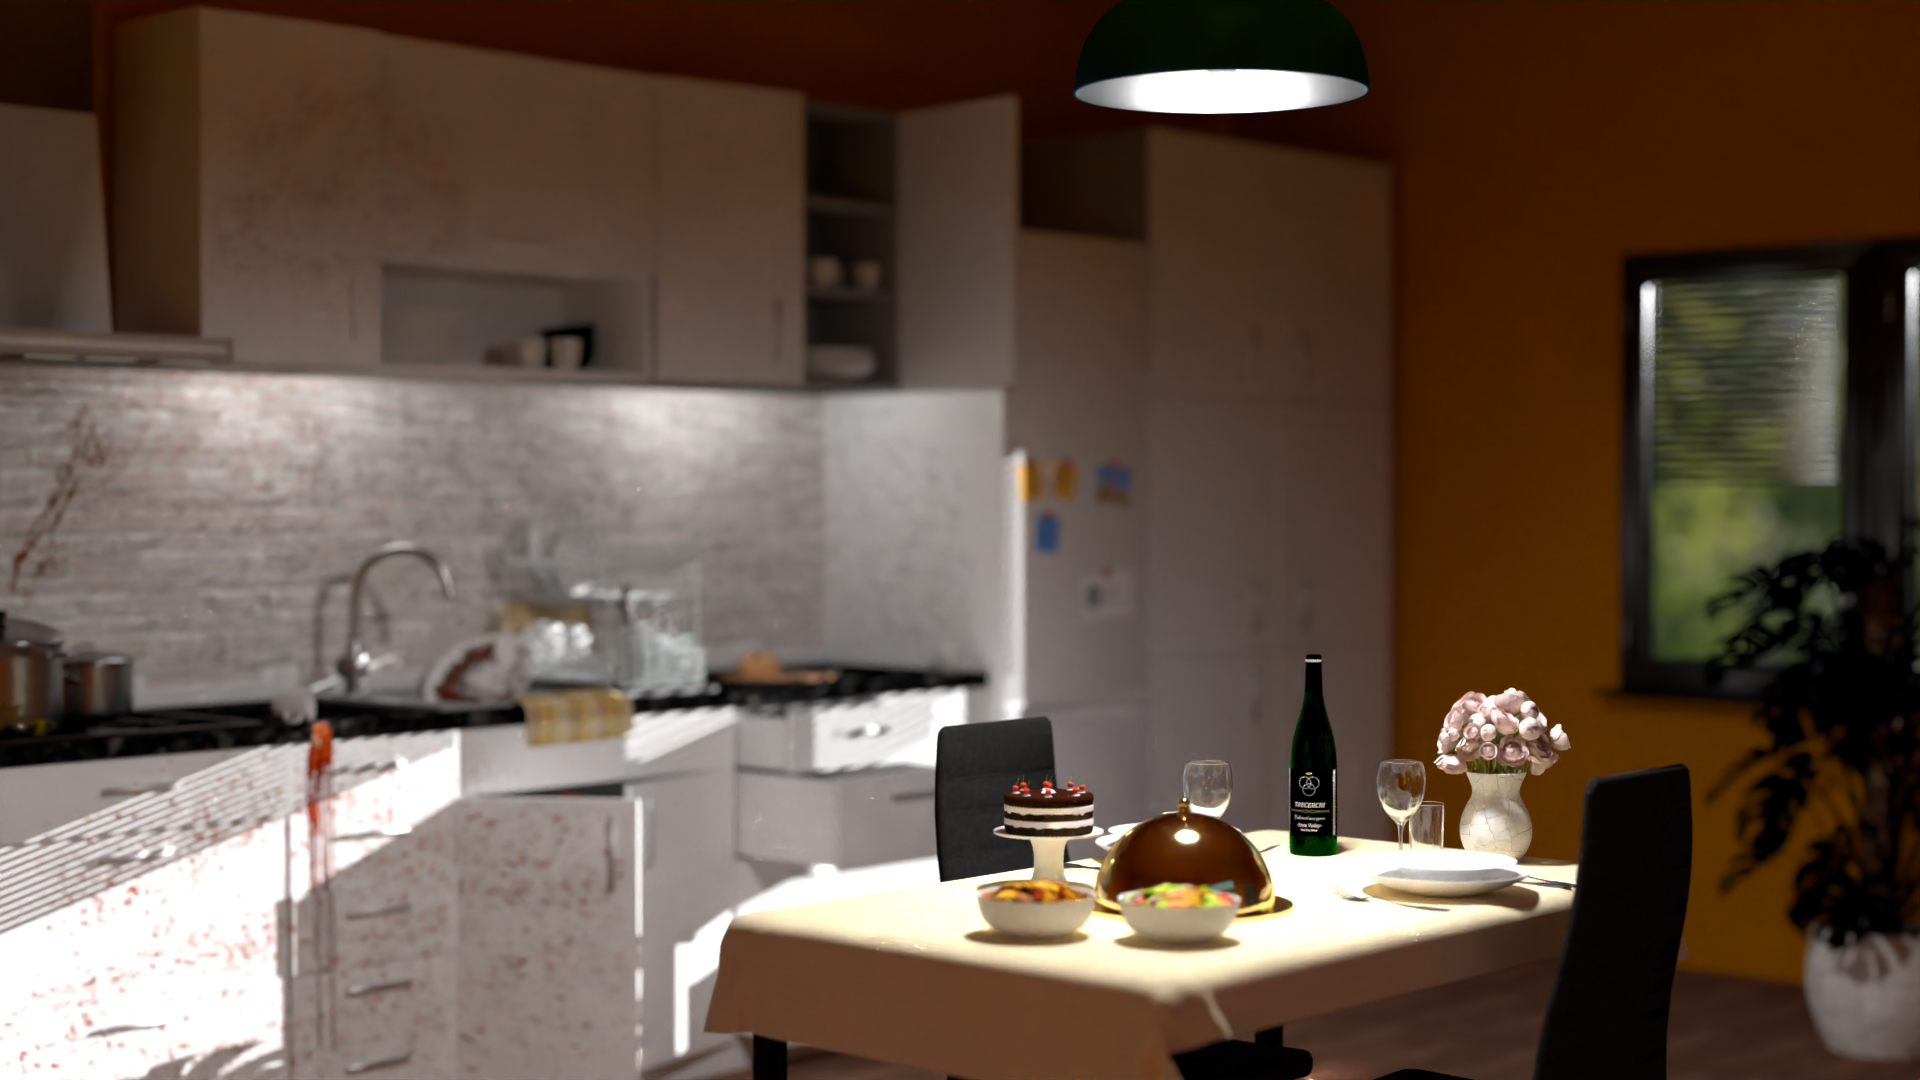 Final result, rendered with depth of 13 and 1024 samples per pixel, then denoised