Final Scene
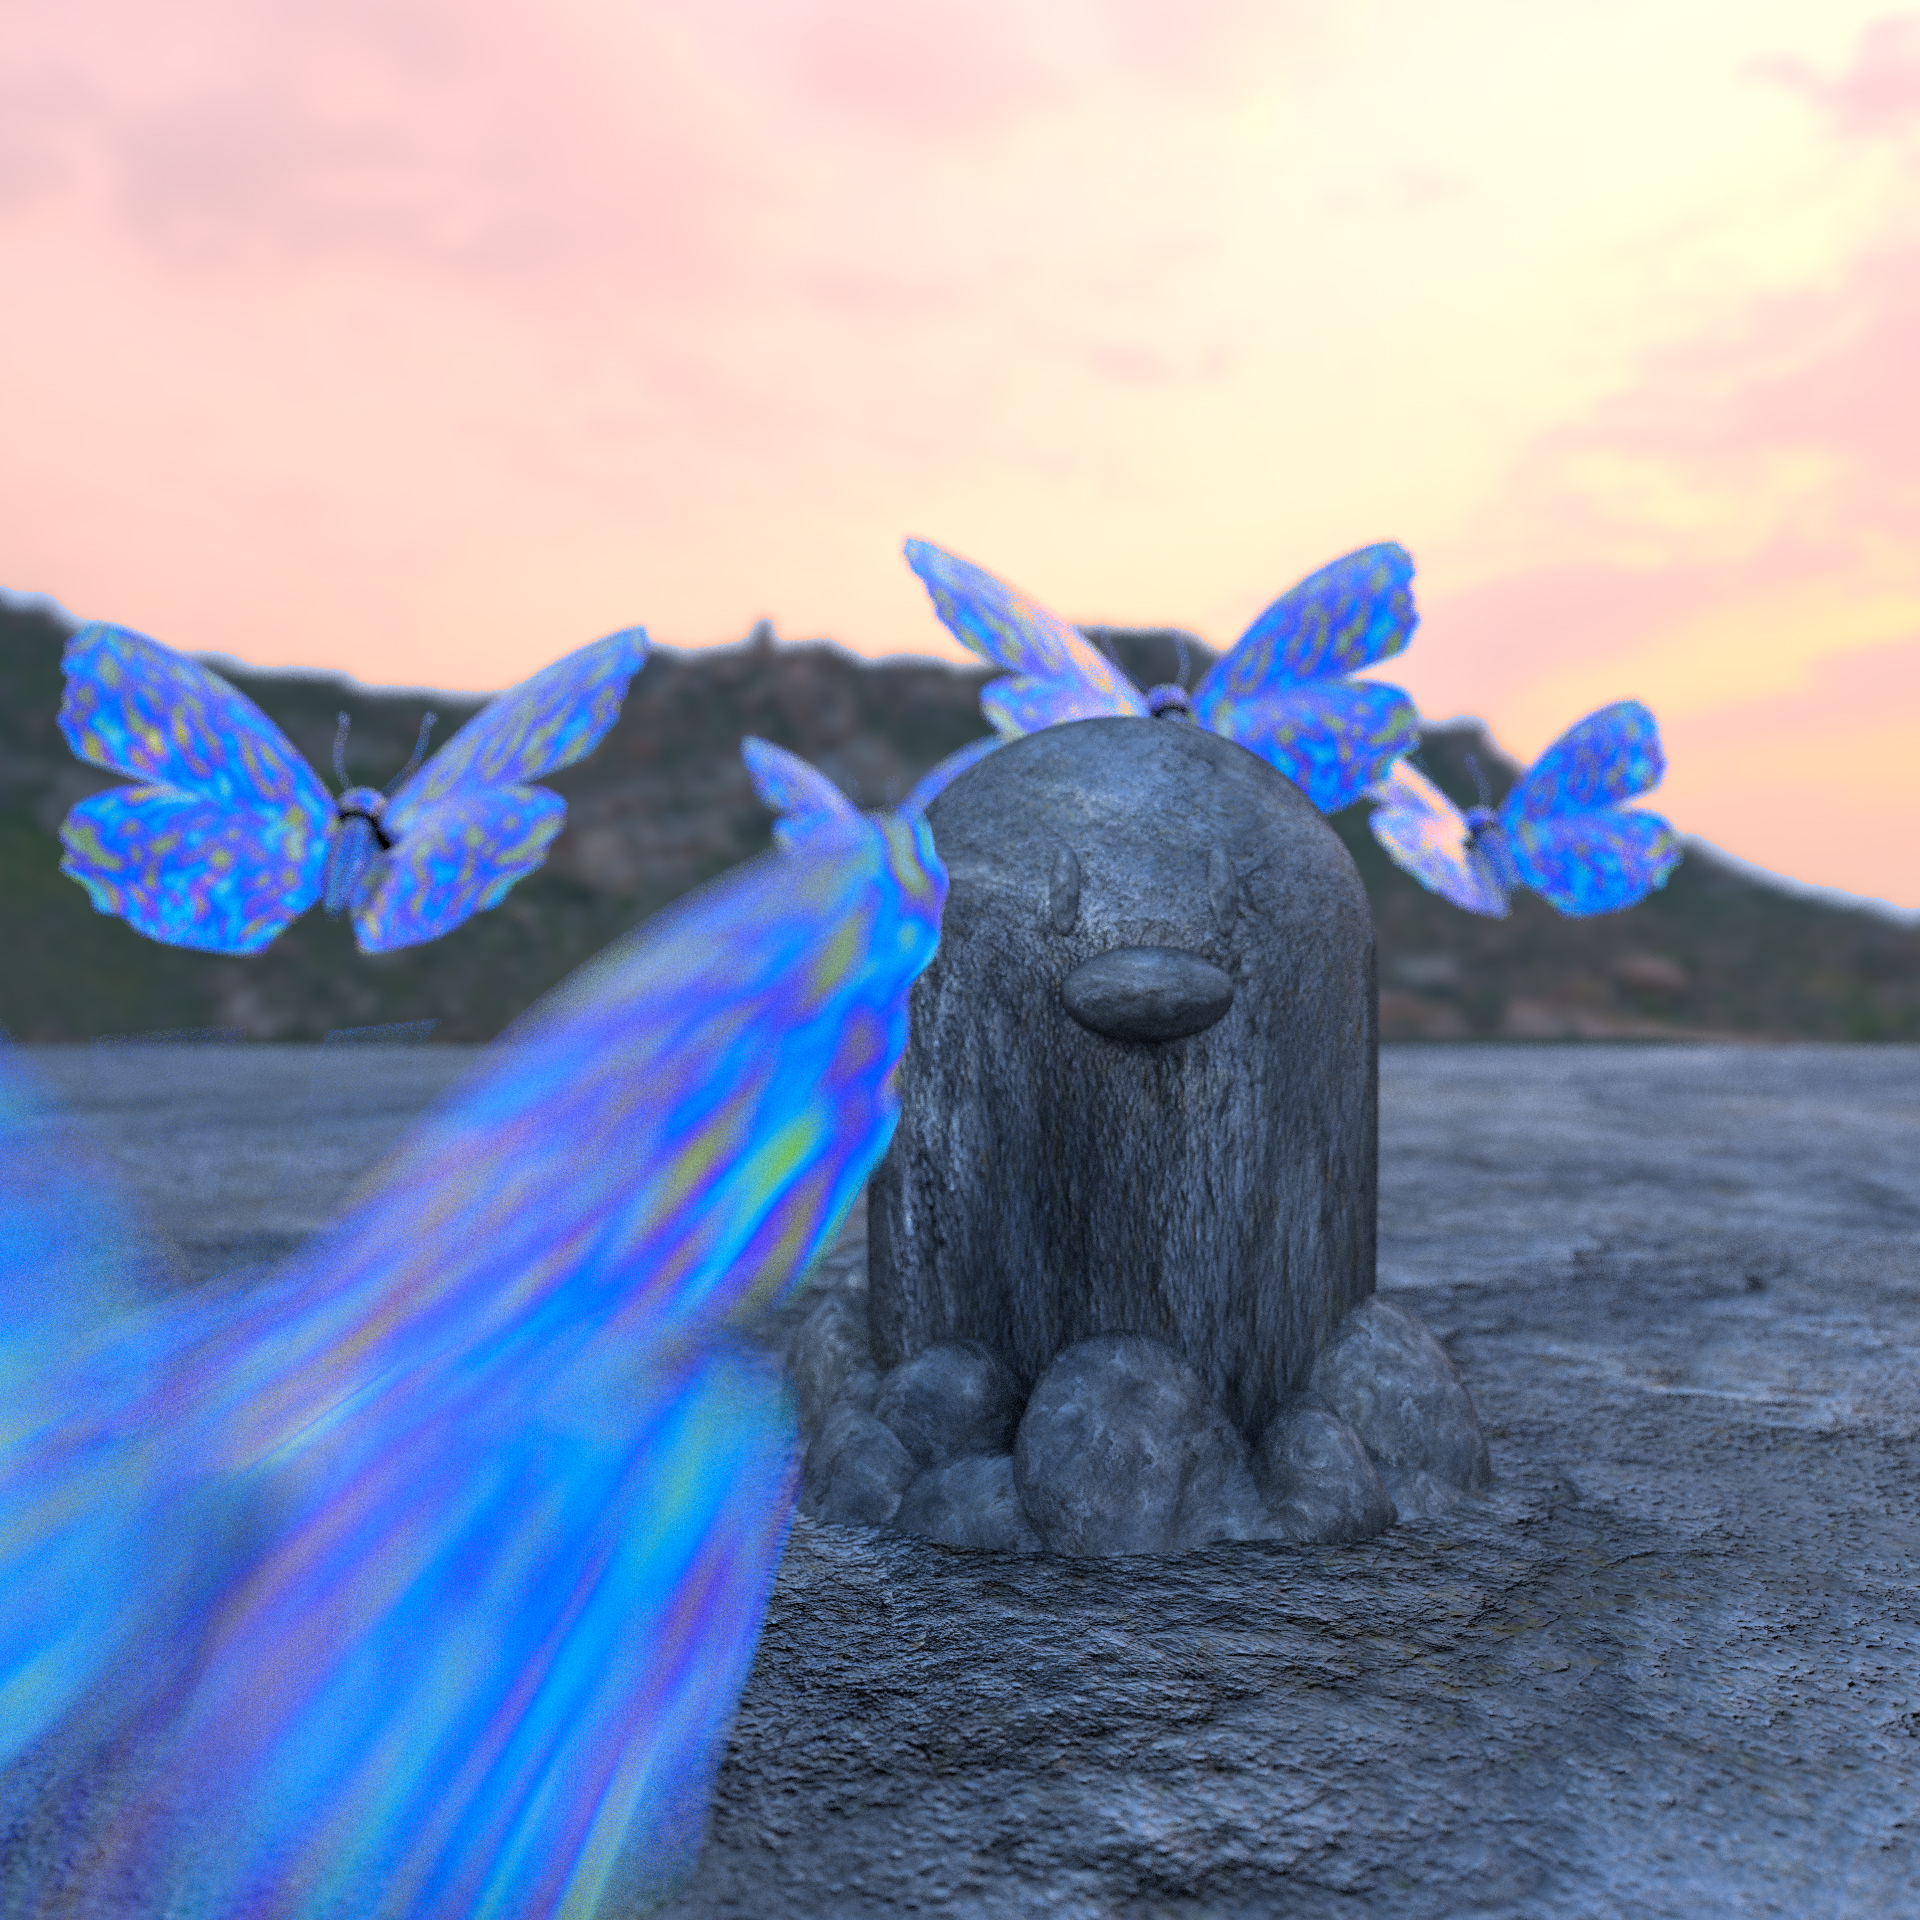
This is the final rendered scene of our project. It showcases the culmination of all implemented features, including iridescence, motion blur, and features explained below.
Our entry is inspired by the butterfly effect and the Lorenz attractor in chaos theory (Lorenz system), whose shape resembles a butterfly. We also incorporated a Diglett rock statue as a tribute to our team name. Our scene embodies chaos in that the butterflies' colors shift based on slight variations in the thickness of the thin film on their bodies and the angle of incoming light. Yet, despite this (relative) unpredictability, they move in harmony as they circle around the Diglett statue.
Made by: Shahrzad Kharazmi and Mona Angelina Raphaela Schappert
This is the final rendered scene of our project. It showcases the culmination of all implemented features, including iridescence, motion blur, and features explained below.
By substituting a surface’s true geometry normals with a texture’s normal data (normal mapping), we can create the illusion of extra detail and realism without increasing the mesh complexity. (The biggest challenge for normal maps was that we hadn't seen that there was a helper method in Lightwave that would have taken care of 80% of our computations)
While the effect of the Halton sampler may seem negligible at first, it actually improved the sharpness and color of objects that are out of focus.
Our list of prime numbers was way too short in the beginning and it took a moment to figure out why the sampler was so bad.
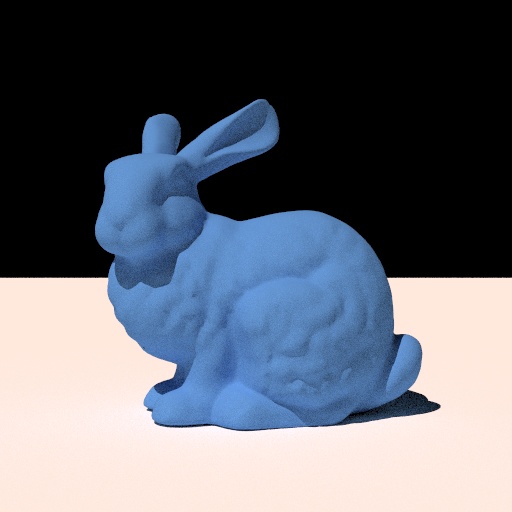
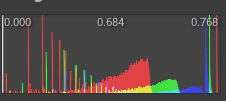
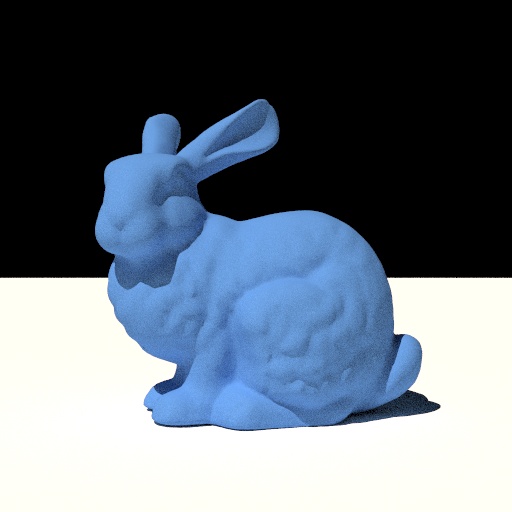
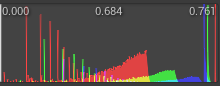
Bloom is a post-processing effect that simulates the scattering of light in bright areas of an image. This creates a glowing effect around light sources and enhances the overall visual appeal of the scene.
The widget above demonstrates how bloom can be applied to enhance the visual quality of rendered images. It dynamically adjusts the intensity and spread of light to create a more realistic and immersive experience.
Image denoising is a post-processing technique used to reduce noise in rendered images, improving their clarity and visual quality. This process helps to create smoother surfaces and more realistic lighting effects.
The widget above demonstrates the impact of image denoising on rendered scenes. By comparing noisy and denoised images, you can observe how this technique enhances the overall quality of the output.
Motion blur is a visual effect that simulates the blurring of objects in motion, mimicking the way cameras capture fast-moving subjects. This effect enhances realism by adding a sense of speed and fluidity to animations.
The widget above demonstrates how motion blur can be applied to moving objects in a rendered scene. It dynamically adjusts the blur intensity based on the object's velocity, creating a more immersive experience.
You can already observe the iridescence effect on butterflies; here is another example of this phenomenon.
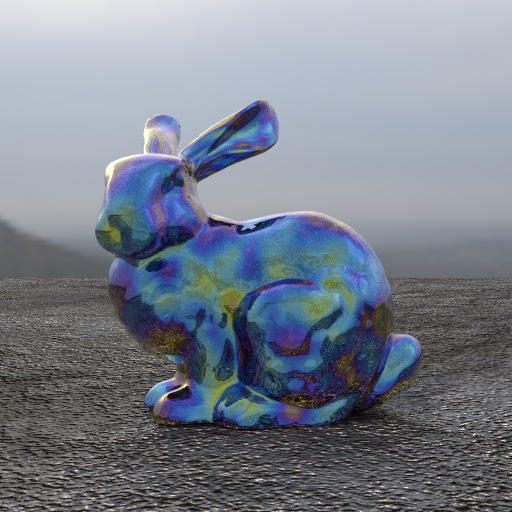
Iridescence is an optical phenomenon where surfaces display different colors when seen from various angles due to the interference of light waves. This effect is beneficial in material sciences as it can serve as a non-invasive diagnostic tool to analyze surface properties and can be utilized in applications such as security features and responsive coatings.
We struggled with making sense of the paper that was linked as a resource and turning the model into code. To get a better idea about what is important for implementing iridescence, we looked at other implementations such as this report and this Shadertoy example. Another smaller challenge we had was properly handling the additional refractive index in our code.
Implementing a Thinlens camera in our renderer brought a new level of realism to our rendering capabilities. By simulating the behavior of real-world cameras, this feature mimics the principles of optics to create depth-of-field effects, enhancing the overall authenticity of our rendered scenes.
In our project, we successfully implemented a Thinlens camera plugin and experimented with varying aperture values to achieve different artistic effects. This allowed us to control the focus and blur in our scenes, adding a cinematic quality to the final output. For inspiration and guidance, we referred to resources like PBRT, which provided valuable insights into how a thin-lens camera model can be effectively implemented.
For the independent sampler, we wrote some biased nextFloat() functions.
float nextBiasedFloat() {
    for (;;) {
        uint32_t x = nextUInt();
        float res = *(float *) &x;
        if (res == res) {
            return res - floor(res);
        }
    }
}
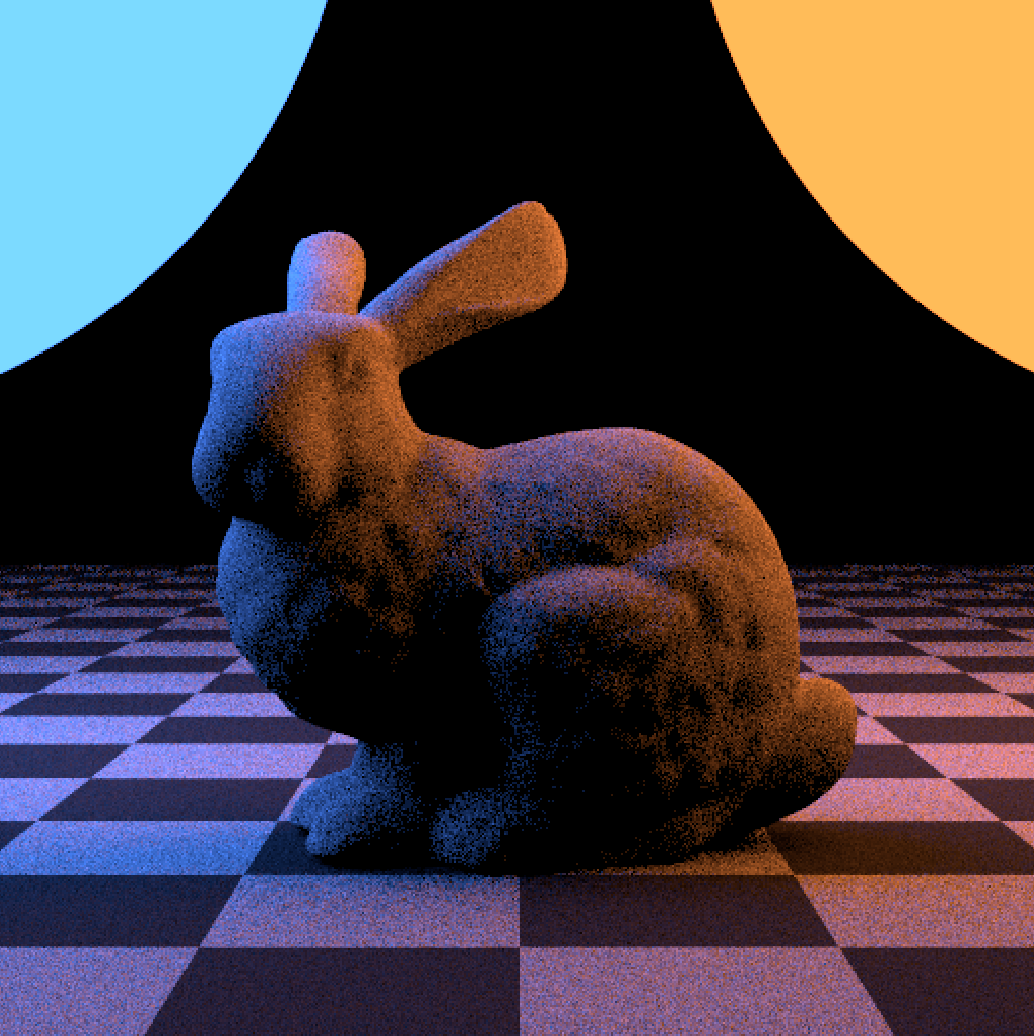
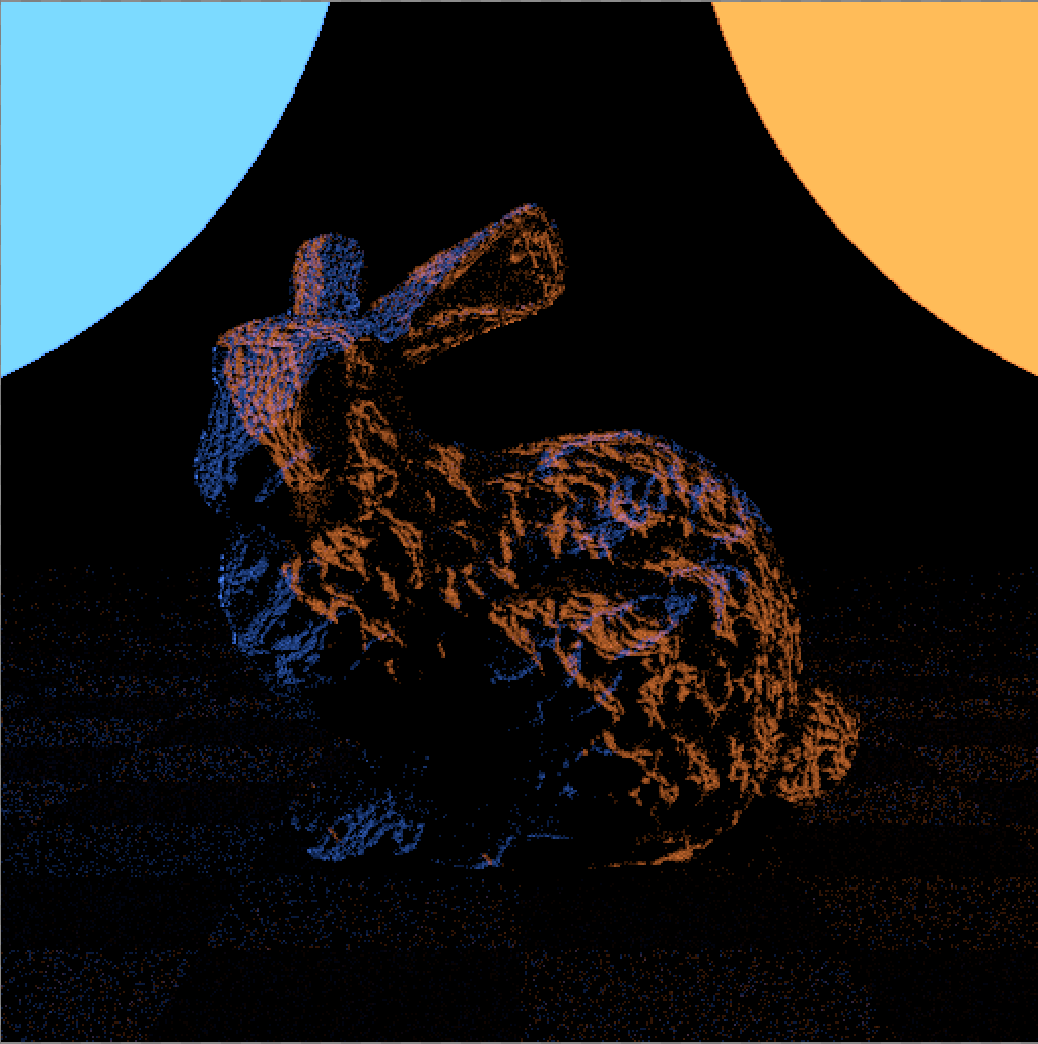
We let the RNG generate a random bit string, interpret it as a float, and take the offset from the next smallest integer. Since some bit strings constitute invalid float values, we repeat this until we find a valid float. We chose to dub this "logarithmically biased" due to how float values are represented.
float nextStickyFloat() {
    uint64_t oldstate = state;
    float res = nextFloat();
    if (nextFloat() < 0.5f)
        state = oldstate;
    return res;
}
Only slightly weird result, but it's nice to remember that the state attribute exists.
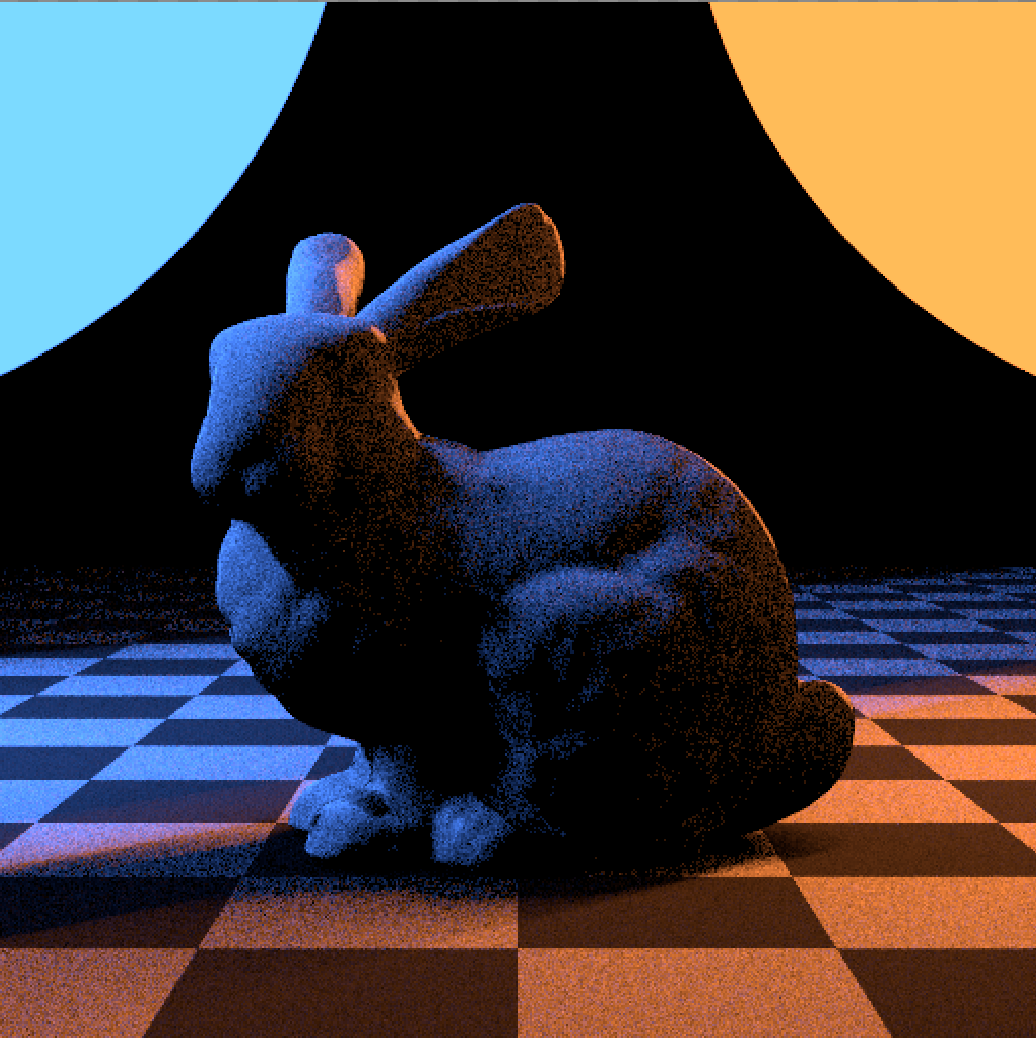
float nextSineFloat() {
    float base = nextFloat();
    float res = base * 44.0f / 7.0f;
    return (sinf(res) + 1.0f) / 2.0f;
}
I used 22/7 as an approximation for pi. I thought using sine would result in something interesting, but in the end, it just looked smoother.
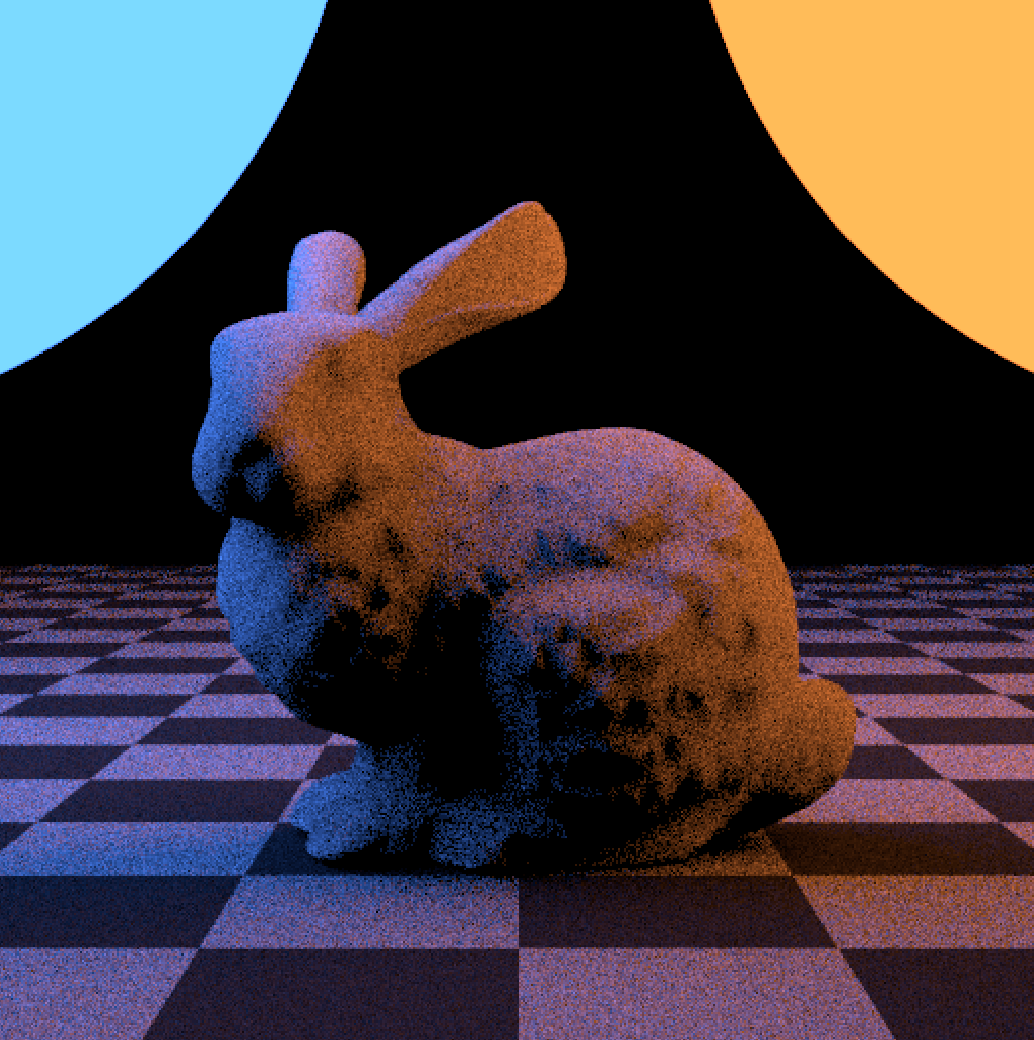
float nextFloatMultiplied() {
    return nextFloat() * nextFloat();
}
Slightly weird result.
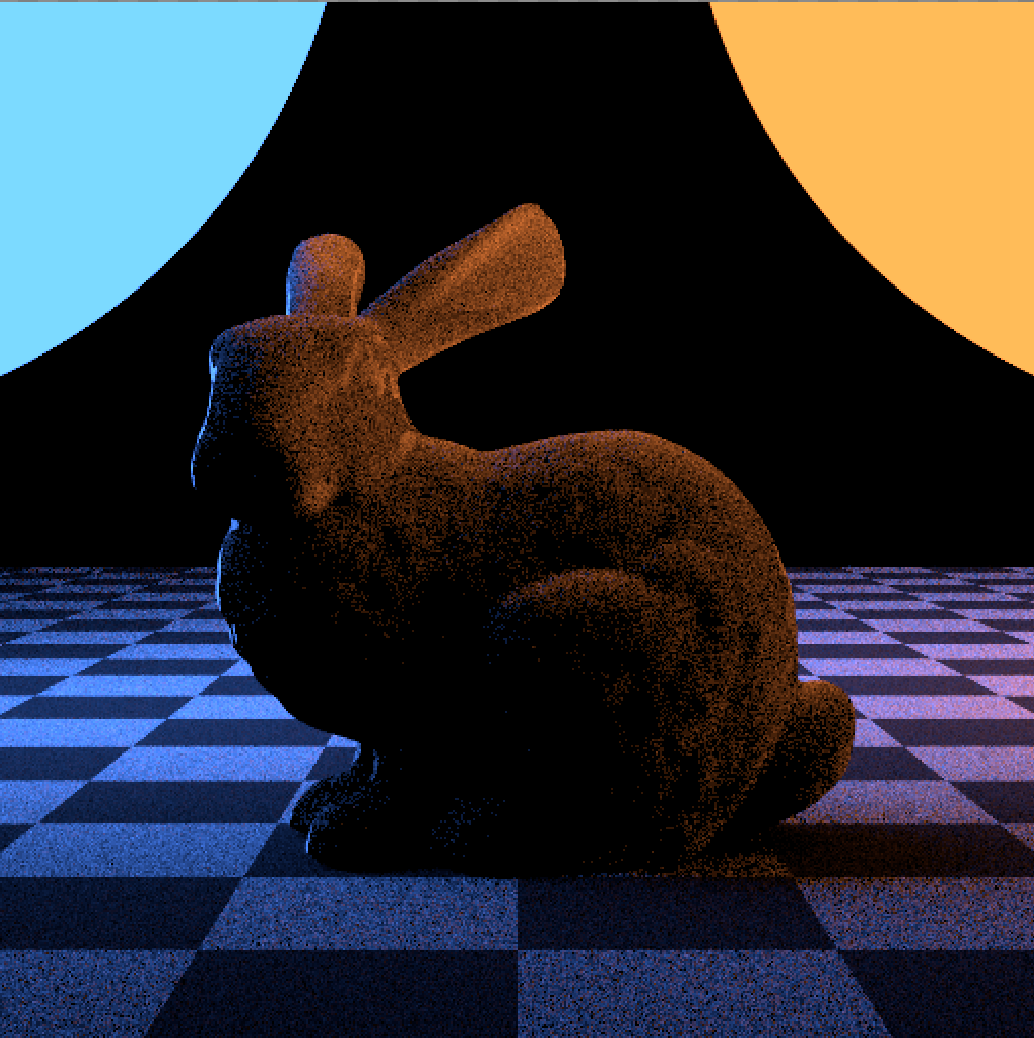
float nextPrimedFloat() {
    uint32_t x = nextUInt() / 2;
    for (;;) {
        bool isPrime = true;
        for (uint32_t i = 2; i * i <= x; i++) {
            if (x % i == 0) {
                isPrime = false;
                break;
            }
        }
        if (isPrime) {
            break;
        } else {
            x++;
        }
    }
    union {
        uint32_t u;
        float f;
    } y;
    y.u = (x >> 9) | 0x3f800000u;
    return y.f - 1.0f;
}
This one was too slow to give any result, at least on my machine. What I wanted was an RNG that would only return floats that are prime numbers when interpreted as unsigned integers.