Subtle Mayhem
Computer Graphics Winter 2024/25 - Rendering Competition
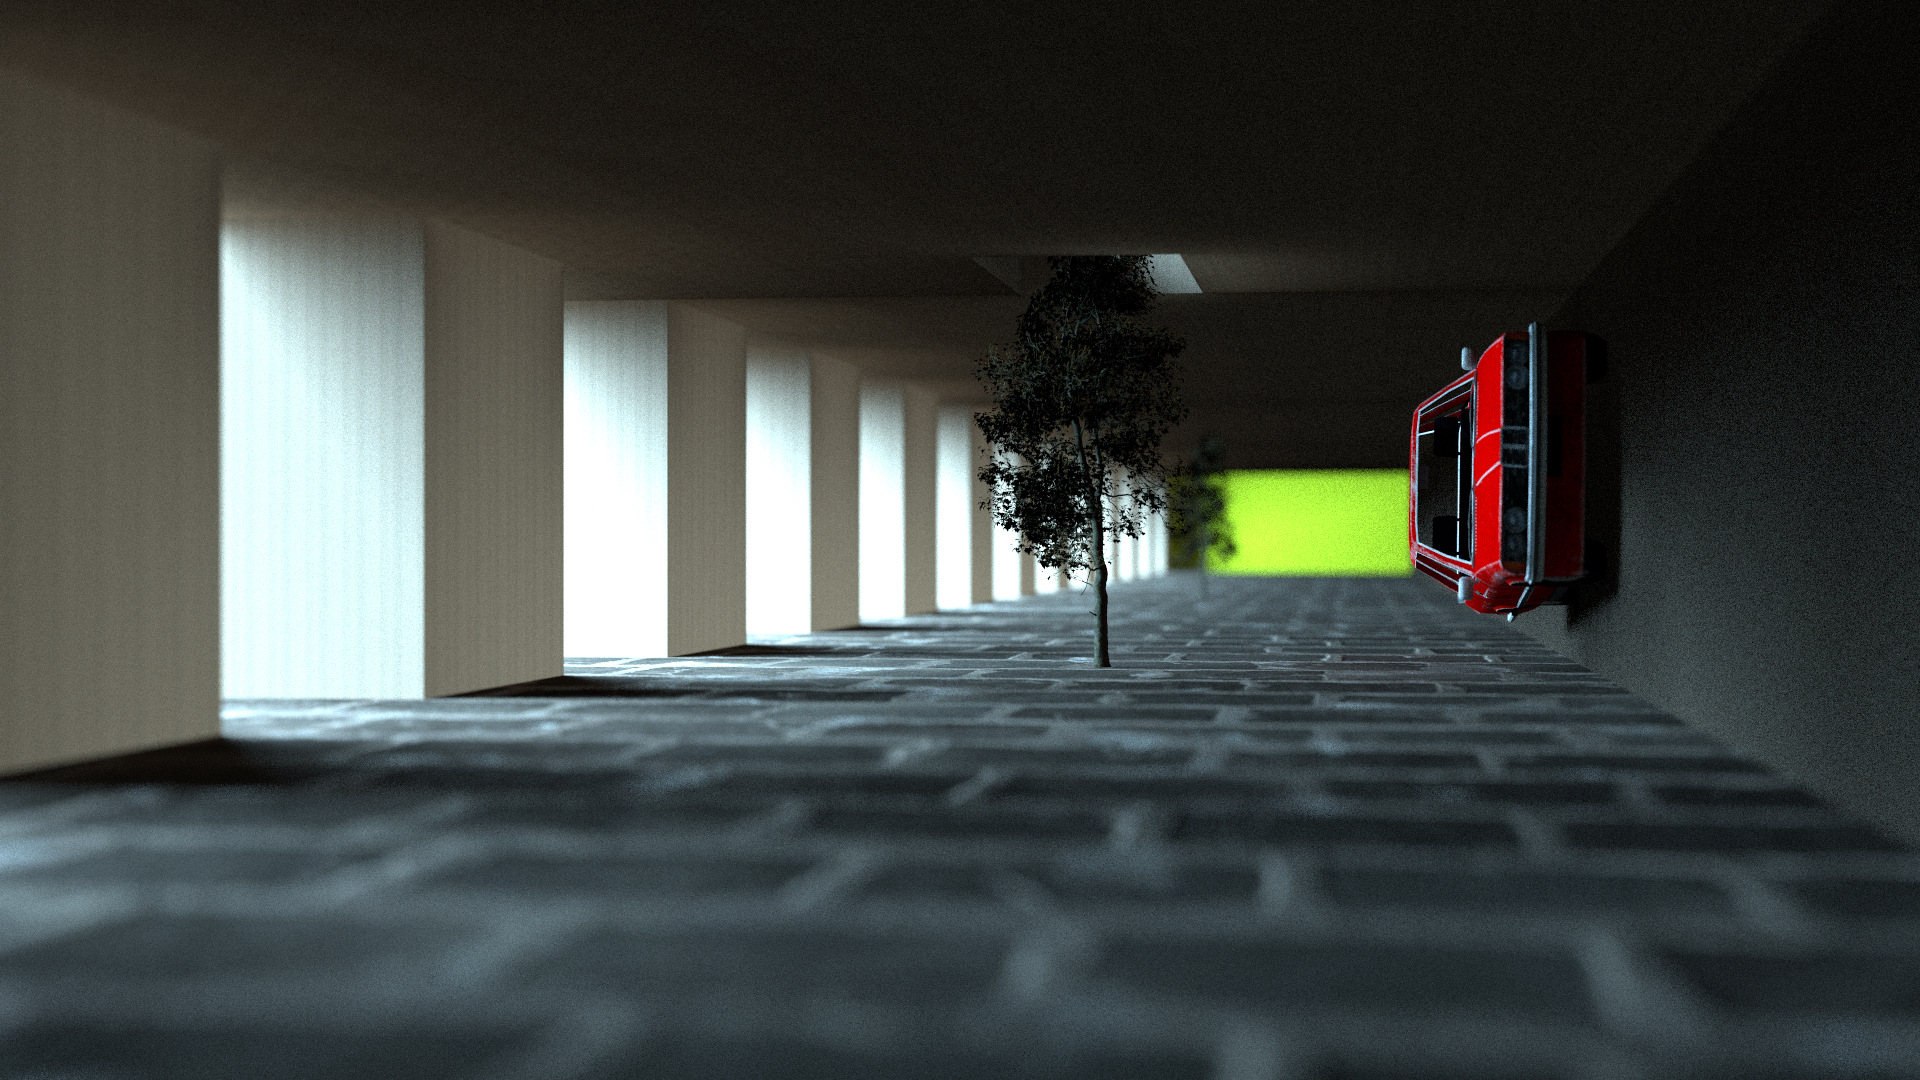
Rendered Image
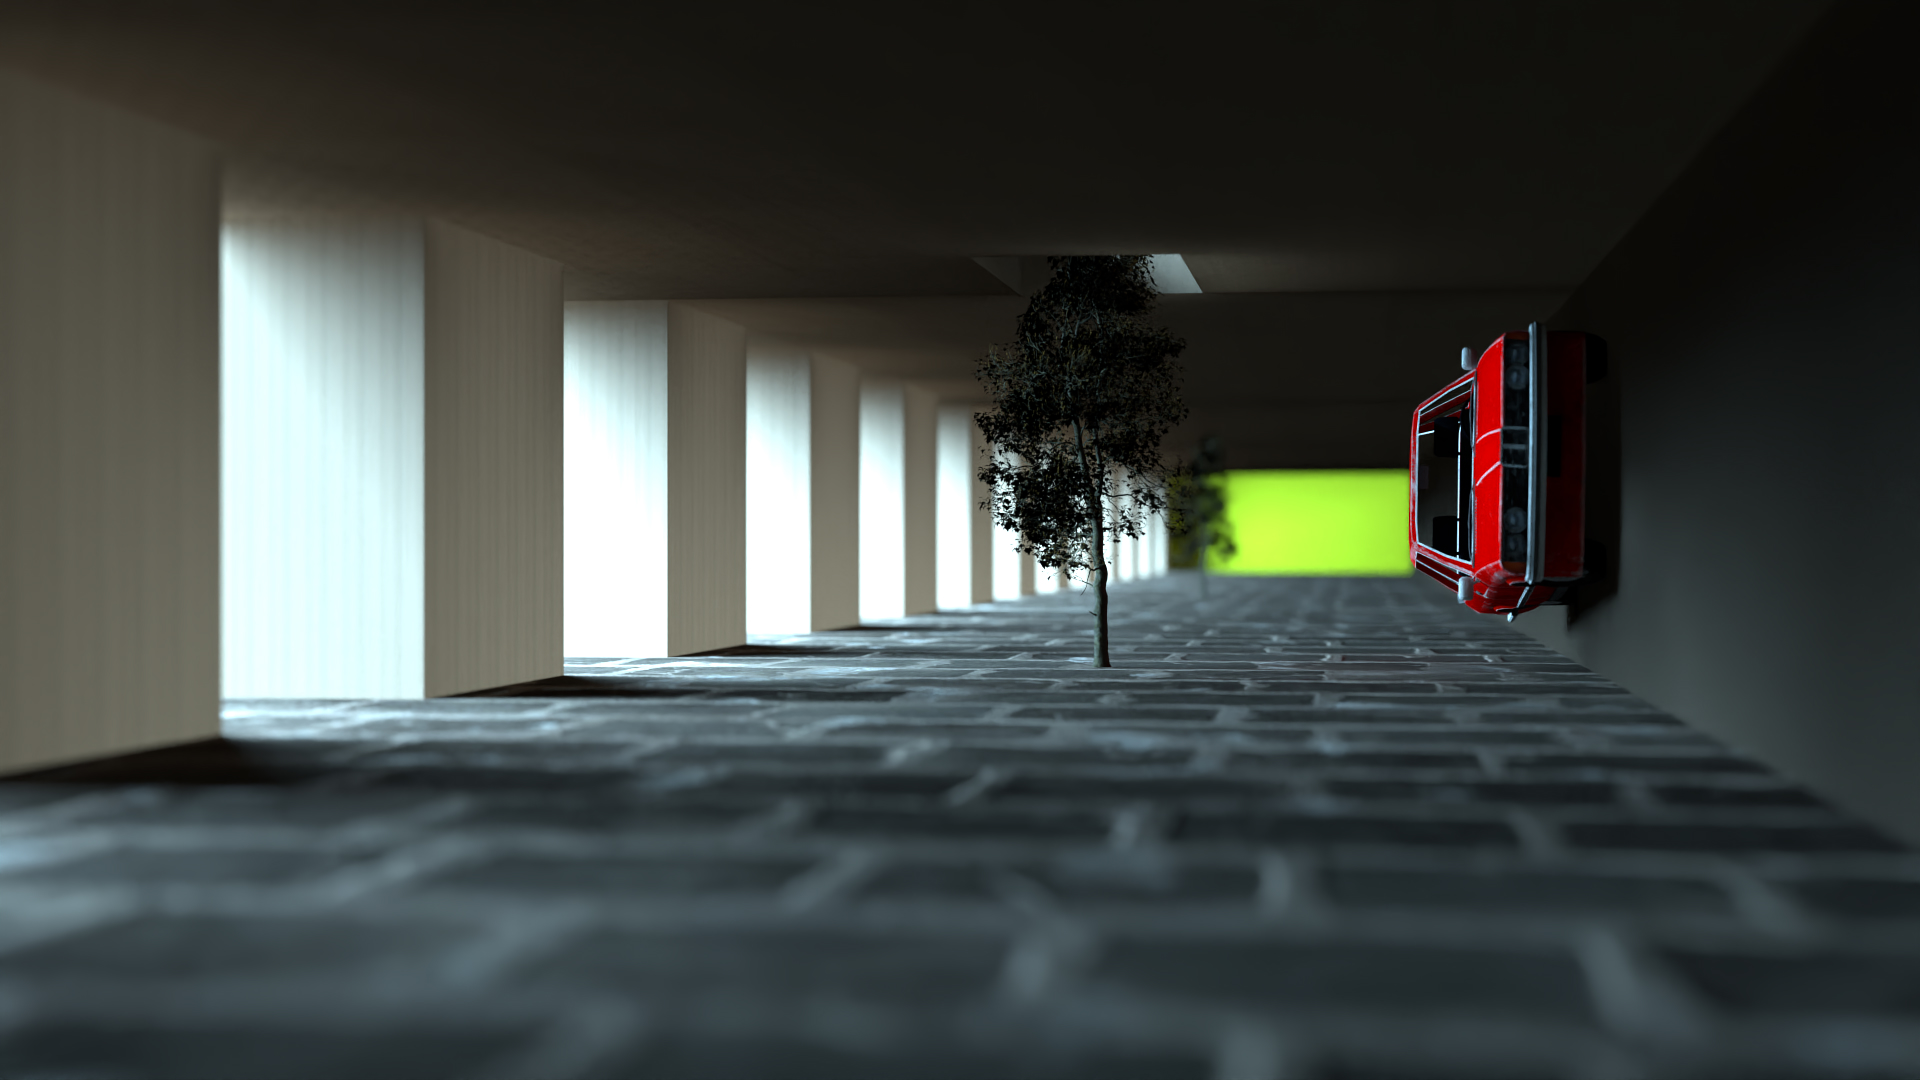
Denoised Image
Computer Graphics Winter 2024/25 - Rendering Competition
Shading normals are used to calculate how light interacts with surfaces, creating realistic lighting and shadows. The main idea is that instead of directly using the normals of the mesh, you load an additional texture that describes the normals of the underlying geometry instead. This technique enhances the depth and realism of the scene. This feature can be seen in the 'floor' of the image, which is actually a brick wall.
Alpha masking allows for transparency effects, enabling complex shapes and textures to be rendered without additional geometry. This is particularly useful for rendering foliage, hair, and other fine details. This feature has been used in the fine small leaves of the trees in the image, as well as the dirt texture on the 'pillars', the 'wall' on the right side, and the ceiling.
The thin lens camera model simulates real-world camera optics, including depth of field and bokeh effects. This adds a cinematic quality to the render, making it more visually appealing. This is the most apparent feature in our scene—you cannot miss it ;).
Image denoising removes noise from the rendered image, resulting in a cleaner and more polished final output. This is especially important for scenes with complex lighting and reflections. This feature has been showcased separately as it is a type of post-processing, and the difference is most noticeable in side-by-side comparison.
Denoising requires auxiliary buffers like normals, albedo, and depth, but integrating these into our rendering pipeline was complex because these buffers were not originally part of the Lightwave framework. We modified the rendering pipeline to output these additional buffers and ensured they were correctly aligned with the primary rendered image. Feeding these extra buffers to OIDN significantly improved the denoised output, preventing over-smoothing and preserving edge details.
This is something that took us a lot of tries to get right. We wanted the car and the tree in the foreground to be in focus, but the tree in the background to be out of focus. Eventually, we were able to calculate the approximate distance of the camera from the car in Blender, but the aperture of the camera still took a few more tries to get right.
Both of us being extremely new to Blender, this was honestly one of the biggest challenges—figuring out this vast open-source ocean of possibilities. This is a possible explanation why our scene looks relatively minimalistic. But as they say, good things come in small packages :).
After figuring out all the logic and code to implement the features, we were getting a pitch-black output for certain aspects of the scene like the floor and the walls. We spent days re-checking and correcting our alpha-masking logic, textures, shading-normals, and meshes. In the end, it turned out that we were simply not assigning the UV coordinates in the mesh code. So the function was returning nothing/junk.