- D A R K R A I -
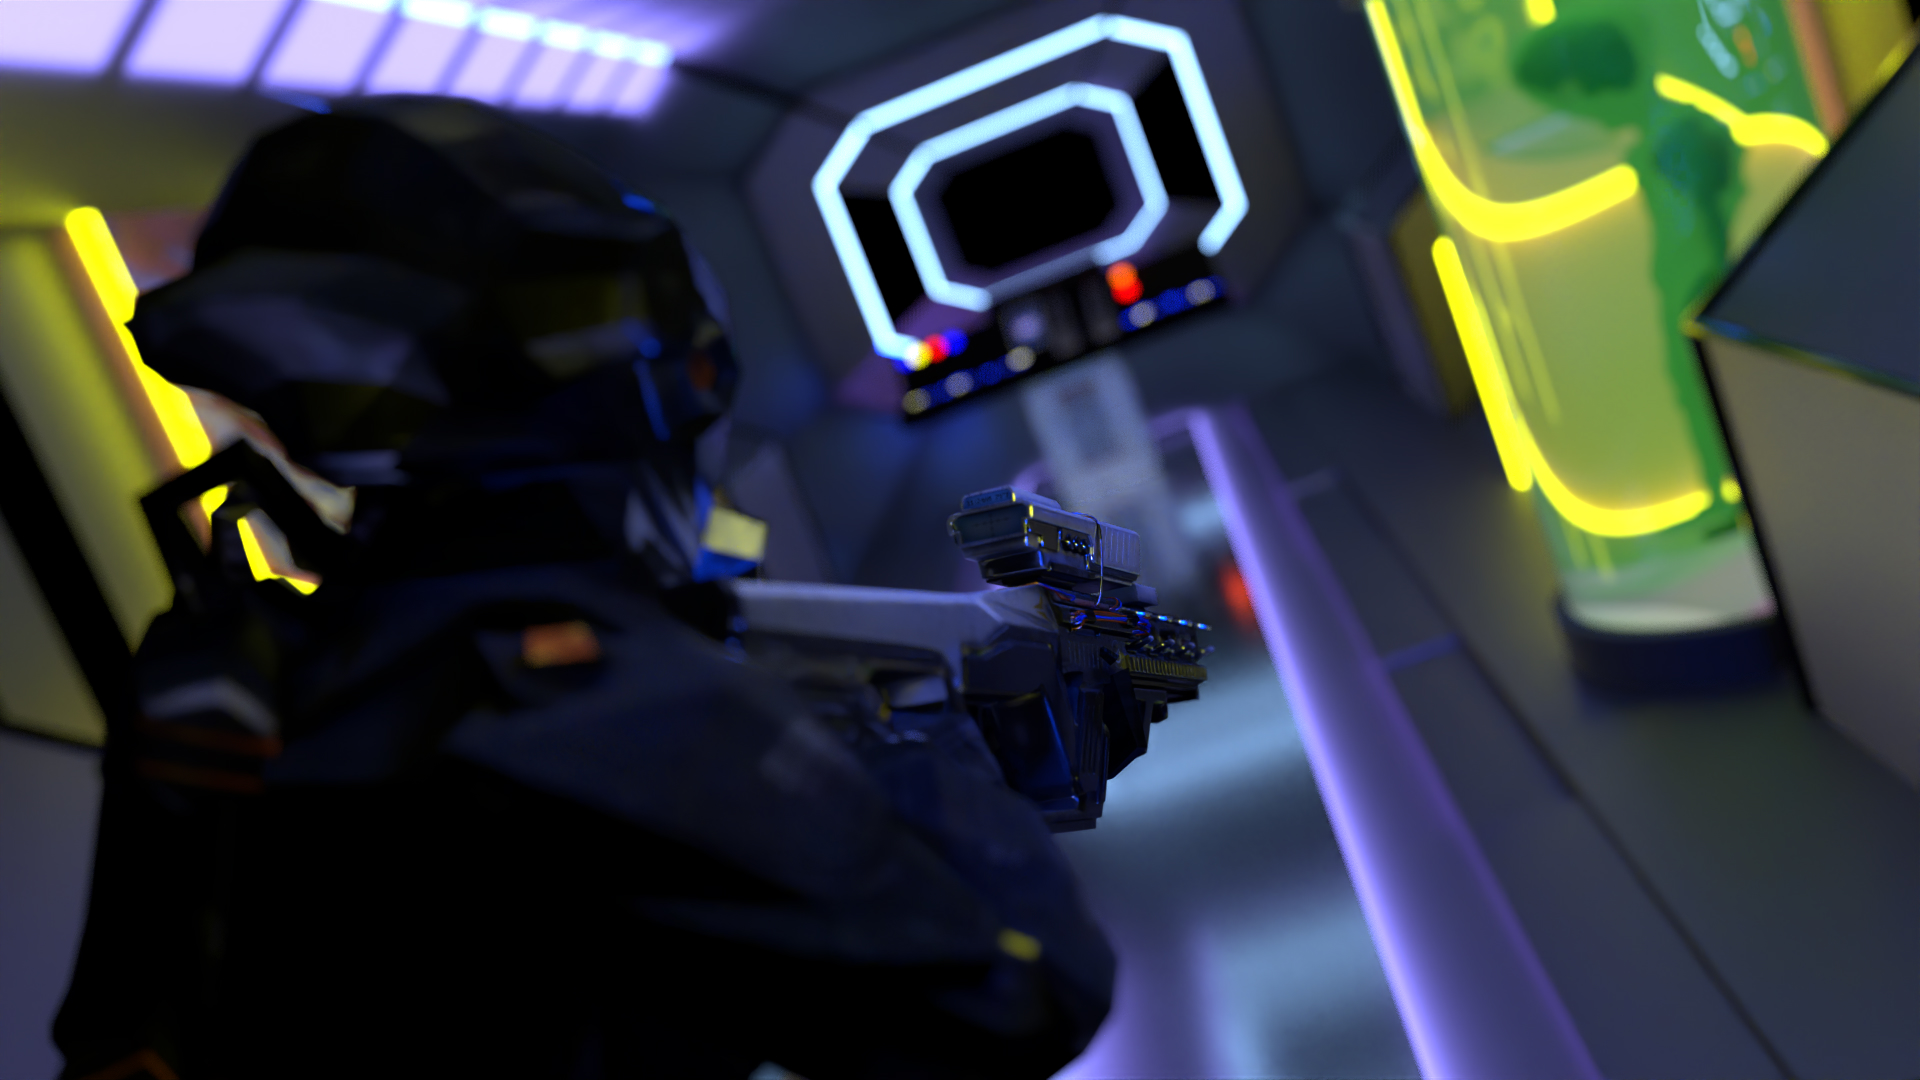
In the dimly lit confines of the unmanned spaceship cockpit, a lone space soldier stands poised, his senses heightened as he ventures into the unknown expanse before him. The glow of the central control unit and the surrounding panels casts eerie shadows, shrouding the scene in an air of mystery and anticipation.
At the periphery of his vision, a tank harboring an otherworldly creature looms ominously, its alien form a silent threat that sends a shiver down the soldier's spine. Despite the unease it inspires, his gaze remains fixed on the weapon clutched firmly in his grasp, its readiness a stark reminder of the dangers that await on the journey to the unknown in the depths of space.
The Process
We first decided to model a spaceship cockpit, when the final theme of "Journey to the unknown" was announced. A spacehip is quite literally travelling to unknown places, so we thought it would be a good fit. We started modelling a cockpit but soon realized that we would need a better model to create a more interesting scene.While modelling a new cockpit, we concurrently worked on the central control unit, that we knew would find a place in our scene sooner or later.
Then we integrated the control unit into the newly modelled cockpit and started to add more details to the cockpit. We experimented a lot with different materials to create a creative look.
Meanwhile we created the alien container, rigged the soldier and the weapon and started to combine everything into a scene. The final result can be seen in the image on top.
Features
Thin Lens
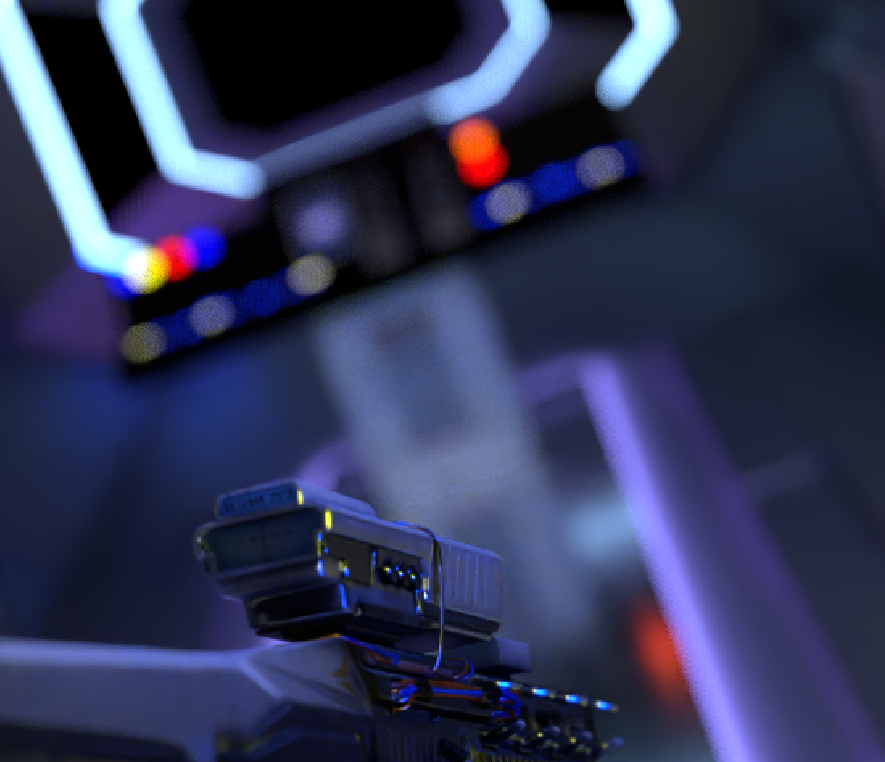
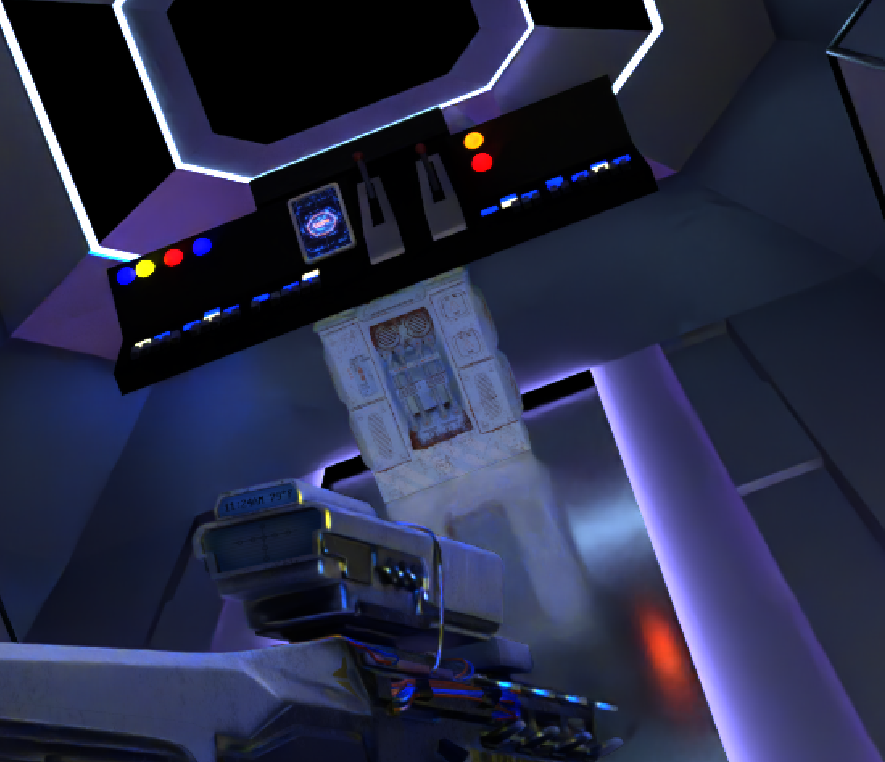
The thin lens model allows for depth of field effects, which contribute to the realism of the scene. It is a approximation of a real camera lens but lacks the optical effects. We can adjust the focal length and the "aperture" to control the depth of field. In the left image, the pinhole camera model is used, which does not have any depth of field and is thus sharp everywhere. With the thin lens model on the right side, the focus is on the scope of the weapon; the weapon shaft and the cockpit is blurry.
Area Light
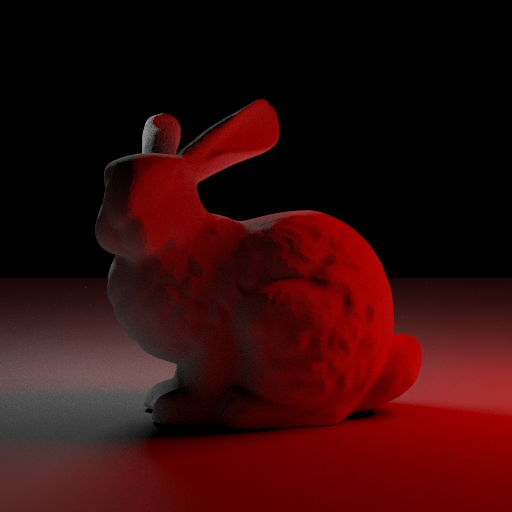
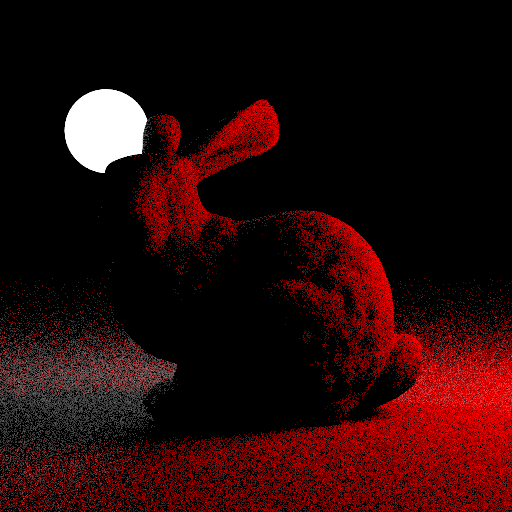
Area lights are lights, that cannot be intersected directly. They are only sampled indirectly (using NEE) which drastically reduces noise in the final image. To sample an area light from a surface point, first pick a random point on the surface of the area light. Then shoot a ray from the surface point to the random light point. If the ray does not intersect any other object, the point is visible from the surface point.
Normal Map
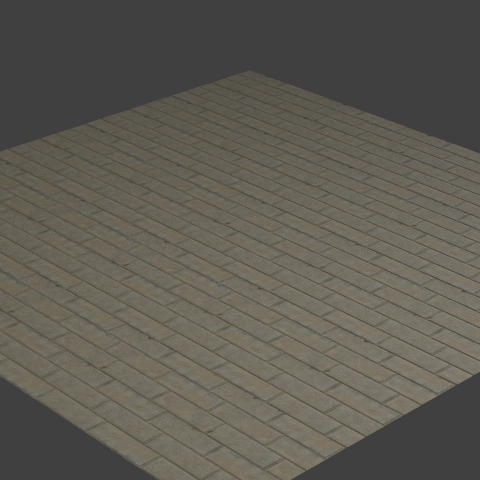
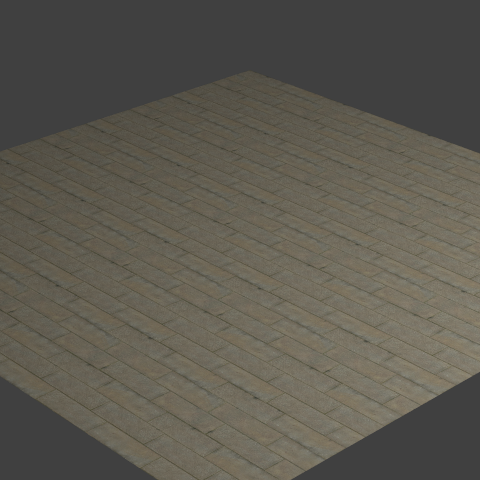
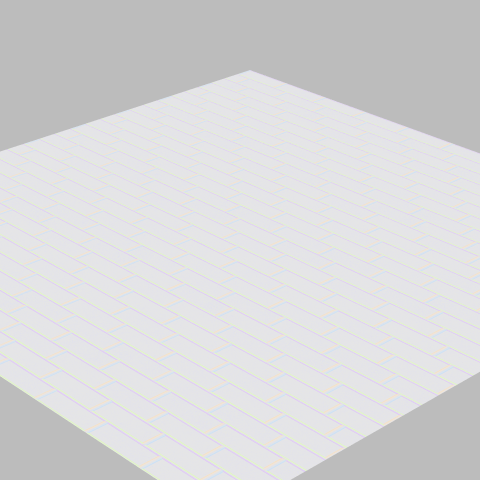
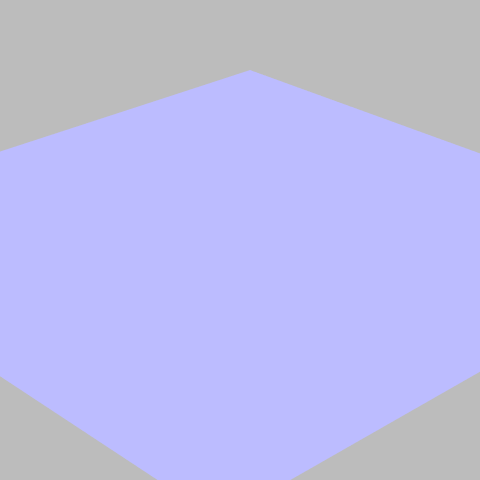
Normal mapping allows for more detailed textures, without needing to model the details. It changes the surface normal of the object, which in turn changes the way light interacts with the surface at each point. In the left image, we can see, that the output of the normal integrator is one flat color, which makes the surface look flat. The texture itself has shadows in the joins, but generally looks flat and dull. The right image shows the same texture with a normal map, which adds a lot of detail to the surface. In the output of the normal integrator, we can see that the joints have different colors, which represents the different normals at the joints. The final image looks more realistic and makes the impression of realistic bricks and depth in the joints.
Halton Sampling
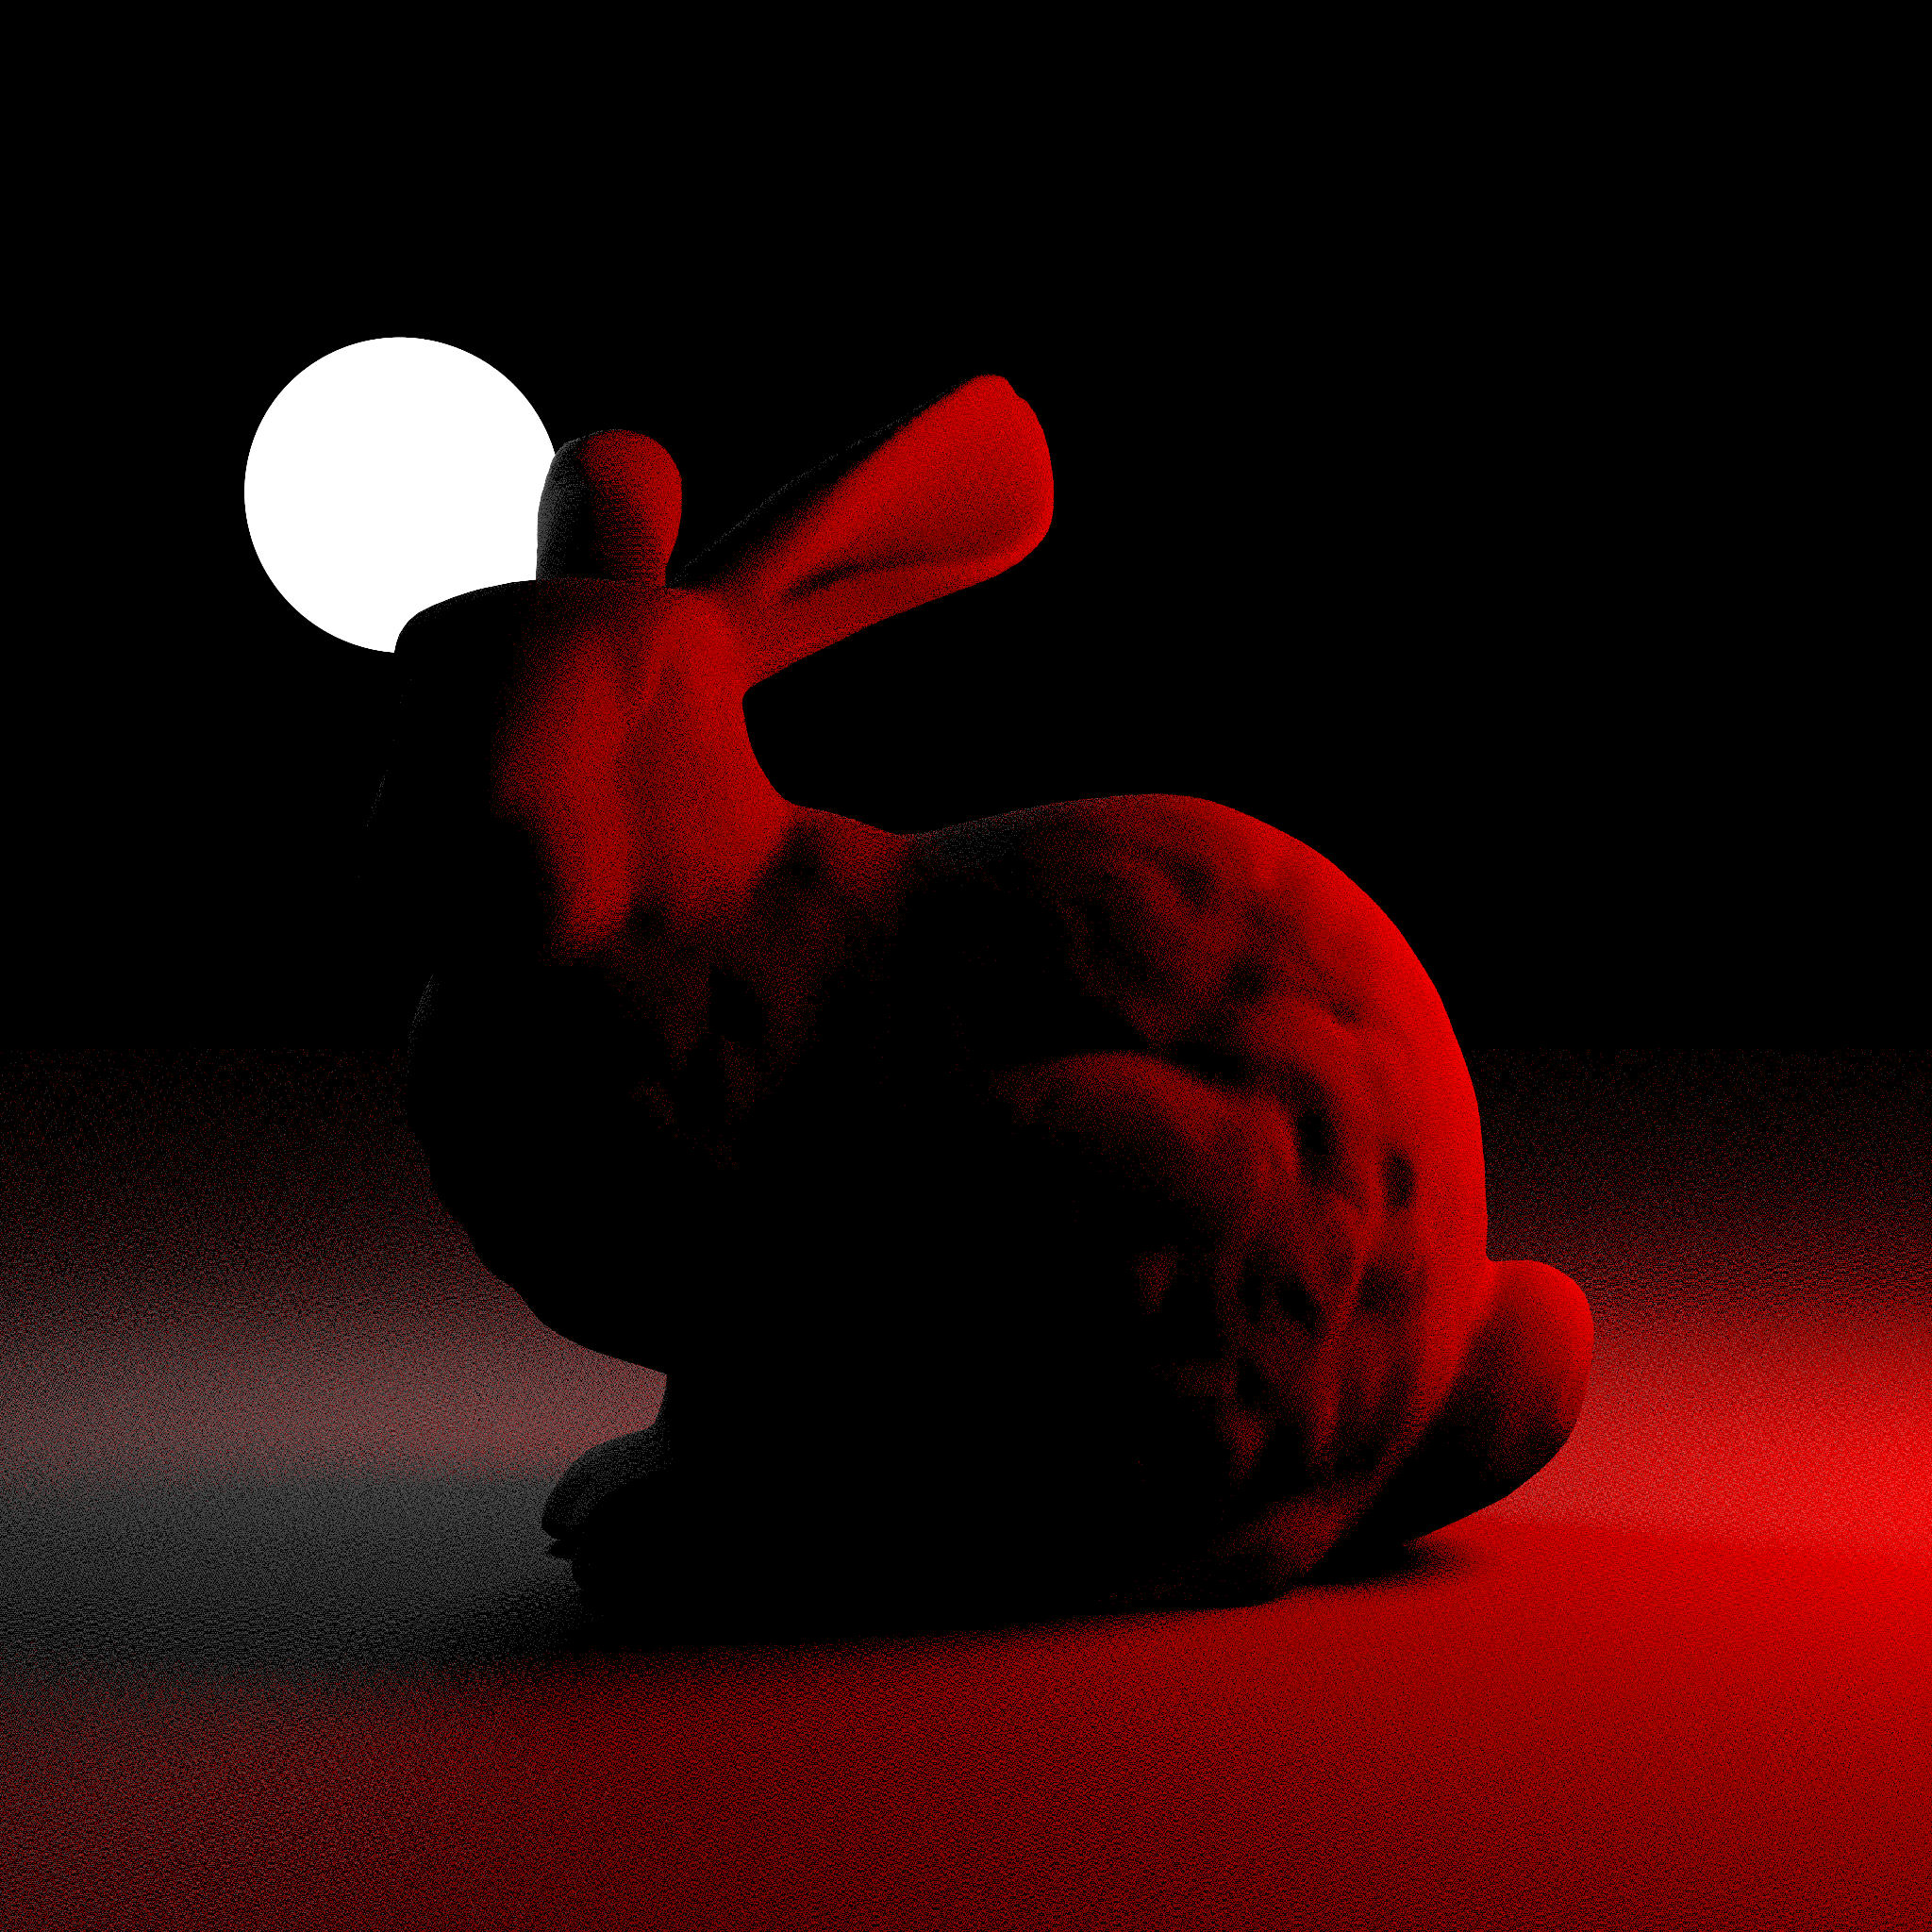
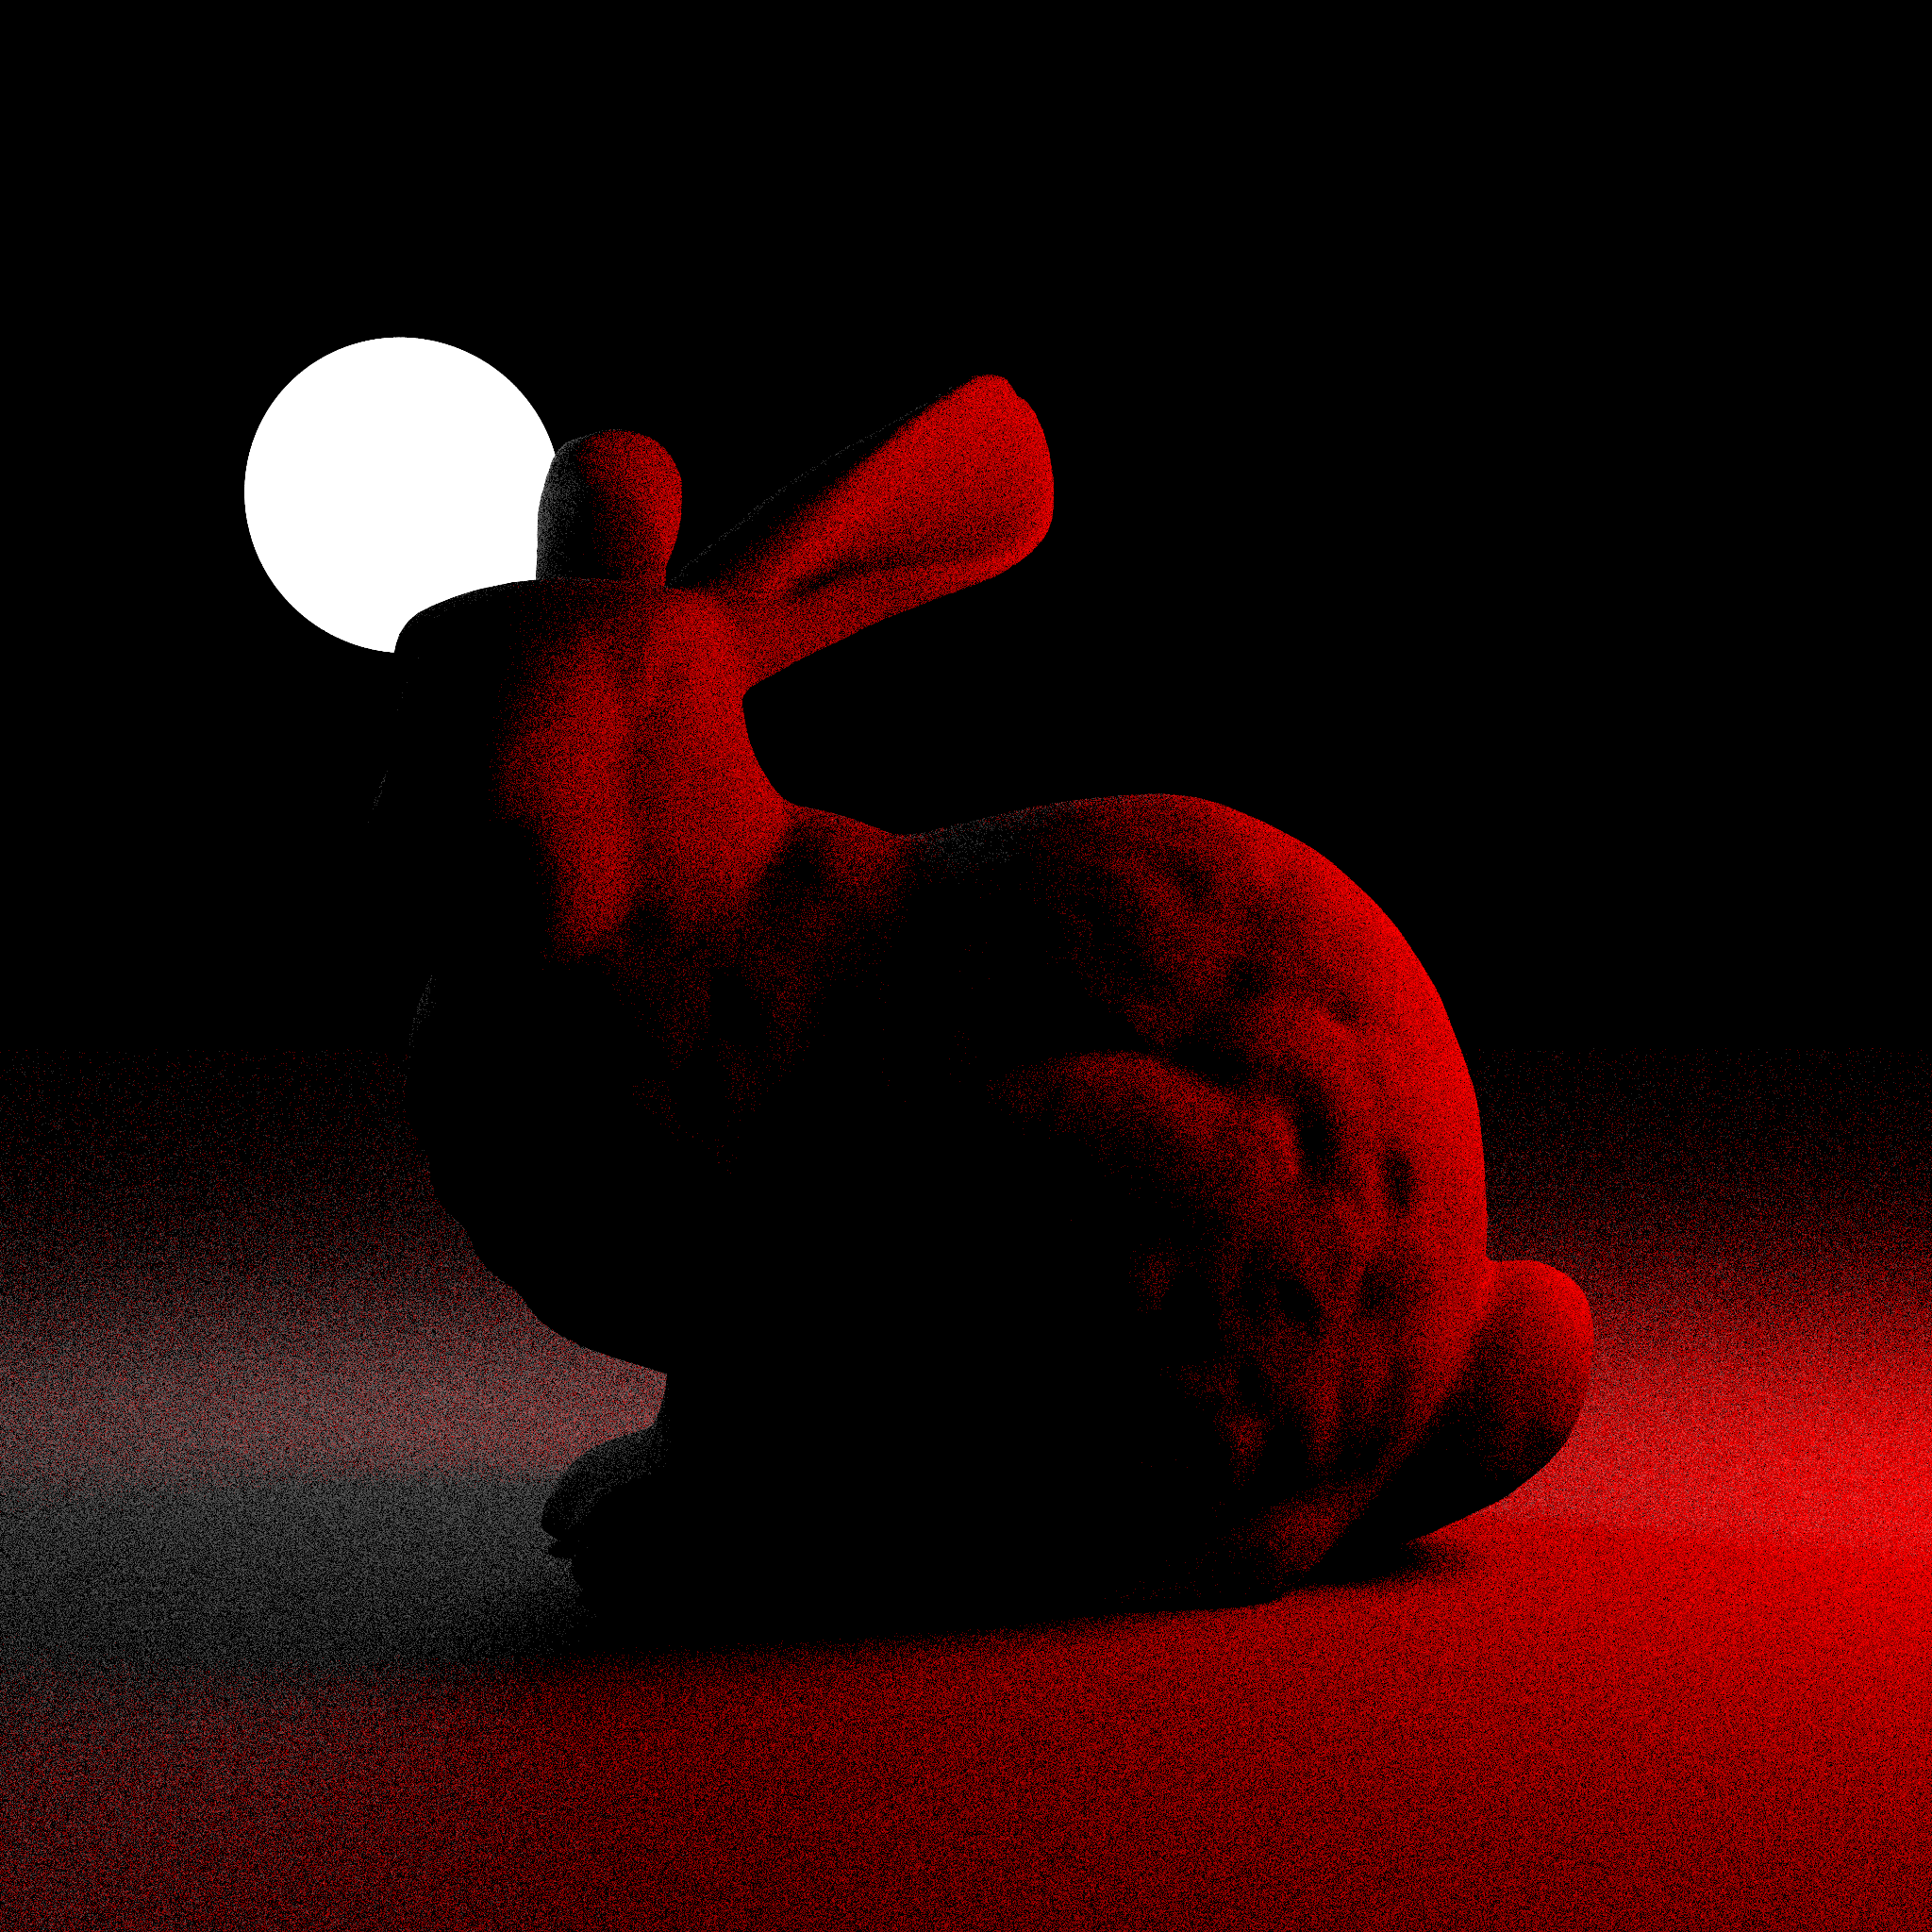
The default sampling uses pseudorandom numbers to sample the scene. This can lead to noise in the final image, as some areas are not sampled as much as others. Using the Halton sequence for sampling, we can reduce the noise in the final i mage, as the samples are more evenly distributed. In the left image, we can see a lot of noise in the final image, with uneven distribution of black and colored pixels resulting in dark spots. The right image shows the same scene with Halton sampling, which has less noise and more evenly distributed samples. The dark spots are much smaller and evenly distributed, resulting in a cleaner image.
Volumetric Rendering
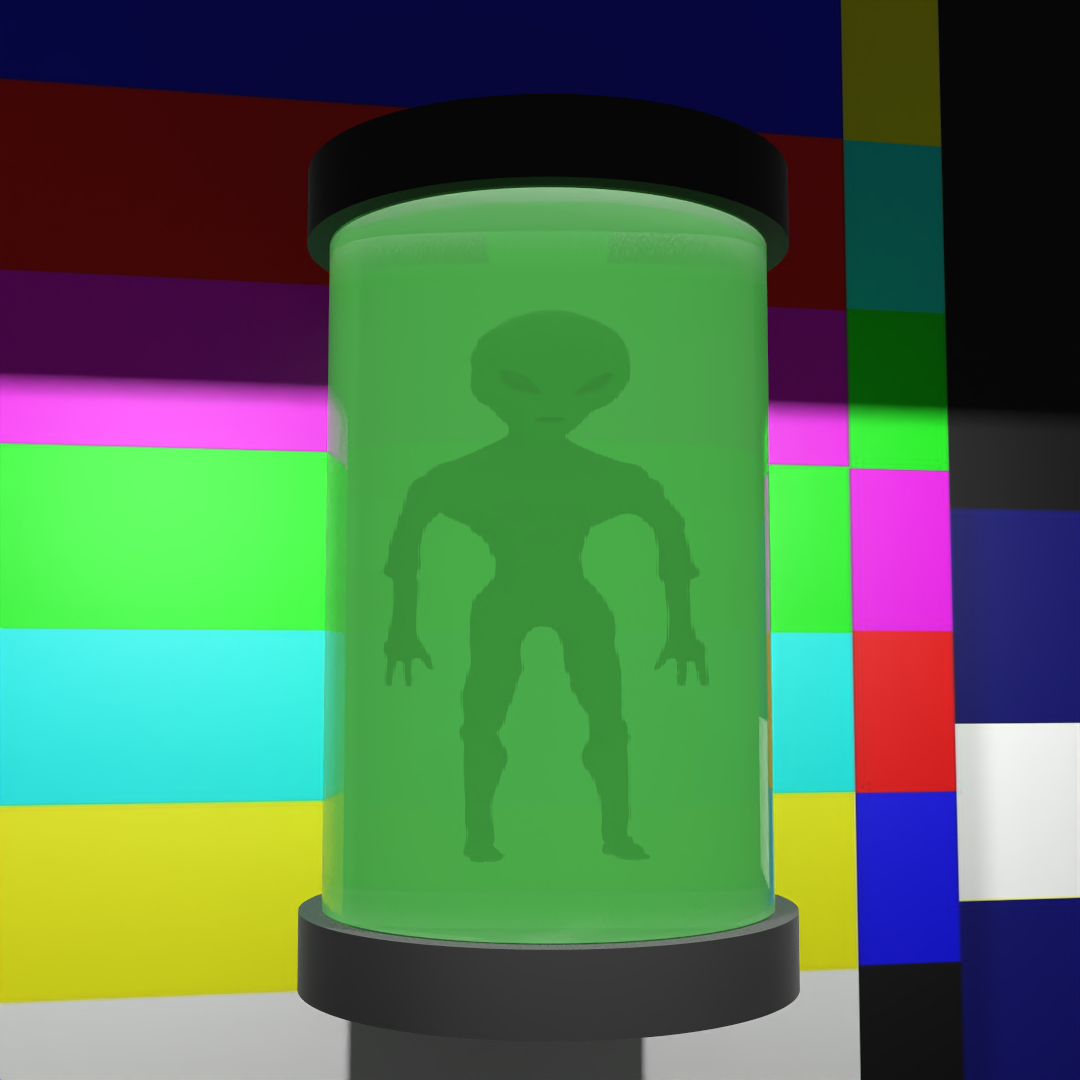
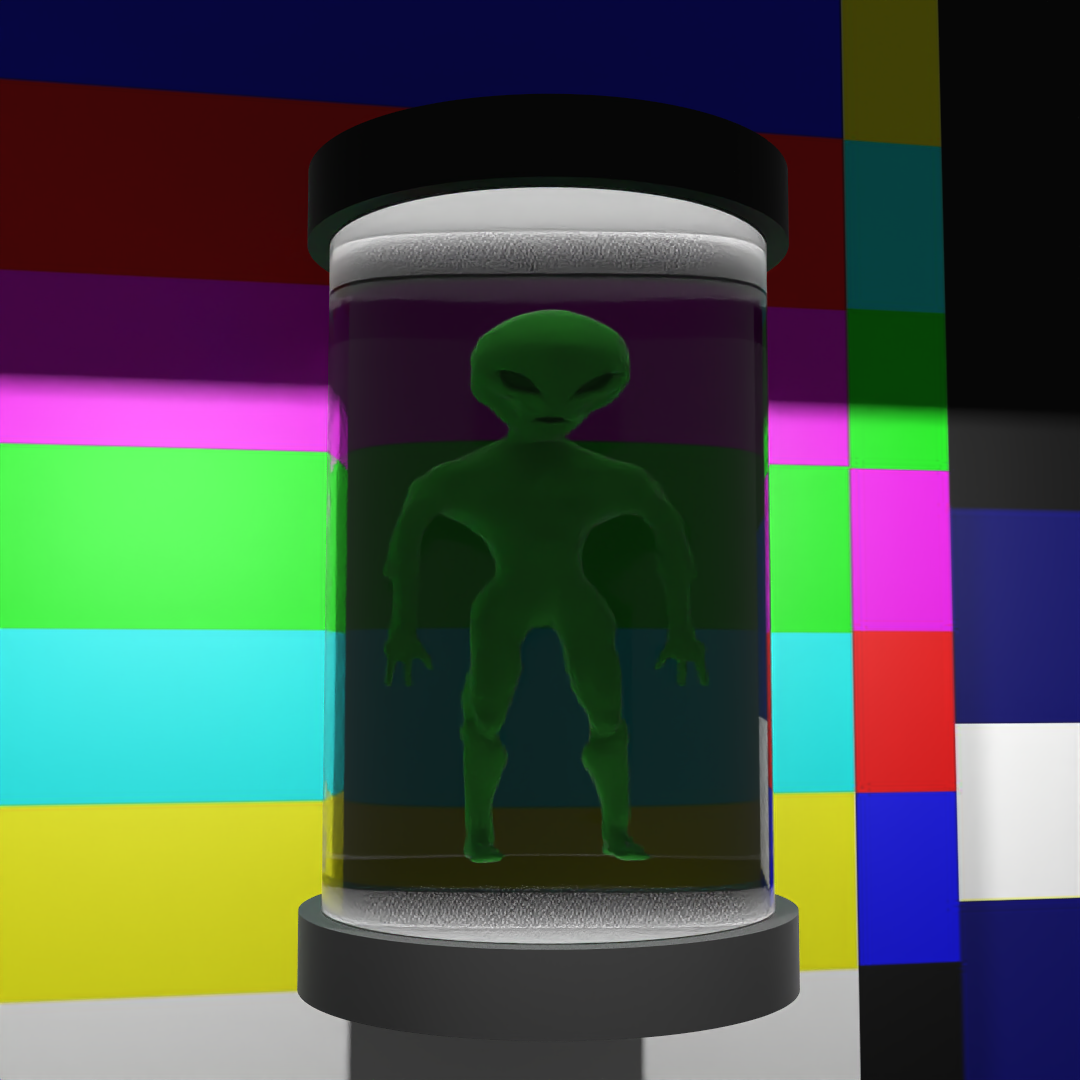
Volumetric effects allow for a plethora of realistic effects, such as fog, smoke, and god rays. When shooting a ray and intersecting a volume, the ray is scattered inside the volume and collects color and intensity. Volumes can therefore alter the color of rays before any surface intersection. In the left image, we can see the default ray tracing without volumetric effects. The alien container is cleary see-through and the alien is visible from the outside in its original color. In the right image, we can see the same scene with volumetric effects. The alien container is now filled with a volumetric fog, which makes the alien less visible and adds a more realistic look to the scene. We further see, that the scattered light from the volume is also picked up in shadow rays and adds a greenish objects close-by that are not even behind the volume.
Denoising
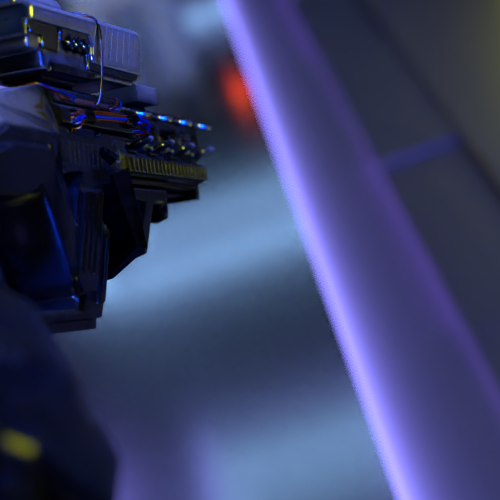
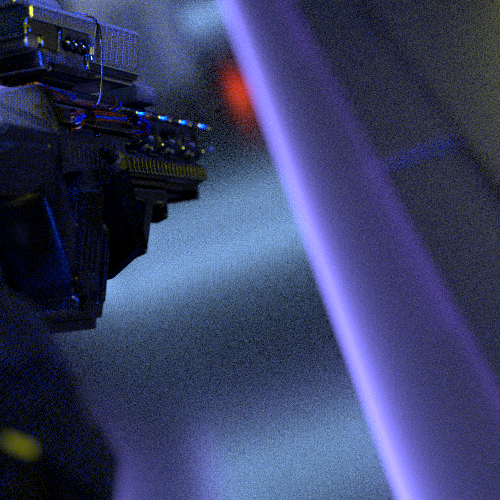
The output of a raytracer can be quite noisy, even with the use of noise reducing techniques. Using Area lights and halton sampling can reduce the noise, but it can still be quite visible as seen in the left image. The Intel® Open Image Denoise library reduces the noise significantly, as seen in the right image. It uses the noisy image as input and outputs a denoised image, which looks much cleaner and more realistic. To help with the denoising process, we can also use the albedo and normal buffers, which are used to guide the denoising process. The albedo integrator outputs the base color of the object, while the normal integrator outputs the normal of the object. For simplicity we used only the first hit for the albedo integrator. Transparent materials have the recommended albedo of 1.
Third-Party Models
We used models and textures from external sources, to enhance our spaceship scene. A list of external materials used is given in the following:- Soldier
- Weapon
- Alien
- Generator
The entire spaceship cockpit, including the central control unit is self-made.
The Team
This project was realized by Team Darkrai: Tim Schneider, Maximilian Löffler.