By Sami Hatna, Team Altaria
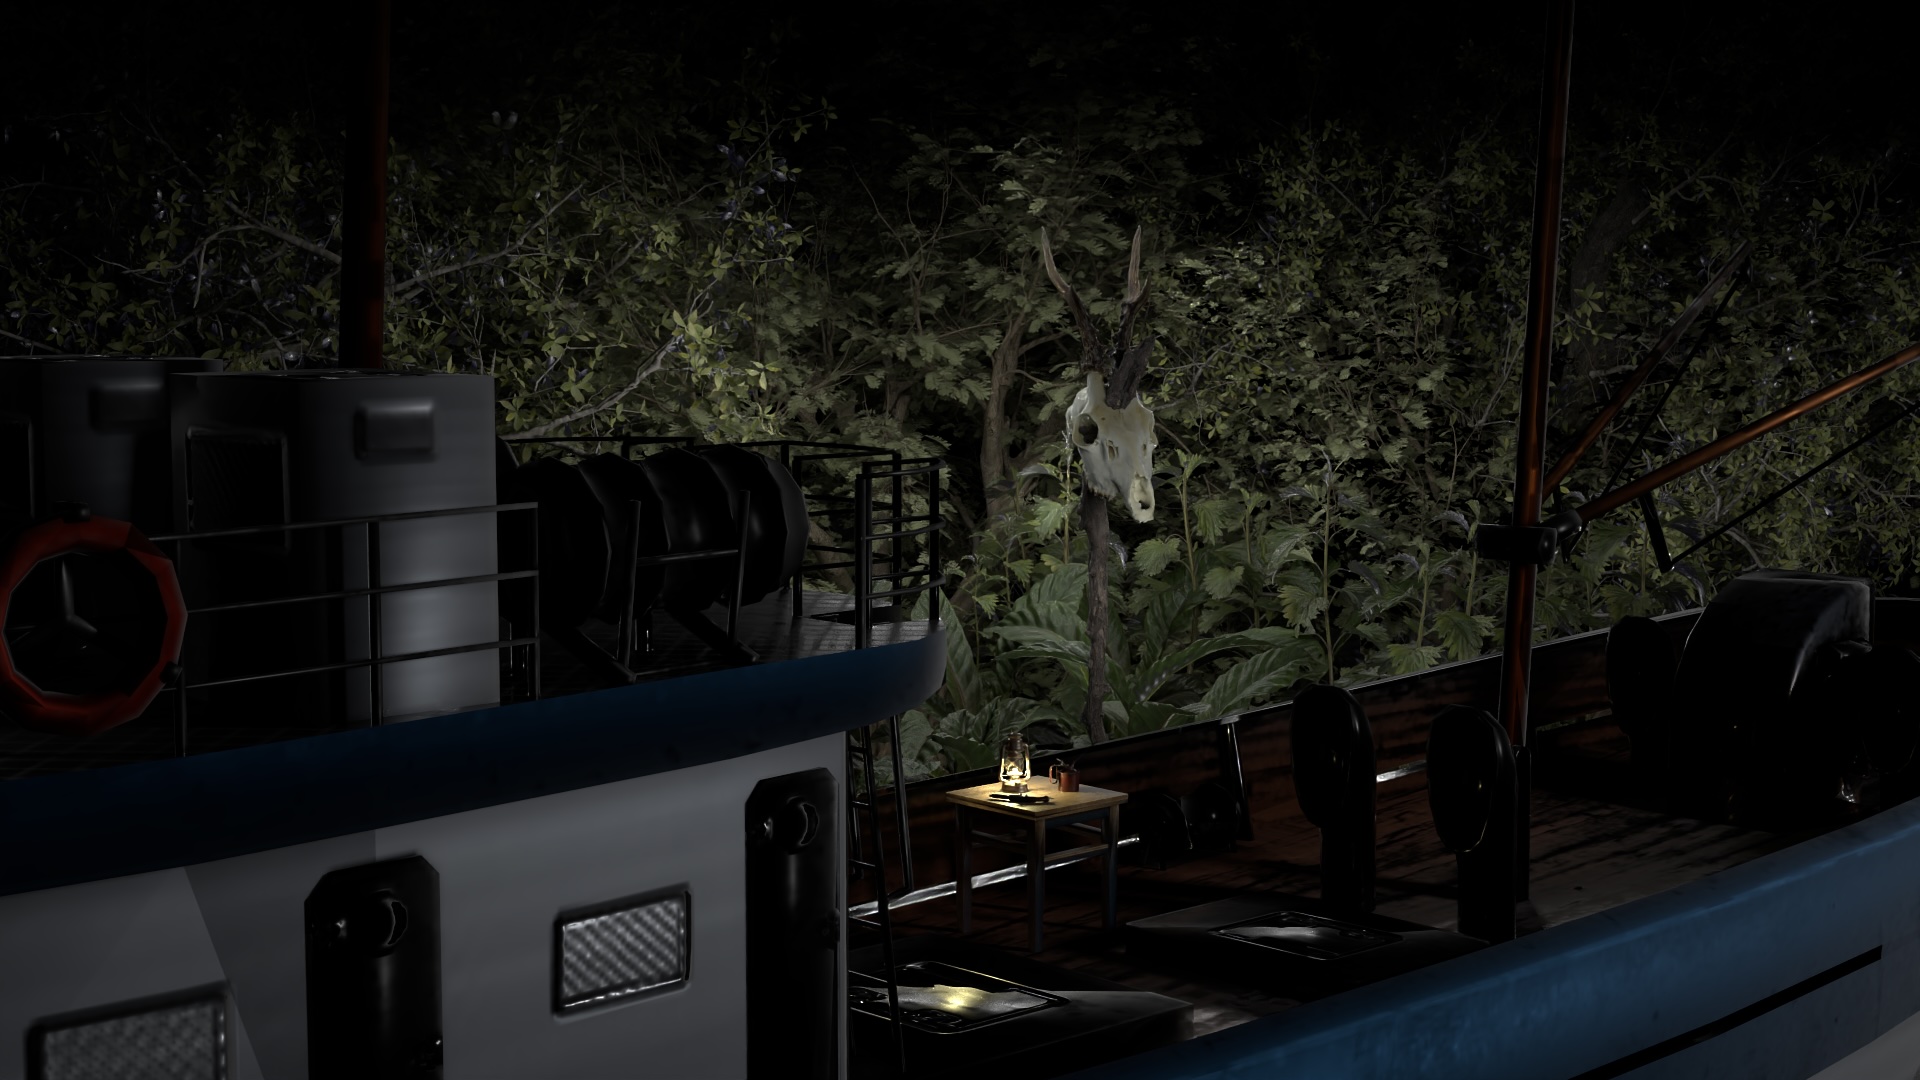
Into the Heart of Darkness is a scene based on Joseph Conrad's seminal novel Heart of Darkness. The scene was rendered using Flashbang, a renderer based on the Lightwave framework which I implemented during the CG1 computer graphics course.
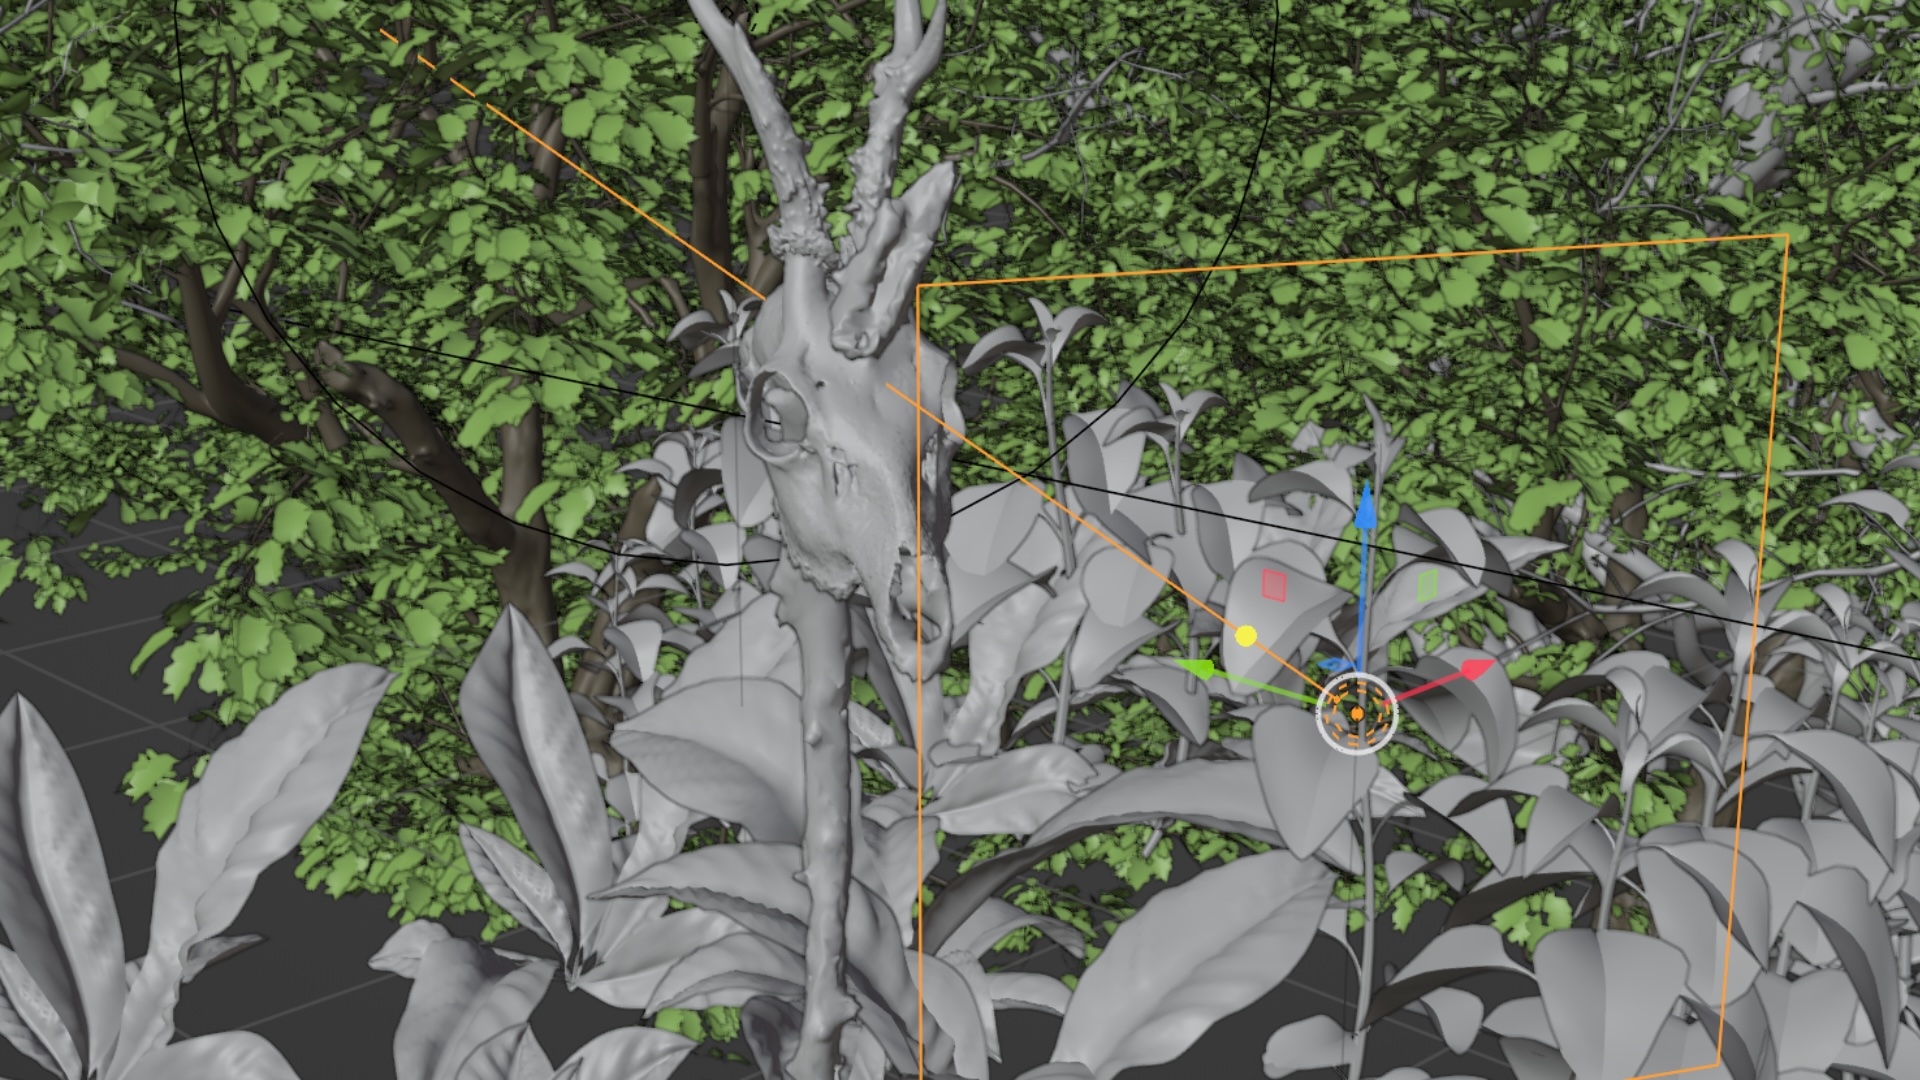
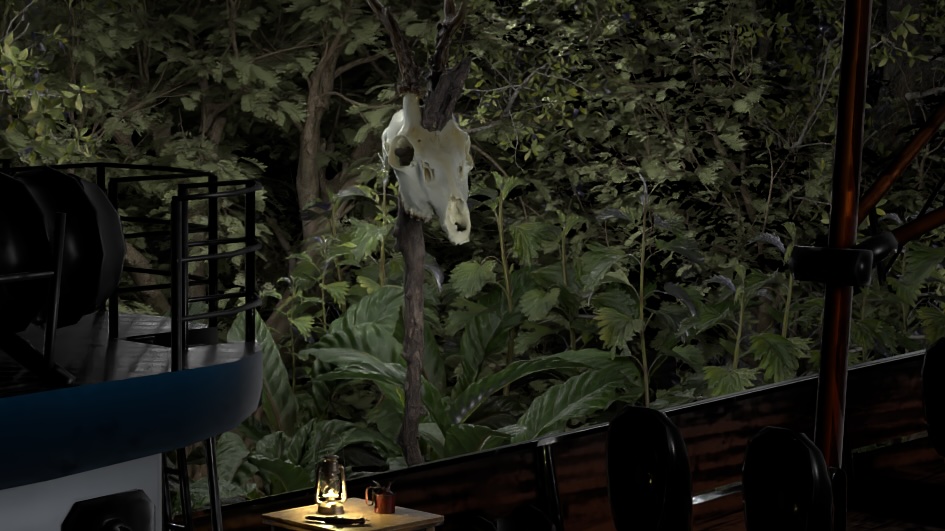
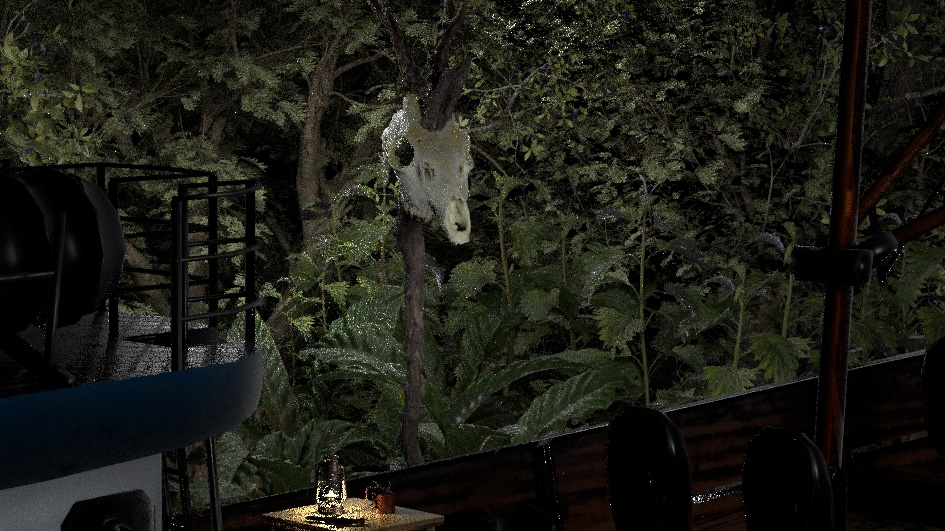
As Captain Charles Marlowe's boat travels up the Congo river, the skull of a strange animal skewered on a branch looms out of the darkness - a sinister premonition of what awaits him and his crew deep in the depths of the jungle. In the boat, a lantern casts its light upon a flintlock pistol. This calls to mind Conrad's belief that, contrary to popular notions at the time, Western colonialists who brought death and suffering to Africa were the true savages, not the natives.
Triangles
1.984.810

Samples
300

Pathtracing Depth
6 bounces
Hardware
Apple M1
8 cores
Time
58 mins
Feature Points
Area Lights
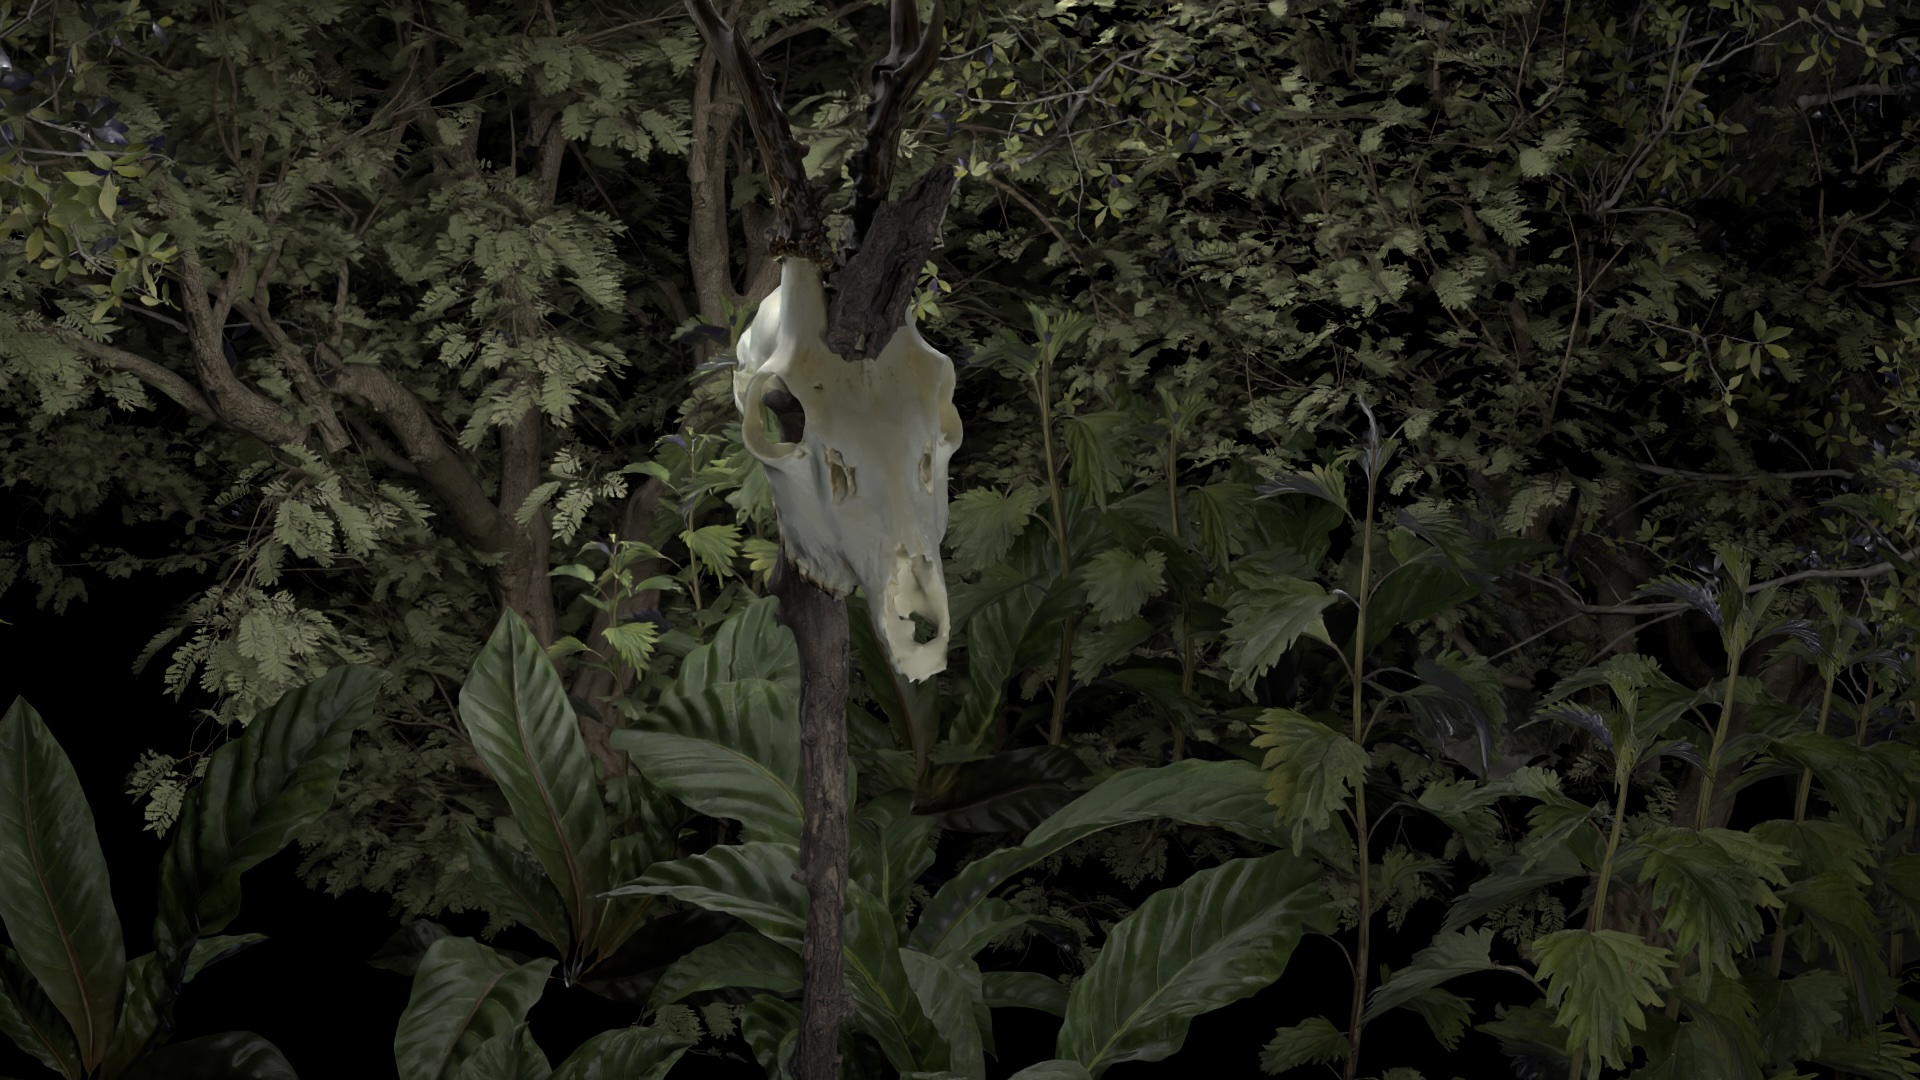
Instead of ambient lighting, the scene uses area lights to create contrast and highlight
points of interest. At each intersection, we randomly sample an area light and add its
contribution (scaled by the light's area). Area lighting produces less noise than emissive
objects.
Hover over the picture to compare the positioning of an area light in blender with the
final rendered output.
Denoising
A scene like Into the Heart of Darkness can easily be ruined by excessive noise because of the
detailed jungle backdrop. The naive solution is to take more samples per pixel. However this
is time consuming - a smarter approach is to use image denoising.
My renderer supports denoising as a postprocessing stage in the rendering pipeline, using
Intel's Open Image Denoising library. The denoiser takes as input a noisy image, the scene
normals, and the scene albedos (the latter two require separate integrators).
Hover over the picture to compare the noisy input image with the denoised output.
Halton Sampler
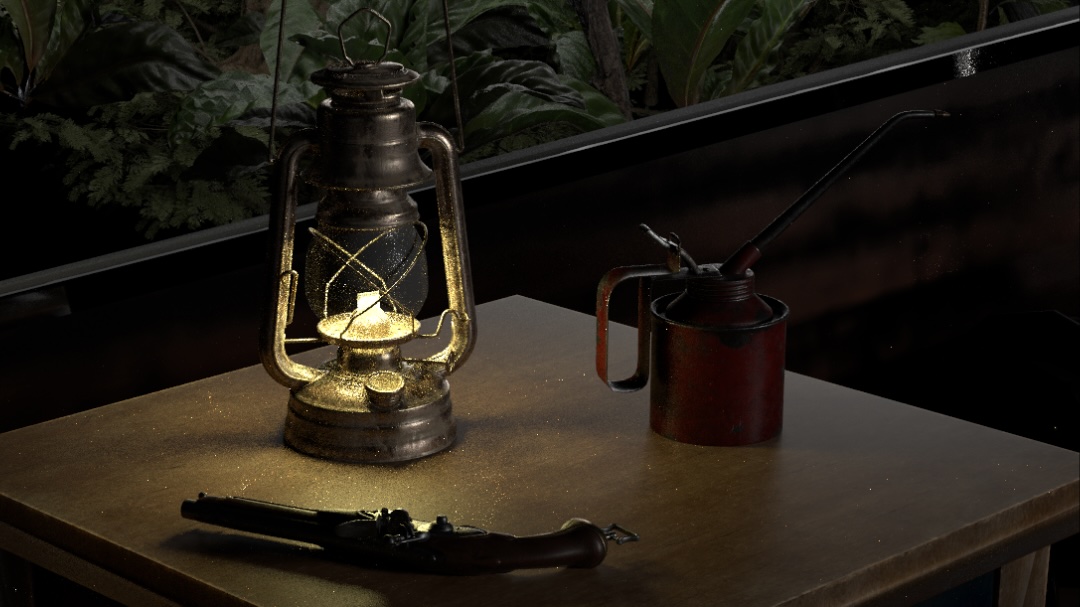
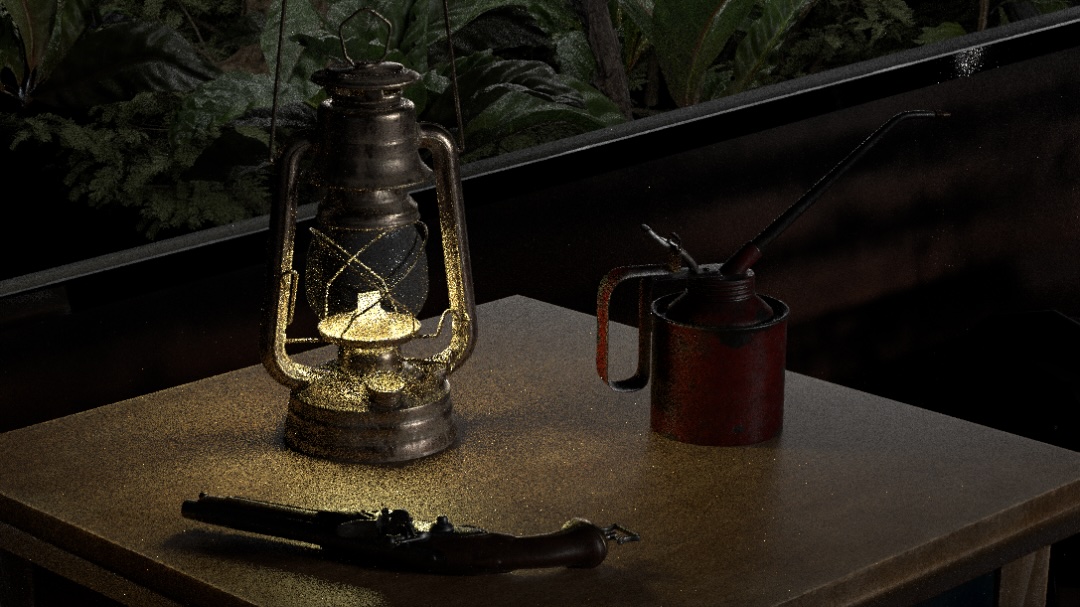
Another way to reduce noise is better random number generation. I implemented Halton
sampling, which uses Halton sequences to generate low-discrepancy points with an even
and uniform coverage of the sample space.
Hover over the image to compare the amount of noise produced by a simple independent
random number generator with the far better results from the Halton sampler.
Alpha Masking
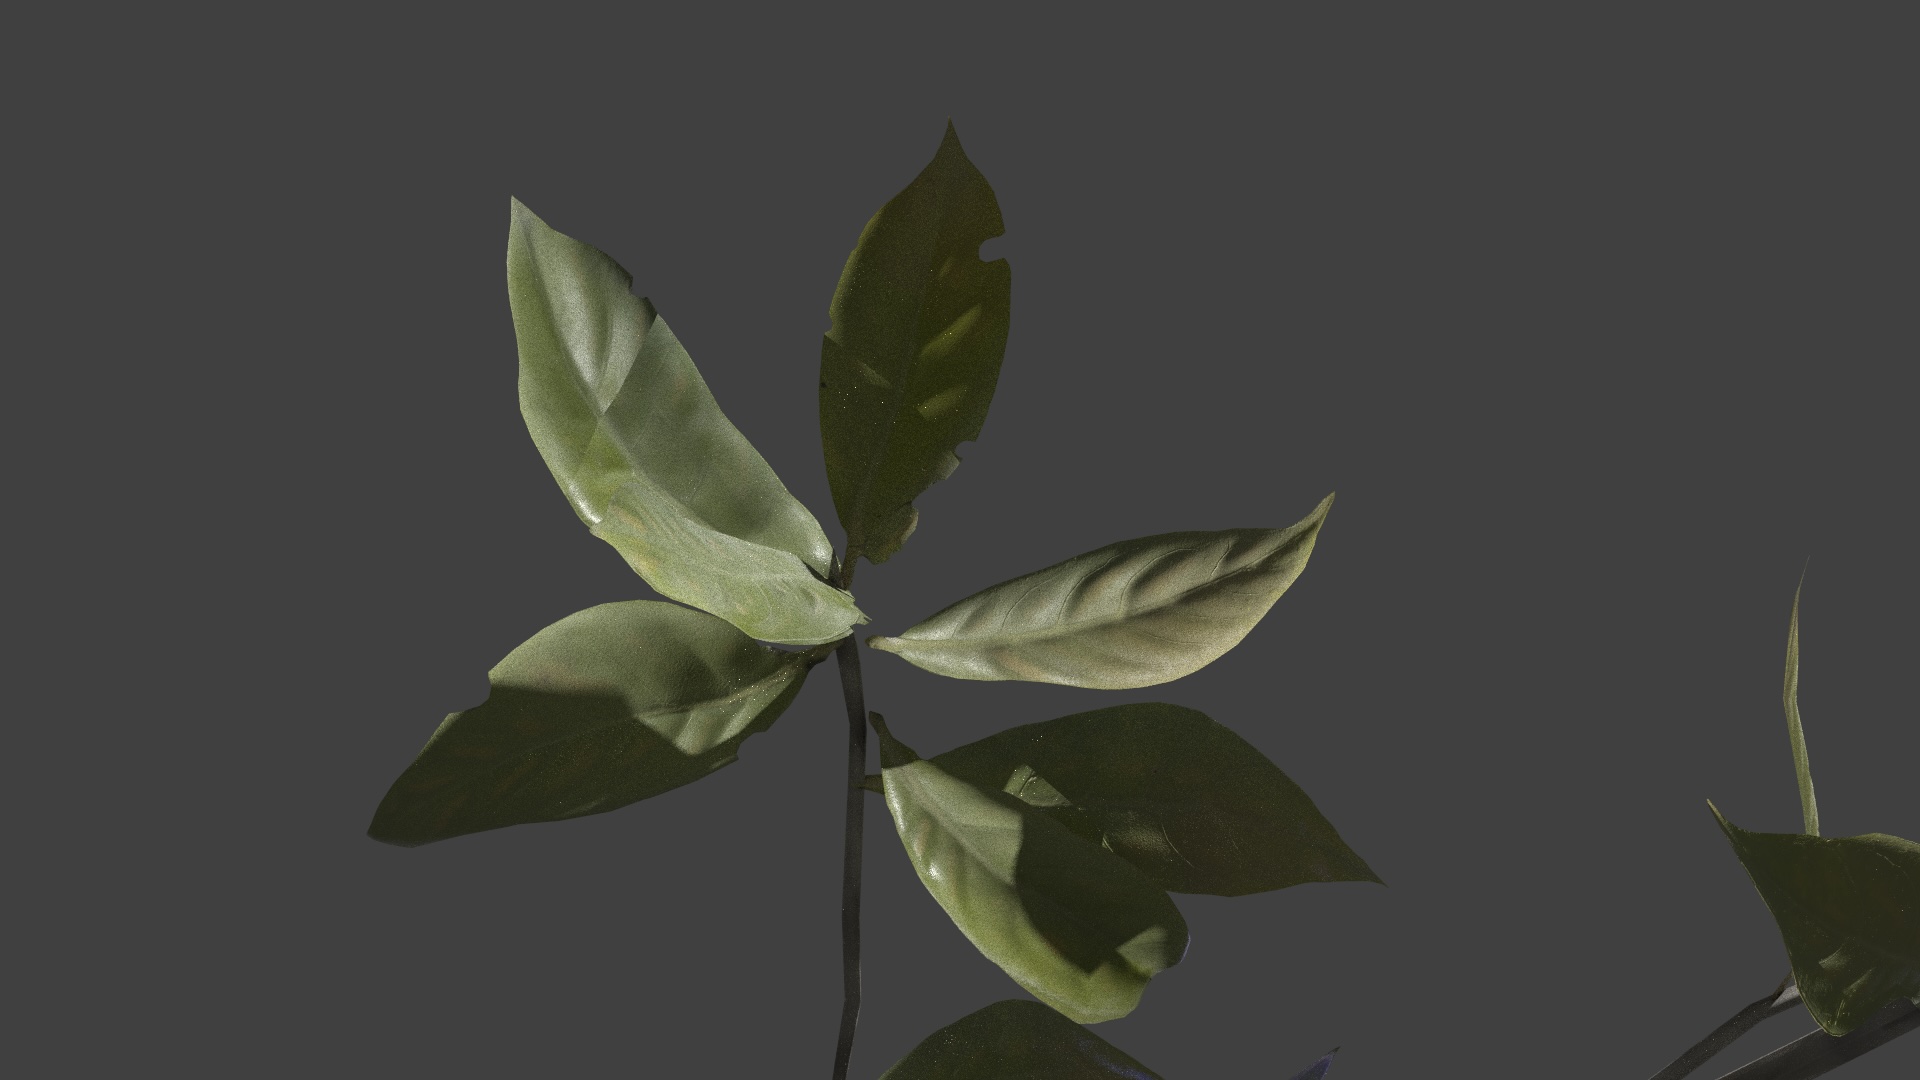
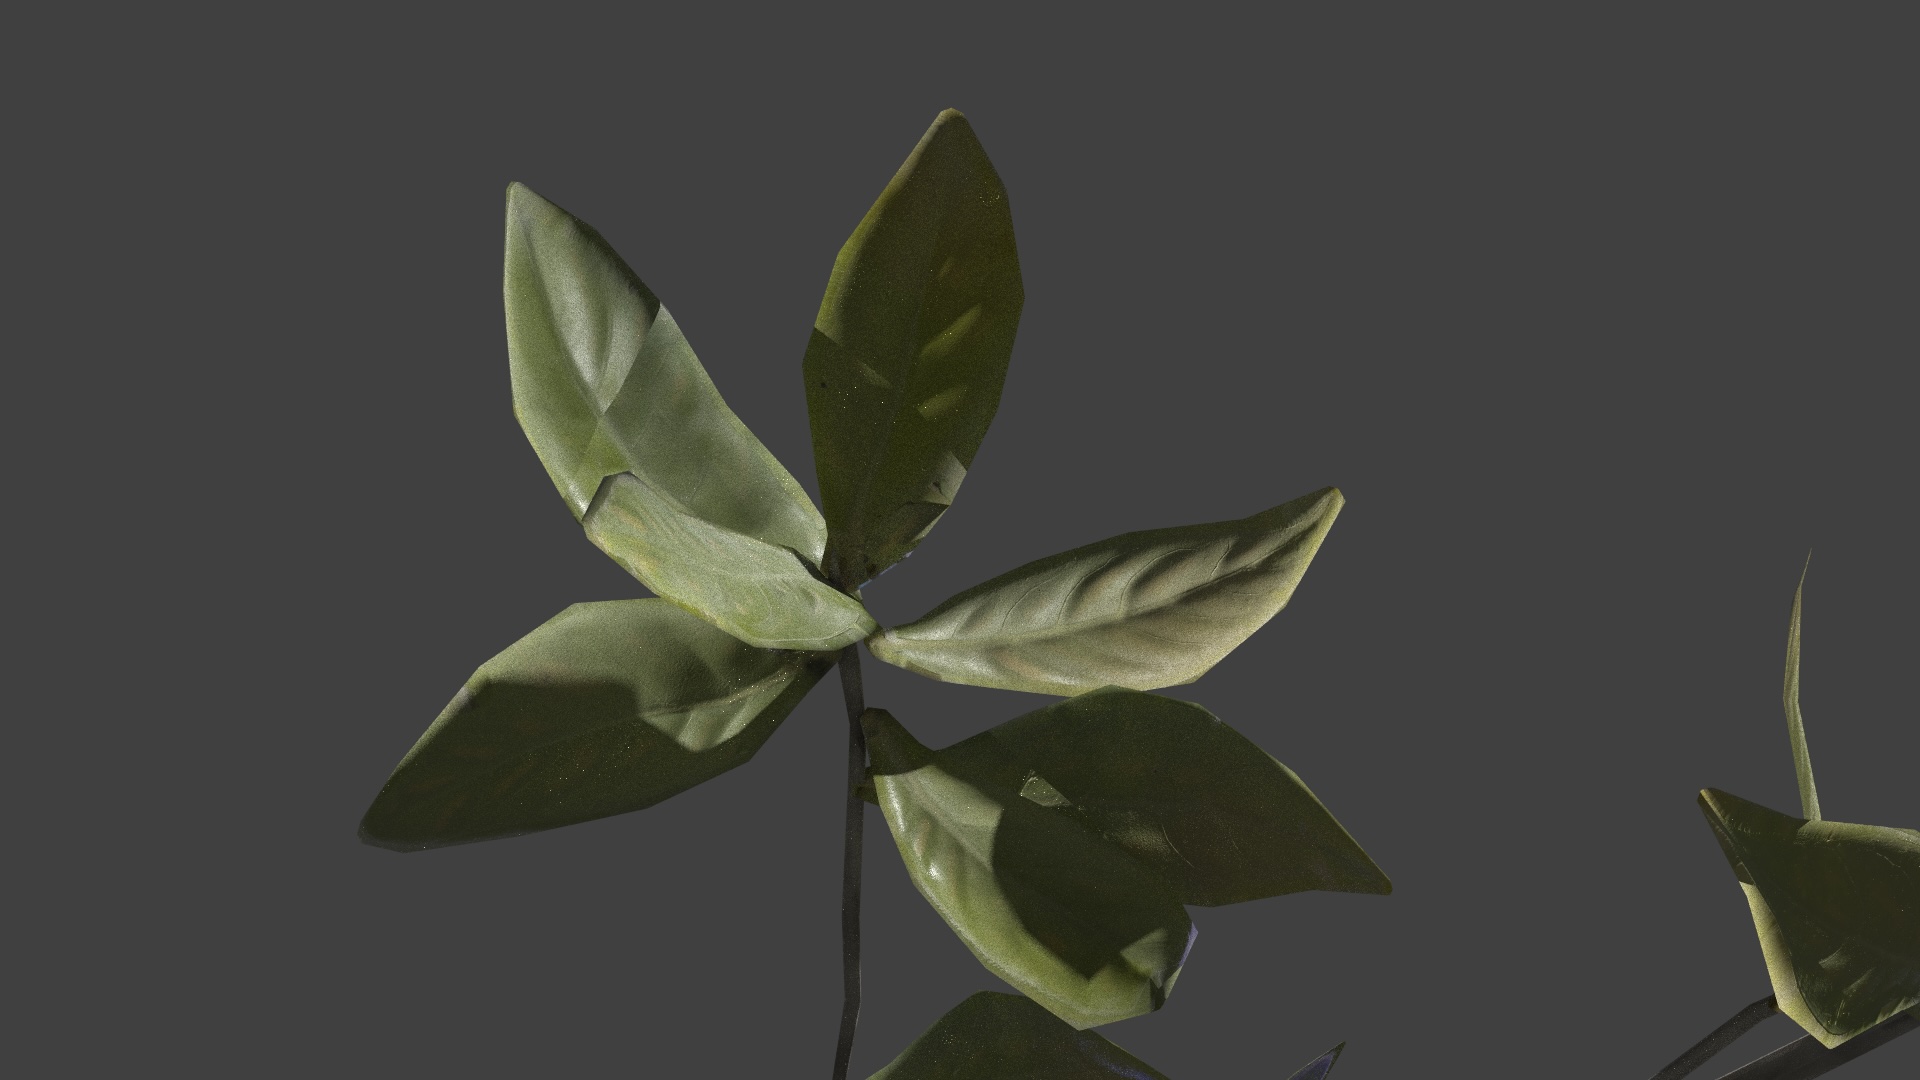
Rather than baking complex structures into their geometry, most models use alpha masks to
simulate such topologies. Each mesh takes an optional alpha mask, and intersections are
accepted or discarded according to the mask's value at the UV coordinates.
Hover over the picture to compare non-alpha masked leaves with alpha-masked ones. Using
alpha masking for such small but numerous and complex shapes is far more efficient than trying
to capture these shapes in the model geometry.
Normal Mapping
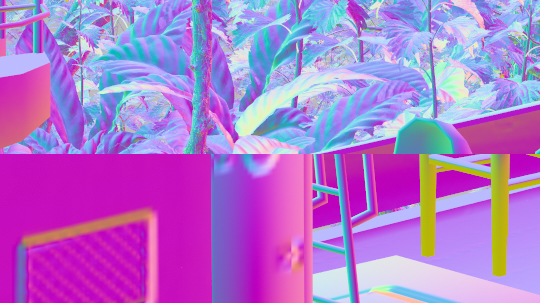
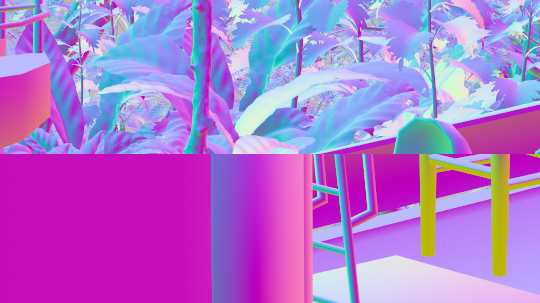
In real life, most surfaces aren't perfectly smooth. Normal mapping helps us take a
smooth surface and simulate the lighting of bumps and displacements across it. This
means we can add more fine-grained detailing without using more polygons. There was
some difficulty with matching Blender's conventions for normal mapping which Alex
thankfully explained in the course Teams chat.
Hover over the image to compare the output of the normals integrator with and without
normal mapping.
Third-Party Assets
Fishing Boat, Skull, Branch, Lantern, Oil Can, Table, Gun, Anthurium, Calathea, Fern, Nettle, Pachira, Island Tree 1, Island Tree 2, Island Tree 3, Jacaranda Tree,