Computer Graphics Final Project
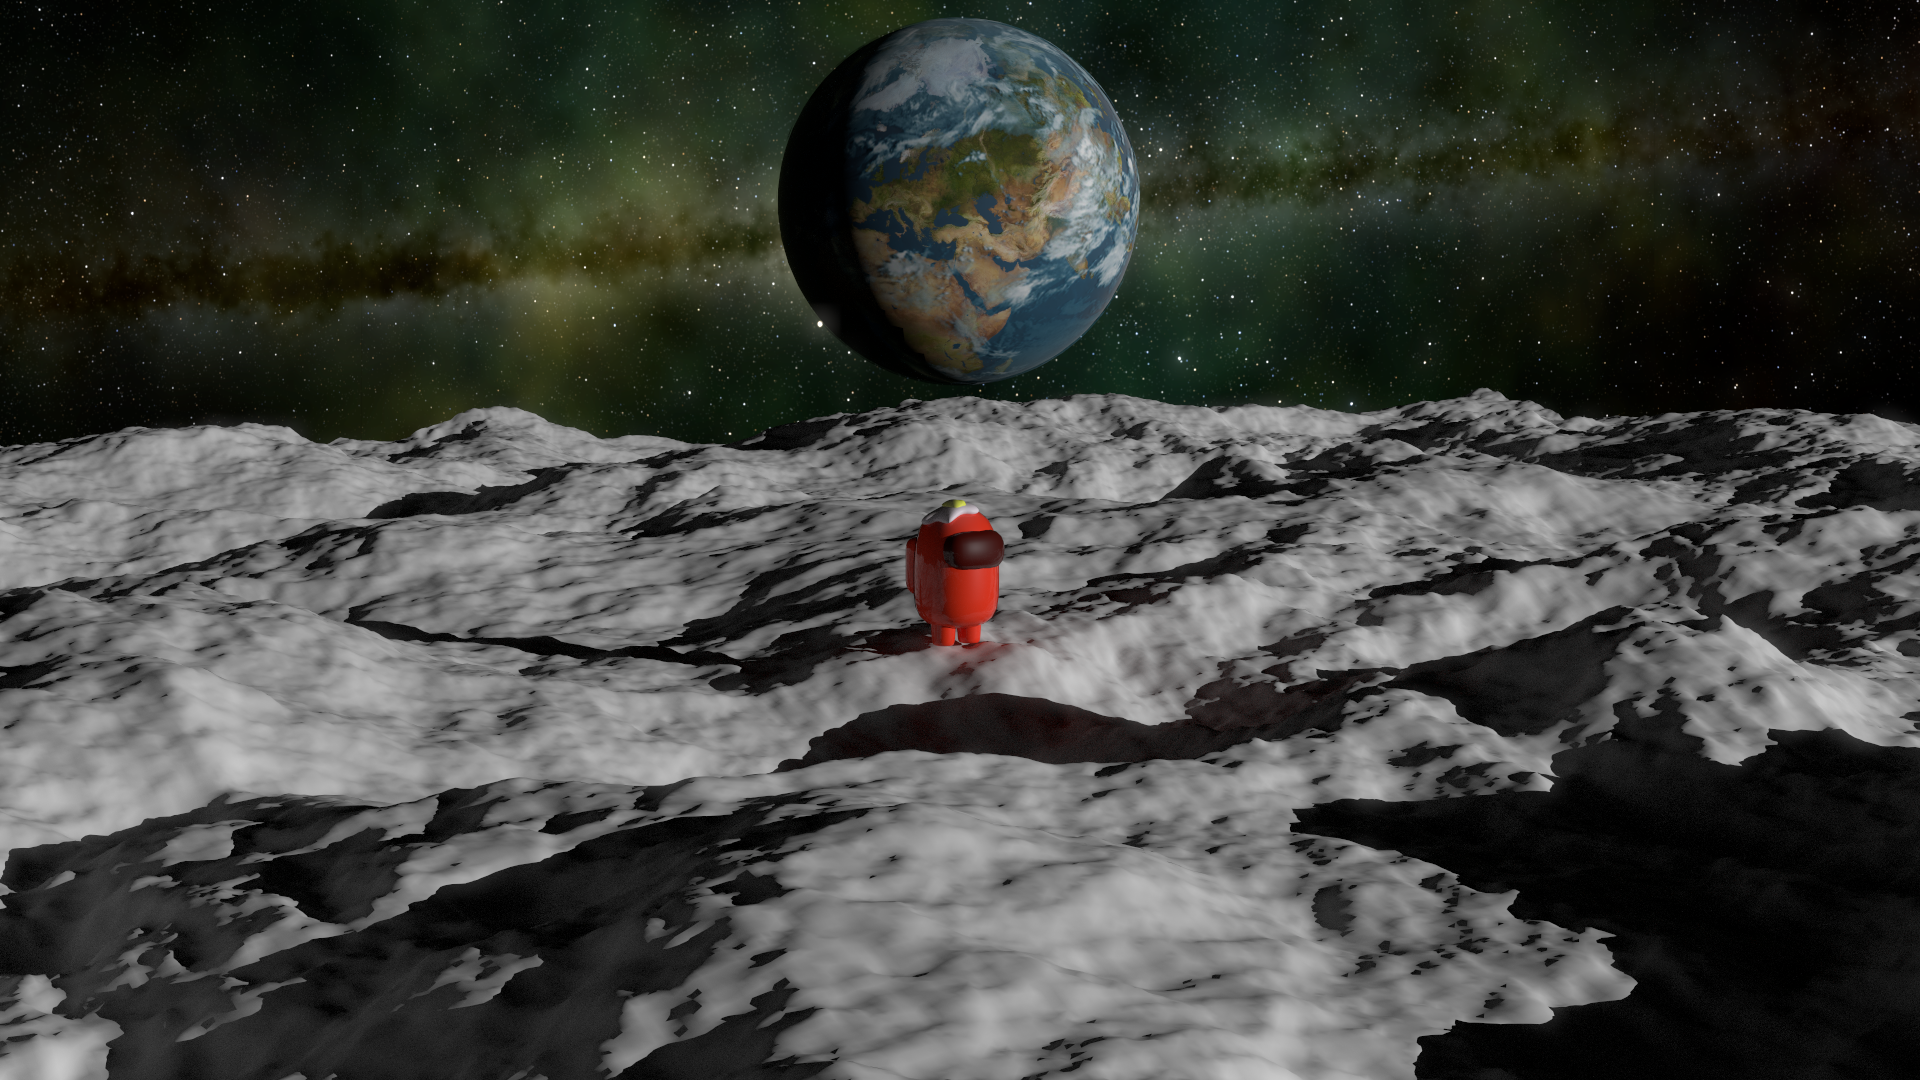
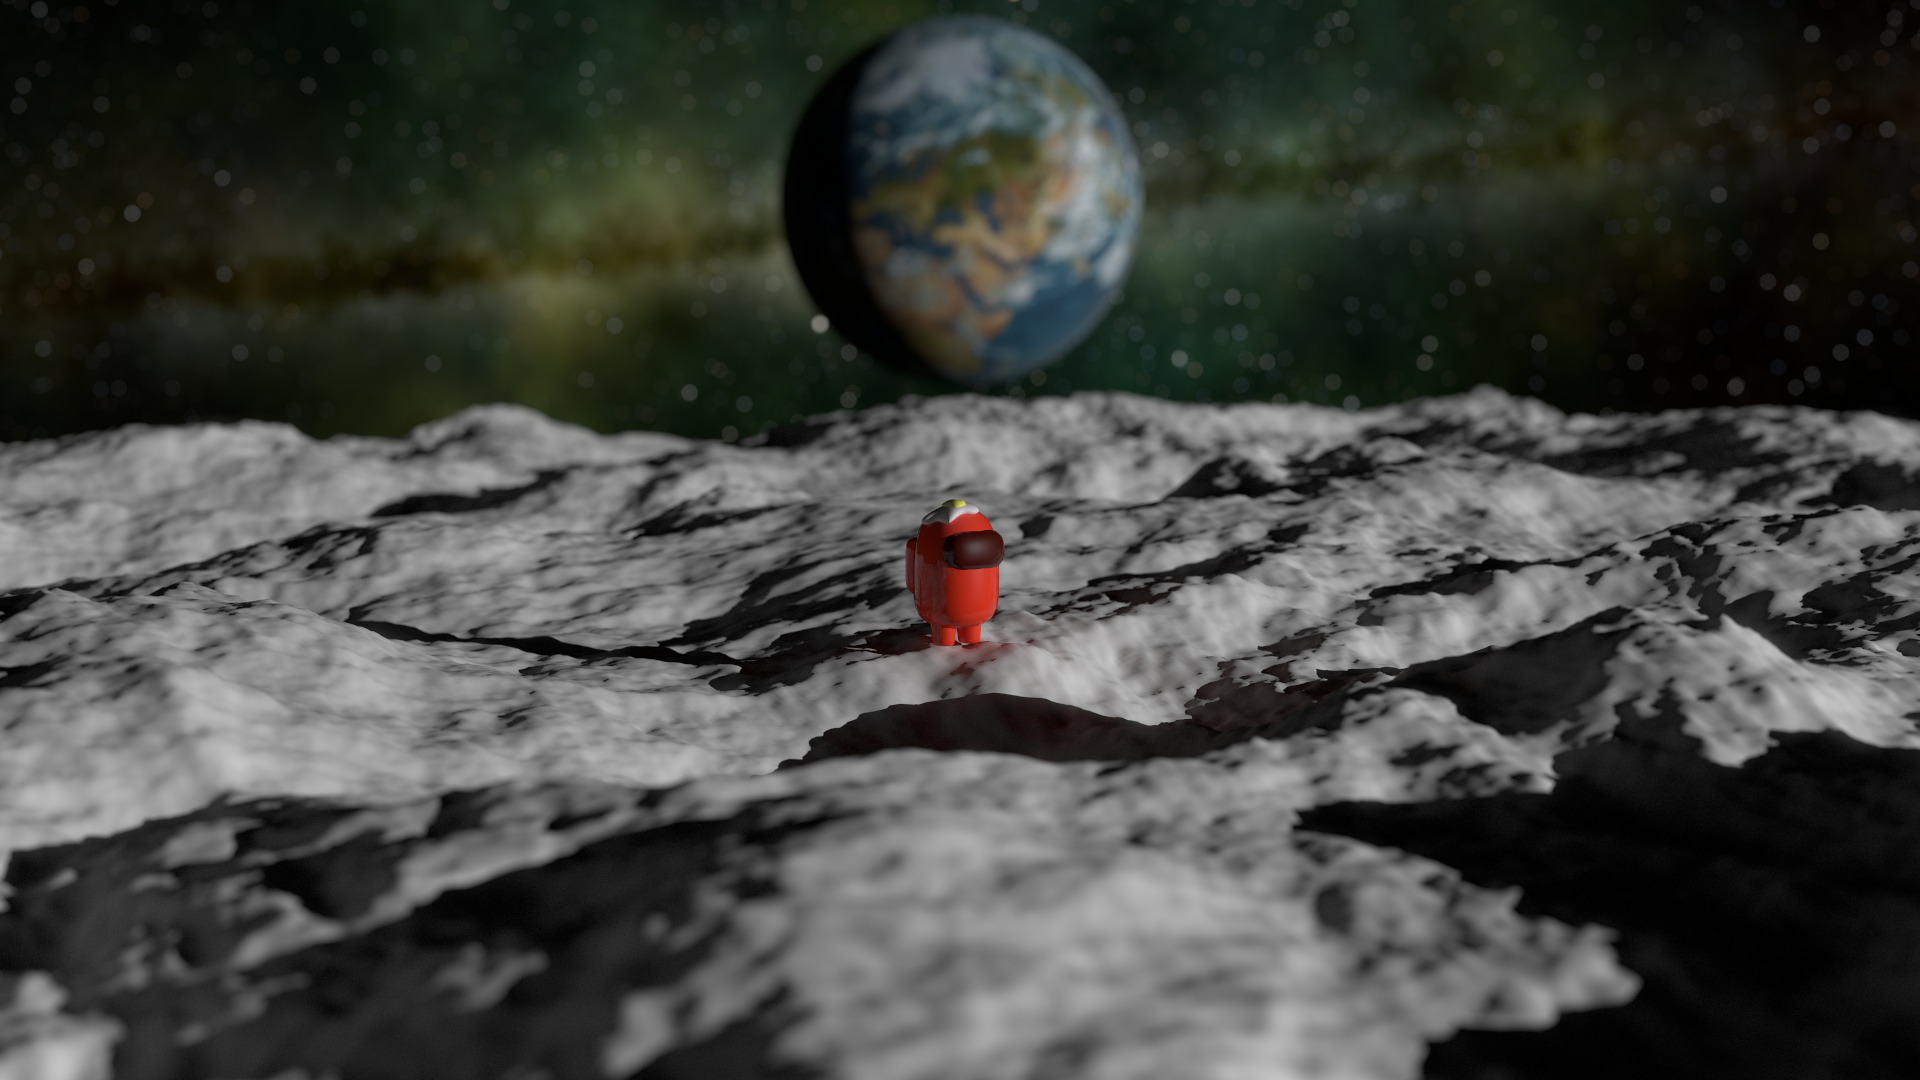
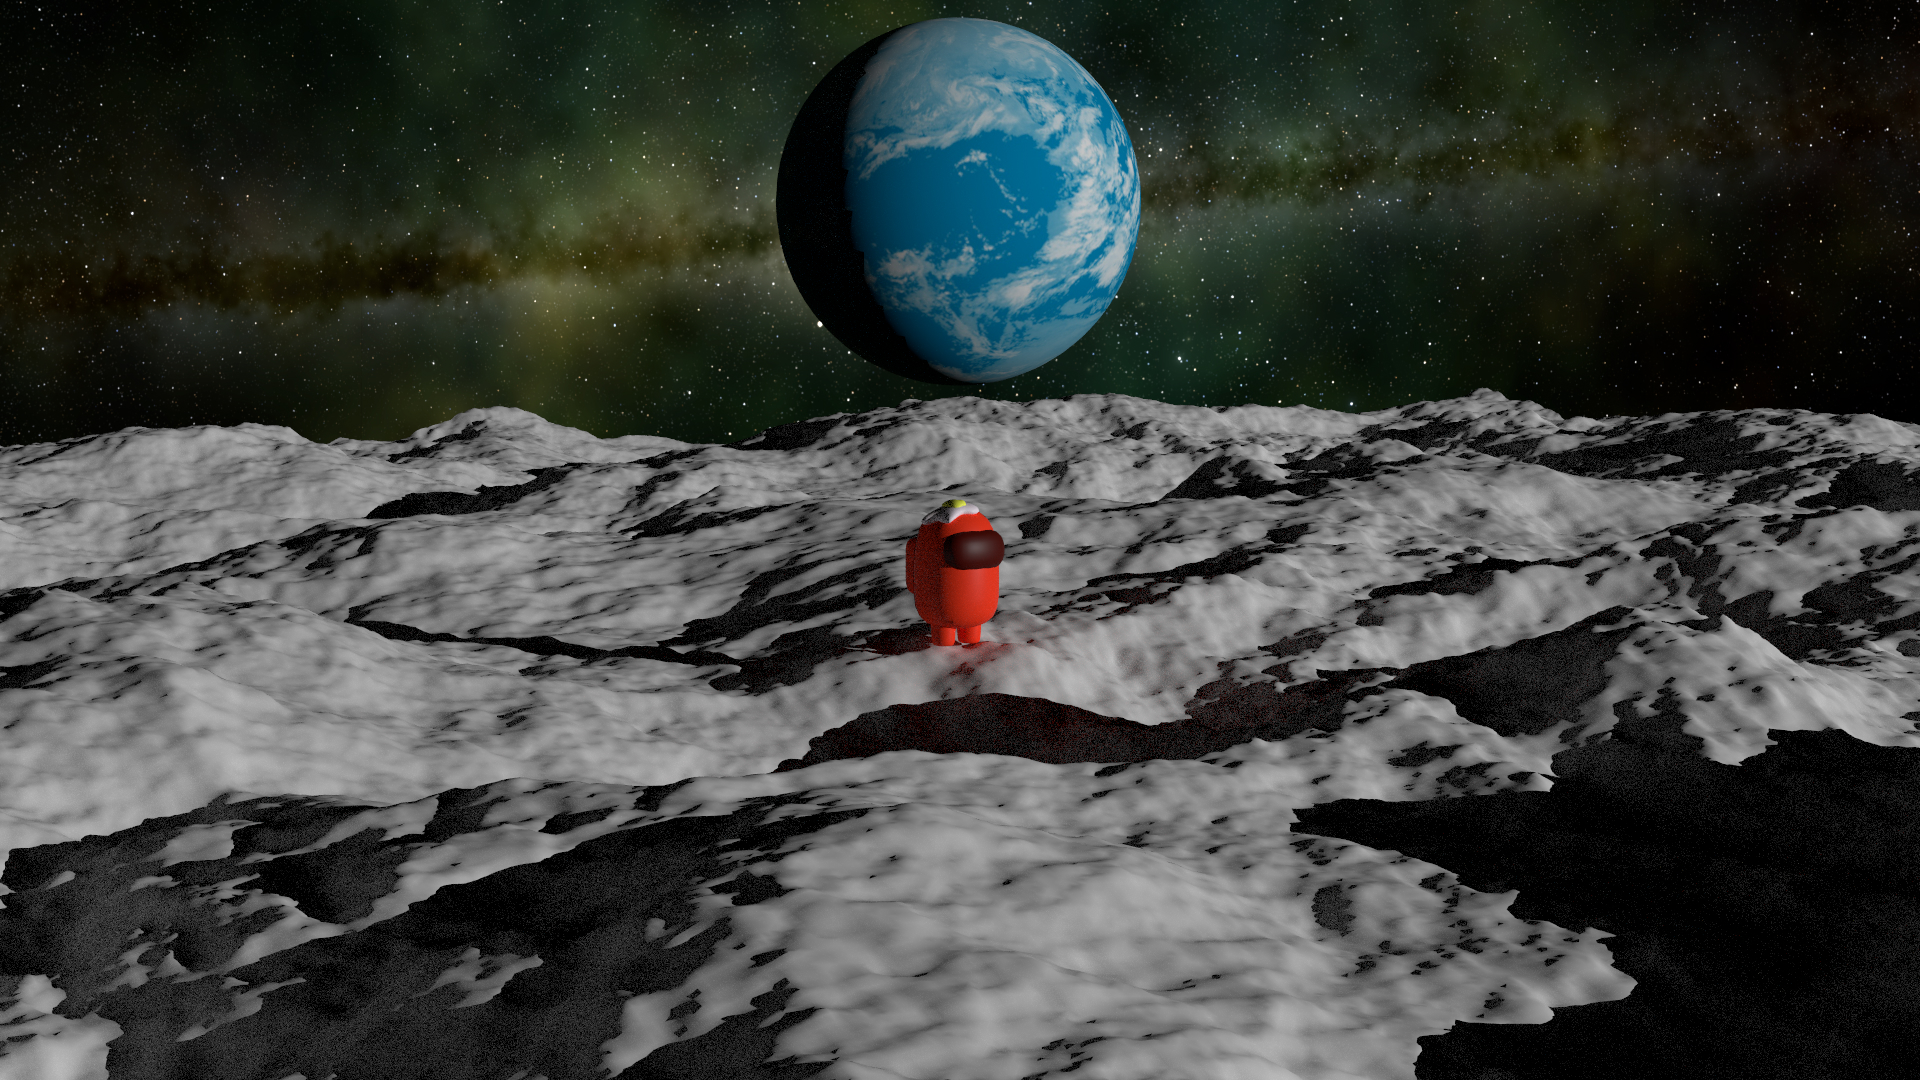
Exile final render

Exile.

A lonely landing on the Moon.

Abstract

We wanted to show the story after the vote in Among Us.
The crewmate isn’t guilty, but the decision is final.
He lands on the Moon completely alone, with nothing but silence around him.
And Earth behind him as his last connection to home.

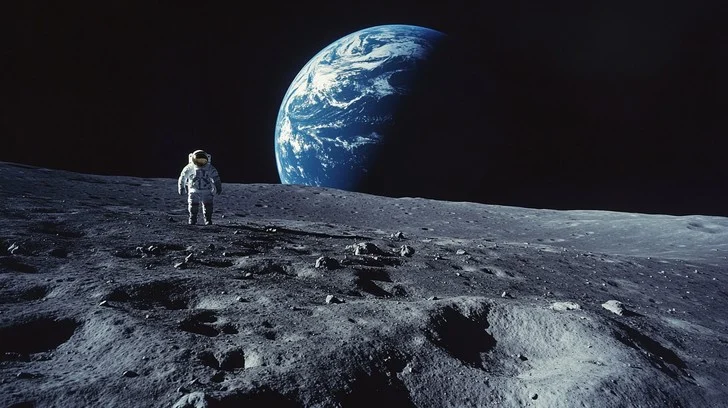
Inspiration image
Inspired Image
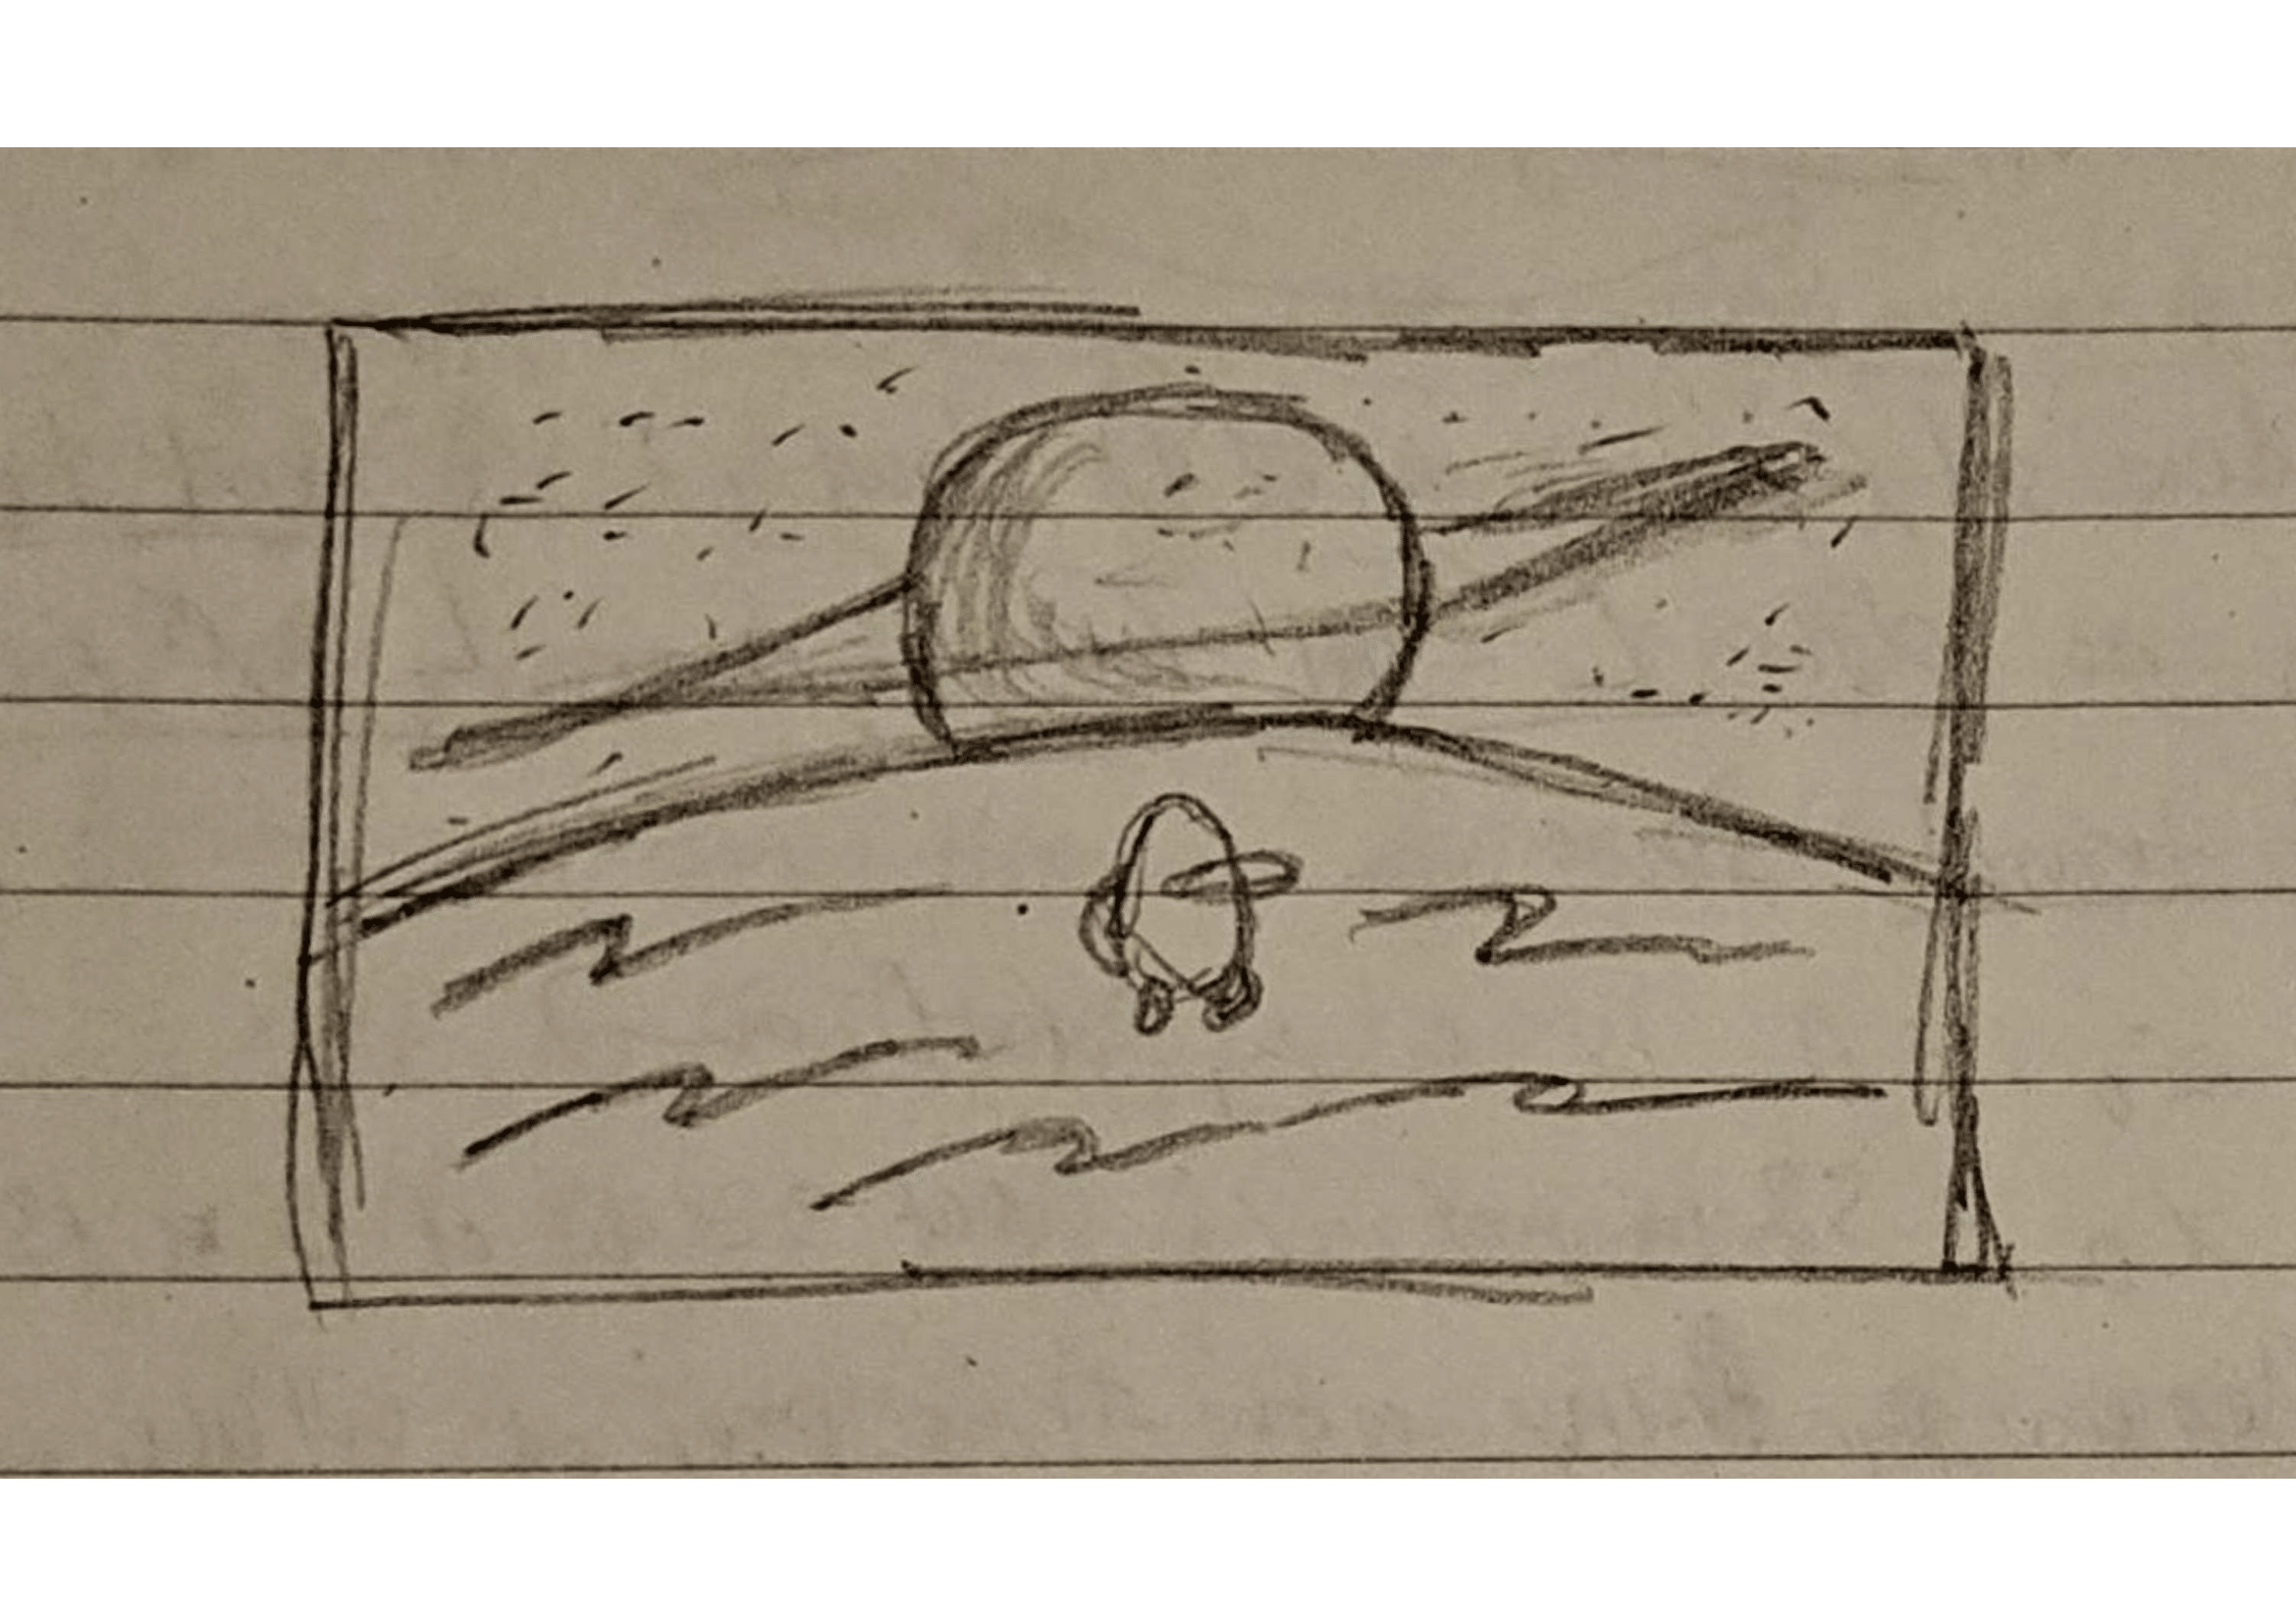
Sketch image
Scene Layout Sketch

Process

Intermediate renders and key variations, shown as before/after sliders.

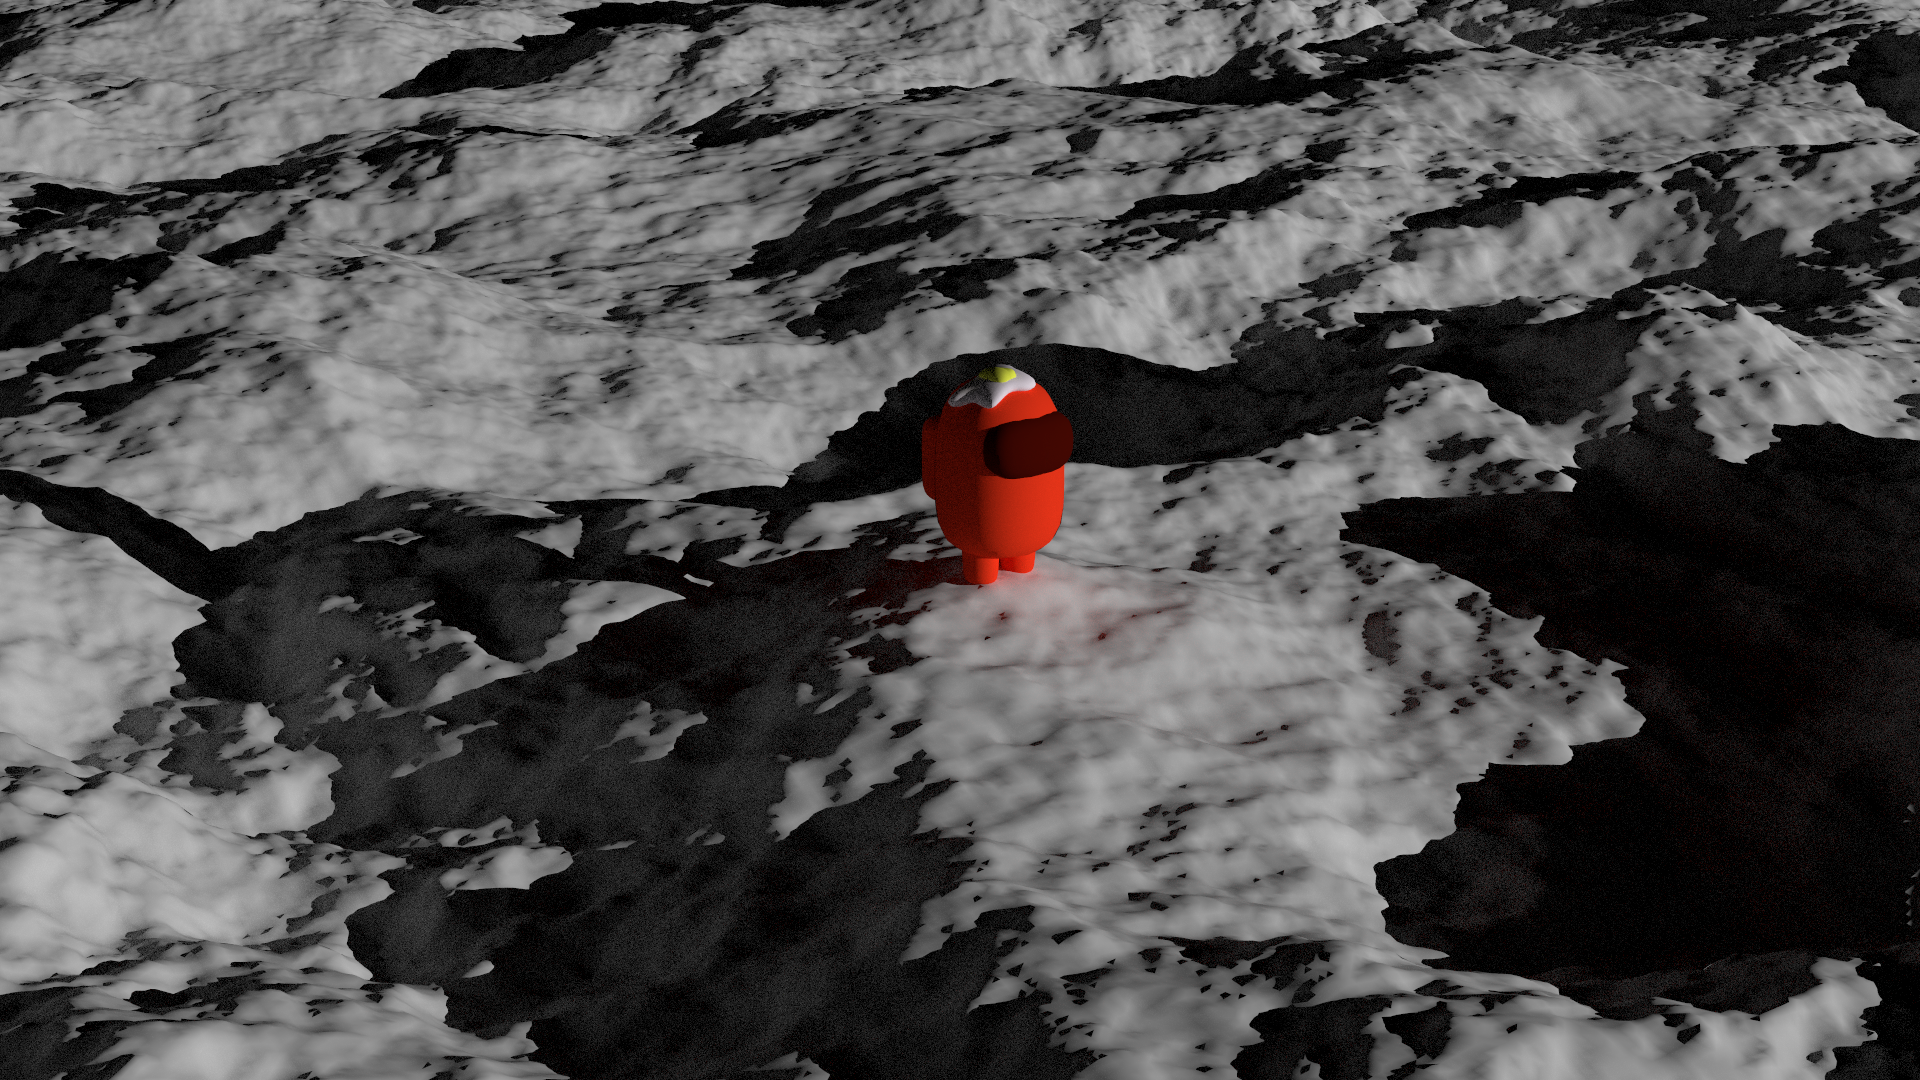
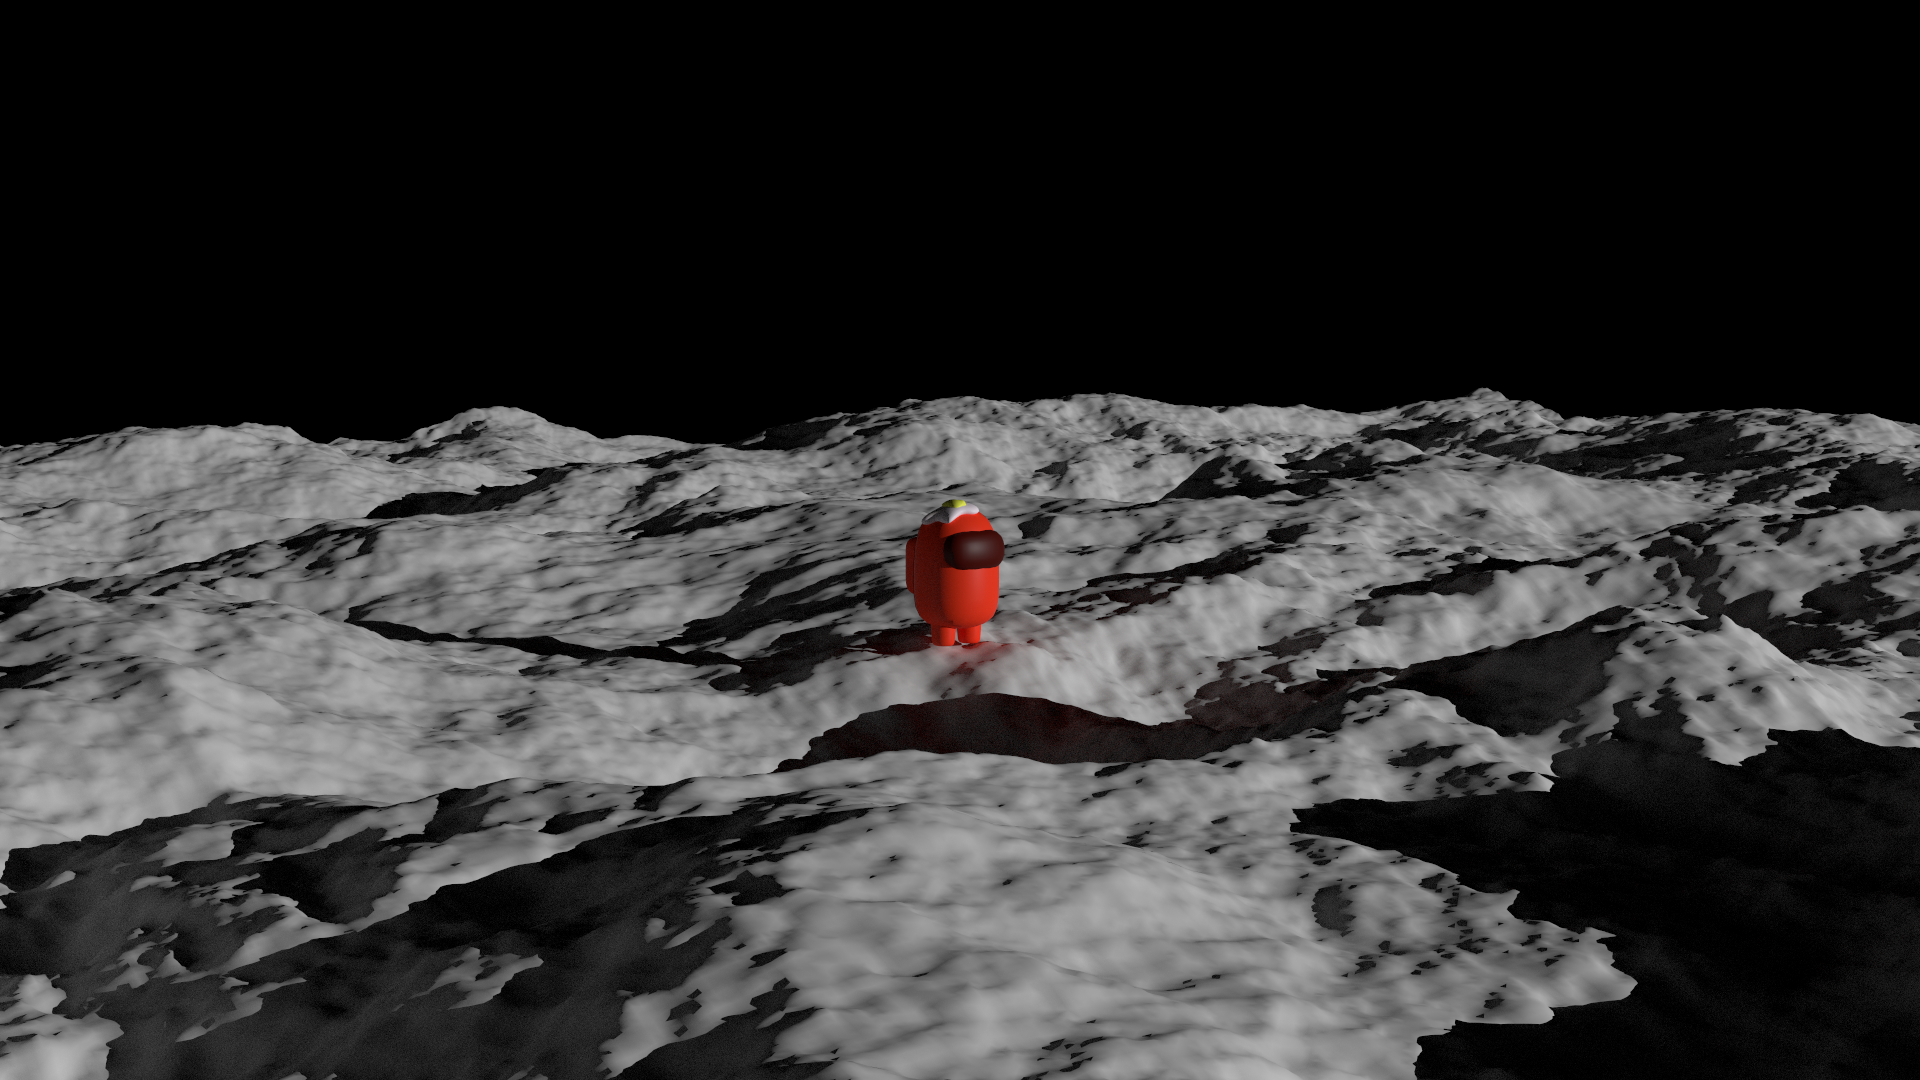
1) Camera & Composition

We started with a more top-down view, but it made the scene feel flat and it was harder to show our features clearly on more than one object.

Change: We moved the camera up and angled it to include more background space, so the scene keeps the “alone on the Moon” feeling while giving room for Earth and lighting detail.
BeforeAfter
2) Adding Earth & Space Background

Next, we added Earth and a galaxy background to bring in color contrast and give the crewmate a clear “home in the distance” feeling.

Note: At this stage the cloud layer on Earth is still fully opaque (no alpha masking yet), so you only see the cloud surface.

BeforeAfter

3) Feature Integration

This is where we implemented most renderer features.

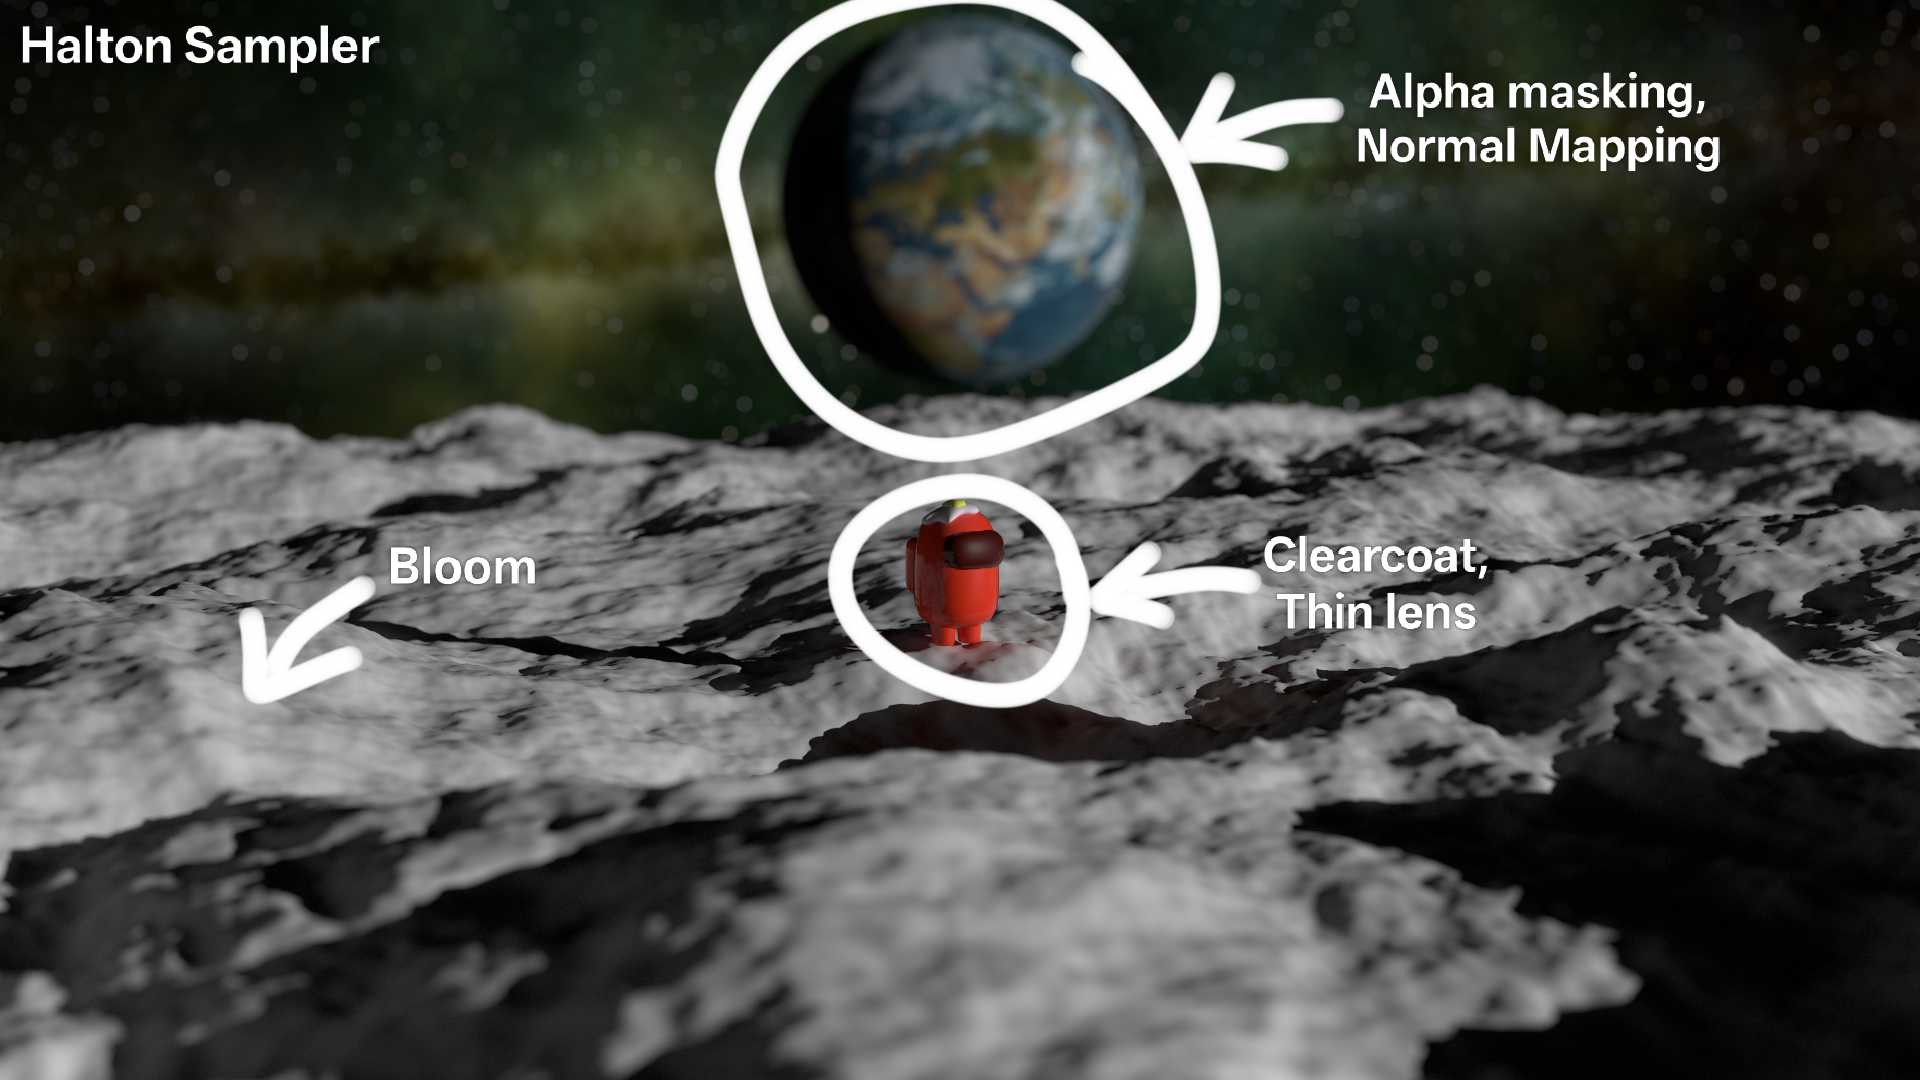
Change: The clouds now use alpha masking so Earth’s surface shows through, and normal mapping adds detail to the countries. We also implemented clearcoat on the crewmate for a glossy finish, Halton sampling for cleaner noise, and bloom for a gentle glow on the moon surface.

BeforeAfter

4) Final Shot

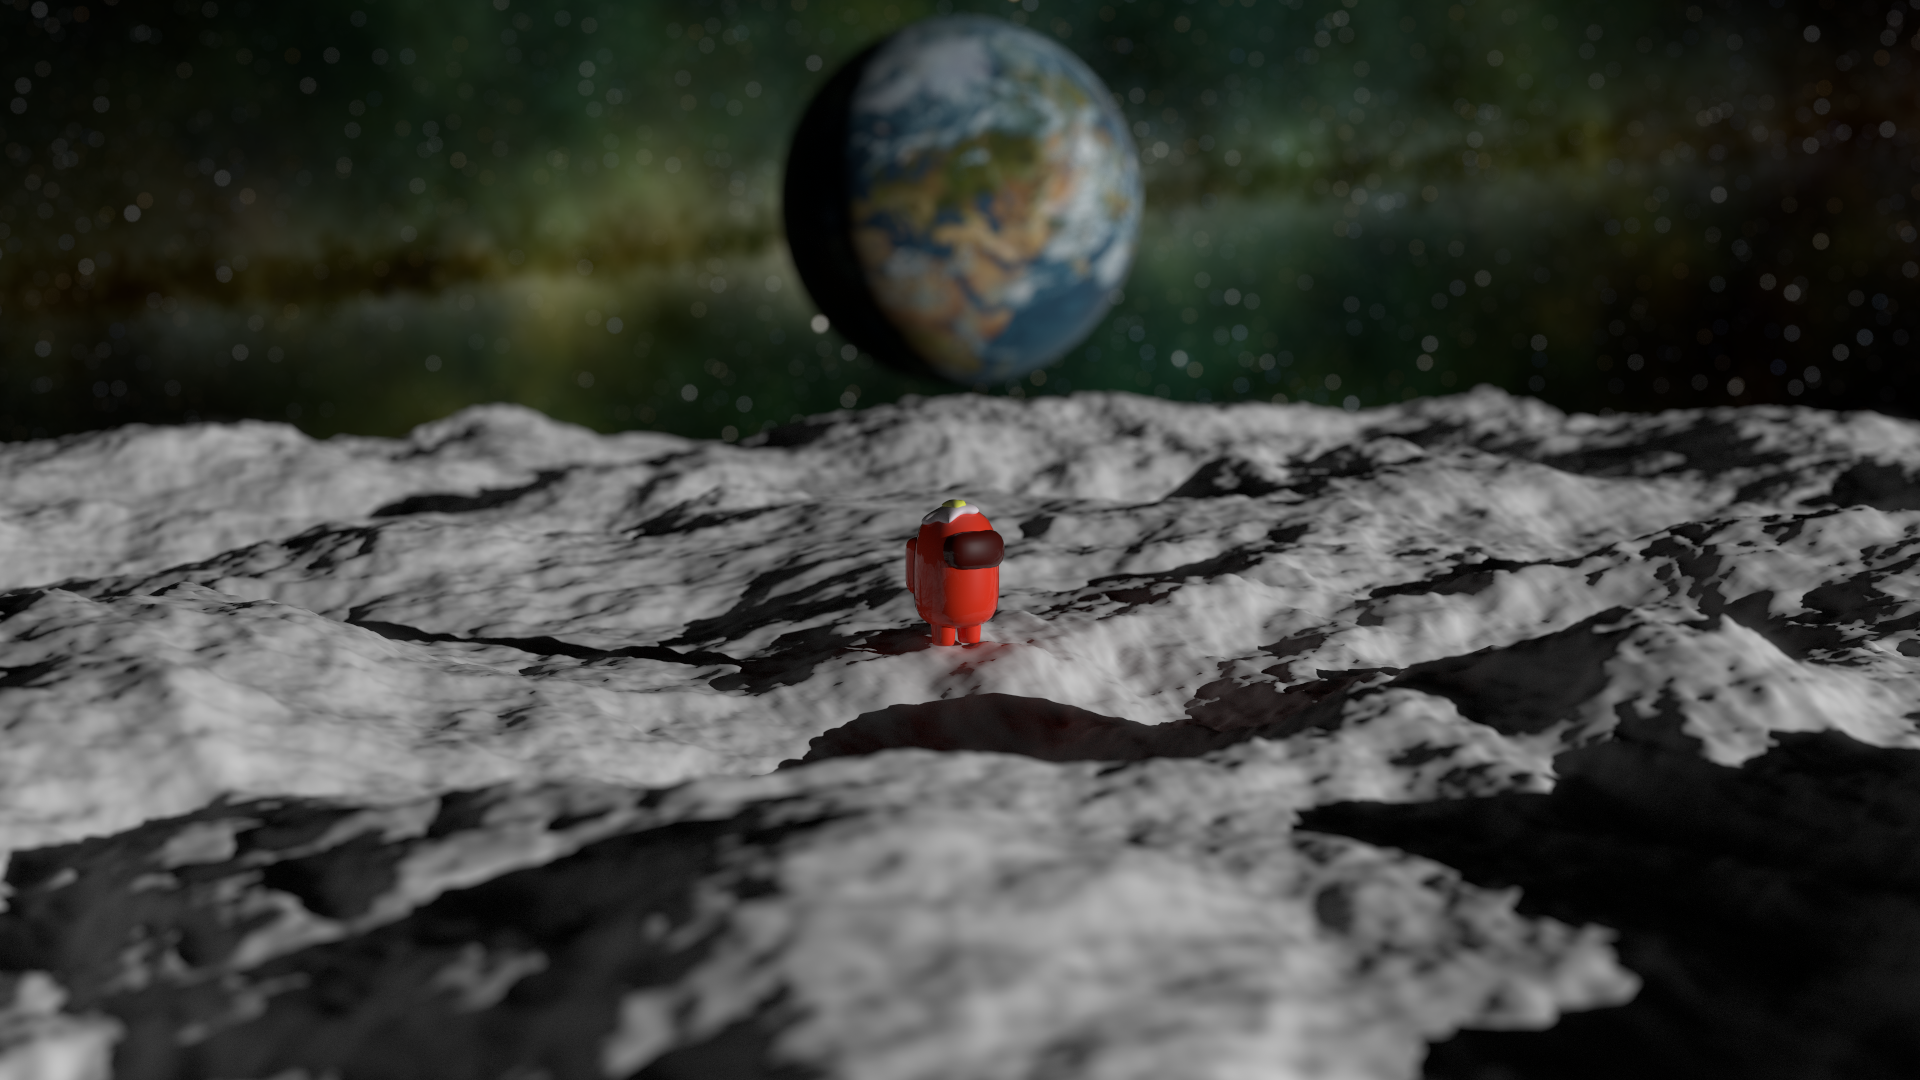
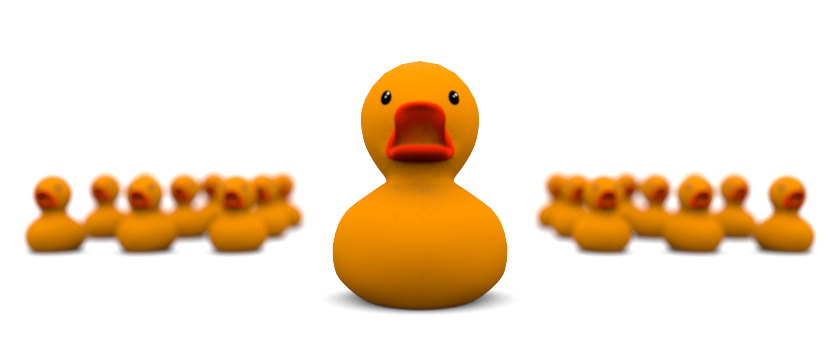
In the last step, we added the thin lens camera to get depth of field. The crewmate stays sharp while the background softens.

Note: The reason we used a blur is because it helps isolate the character and makes the loneliness feeling stronger, like a real camera shot.

BeforeAfter

Features

Before/after sliders showing each feature’s impact.

Alpha Masking

Alpha masking lets us decide which parts of a surface are solid and which parts are “cut out,” so we can get complex shapes without complex geometry.
In our final render, we used it for the thin cloud layer on Earth, so that we are able to see the earth surface beneath the clouds.

Implementation: We extended the Instance (instance.cpp/.hpp) code to optionally load an alpha texture and use it during ray intersections.

Challenge: Making sure alpha cutouts work correctly in the intersection code without breaking shading or transforms.

instance.cpp instance.hpp
Without alpha masking With alpha masking
WithoutWith

Normal Mapping

Normal mapping fakes small bumps and surface detail by changing how light reacts, without adding more triangles.
We used it to make Earth’s surface feel more detailed and less like a smooth ball.

Implementation: We added support in Instance (instance.cpp/.hpp) to load a normal map texture and apply it during shading.

Challenge: Getting the normal map orientation and shading frame right, since small mistakes make lighting look very wrong.

instance.cpp instance.hpp
Without normal mapping With normal mapping
WithoutWith

Clearcoat

Clearcoat adds a thin shiny layer on top of a material, like varnish or toy plastic, which makes highlights pop more.
We used it on the crewmate to give him that glossy, toy-like finish.

Implementation: We implemented a clearcoat option in our material code (principled_clearcoat.cpp) as an extra reflective layer over the base look.

Challenge: Layering clearcoat on top of the base material without making highlights unrealistically strong.

principled_clearcoat.cpp
Without clearcoat With clearcoat
WithoutWith

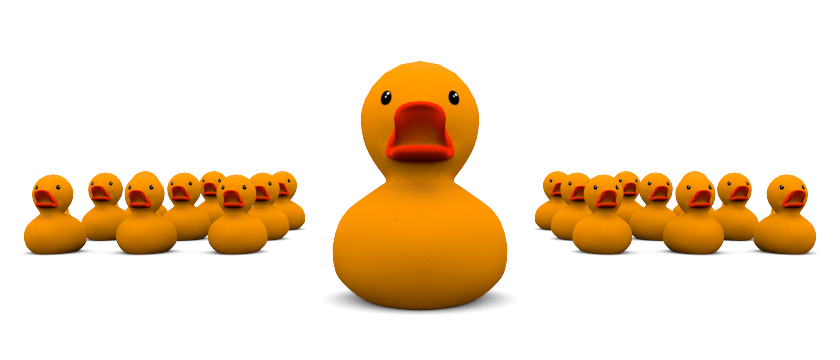
Thin Lens

A thin lens camera simulates real depth of field, where only a certain distance is sharp and everything else gradually blurs.
In our final render, we used it to keep the crewmate as the focus and soften the background for a more “shot with a camera” focused feel.

Implementation: We added a thin-lens camera model in thinlens.cpp so rays can simulate an aperture instead of a perfect pinhole.

Challenge: Implementing lens sampling and focus math correctly, because most bugs just show up as “weird blur.”

thinlens.cpp
Without thin lens With thin lens
WithoutWith

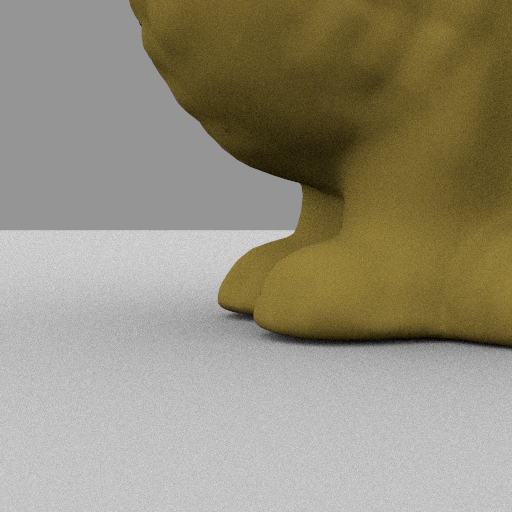
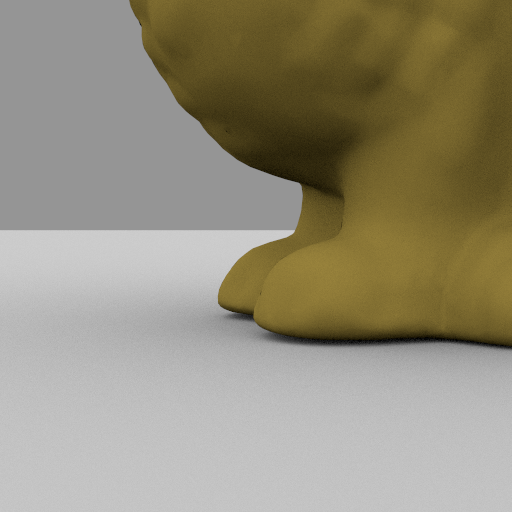
Low-Discrepancy Sampling (Halton Sampler)

Halton sampling spreads samples more evenly than pure random sampling, which reduces noise at the same sample count.
We used it to get cleaner results in the Moon shadows and darker regions without cranking samples as high.

Implementation: We added a Halton sampler in halton.cpp and used it as an alternative to the default random sampler.

Challenge: Plugging a new sampler into the whole renderer and checking it reduces noise without introducing visible patterns.

halton.cpp
Without Halton sampler With Halton sampler
WithoutWith

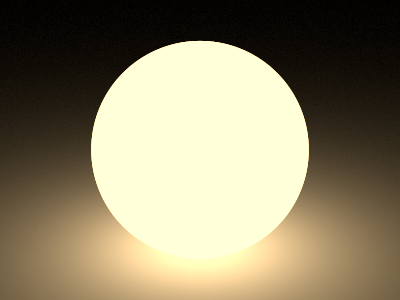
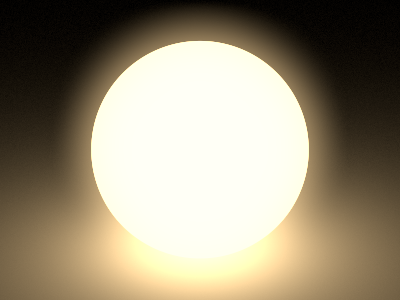
Post Processing (Bloom)

Bloom adds a soft glow to bright areas, which helps highlights feel less harsh and more like a real lens.
In our final render, we used it lightly to give bright edges and reflections a gentle glow without washing out the scene.

Implementation: We implemented bloom as a post-process step in bloom.cpp, applied after the main render.

Challenge: Making the post-process stable and controllable, so it adds a glow without creating harsh effects.

bloom.cpp
Without bloom With bloom
WithoutWith

Final Comparison

Final scene without any features Final scene with all features
WithoutWith

Features Marked

Final scene with feature locations marked

Statistics

Resolution
1920×1080
Samples
1024
Hardware
AMD Ryzen 7 6800HS Creator Edition
Render time
17m21s

References