Slippers
Mustafa Oğuz Türk
Render Time: 6min 26s
Resolution: 1966 x 2925
Scene created in Blender, rendered using Lightwave Renderer.
Mustafa Oğuz Türk
Render Time: 6min 26s
Resolution: 1966 x 2925
Scene created in Blender, rendered using Lightwave Renderer.
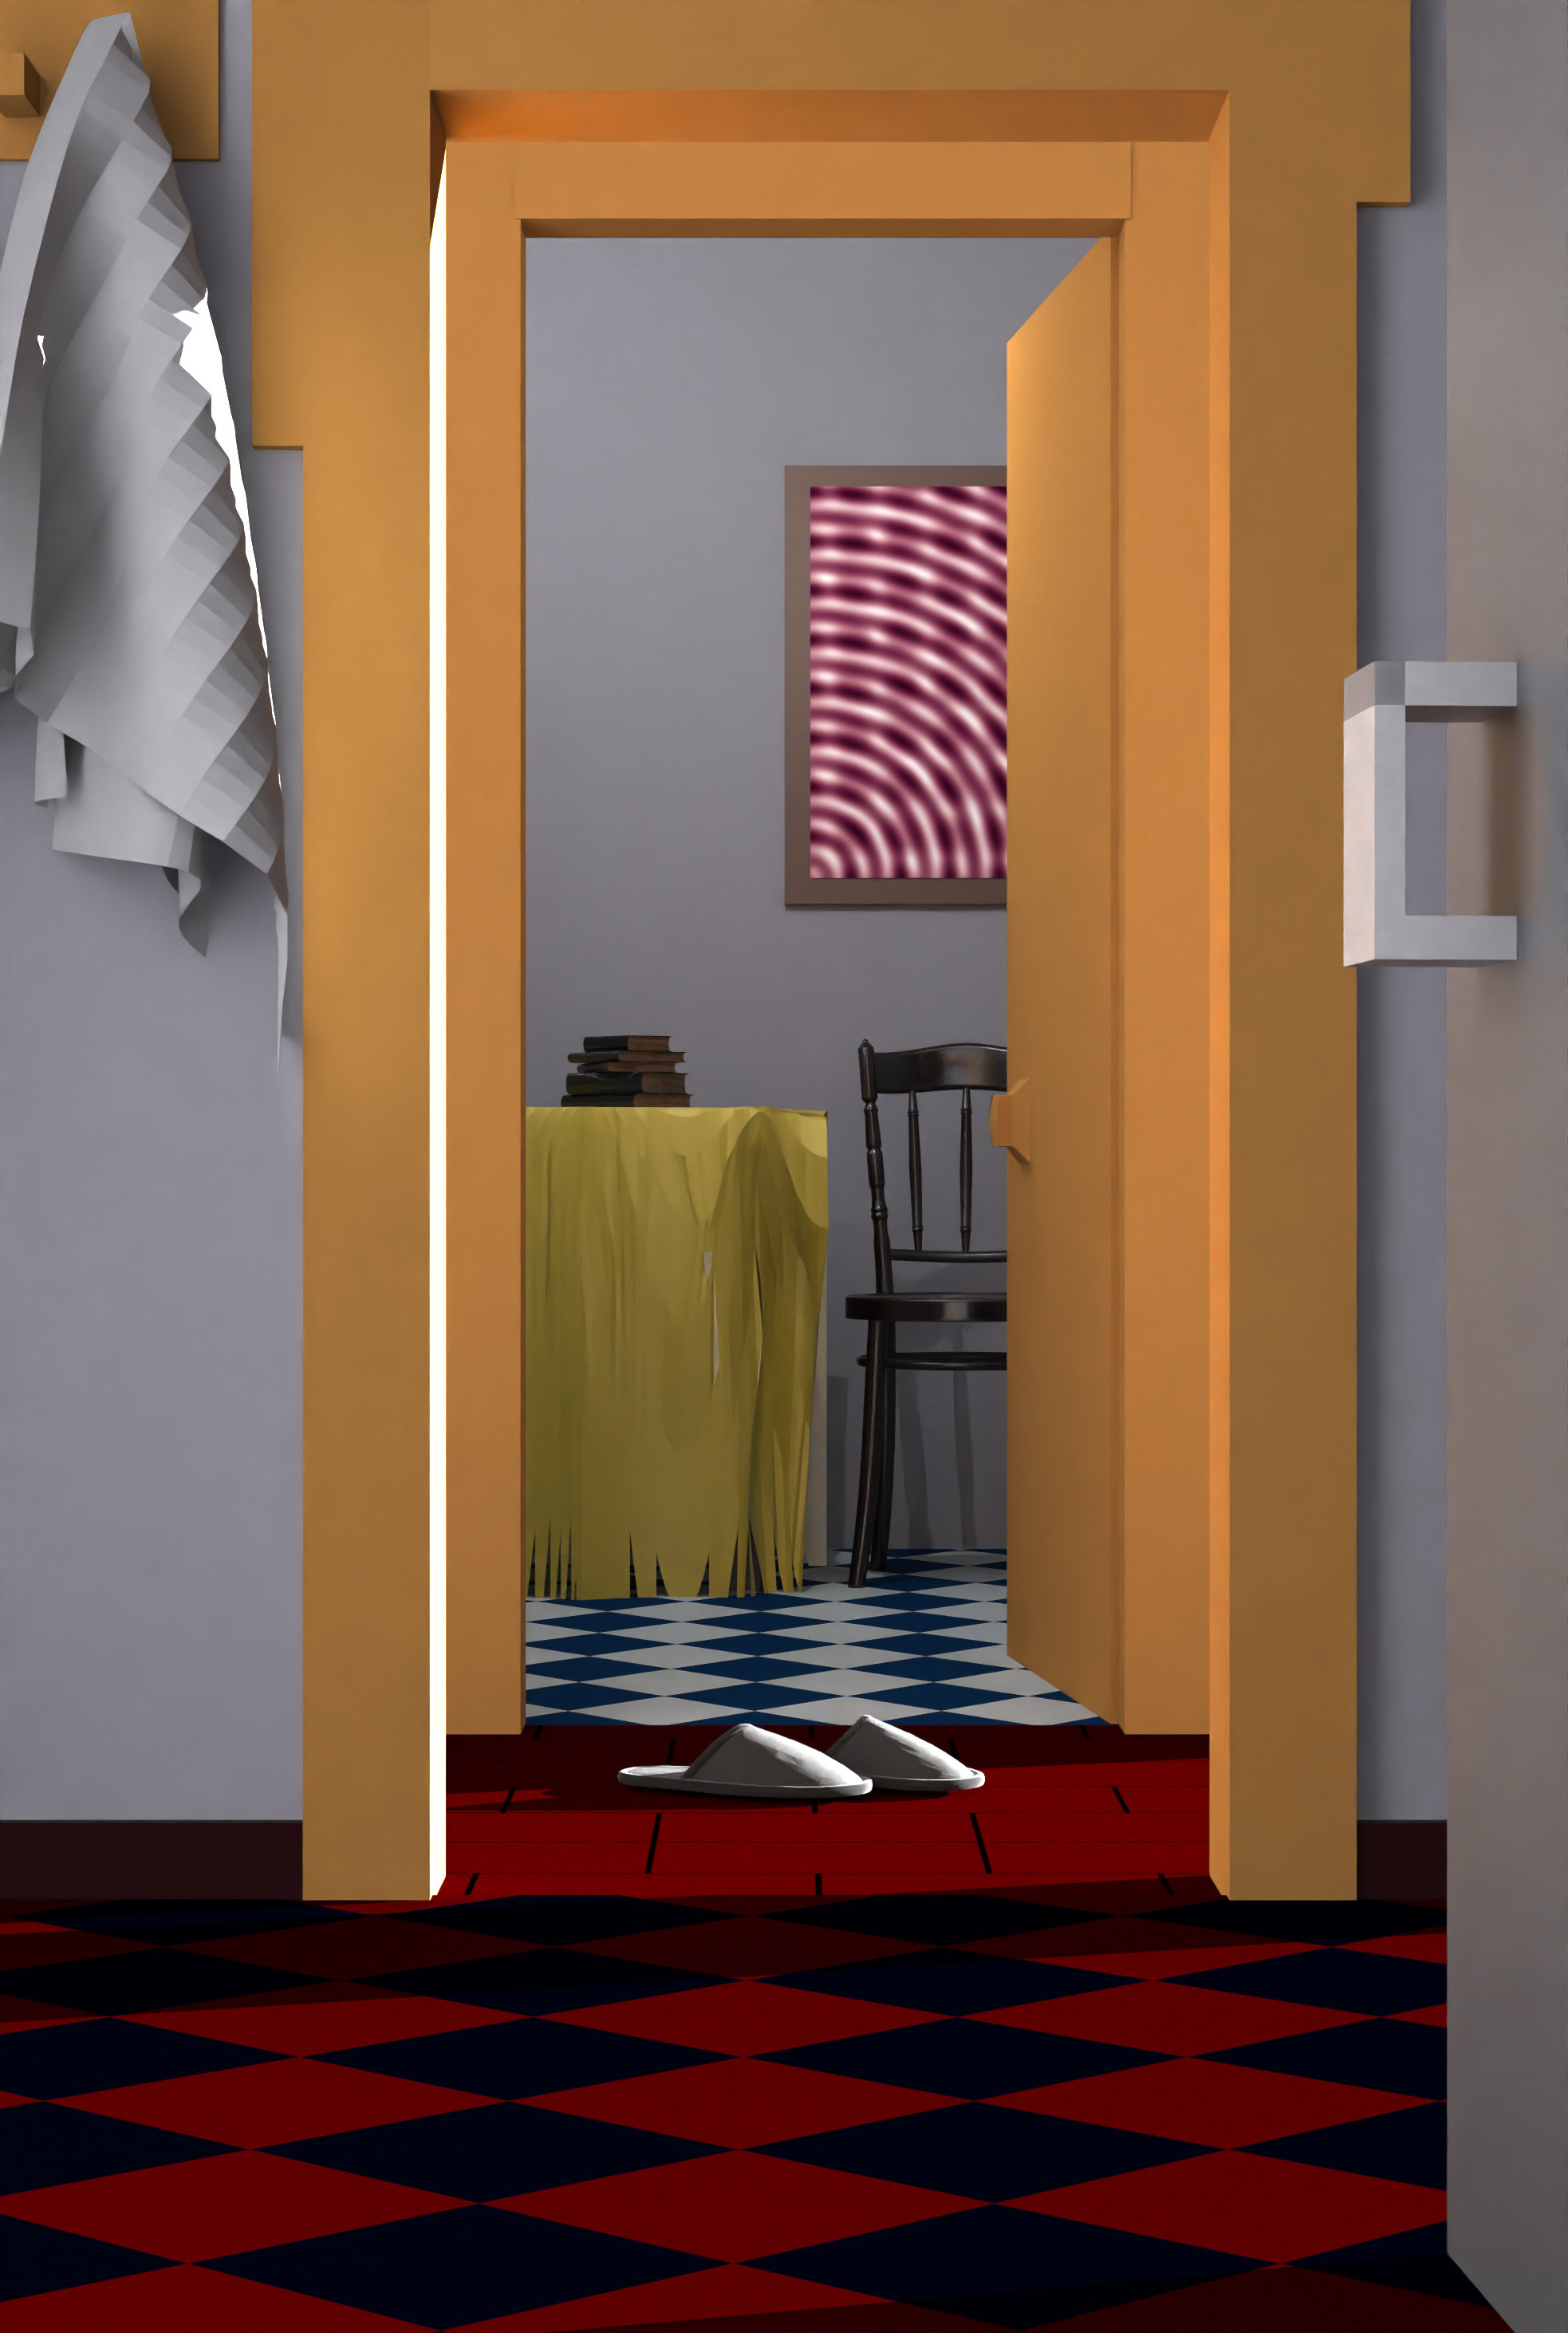
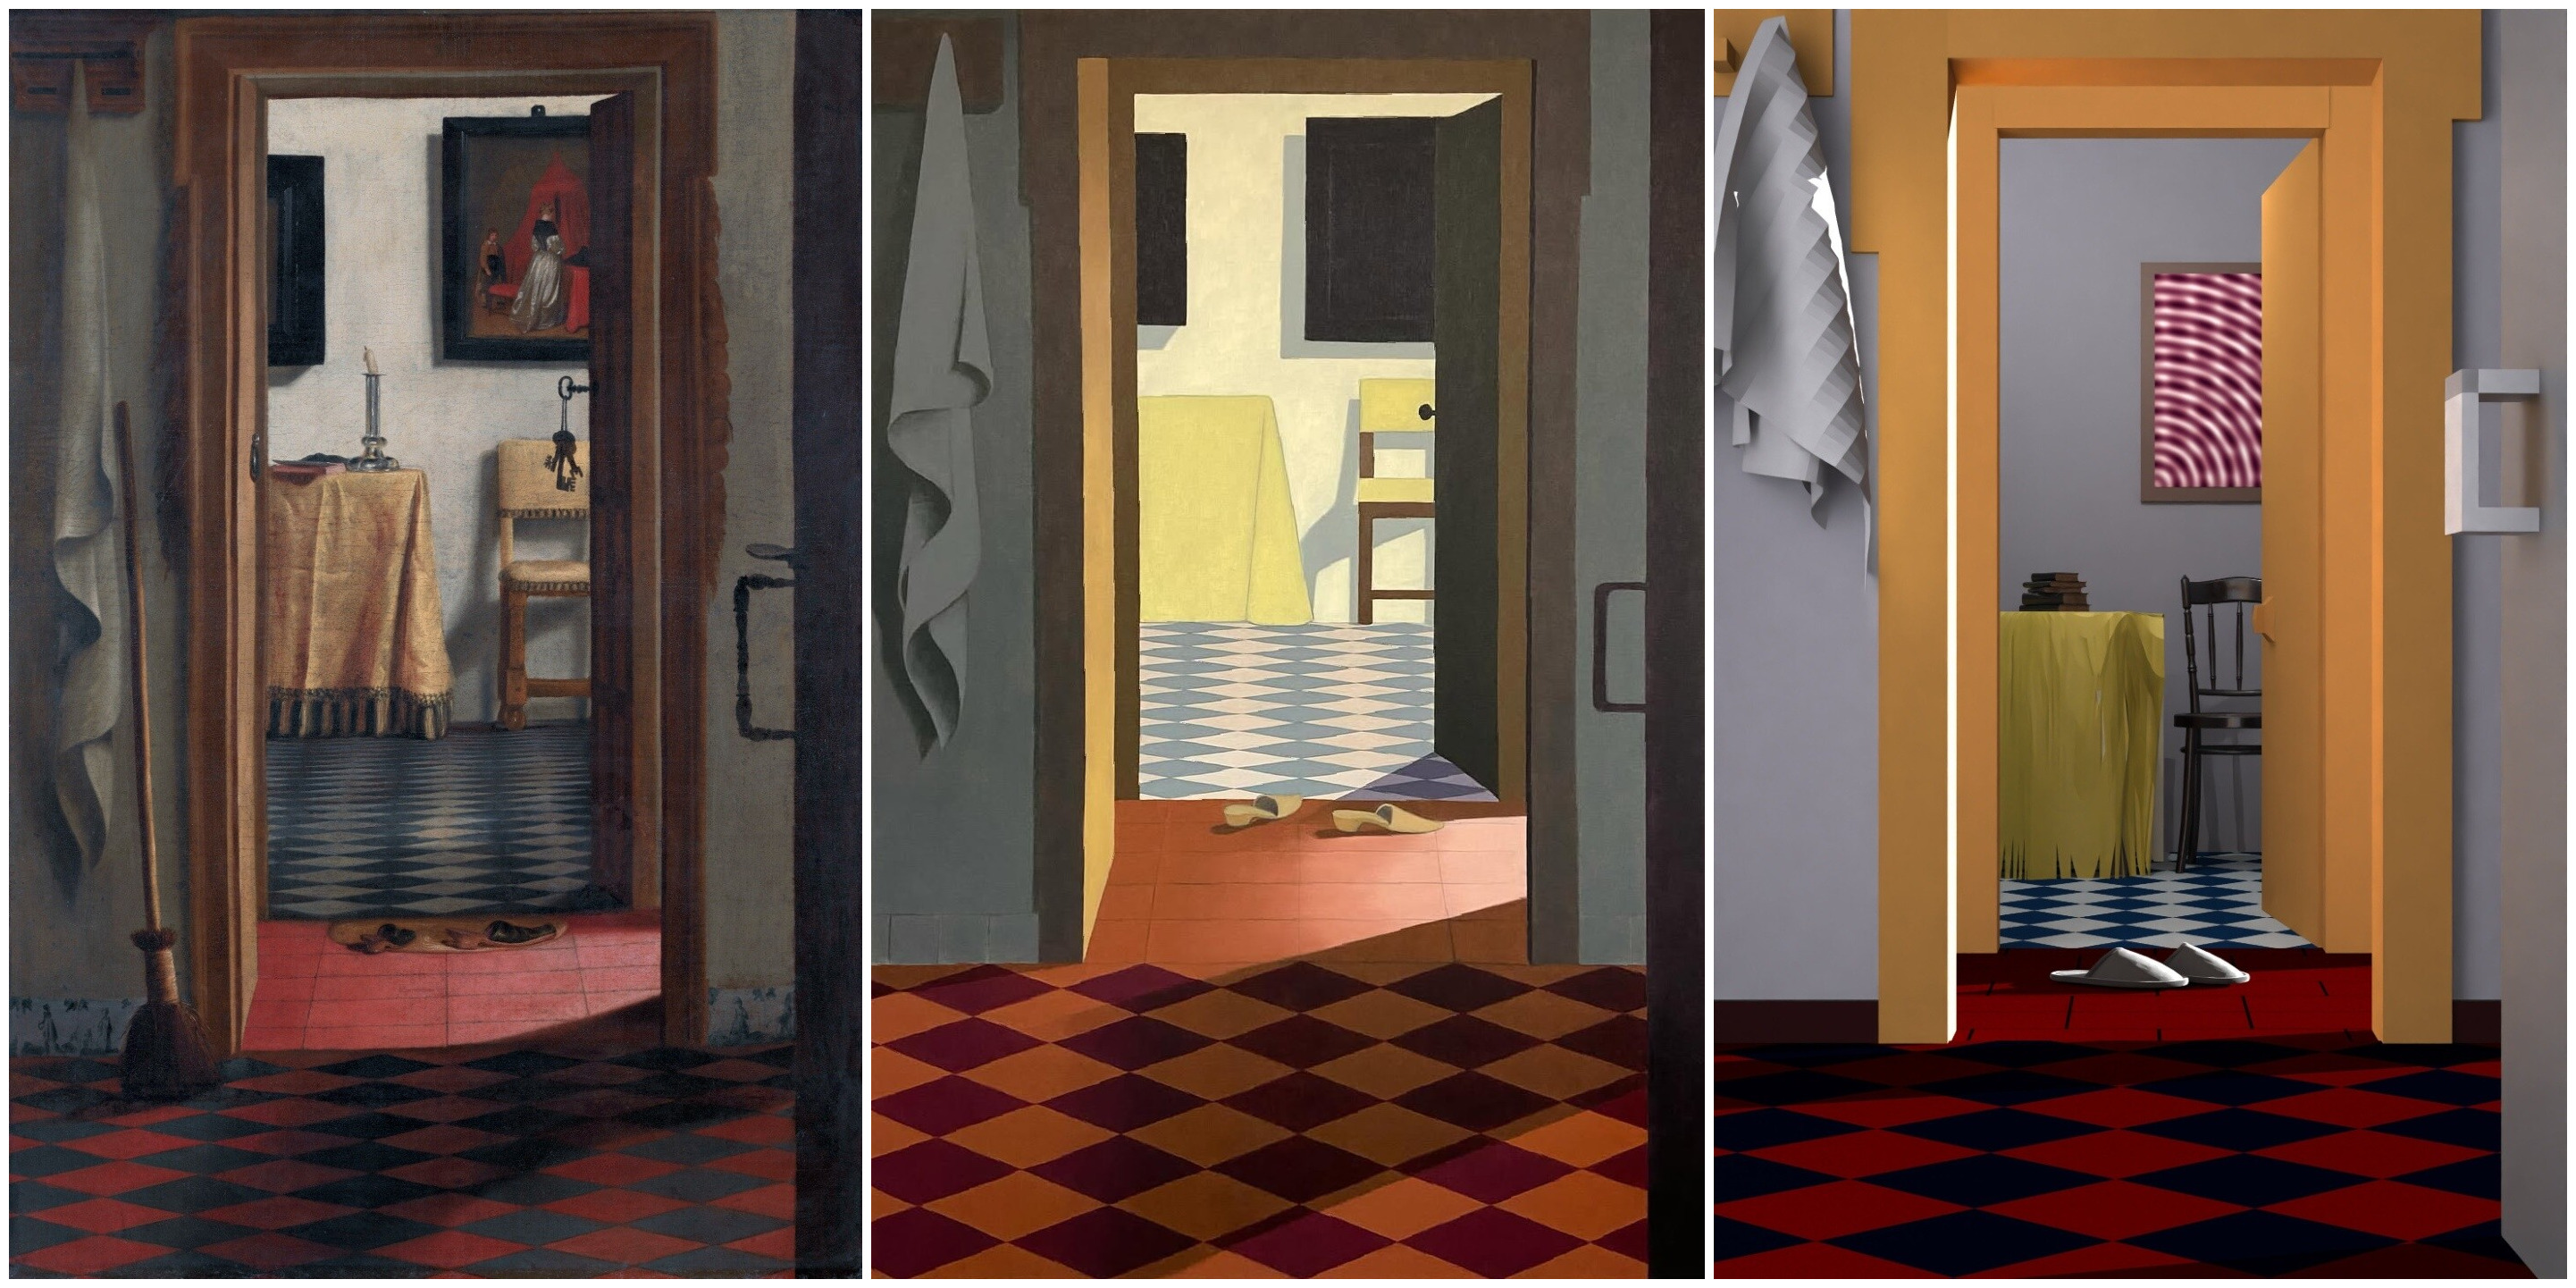
As I was visiting the Modern Art Galery in Metz, one painting called 'Samuel's Slippers' from Henni Alftan caught my eye. It was part of the 'Copyists' Exhibition and like all other paintings in it, it was a copy. A copy of 'Slippers' from Samuel van Hoogstraten, to be exact, though much simpler. At first glance, it seemed very basic; yet after inspecting it, I felt a sense of coziness and invitation conveyed through the doorway. In that moment, I was inspired to render a similar scene that invokes such feelings: a space open to interpretation, inviting the observer to step through and face the sun, be it as a guest or the owner.
Modelling:
As a concept, I planned to capture a balance between the simplicity of Alftan and the detailed depth
of Hoogstraten.
To start, I added the primary lighting with a direct source to create depth.
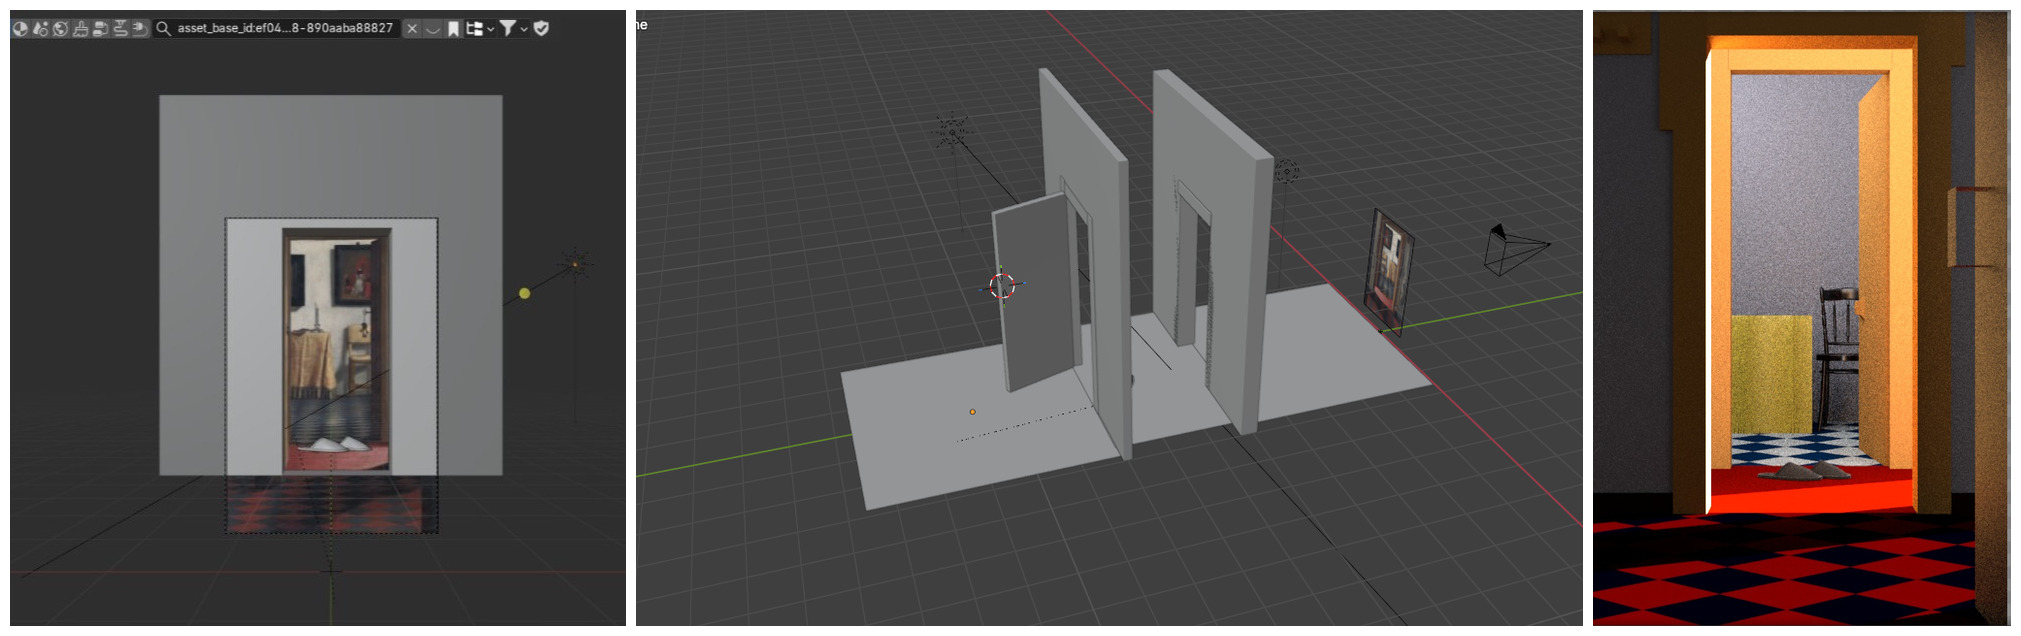
Using the Hoogstraten painting as a reference, I constructed the walls and positioned the slippers
to act as the scene's anchor, as seen in the first image below.
Next, I implemented the checkerboard floor. Although Lightwave supports procedural
checkerboards, the exporter limitation required me to handle this via Blender's shading editor as a
texture workaround. A view of the scene during this step can be seen in the second picture.
After modeling the door frames, I added a chair asset. I box-modeled the table and utilized
Blender's Cloth Simulation to drape the tablecloth naturally. I also used physics simulation to
create the hanging towel near the door.
To add final details, I integrated a book stack asset and created the a painting on the wall by
mapping a texture to a plane and I created the grid look on the middle floor using brick texture.
Variations & Challenges:
Lightwave Exporter was not fully compatible and I had to change some sections in the .xml file
manually every time I wanted to render the scene, causing the process to be time consuming.
I also experimented with different lighting setups, moving from a darker setup shown below to the
softer,
more ambient look.
Alpha masking is a feature that randomly dismisses
intersections based on the alpha channel of the texture.
To implement this feature I had to add m_alpha as a member of instance class in instance.hpp and I
had to apply some
changes to intersect and transmission function in instance.cpp. I changed the intersect function to
check for mean alpha and then decide randomly to skip the intersection if m_alpha was given. A
similar change was needed for transmittance function to control shadowing.
Realizing transmittance function had an effect on the m_alpha test results and then figuring out
how to change it was my biggest challenge. Intersect implementation was straightforward in
comparison.
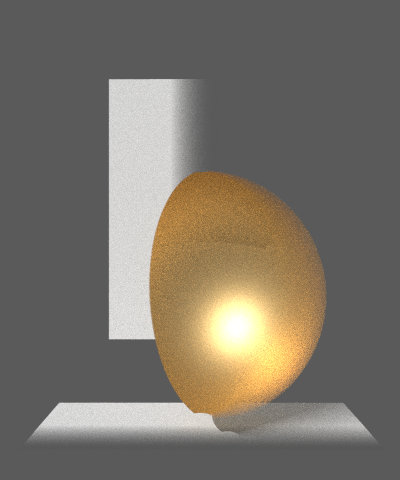
Normal mapping is a feature to increase surface detail without increasing polygon count. To implement
this feature I had to add m_normal as a member of instance class in instance.hpp and I
had to apply some changes to transformFrame function in instance.cpp. I added a block that checks
and remaps the normals if m_normal is given.
I did not have a hard time implementing this feature, it was well explained in the project features
file.
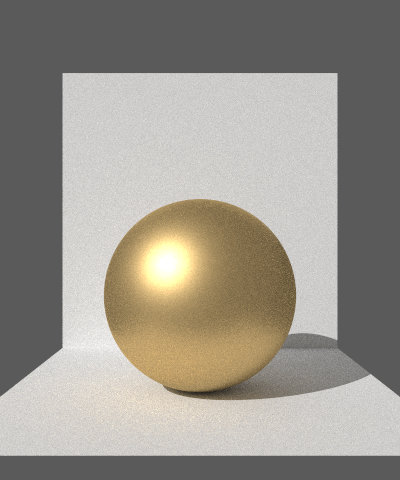
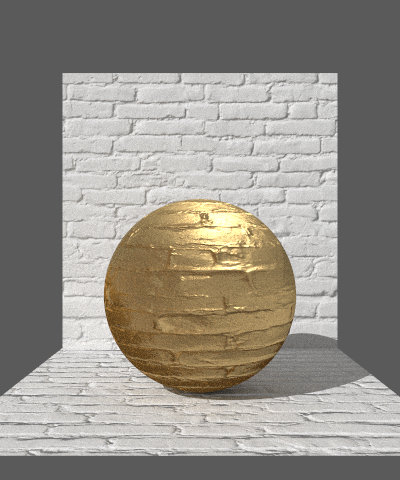
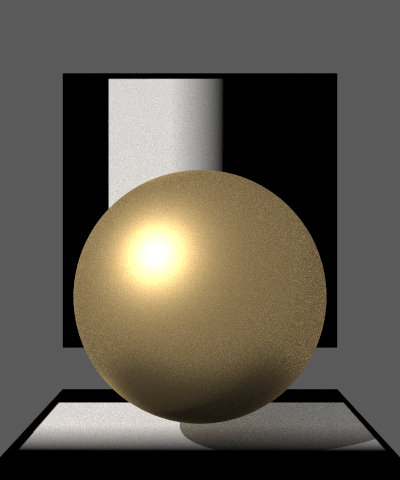
This feature allows for simulating complex materials like frosted glass. I based my implementation on the paper linked in the project features file, while also checking for similarities between this bsdf and rough conductor bsdf and dielectric bsdf, that I implemented earlier. I have written a new roughdielectric.cpp file, including evaluate and sample funcctions. It started by checking the vector directions to understand if it was a reflection or refraction. Then, the result is calculated using the half vector and other variables. Sampling was trickier, I sampled using the fresnel and weighing the probabilities just like in dielectric bsdf. I had to try different conventions for vector and weight calculation since there were inconsistenties between the feautre description and the paper description. In the end I sticked with the paper formulas.
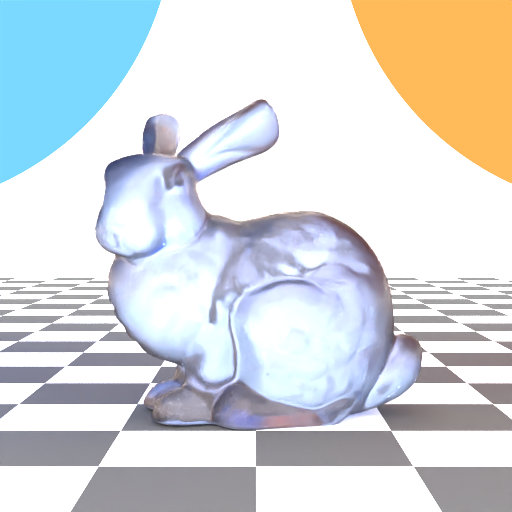
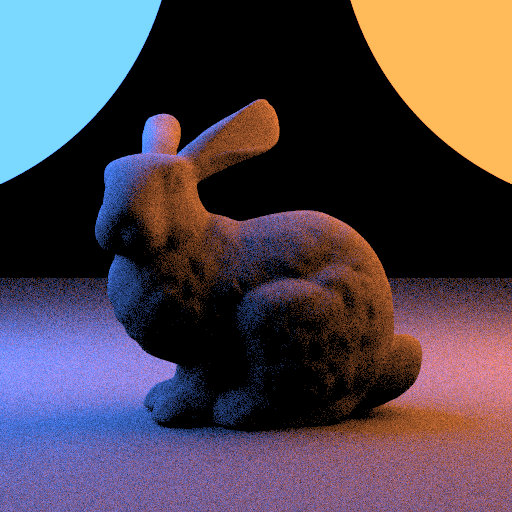
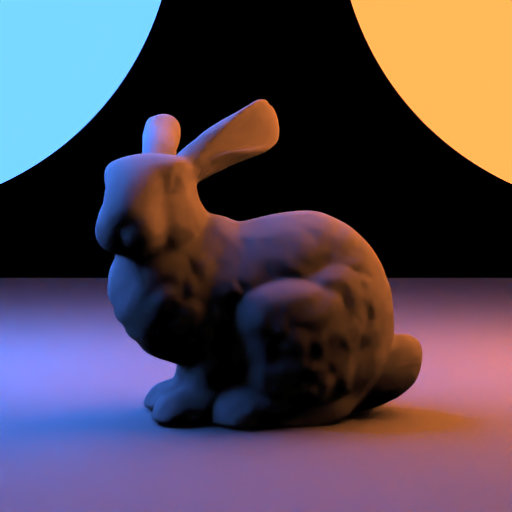
Denoising reduces the noise, resulting in a smooth image. For this feature, I had to add an albedo
variable to my aov integrator. For this integrator to work I had to add a getAlbedo function to
every bsdf implementatiion. Then I implemented the feature as a postprocess in denoise.cpp using the
OIDN guidelines.
Coding part was not complicated, however, linking the library in Windows and using it without errors
was a really big, time consuming challenge. After trying different methods and visiting tutorial
hours, a solution was found.
The following third-party assets and artistic references were used in the creation of this scene: