Silverhand Alley
Mohamed Khalil Abbes, Muhammad Umar Javed
Semester: Winter 2025/26
Abstract
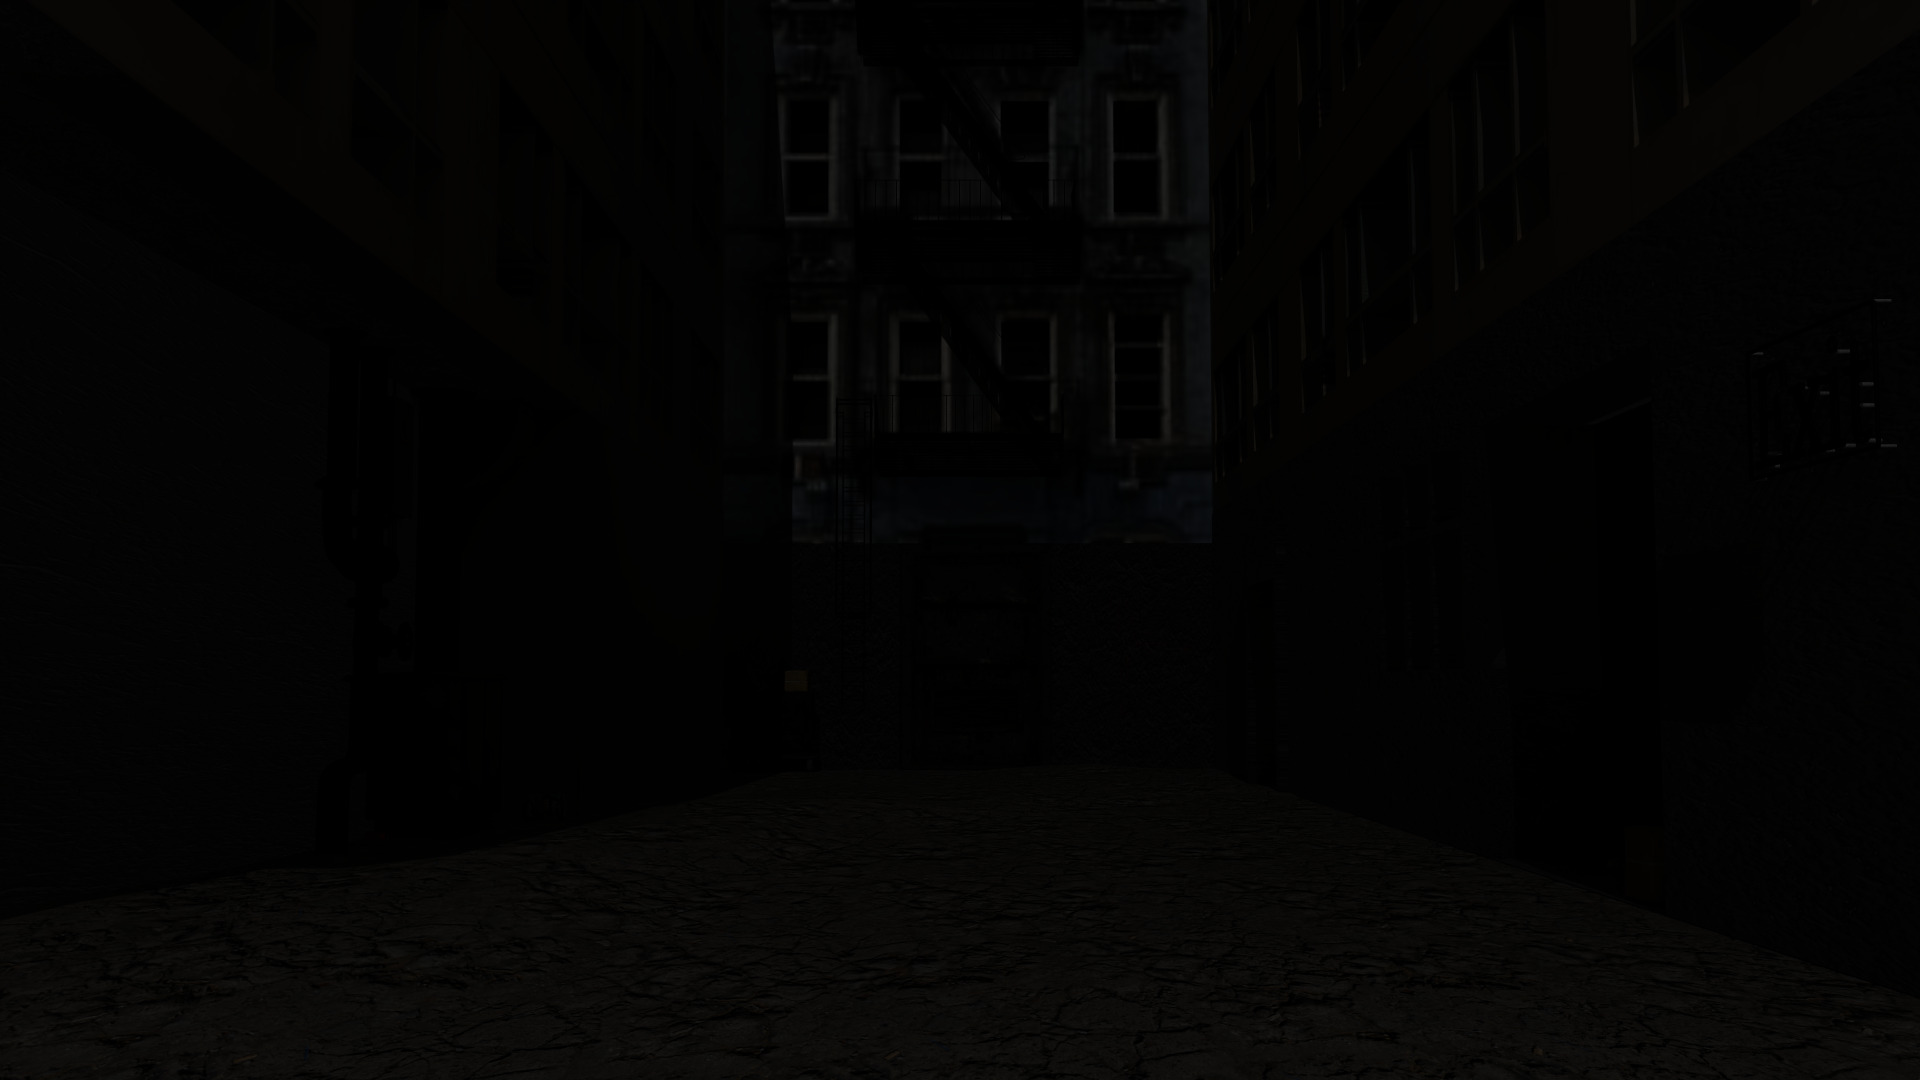
In this project we set out to capture the core atmosphere of a cyberpunk alley: a narrow, rain-soaked corridor of concrete and metal, lit by saturated neon signage and framed by deep shadows. While many cyberpunk scenes lean on extremely complex environments and a large number of advanced rendering tricks, we deliberately limited the scene's scope to keep it achievable for a two-person team. Our goal was to preserve the genre's defining mood—high contrast, bright emissive accents, and dense urban clutter—so the viewer feels surrounded by a lived-in, technologically saturated night city. Small details like layered props, worn surfaces, and glowing light sources are meant to reward a closer look and make the alley feel believable rather than merely decorative.
Render Time & Hardware
Hardware: i5-1335u
Render time: 707.32 seconds
Implemented Features
Normal Mapping
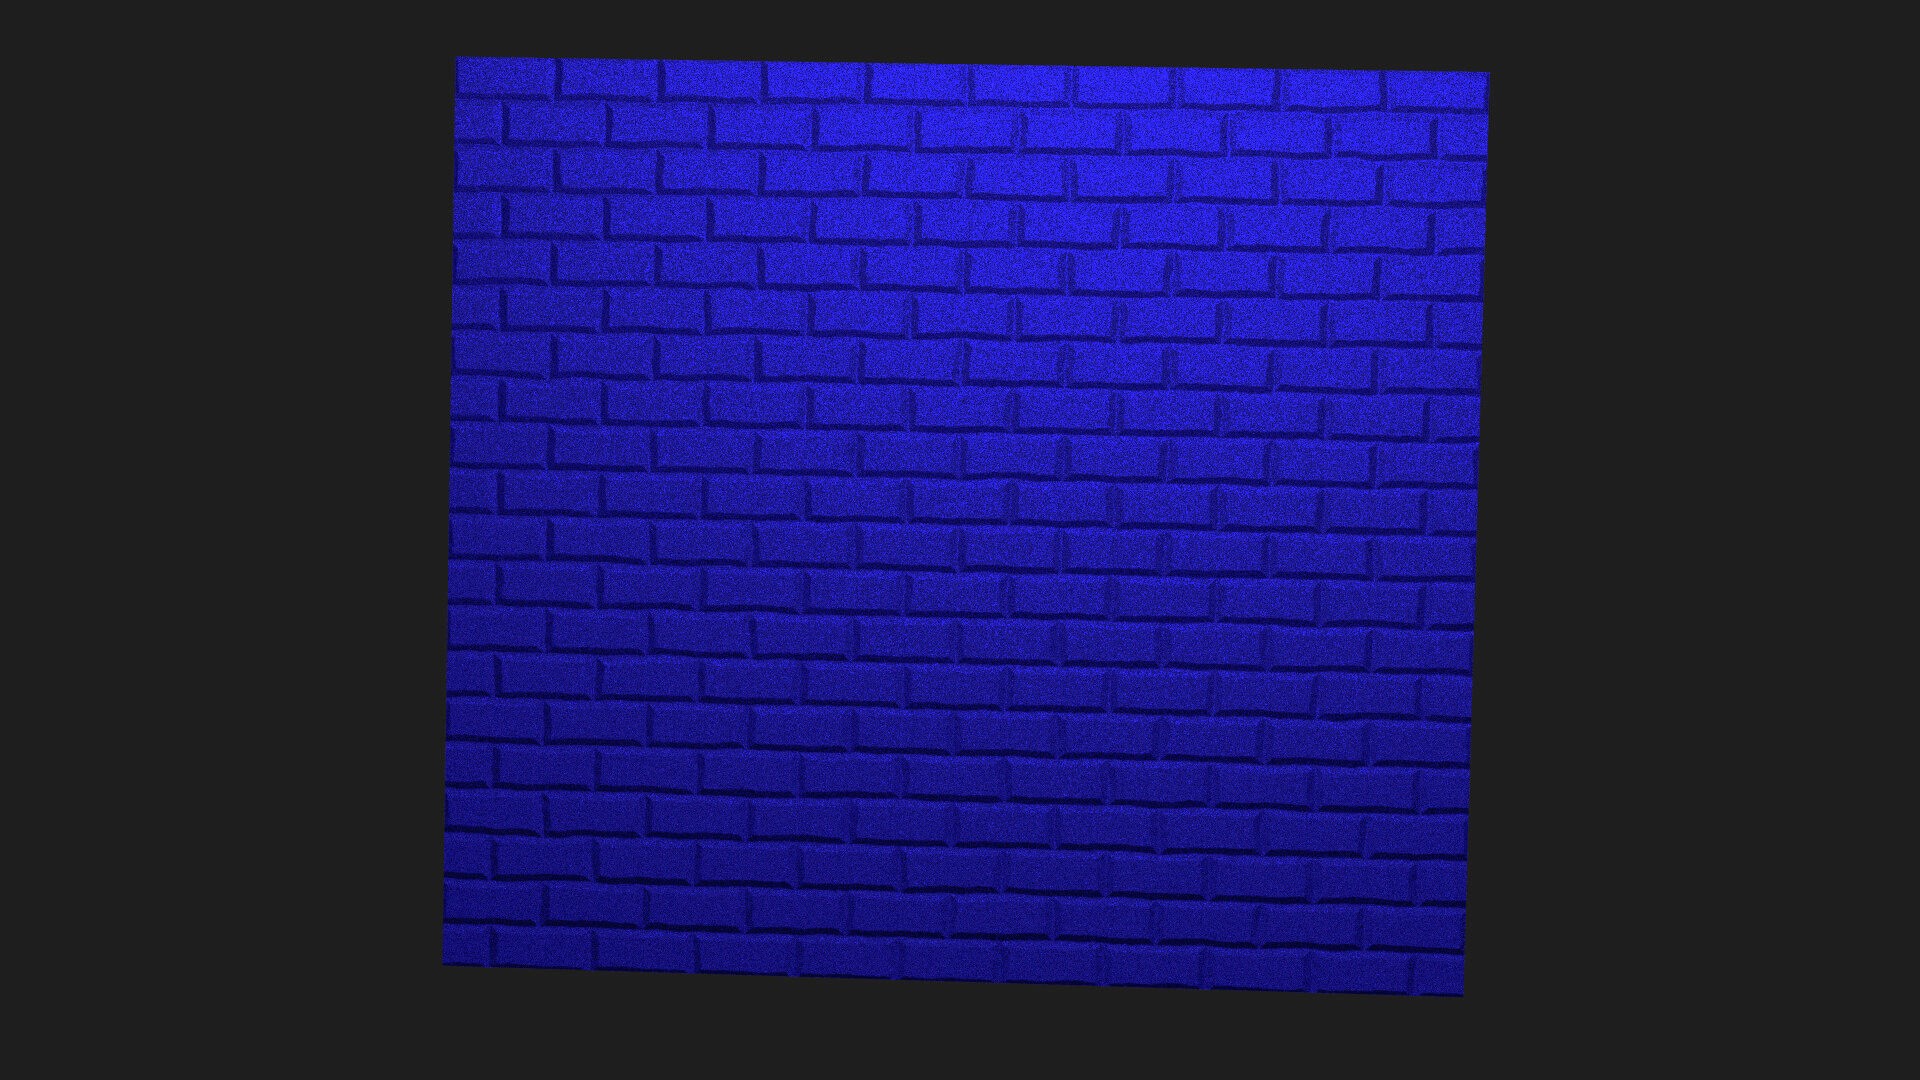
Description: Normal mapping increases surface detail by using an additional texture to perturb the shading normal, so fine details (e.g., bricks or grooves) appear without adding more geometry. Instead of relying purely on mesh normals, the renderer reads a “normal” texture that encodes per-pixel normal directions and uses it during shading.
Implementation: The Instance system was extended with an optional normal-map texture (m_normal), loaded from the scene's normal property (as expected by the exporter). Normal mapping is applied inside the instance intersection/transform path (the same place as object-to-world transforms), so it automatically works for any shape and for transformed instances. At a hit point, the normal texture is evaluated at the intersection UVs, decoded from [0,1] to [-1,-1], scaled by a normalStrength, and converted from tangent space to world space using the intersection's shading frame, updating the final shading normal.
Challenges: The biggest challenge was getting consistent results, especially for transformed instances, because even small mistakes in tangent normalization or orthogonalization can lead to flipped or “wobbly” shading artifacts that are hard to debug. We initially saw lighting that looked correct on some meshes but broke under non-uniform scaling, which forced us to revisit how tangents and normals are transformed and re-orthonormalized before applying the normal map.
Alpha Masking
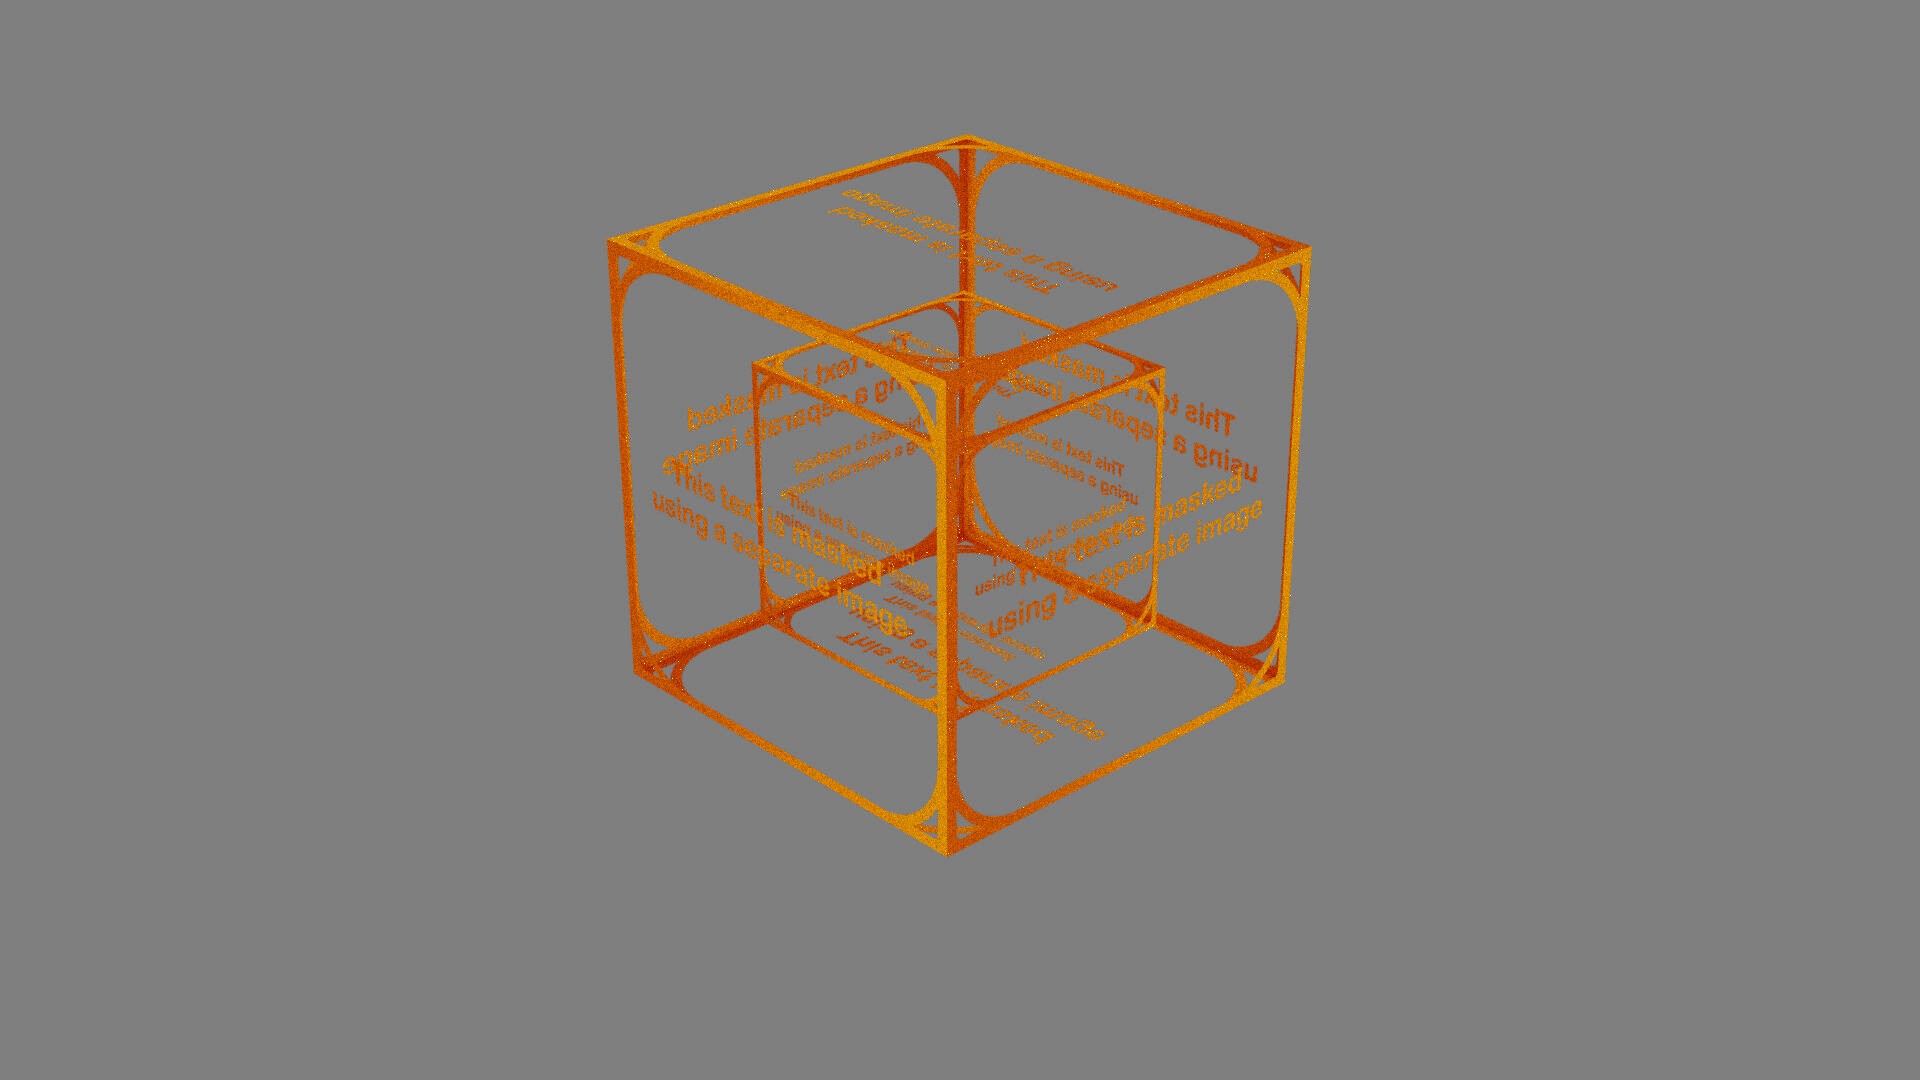
Description: Alpha masking uses a texture as an opacity mask to “cut out” parts of a surface (e.g., text, leaves, fences) without modeling that detail in geometry; pixels where the mask is 0 become transparent and rays pass through, while mask values near 1 remain fully visible.
Implementation: We added an optional alpha texture to the Instance and read it from the scene's alpha property, as expected by the exporter. During ray-scene intersection (inside Instance::intersect, where transforms are already handled), we evaluate the alpha texture at the hit UV and probabilistically discard the hit based on that value; discarded hits continue tracing to find the next valid intersection behind the masked surface.
Challenges: The main challenge was updating the intersection logic correctly: alpha masking adds extra control flow (potentially rejecting hits and continuing the ray), and if the intersection state isn't handled carefully the renderer can behave as if the mask is always fully opaque even when different alpha values are being sampled.
Bloom
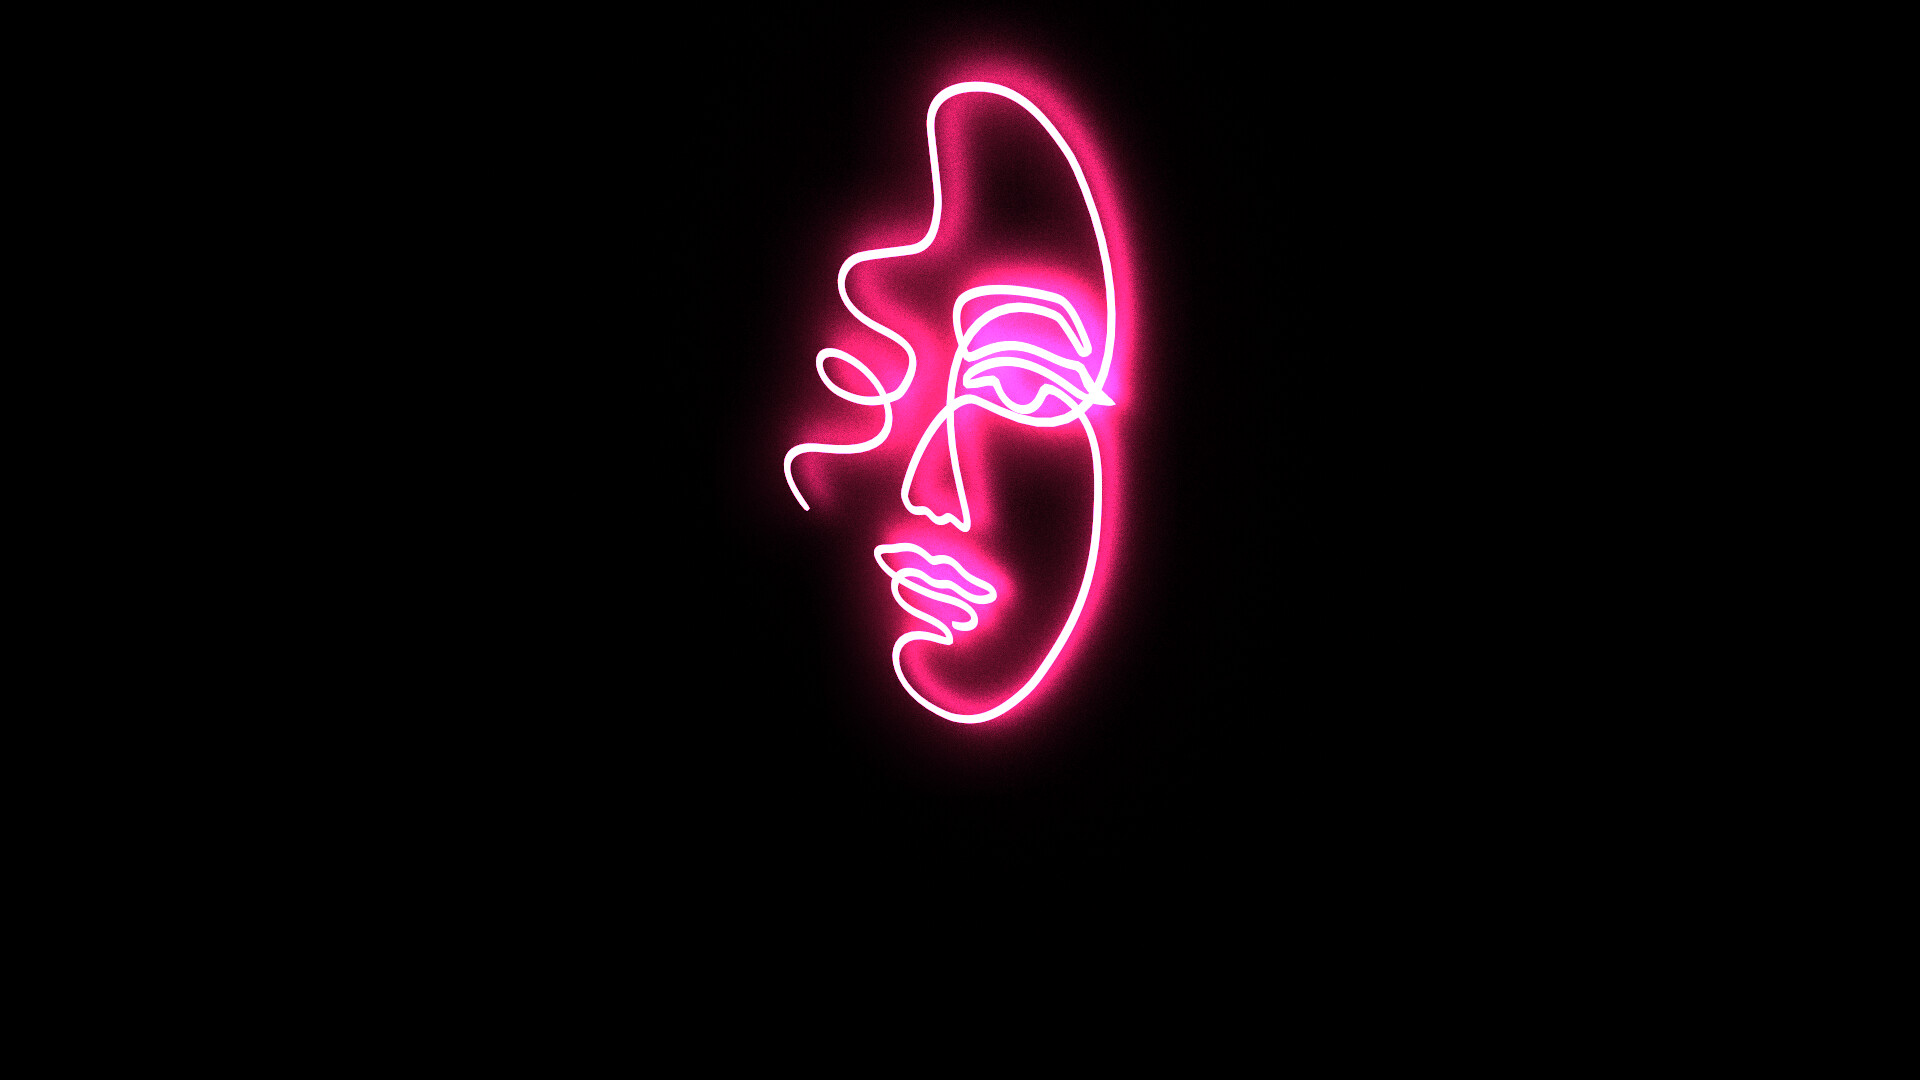
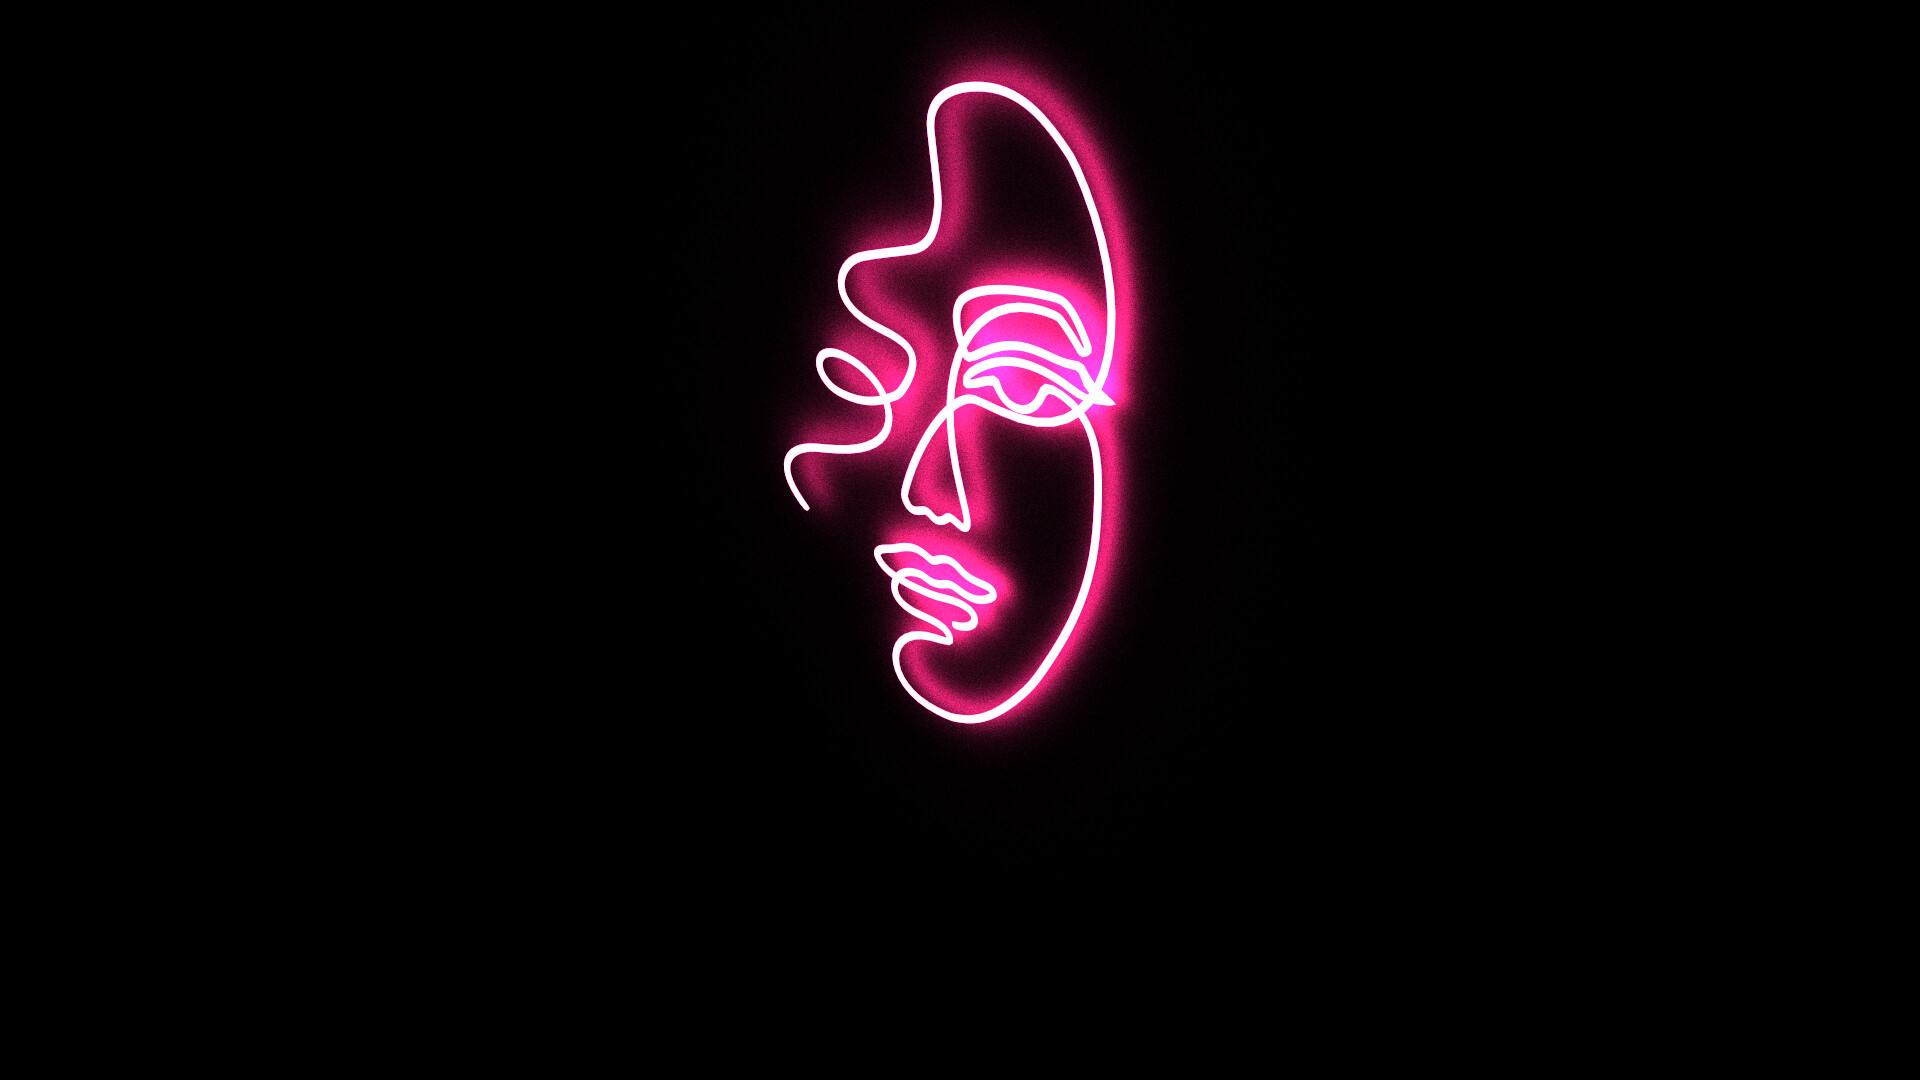
Description: Bloom is a post-processing effect that makes very bright regions “bleed” into nearby pixels, creating a soft glow that mimics camera/lens scattering and helps emissive materials (like neon) feel more realistic.
Implementation: We added a new post-process stage to the rendering pipeline that takes the rendered HDR image, extracts bright pixels above a threshold (bright-pass), blurs them, and adds the result back onto the original image before tone mapping. This required extending the post-processing system (a new PostProcess implementation), wiring it up in the scene/XML so it can be chained with other post-processes, and ensuring it runs in the correct HDR order (bloom before tone mapping).
Challenges: The hardest part was getting a glow that felt “natural” instead of a foggy overlay. Small changes in threshold/radius/intensity drastically changed the look, and too low a threshold could amplify Monte Carlo noise into visible sparkly bloom, so tuning had to balance artistic intent with the renderer's noise level.
Image Denoising
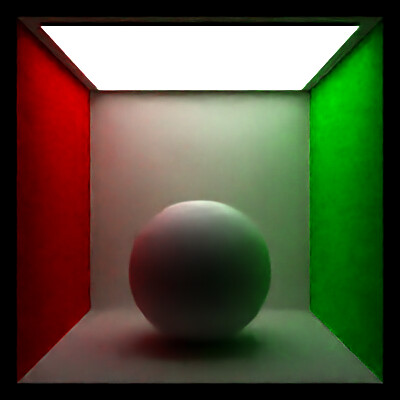
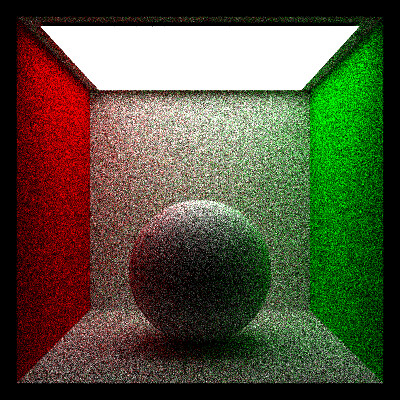
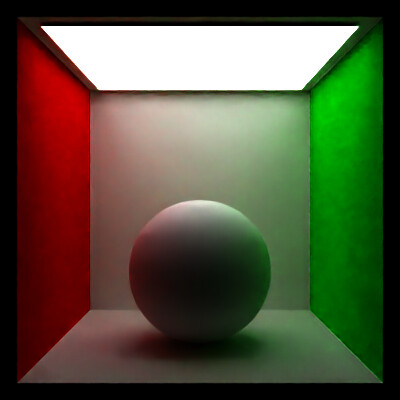
Description: OIDN is a library which provides access to filters which can be used to reduce the inherent noise in Monte Carlo Sampling. These filters are trained through deep learning approaches. The library provides a C++ interface, and also allows the ability to input AOVs such as Normals and Albedo to further improve the result.
Implementation: We integrated Intel Open Image Denoise (OIDN) as a new post-processing stage and added support for auxiliary output variables (AOVs) to improve denoising quality. Concretely, we implemented an AOVIntegrator that can render additional buffers—most importantly world-space shading normals and an albedo-like color reference—as separate images, and we implemented a Denoise postprocess that consumes the noisy HDR beauty render together with these optional AOVs. During execution, the postprocess allocates OIDN buffers, configures the library’s ray-tracing denoiser (“RT” filter) by binding the color input and (if available) the normal and albedo feature images, enables HDR mode, runs the filter, and writes the denoised result back into the output image that is saved by the existing image pipeline.
Challenges: The main challenge with this feature was to build the library in such a way that it could be portable with the rest of the renderer. Ultimately, we settled on having to build the library and its dependencies separately on each system, with instructions in a README file.
Area Lights
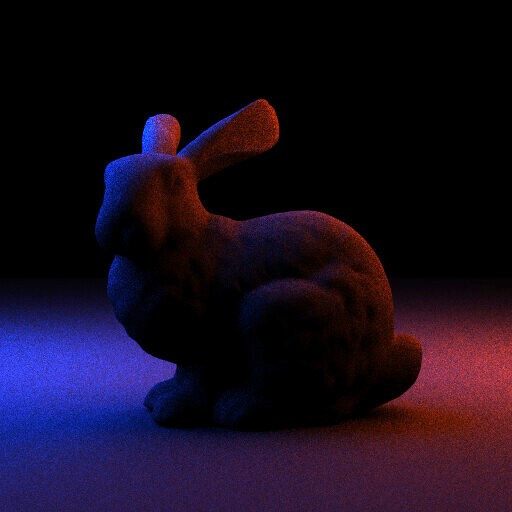
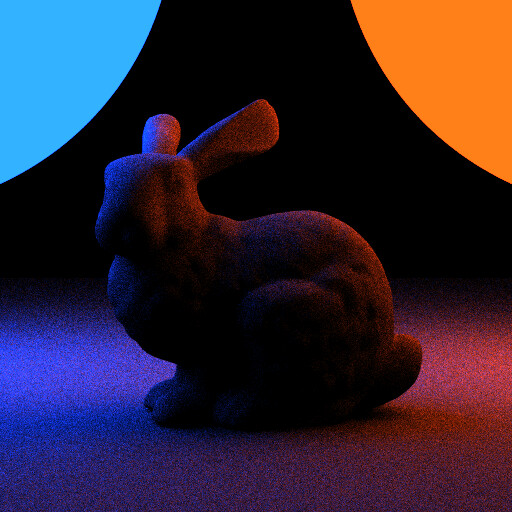
Description: Area lights, unlike point lights, consist of a 3D shape which emits light. The result is more realistic lighting and softer shadows. We use subtended cone sampling to further reduce the variance. The idea is that instead of sampling over the entire sphere (which could lead to sampling points that are not reachable with the current ray), we only sample from the 'cone' that is subtended by the ray, which is the solid angle that it covers on the light source.
Implementation: We extended the Instance intersection code to support alpha masking (stochastically rejecting hits using an alpha texture so rays can pass through cutouts) and normal mapping (reading a tangent-space normal map at the hit UV and transforming it into world space, including correct handling under non-uniform scaling by re-normalizing and re-orthonormalizing the frame). We added an AOVIntegrator that can output auxiliary buffers (e.g., normals, an albedo-like buffer, and BVH/debug counters) to support debugging and post-processing. Finally, we implemented an AreaLight that directly samples points on an emissive shape via area sampling, evaluates emission there, and returns a properly weighted DirectLightSample (including the sampling PDF and distance falloff) to reduce noise.
Challenges: While area lights are built on top of emissive shapes, they cannot be intersected by a random ray, since lightwave does not allow intersecting a light, which means they are not visible in the scene. Additionally, lights are sampled separately at every iteration, which means that a ray is guaranteed to hit a light source, which reduces the variance.
Process
Early concepts
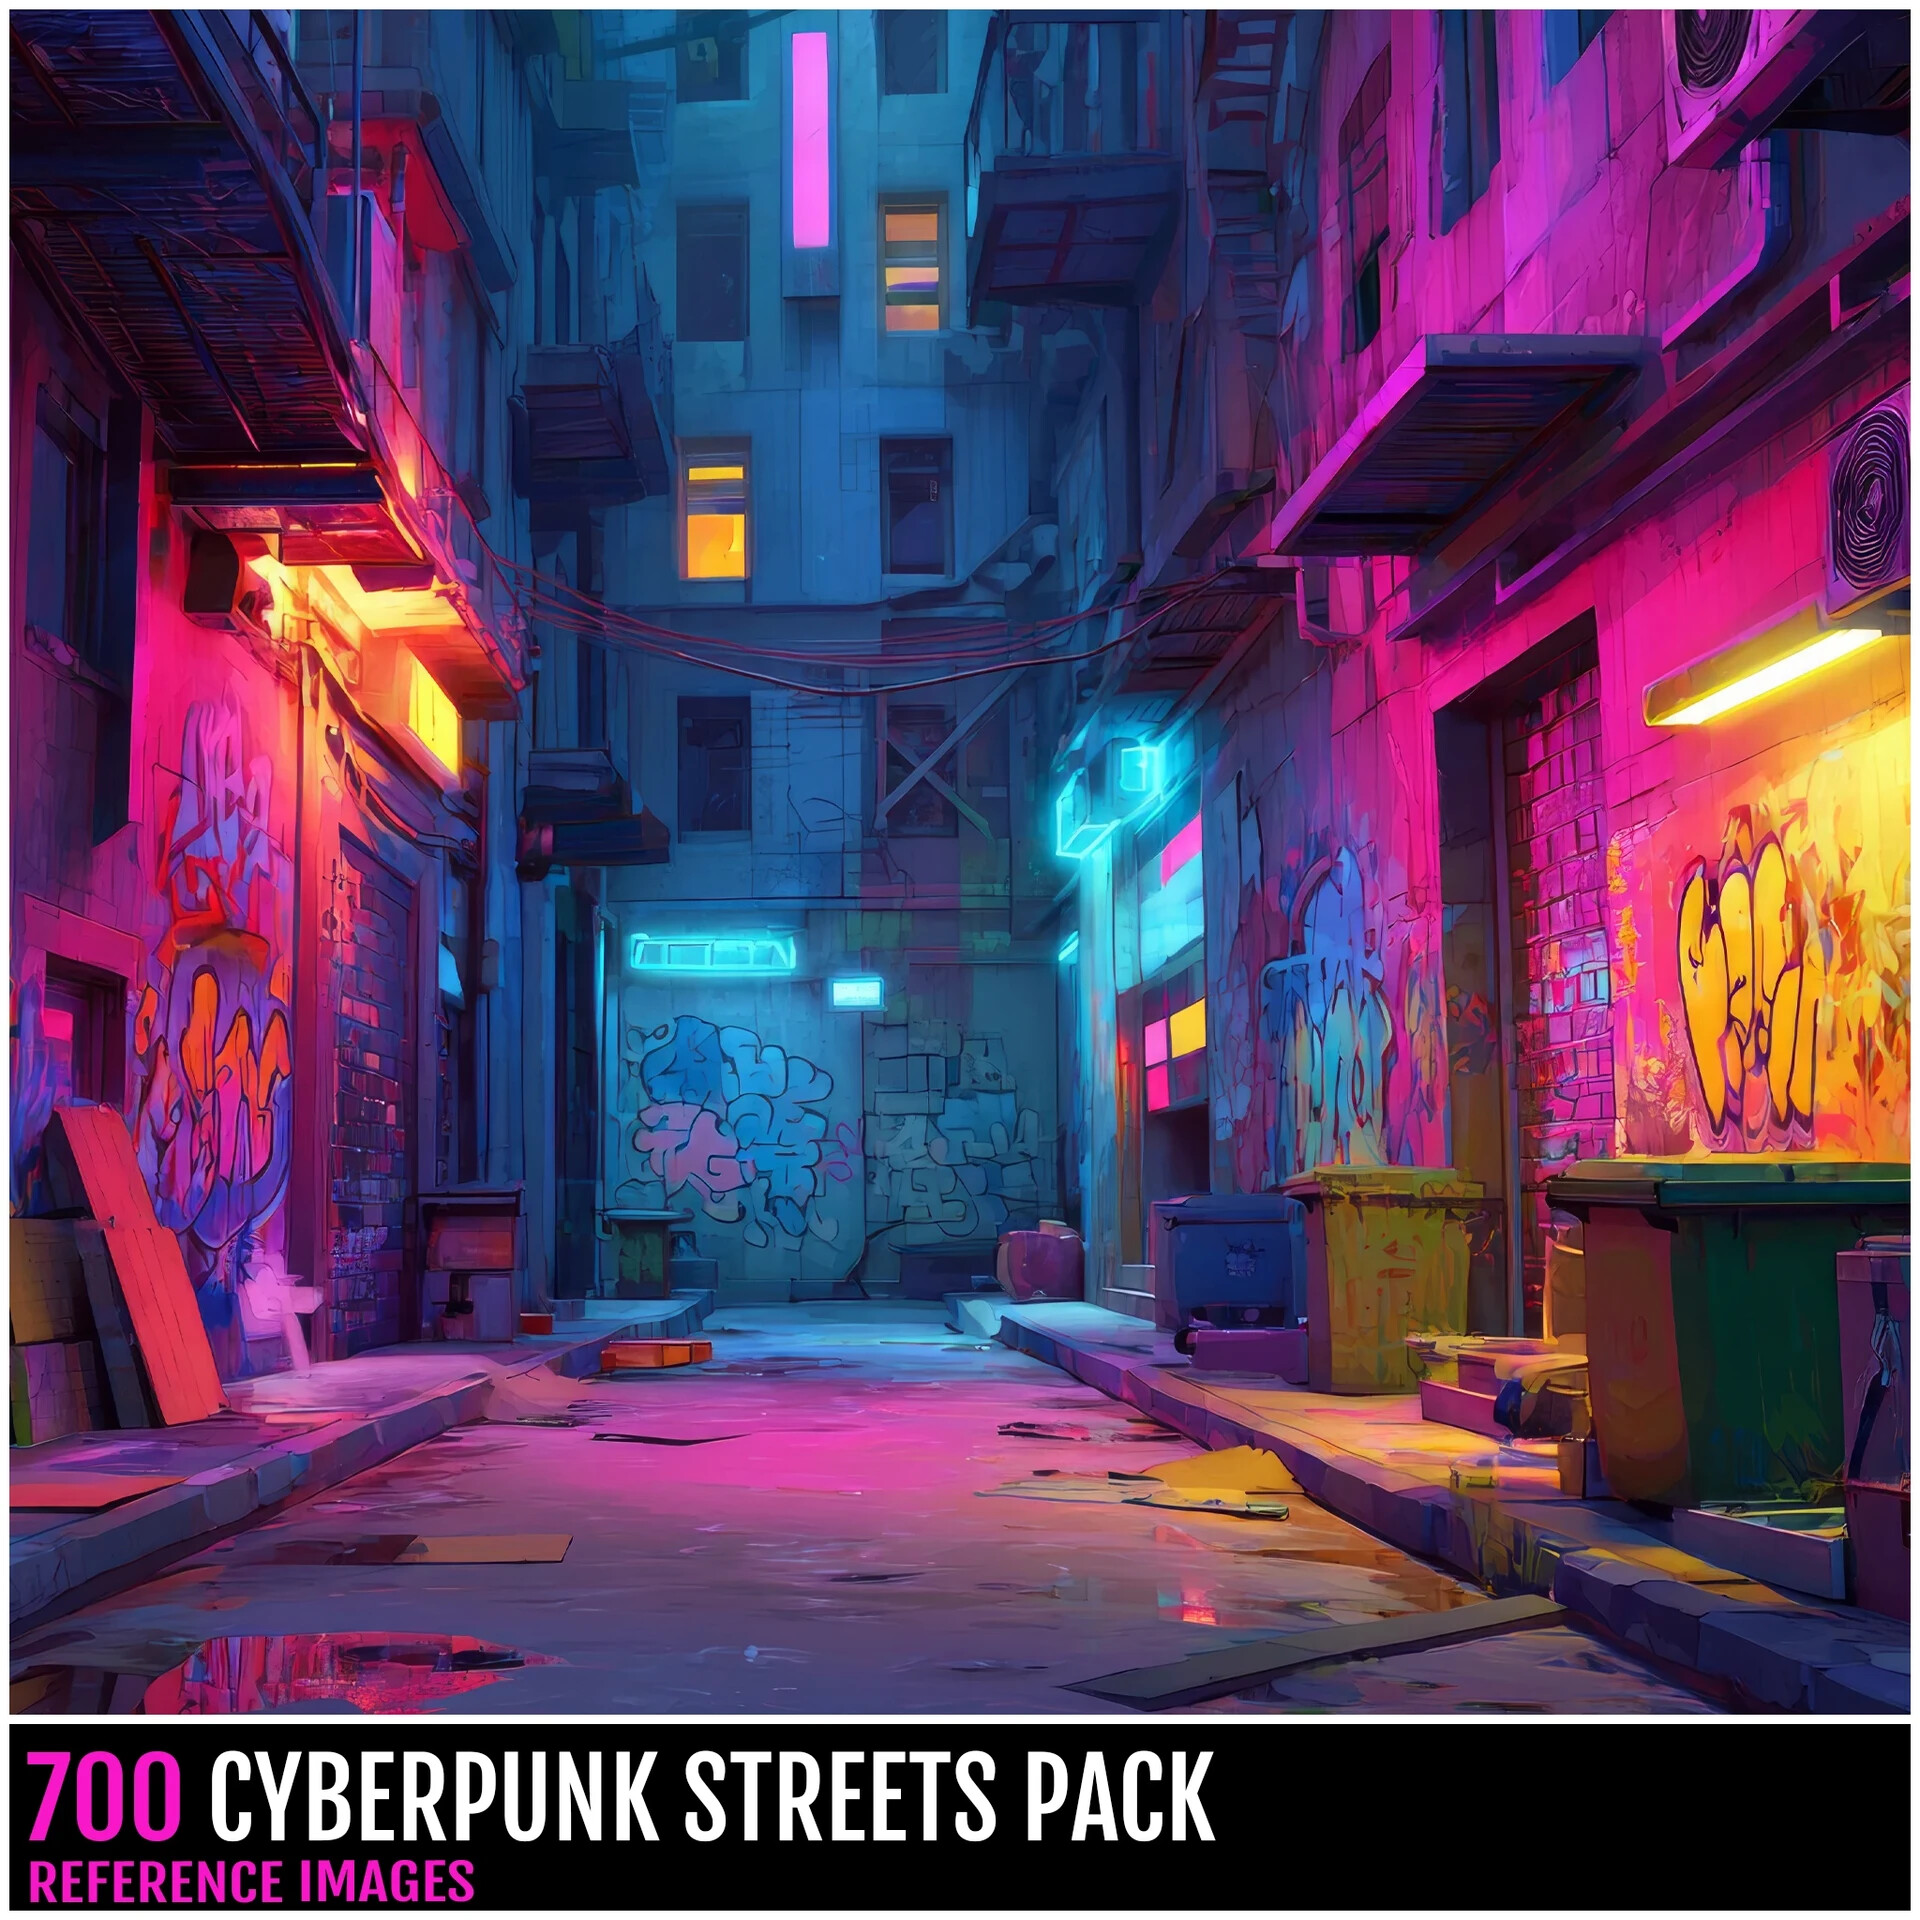
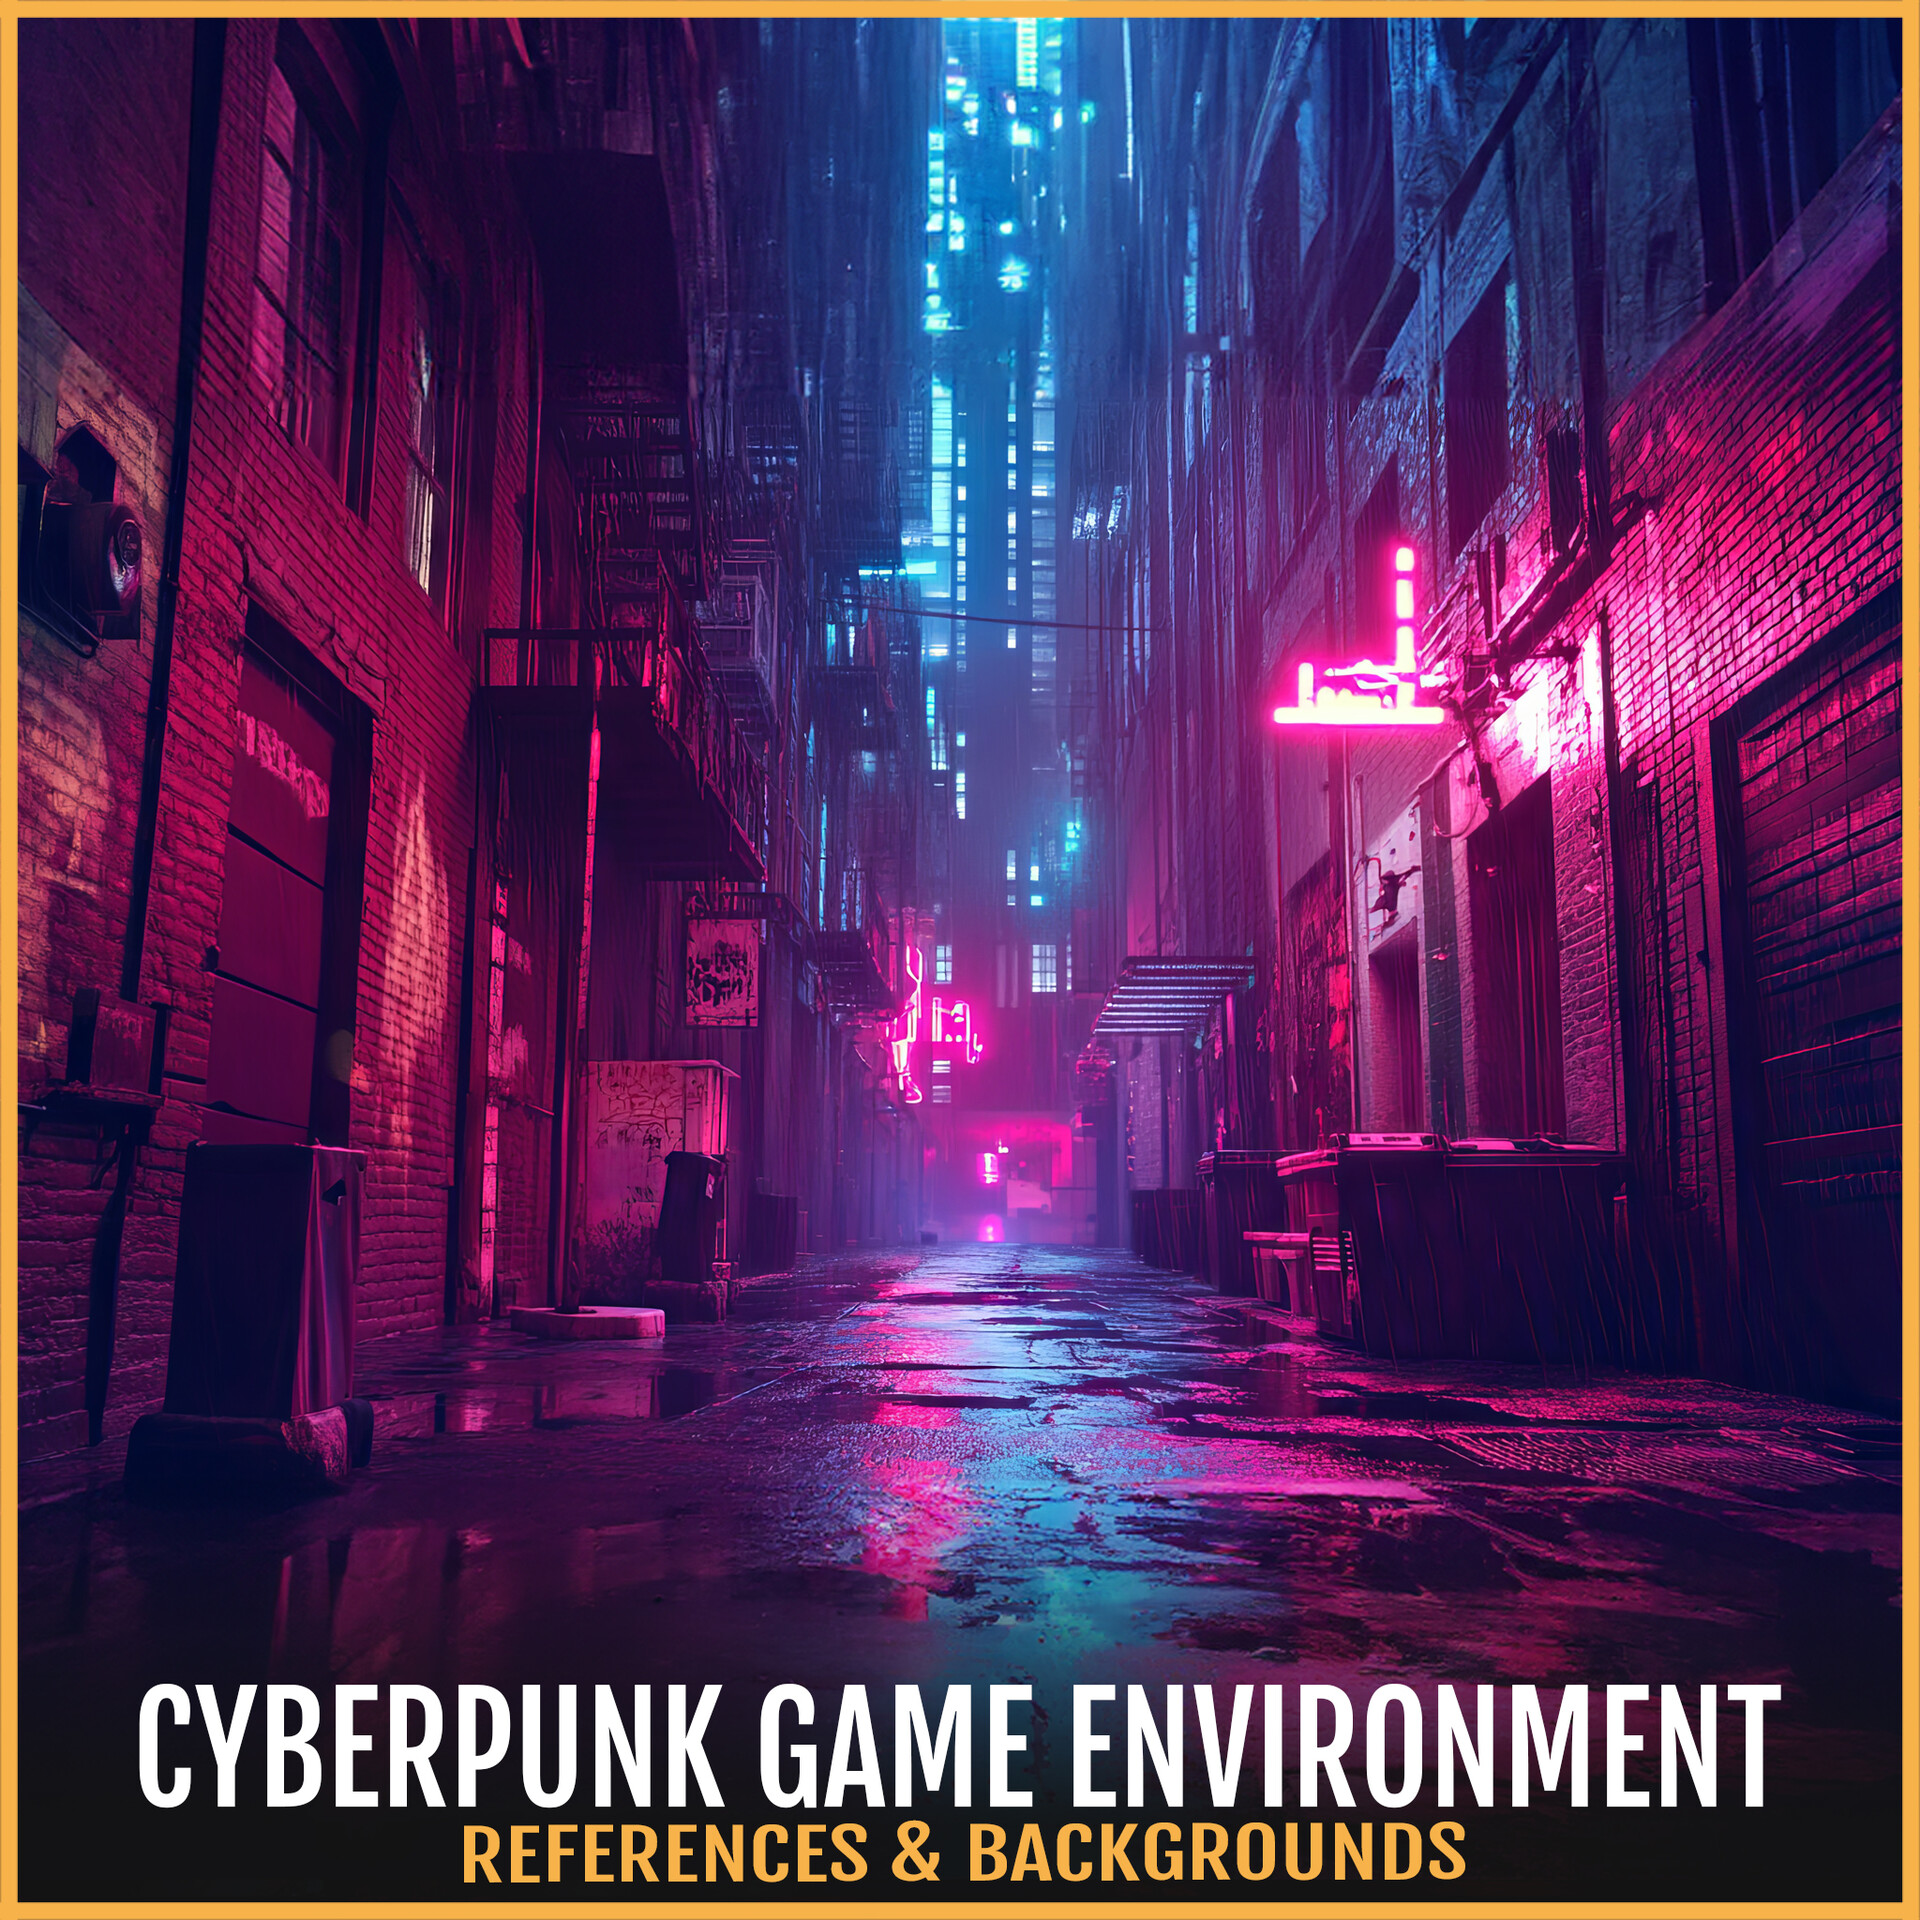
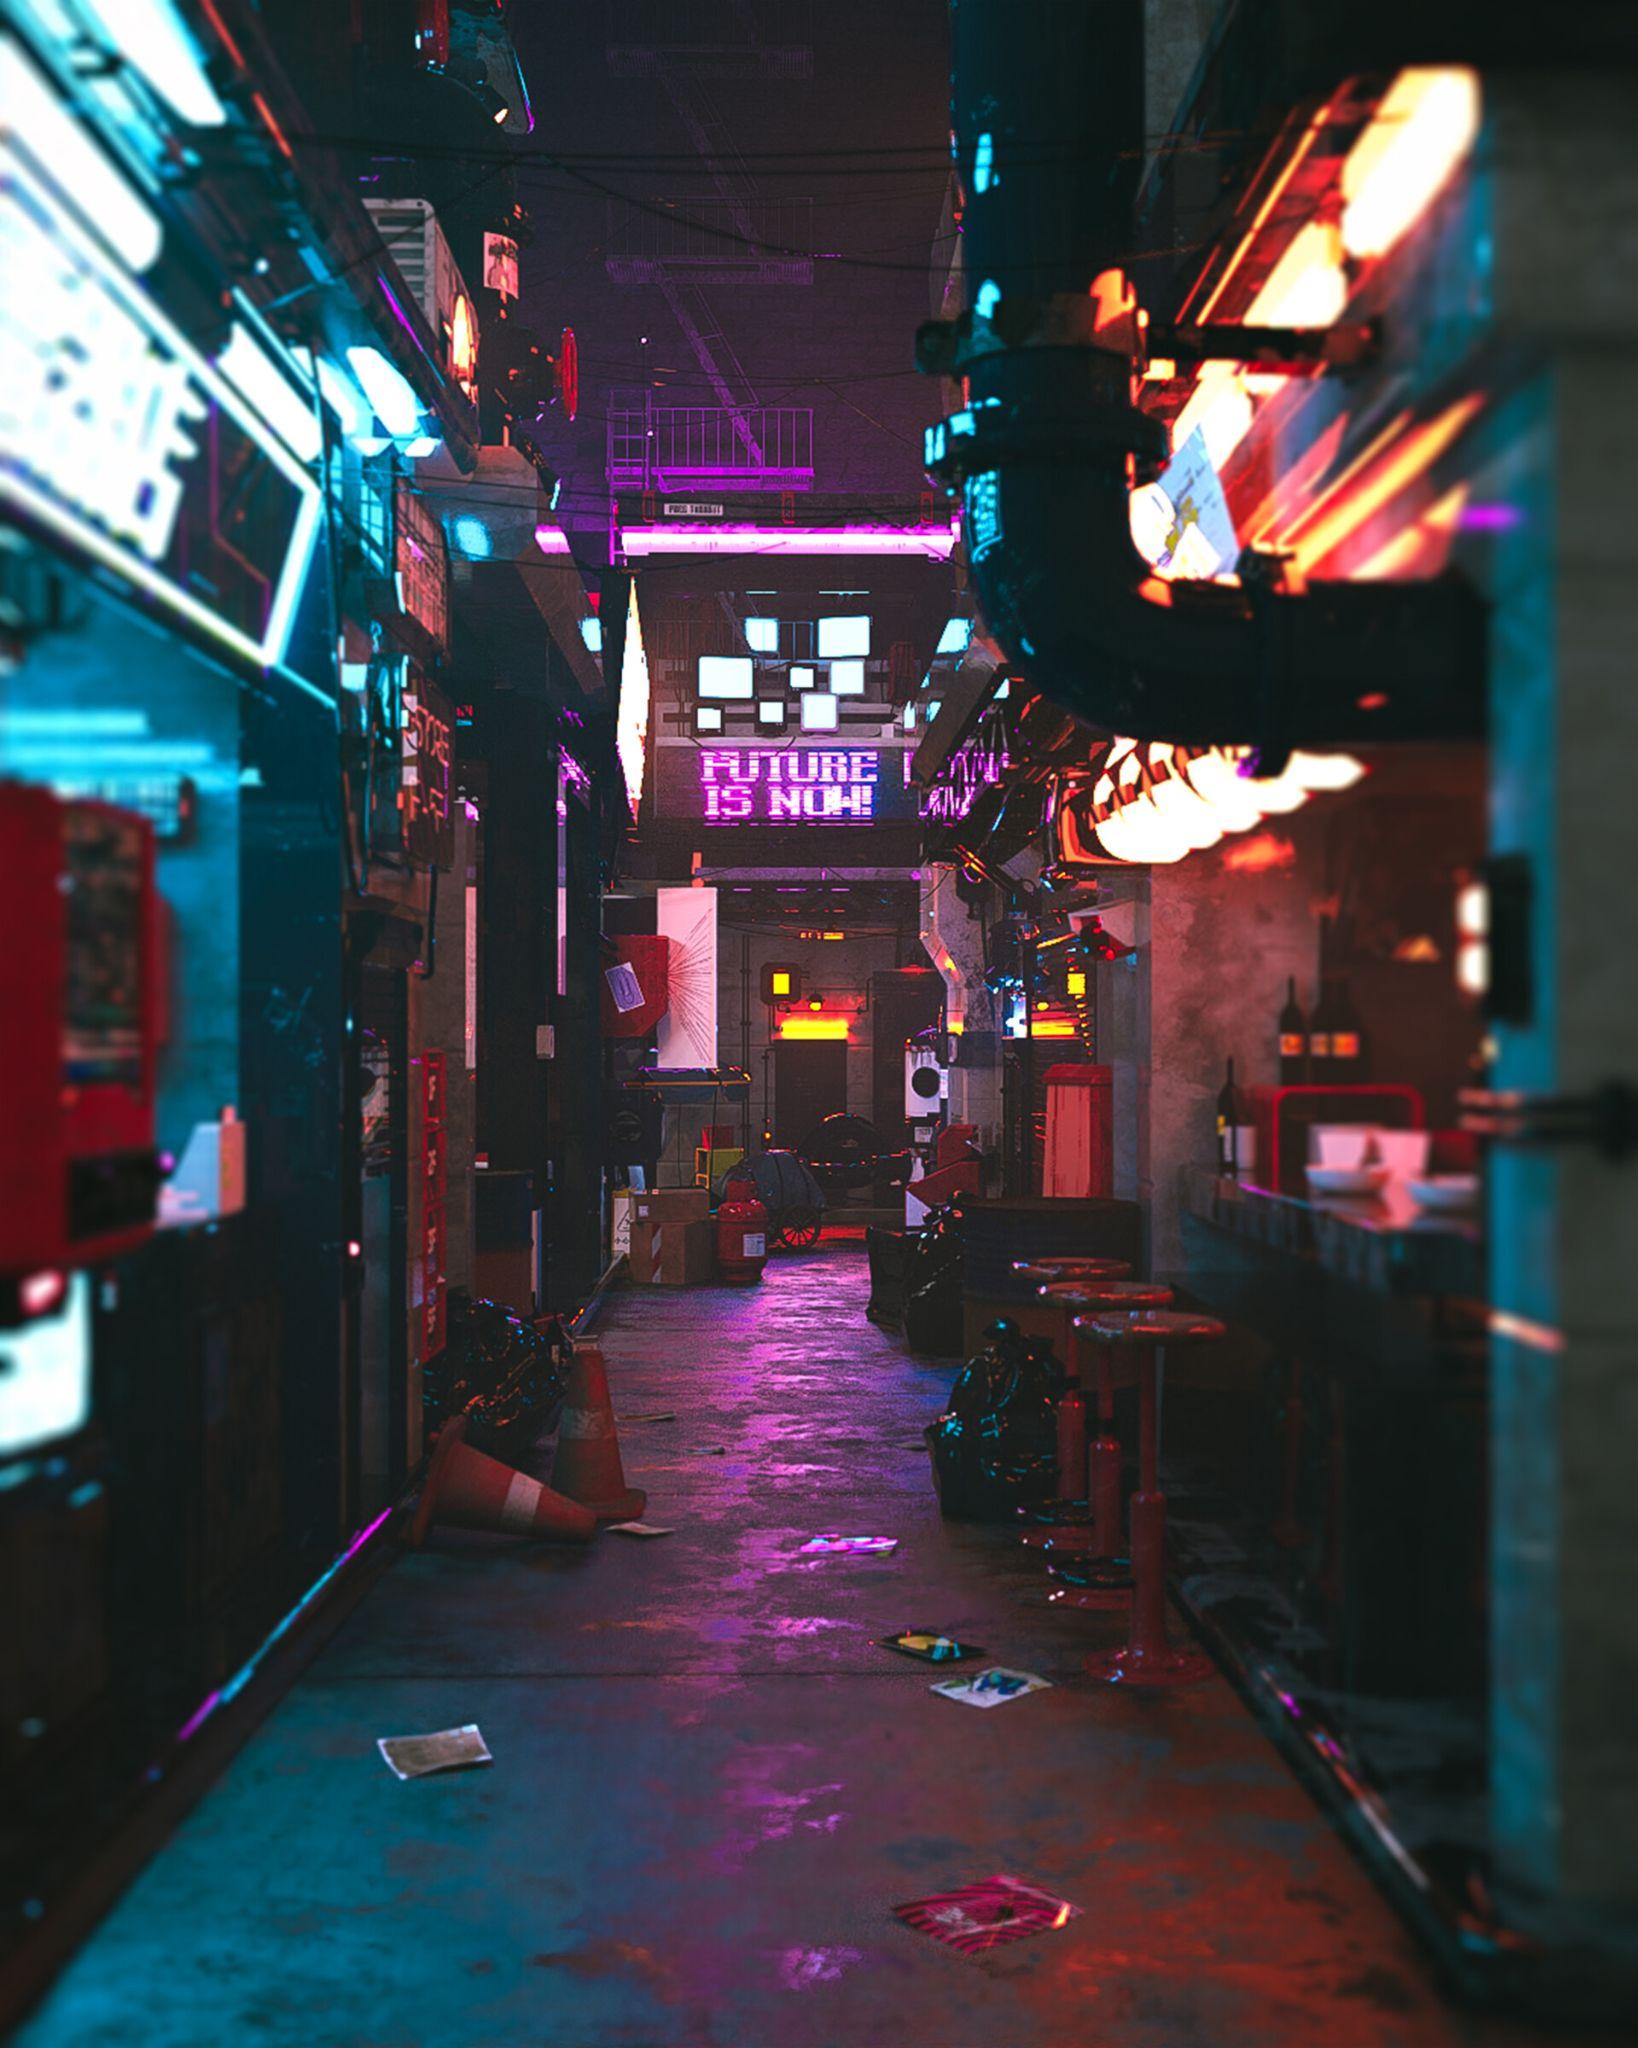
We were initially drawn to the cyberpunk aesthetic and wanted to explore it in our final scene. While collecting references, we noticed that many cyberpunk renders rely on very complex environments and a large set of advanced features, which would have made the project scope hard to control. To keep the workload manageable but still communicate the same mood—neon lighting, strong contrast, and a dense urban atmosphere—we chose to focus on an alley setting that captures the “cyberpunk” feeling without becoming overly complicated.
Intermediate steps
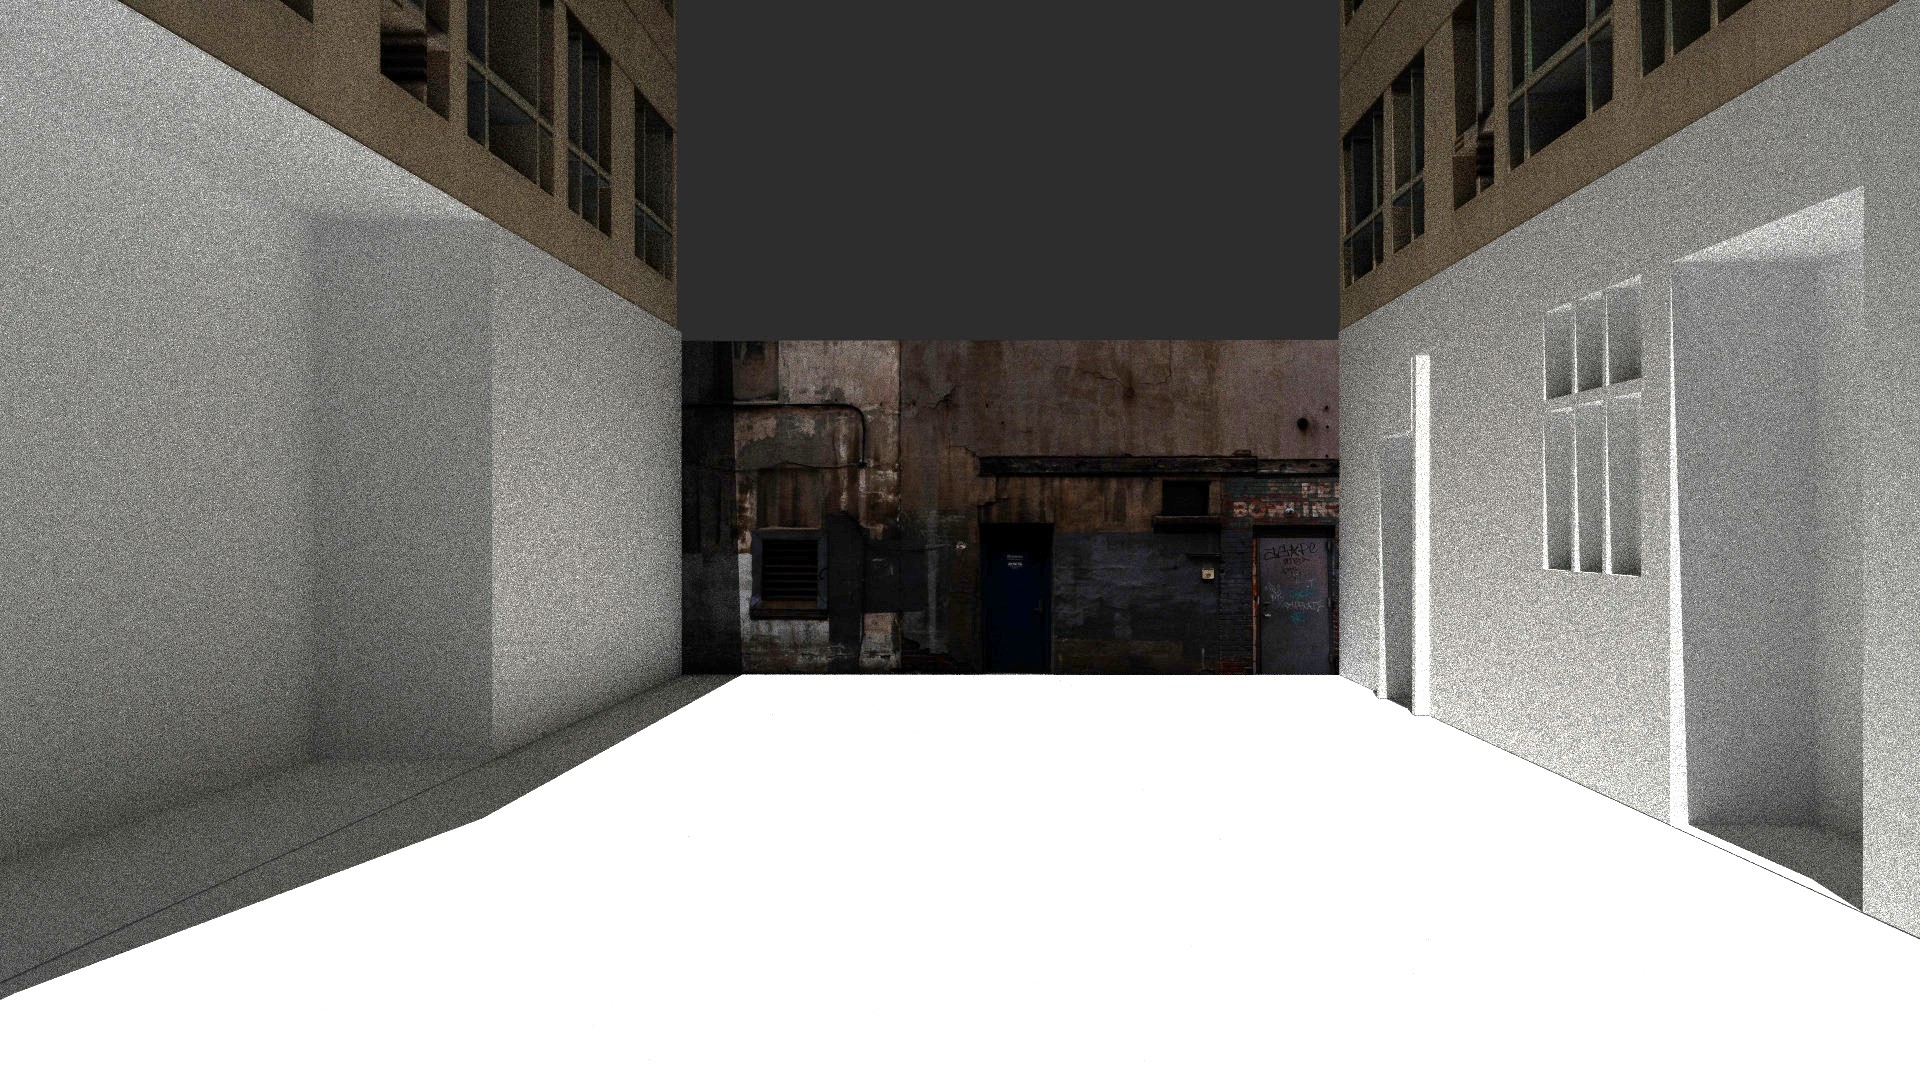
We experimented with adding puddles and wet patches to the alley floor, but without implementing the project feature Clearcoat Material (a glossy coating layer on top of a base material), the ground did not show the characteristic wet-looking specular highlights and reflections, so the puddles looked unconvincing. We originally kept the back building short to leave an opening and show more structures behind it, but we later changed this because we did not implement Advanced Homogeneous Volumes. Without volumetric attenuation and in-scattering (fog/haze), the distant background stayed too crisp and distracting, so we blocked the view with additional building geometry to keep the composition cleaner and focus attention on the main alley lighting
Assets & Attribution
The following third-party assets were used:
- Utility Electrical Box: BlenderKit
- Modular Industrial Pipes: BlenderKit
- Electrical Control Panel: BlenderKit
- Modular Airduct Rectangular 01: BlenderKit
- Used Paint Bucket: BlenderKit
- Trolley With Barrels: BlenderKit
- Rust Metal Door: BlenderKit
- Old Tyre: BlenderKit
- Damaged Traffic Cone: BlenderKit
- Cardboard Box: BlenderKit
- Neon Sign - Exit: BlenderKit
- Modular Fire Escape: BlenderKit
- Test scene (Alpha Mask): “katsbits - transparency 4-2” — Source: Eevee, Transparency & Blender 4.2+ — Author/Rights holder: KatsBits — Copyright/Terms: KatsBits Copyright