creation vs.
consumption
Creation vs. Consumption
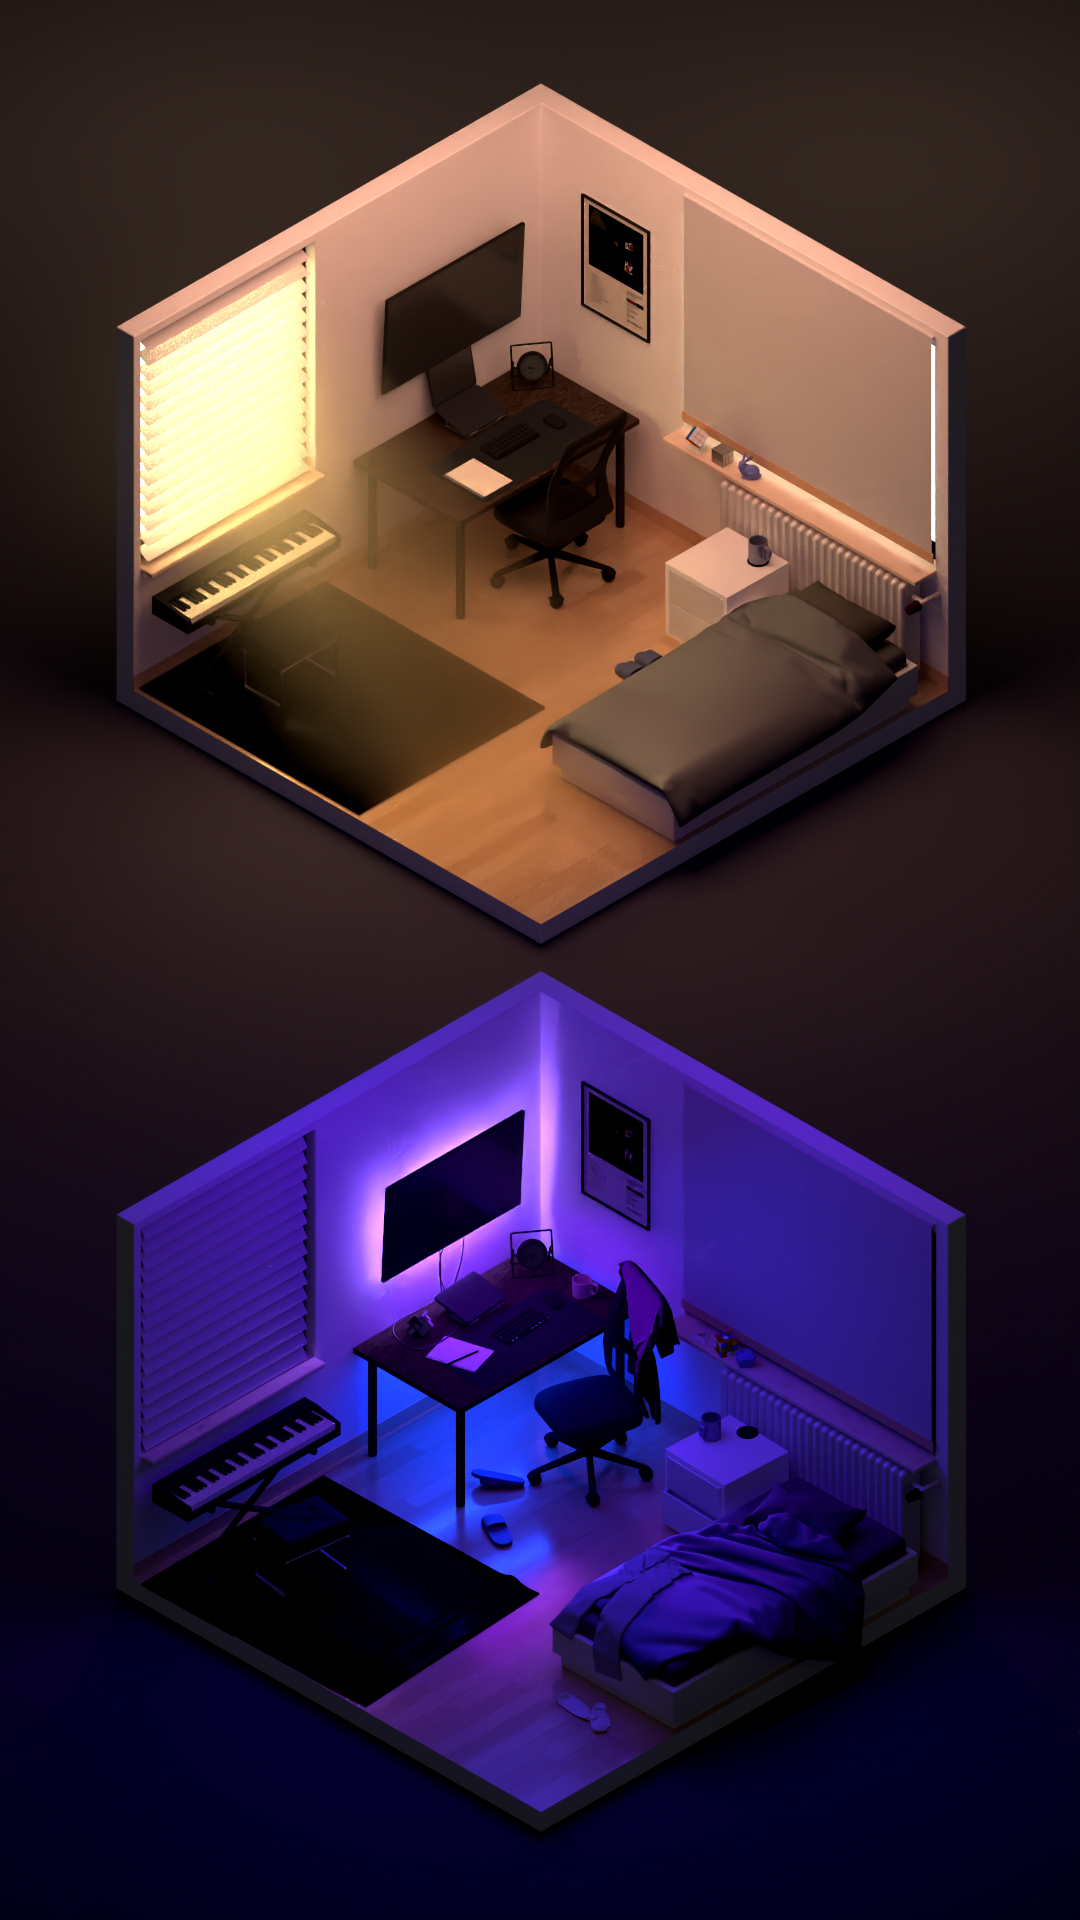
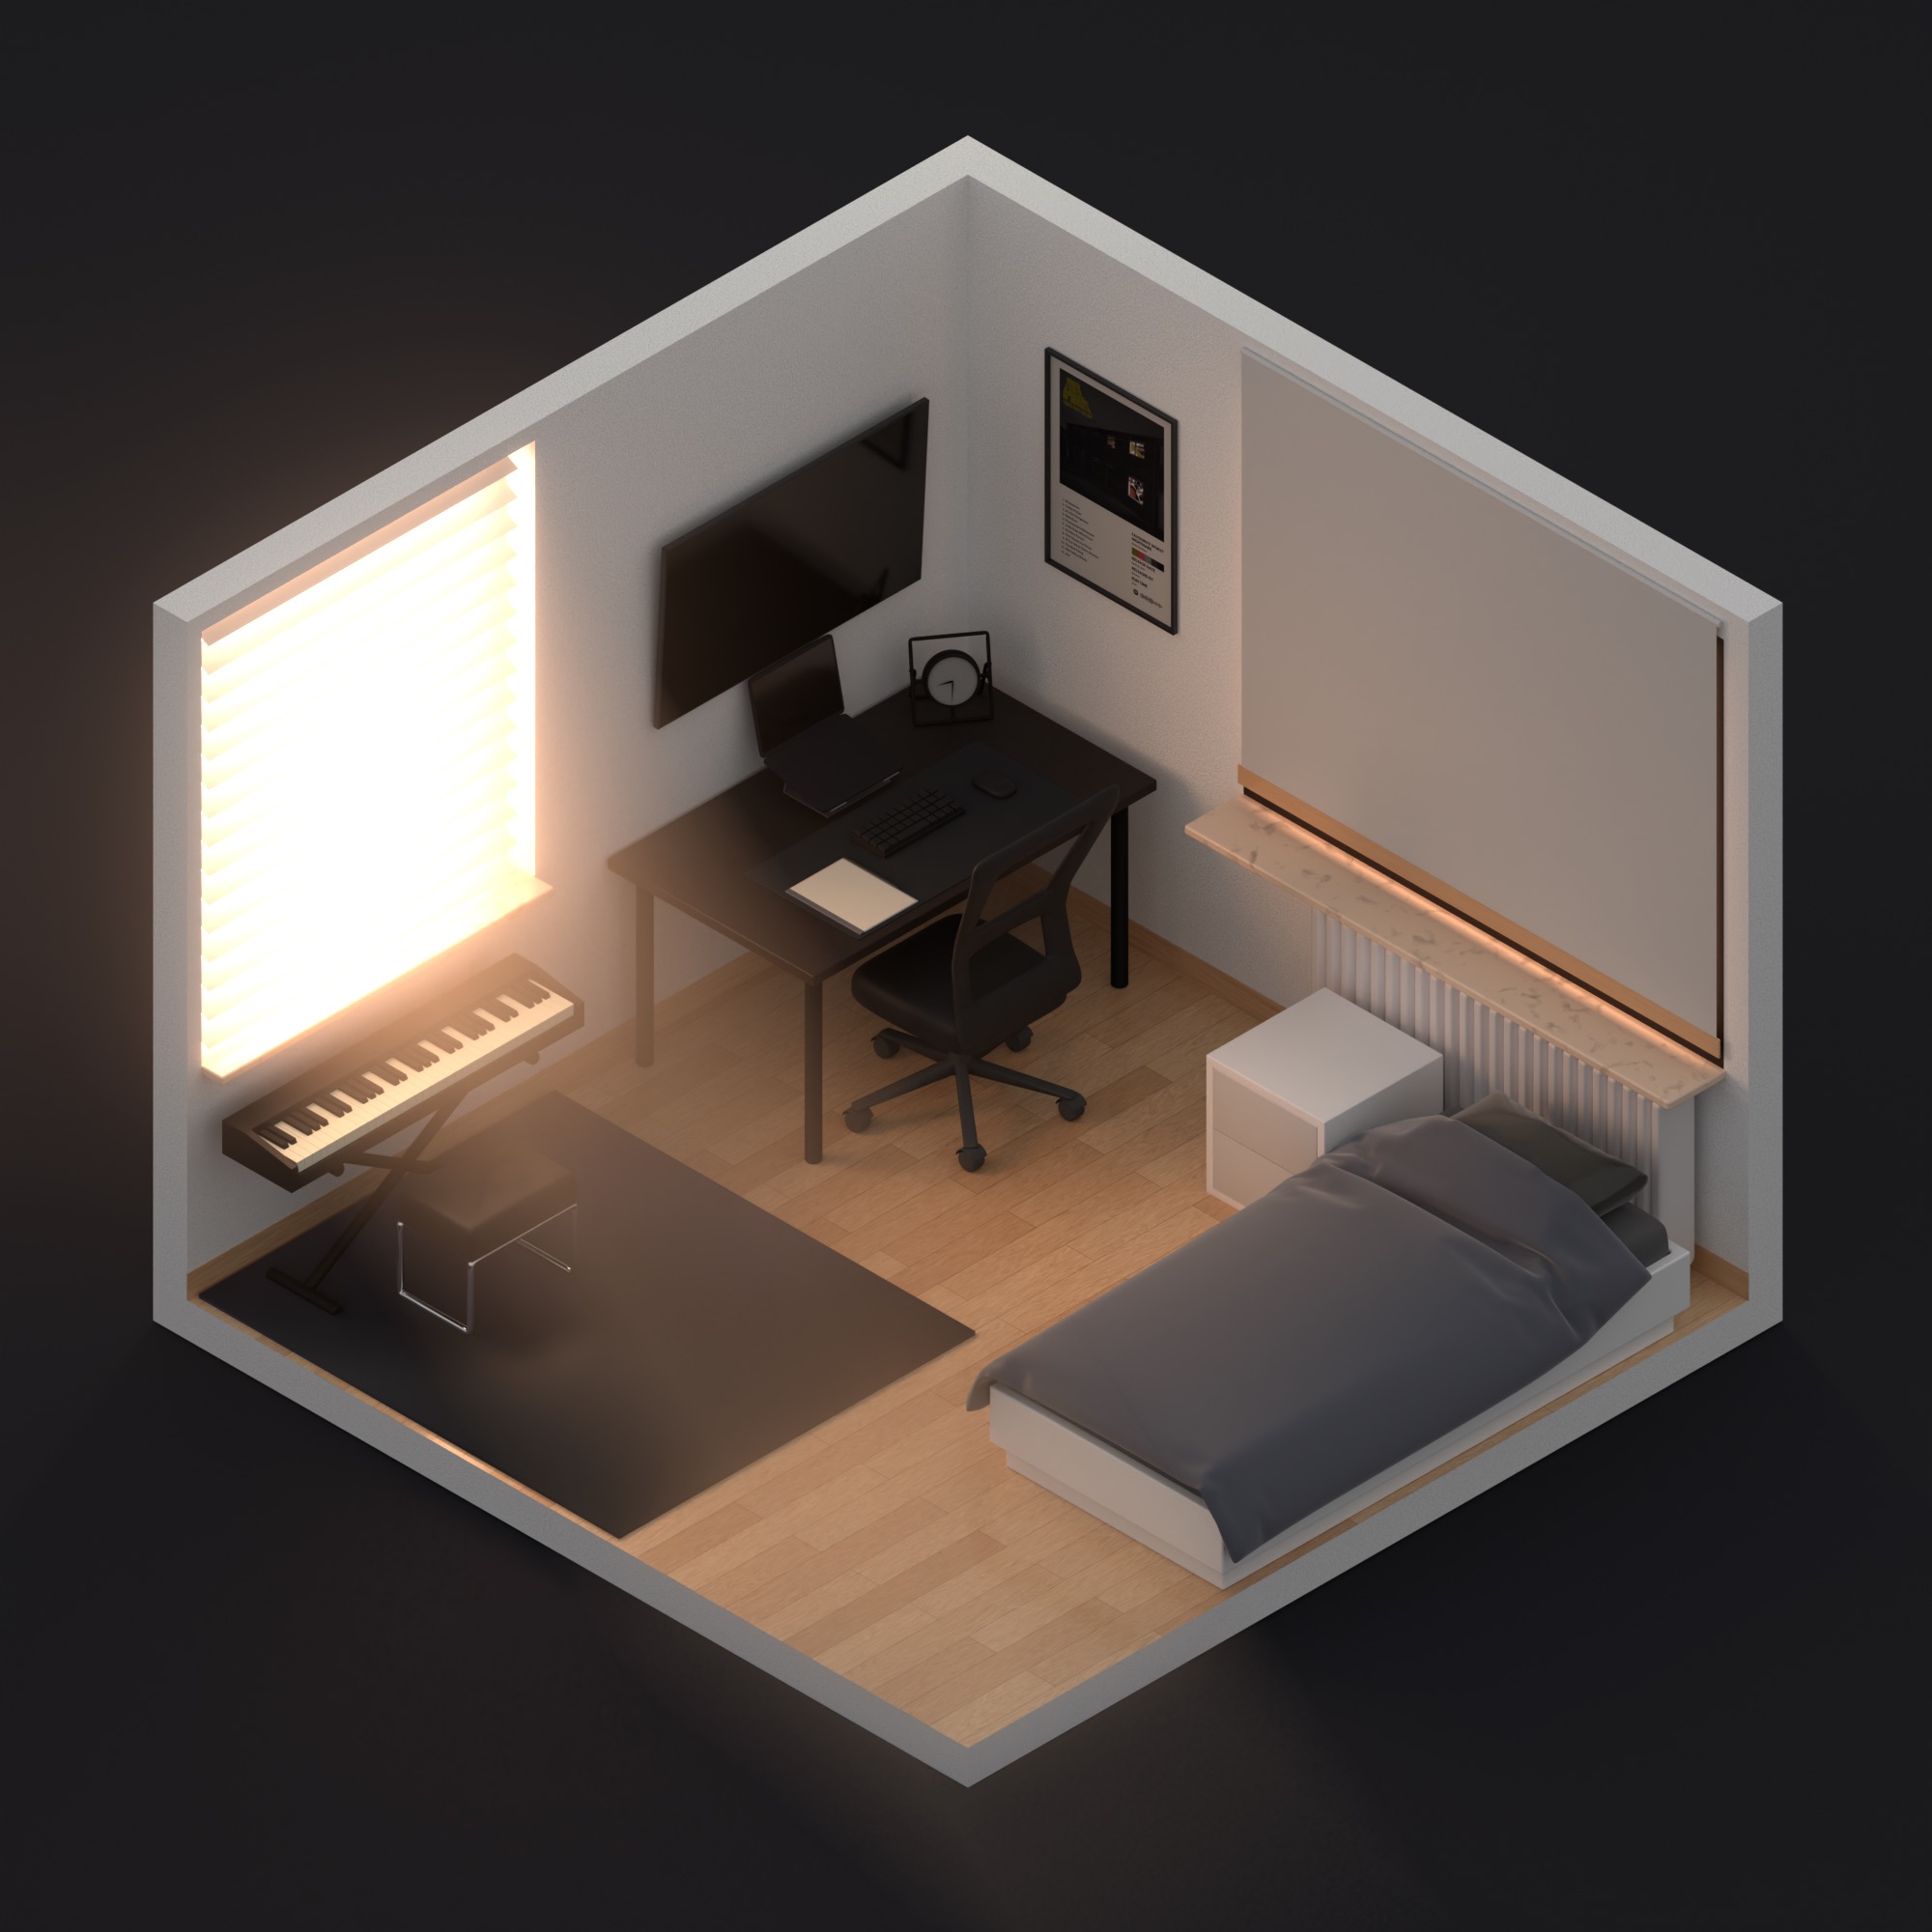
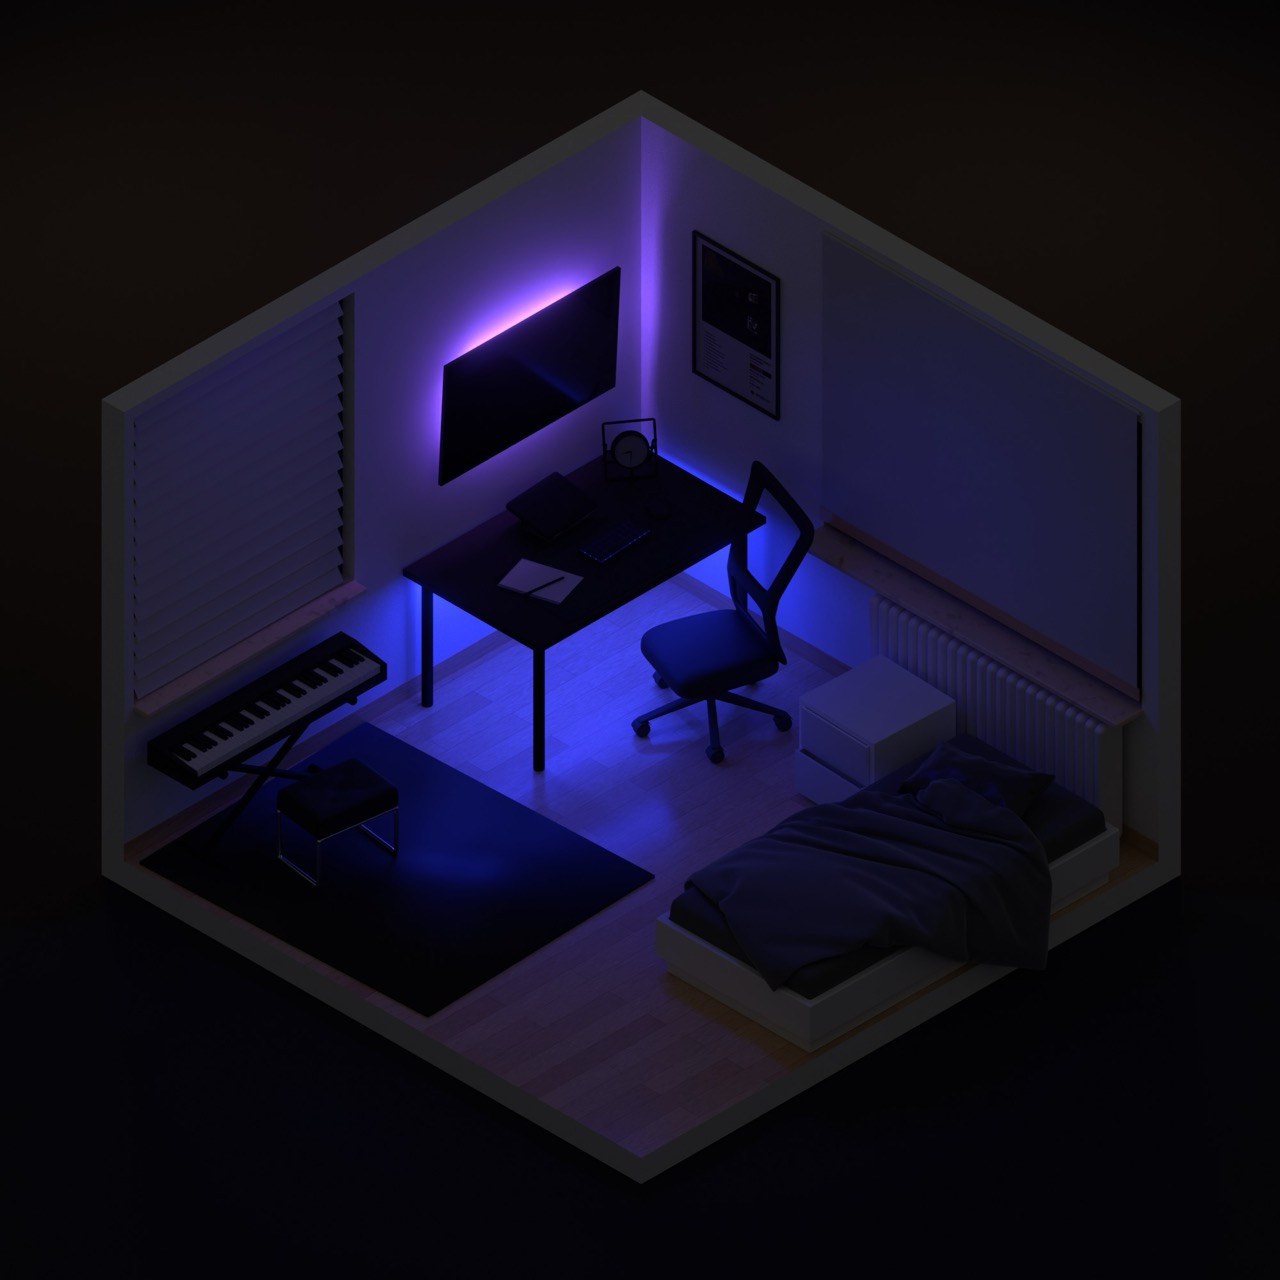
The image presents two interpretations of the same room: one carefully organized and illuminated by natural light, fostering a calm and inviting atmosphere conducive to productivity and creative work; the other sealed off from the outside world, cluttered and disordered, evoking a space shaped by isolation and dominated by passive consumption.
The inspiration for this came from my personal experiences of how the state of my surroundings
affects my internal weather, an artist making amazing
isometric rooms
and from a youtube video on
7 ways to maximize misery
Achyut Raj
Samples: 2048
Light sources: 17
Rendering time: 75 mins
Hardware: M3 16GB
Features
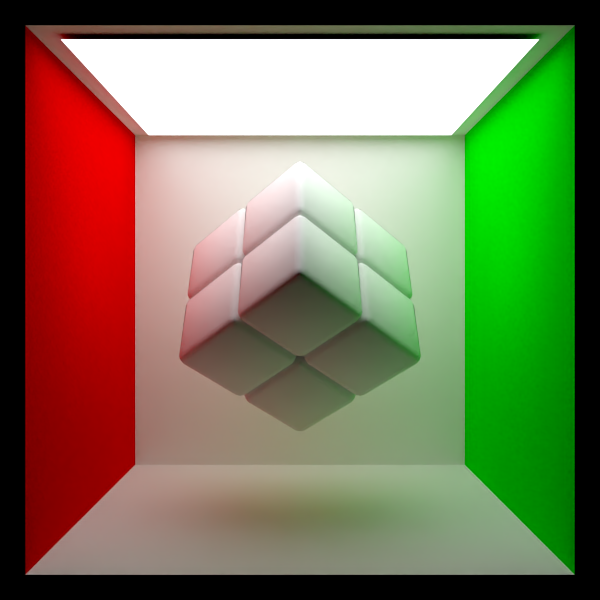
Orthographic camera
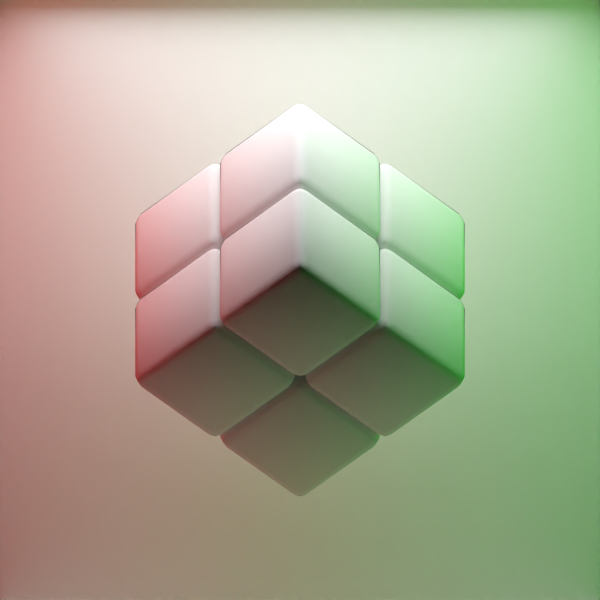
Renders the scene without perspective distortion, keeping object sizes constant regardless of depth. This is what gives the final render an isometric look.
File changed: orthographic.cpp
- I started with a duplicate of the perspective.cpp. The camera ray generation was modified to emit parallel rays with a constant direction. Ray origins are shifted across the image plane instead of originating from a single camera point.
- One time-consuming part was figuring out how to adjust the “orthographic scale" of the camera properly while preserving the aspect ratio.
Normal mapping
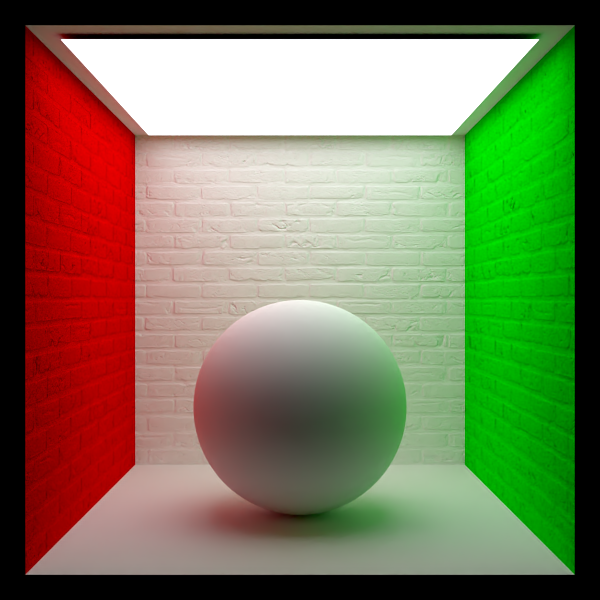
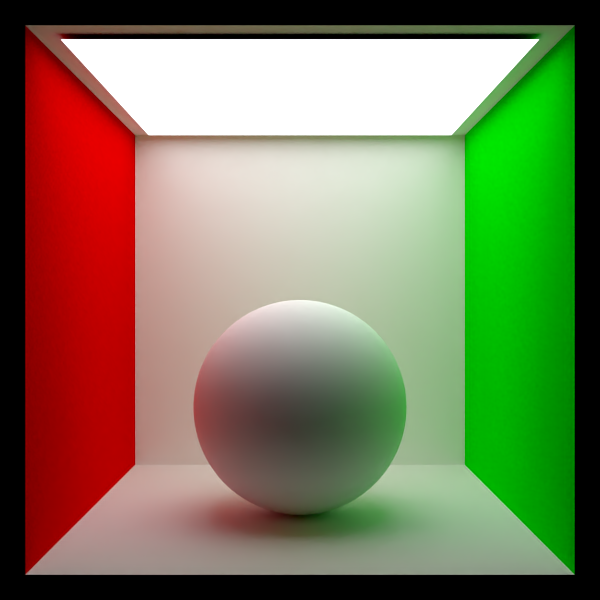
Adds high-frequency surface detail by perturbing shading normals using a texture, without increasing geometry complexity.
Files changed: instance.cpp and instance.hpp
- Intersect::transformFrame was modified to transform normals from tangent space to world space using the shading frame, in case a normal map texture is given.
- Surprisingly( and frustratingly), finding a not inverted normal map for the test scene took the most time.
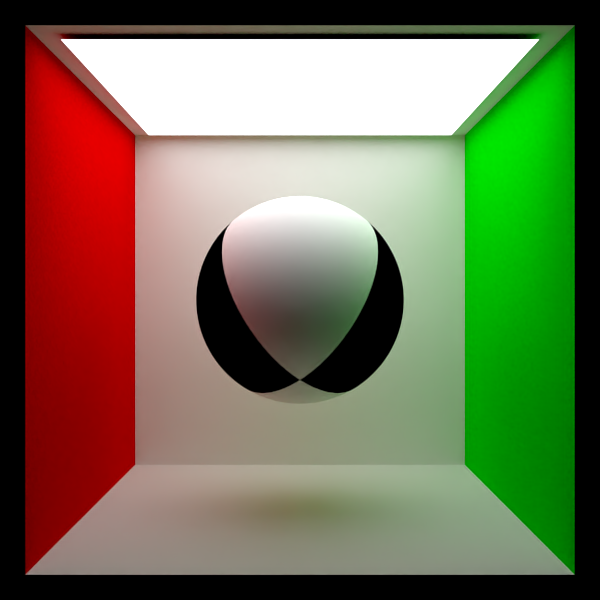
Alpha masking
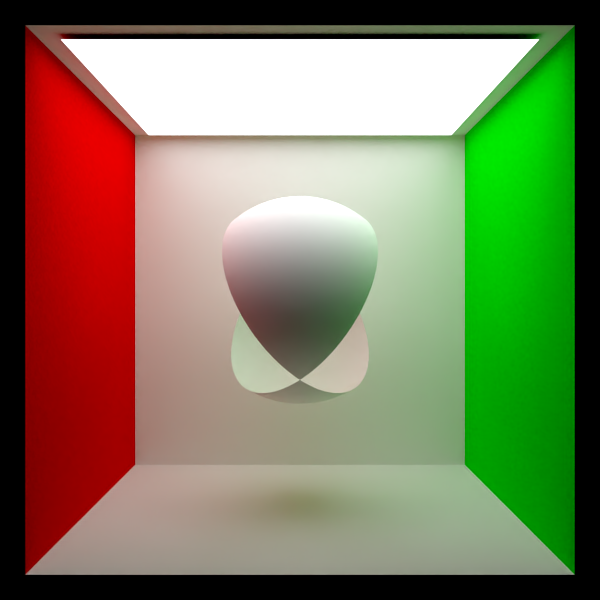
Allows parts of a mesh to be selectively transparent based on a texture, enabling effects such as the cloth mesh in the chair.
Files changed: instance.hpp, instance.cpp, image.hpp, image.cpp and texture.cpp
- If an alpha mask is present, the value is evaluated at the intersection point and used to probabilistically accept or reject the hit.
- Support for alpha access was added in the classes responsible for loading images.
- A lot of time went into debugging the ray marching as many of the properties of the intersection needed to be tracked and conserved.
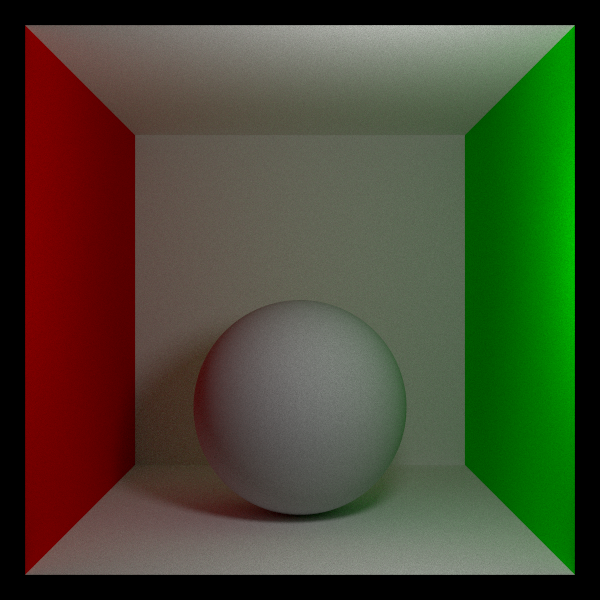
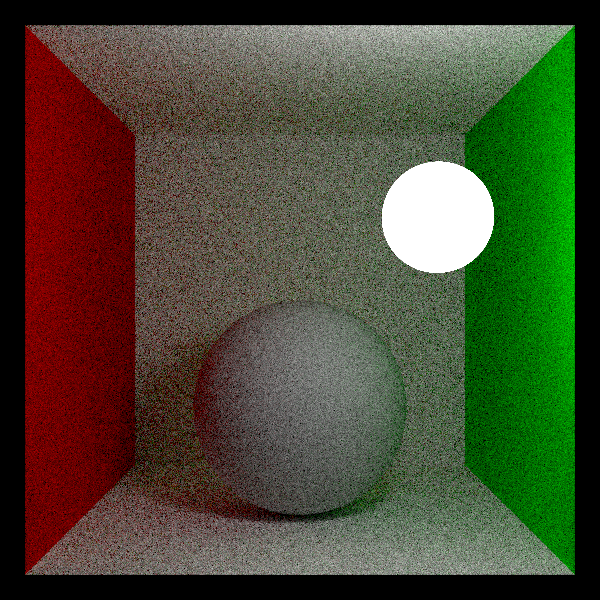
Area lights
Simulate physically plausible light emission from surfaces with finite size, producing soft shadows and realistic illumination.
Files changed: area.cpp, sphere.cpp, rectangle.cpp
- Implemented the sampleArea method for Sphere and Rectangle primitives.
- Added PDF transformation in Instance.
- Resolving incorrect light directions and weighting and carefully aligning the PDF with the emission model took the most time.
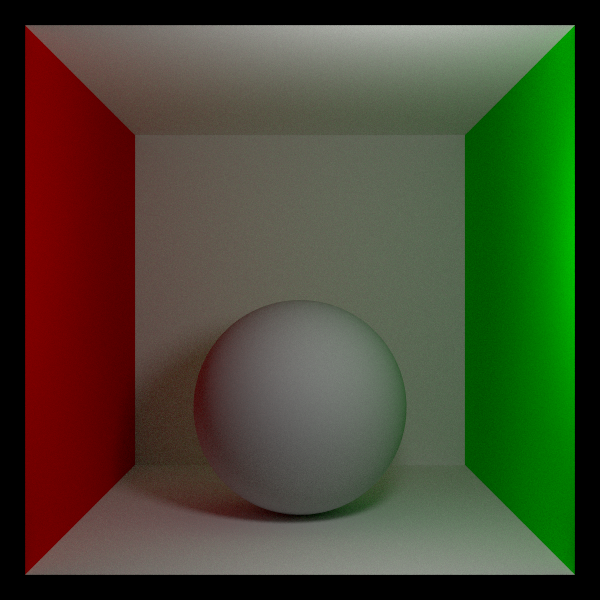
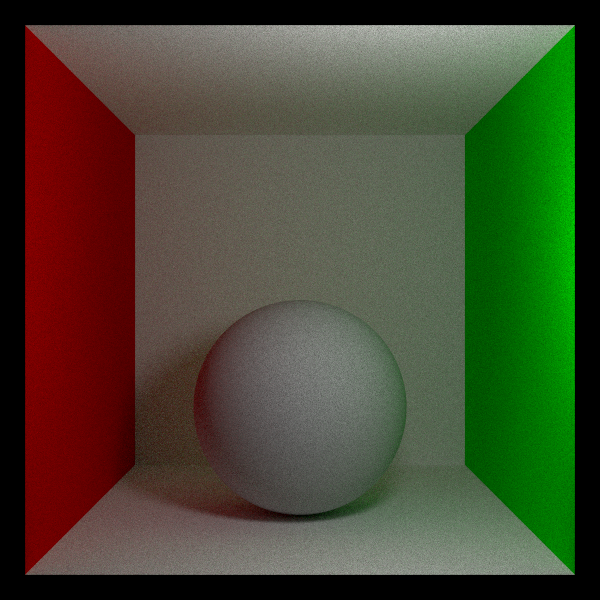
Improved Area lights Sampling
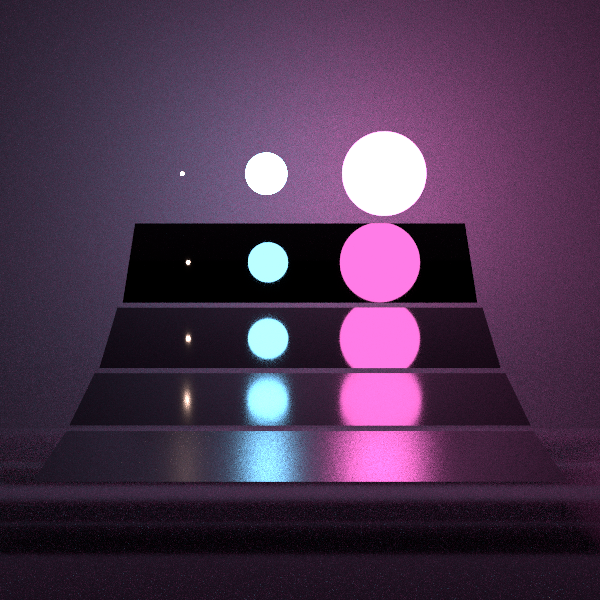
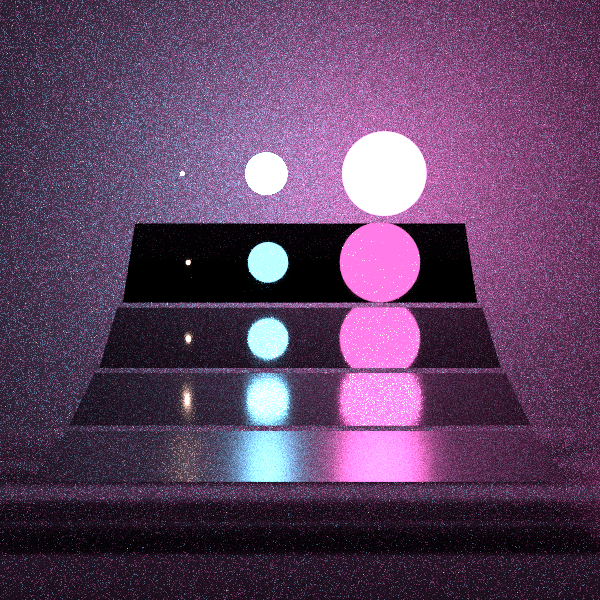
Reduces the variance of the image by reducing the number of low contributing sampled points on the emitter
Files changed: area.cpp, instance.cpp, instance.hpp, sphere.cpp, shape.cpp, mesh.cpp and group.cpp
- Added cosine hemisphere sampling for Sphere to improve the sampling distribution used to sample the points on the emitter.
- Correctly transforming the cosine hemisphere to correspond to the frame pointing towards the shading point took some time.
- Same test scene as before but rendered at half the no. of samples.
- Improvement can be seen easily in the shadow regions.
MIS Pathtracing
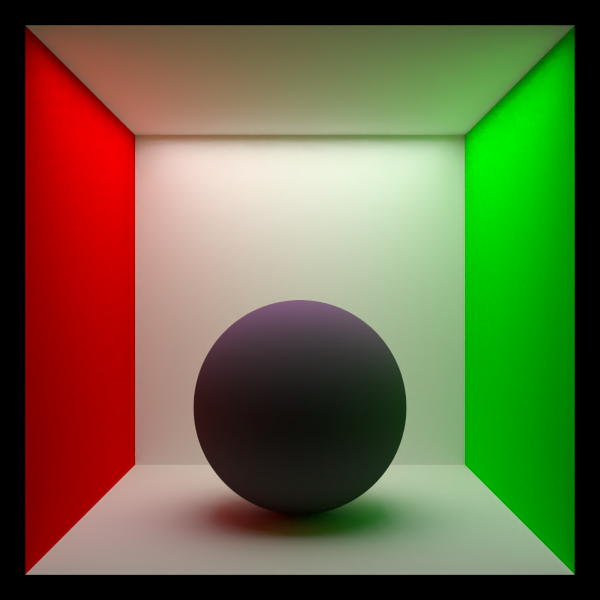
Combines NEE and BSDF sampling taking in account the respective probabilities of the two strategies to reduce overall variance.
Files changed: mis-pathtracer.cpp, bsdf.hpp, math.cpp, conductor.cpp, dielectric.cpp, diffuse.cpp, hg.cpp, principled.cpp, roughconductor.cpp, area.cpp, directional.cpp, envmap.cpp and point.cpp
- MIS was integrated throughout the renderer.
- The BsdfSample struct was extended with a PDF attribute and every BSDF class was adjusted to return the PDF of the sample.
- Similarly the DirectLightSample struct was extended with a PDF attribute and every light class adjusted accordingly.
- Ensuring all PDFs were consistent across sampling strategies; small mismatches led to severe artifacts such as fireflies.
Sheen
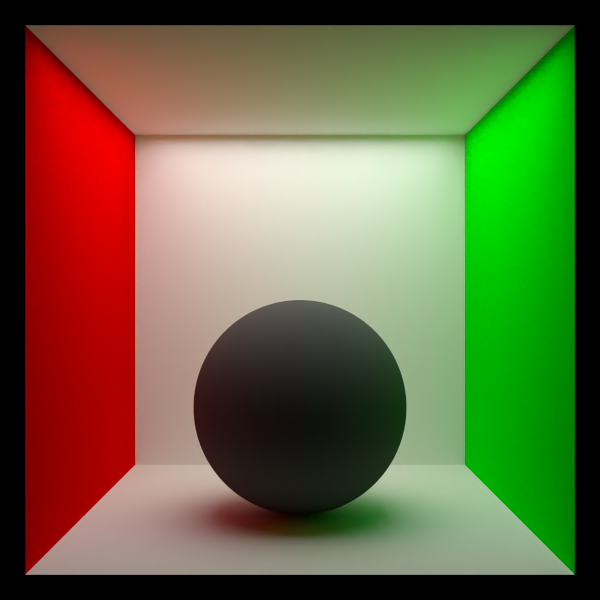
Adds a soft reflectance at grazing angles, commonly used for materials such as cloth. It can be seen on the blanket and pillow.
File changed: principled.cpp
- Implemented using the sheen and sheenTint parameters based on the UCSD Assignment.
- The tint parameter directly controls the amount of color contribution as well as the hue itself (like in blender).
- Debugging the sheen behavior was pretty frustrating until my tutor figured out that my test scene was without point lights (NEE), which is why the sheen was never evaluated.
Denoising
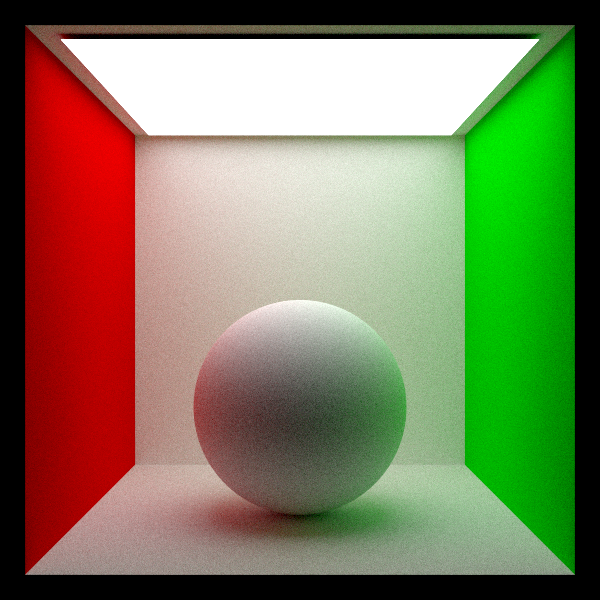
Reduces Monte Carlo noise in low-sample renders while preserving edges and details.
Files changed: denoise.cpp, aov.cpp, bsdf.hpp, diffuse.cpp and principled.cpp
- The Intel® Open Image Denoise library was added to the lightwave framework. To improve the denoising results by using normal and albedo passes, an AOV Integrator for the albedo pass was implemented, which required adding, to the BSDFs, a function for querying the albedo at a given UV coordinate.
- I needed to spend some time and debug to realised that the OIDN library requires the normals to be normalised and in the range [-1, 1] while the normals AOV produced a normal pass in the range [0,1] which weren’t necessarily normalised. So, a validation/transformation step for the normal input was added in the denoise.cpp.
Bloom effect
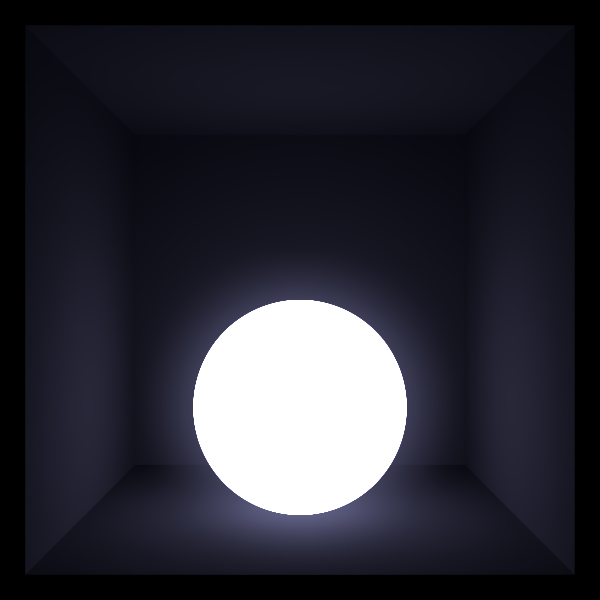
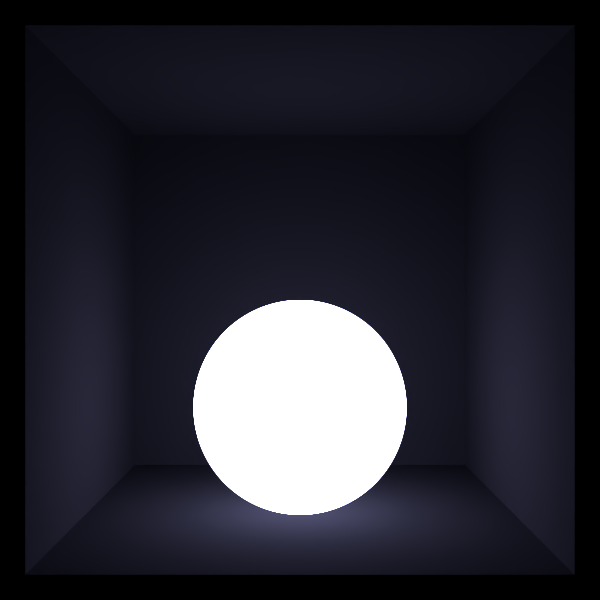
Adds a soft glow around very bright areas, simulating light bleeding in real camera sensors and lenses. This can be seen around the window and the monitor in the final render.
File changed: bloom.cpp
- I first tried out a simple box filter, then added soft thresholding and weighted multi-scale blur before finally settling on a gaussian blur.
- Finding good values for the radius and strength took some time.
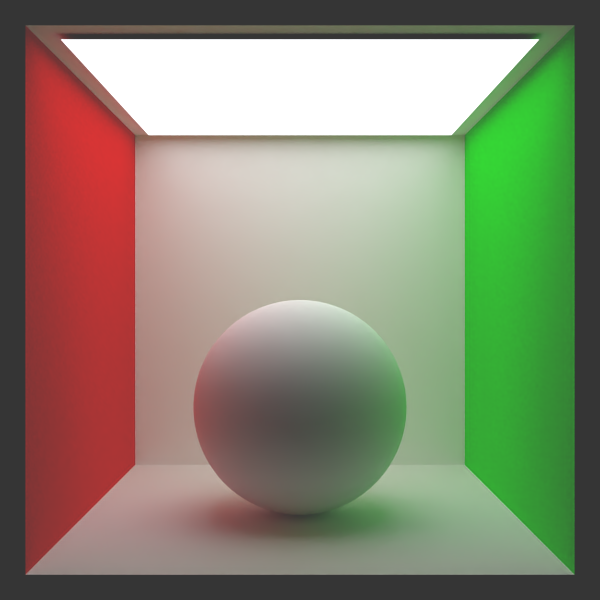
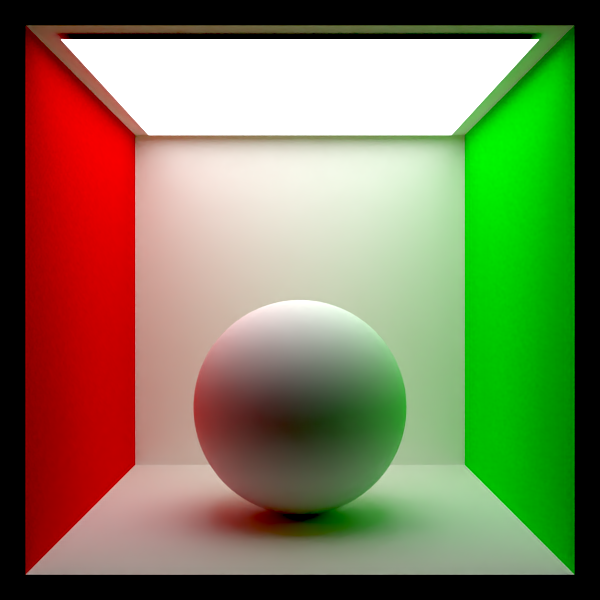
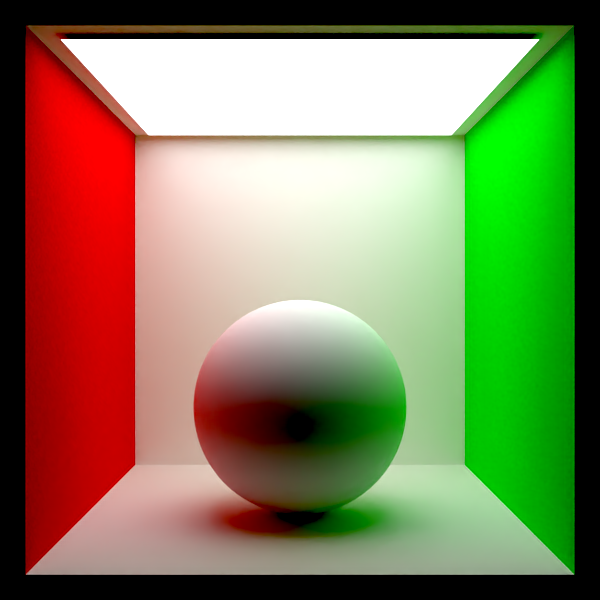
Contrast enhancement
Enhances the difference between dark and bright regions to improve overall image clarity.
File changed: contrast.cpp
- First, I wanted to implement something close to Blender’s ‘Color management’ but the filmic tone curve resulted in a very dull faded look at first.
- After some tweaking, I realised that mostly contrast adjustment is enough for my scene.
Design Process
I started with a very rough sketch
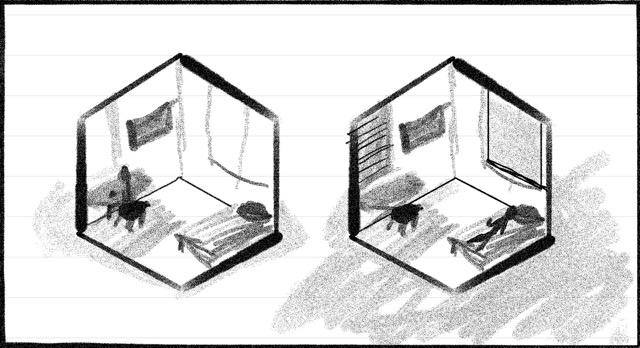
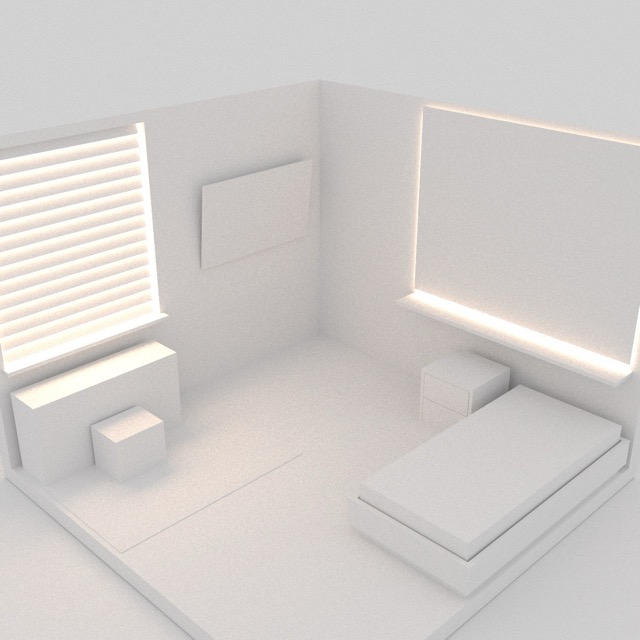
then a simple 3D blockout
designed the "good room" (blender render)
and the "bad room" (again blender)
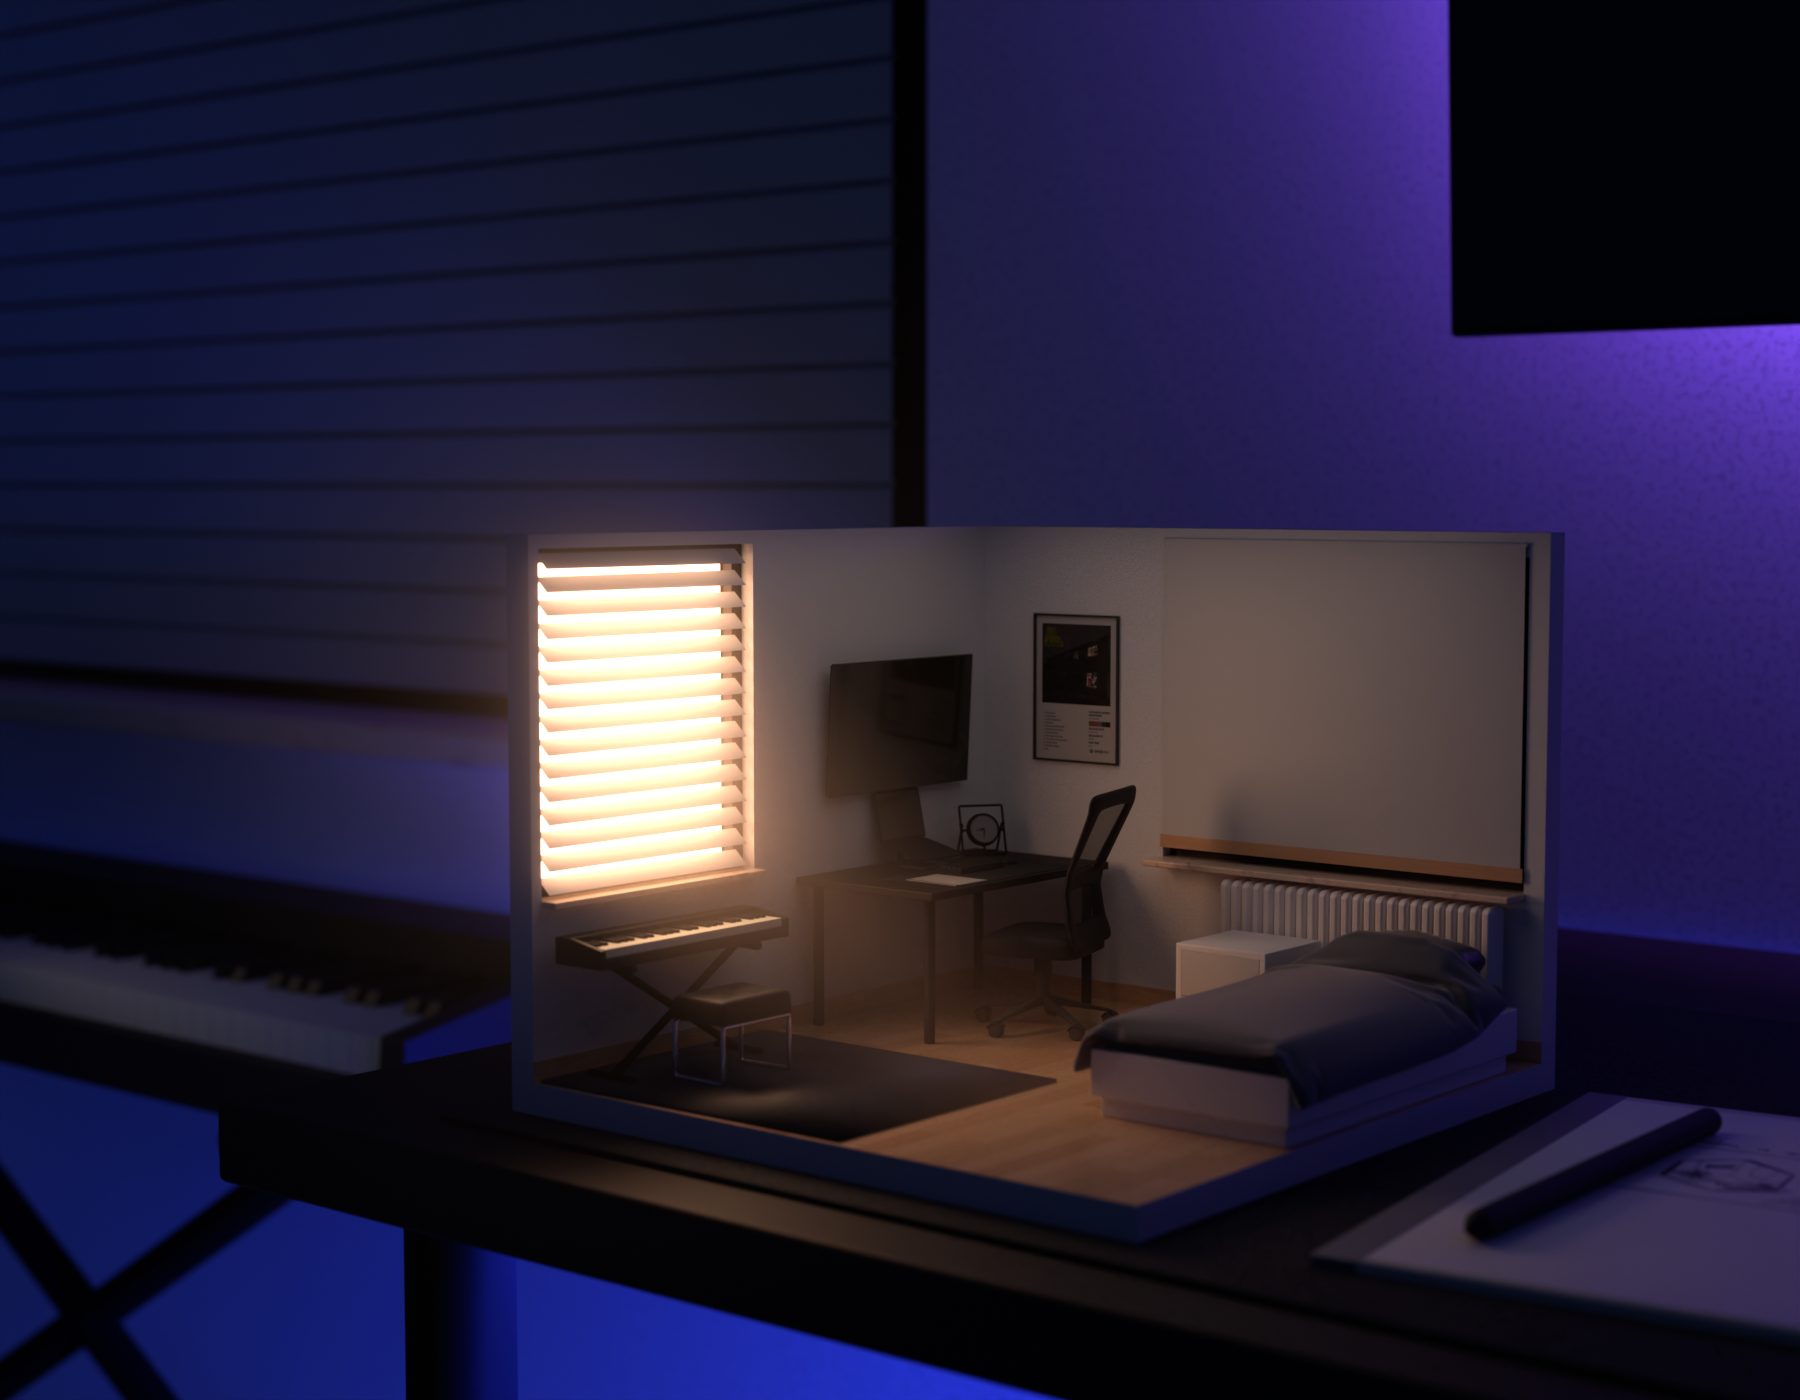
and tried out an alternative composition (still blender)
3rd Party Assets
just this album poster from Pinterest
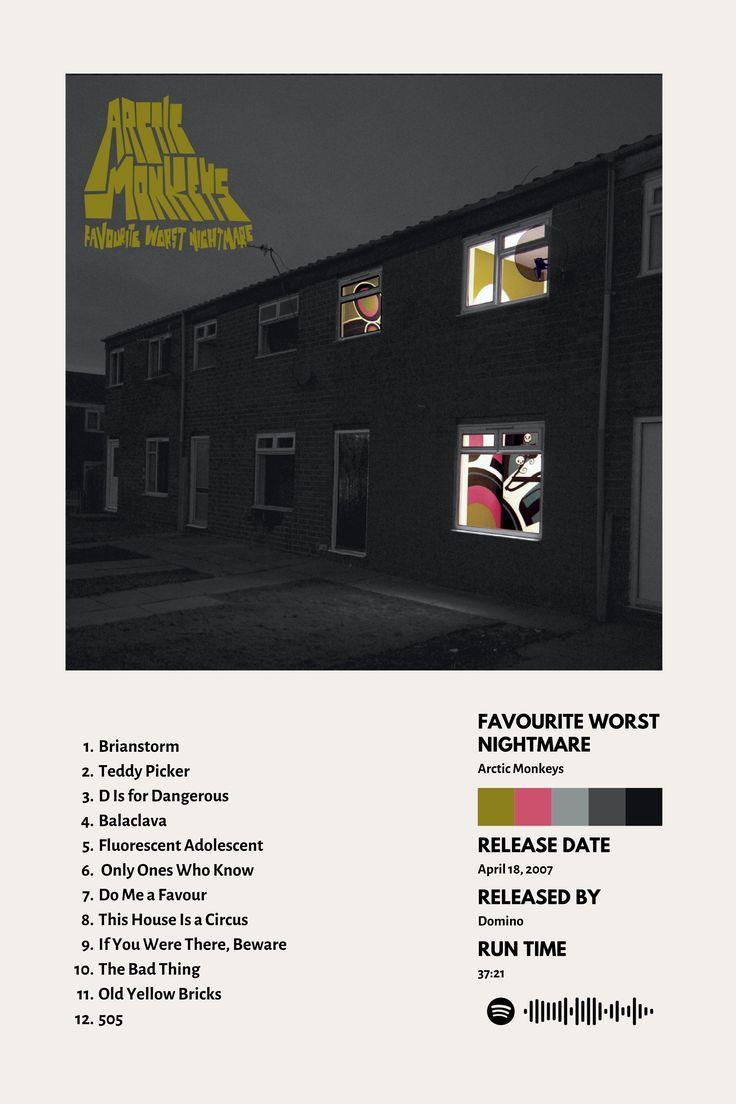
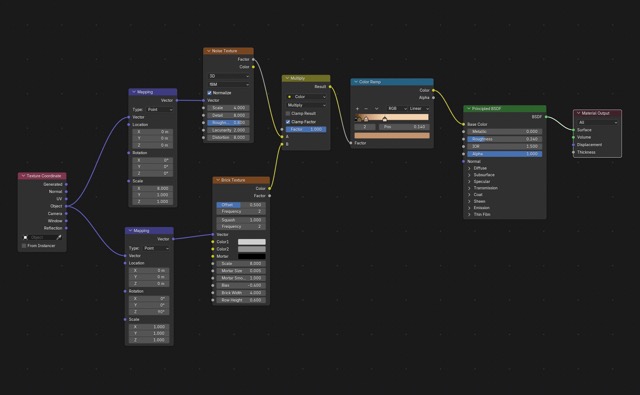
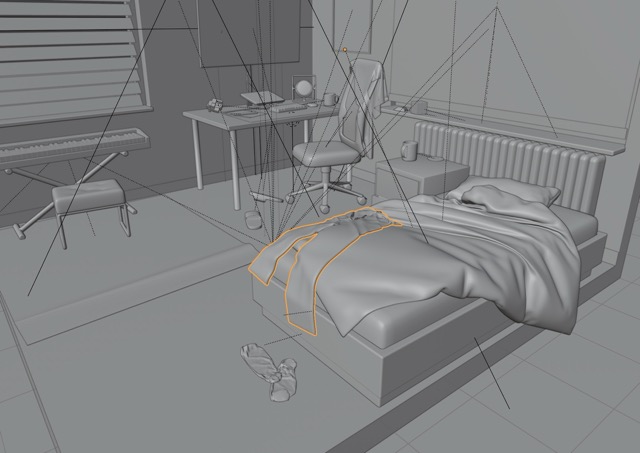
all other materials were made by baking some simple procedural textures in Blender and the models were made in Blender as well using the awesome modifiers and simulations.