Abstract
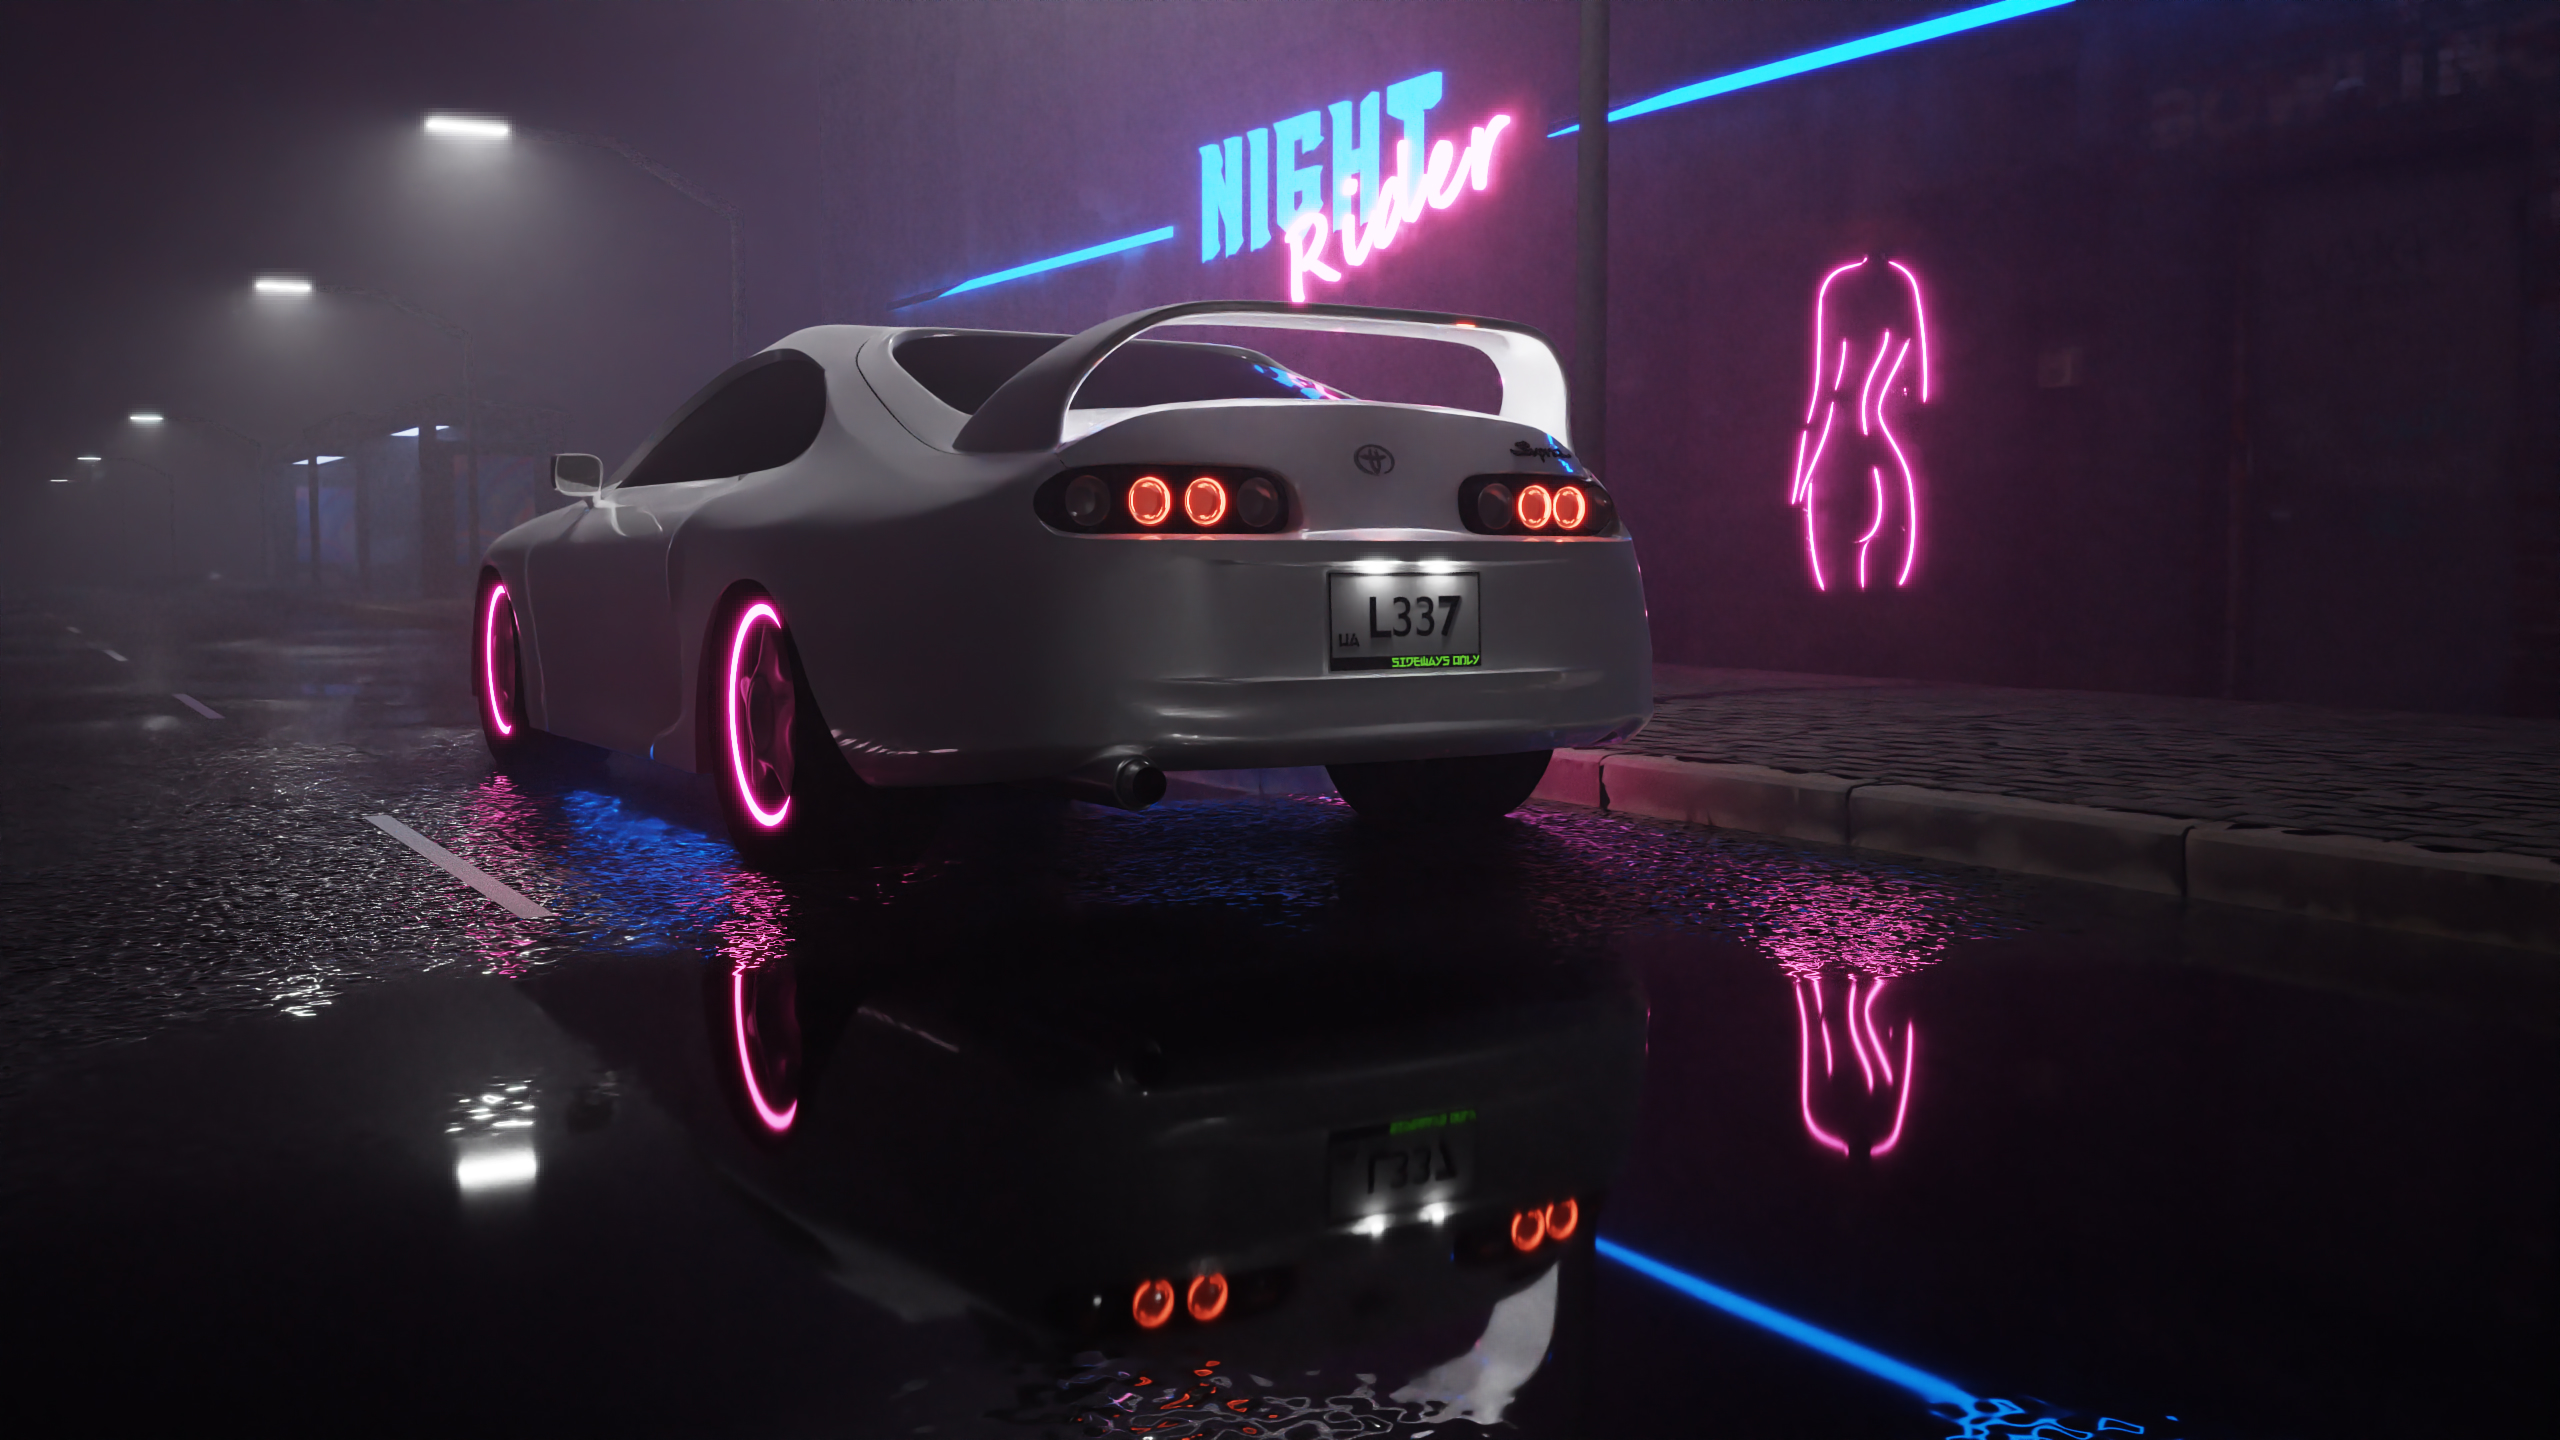
The scene captures classic JDM aesthetics infused with a dark, underground mood and vivid neon
accents. A timeless Toyota Supra MKIV is parked before an abandoned-looking building glowing with
neon signage. The rain-soaked asphalt and drifting fog deepen the atmosphere, amplifying the
contrast between the sleek, modern car and the decaying downtown surroundings.
Inspiration
The inspiration for this scene comes from a combination of my personal interests and various artistic
influences.
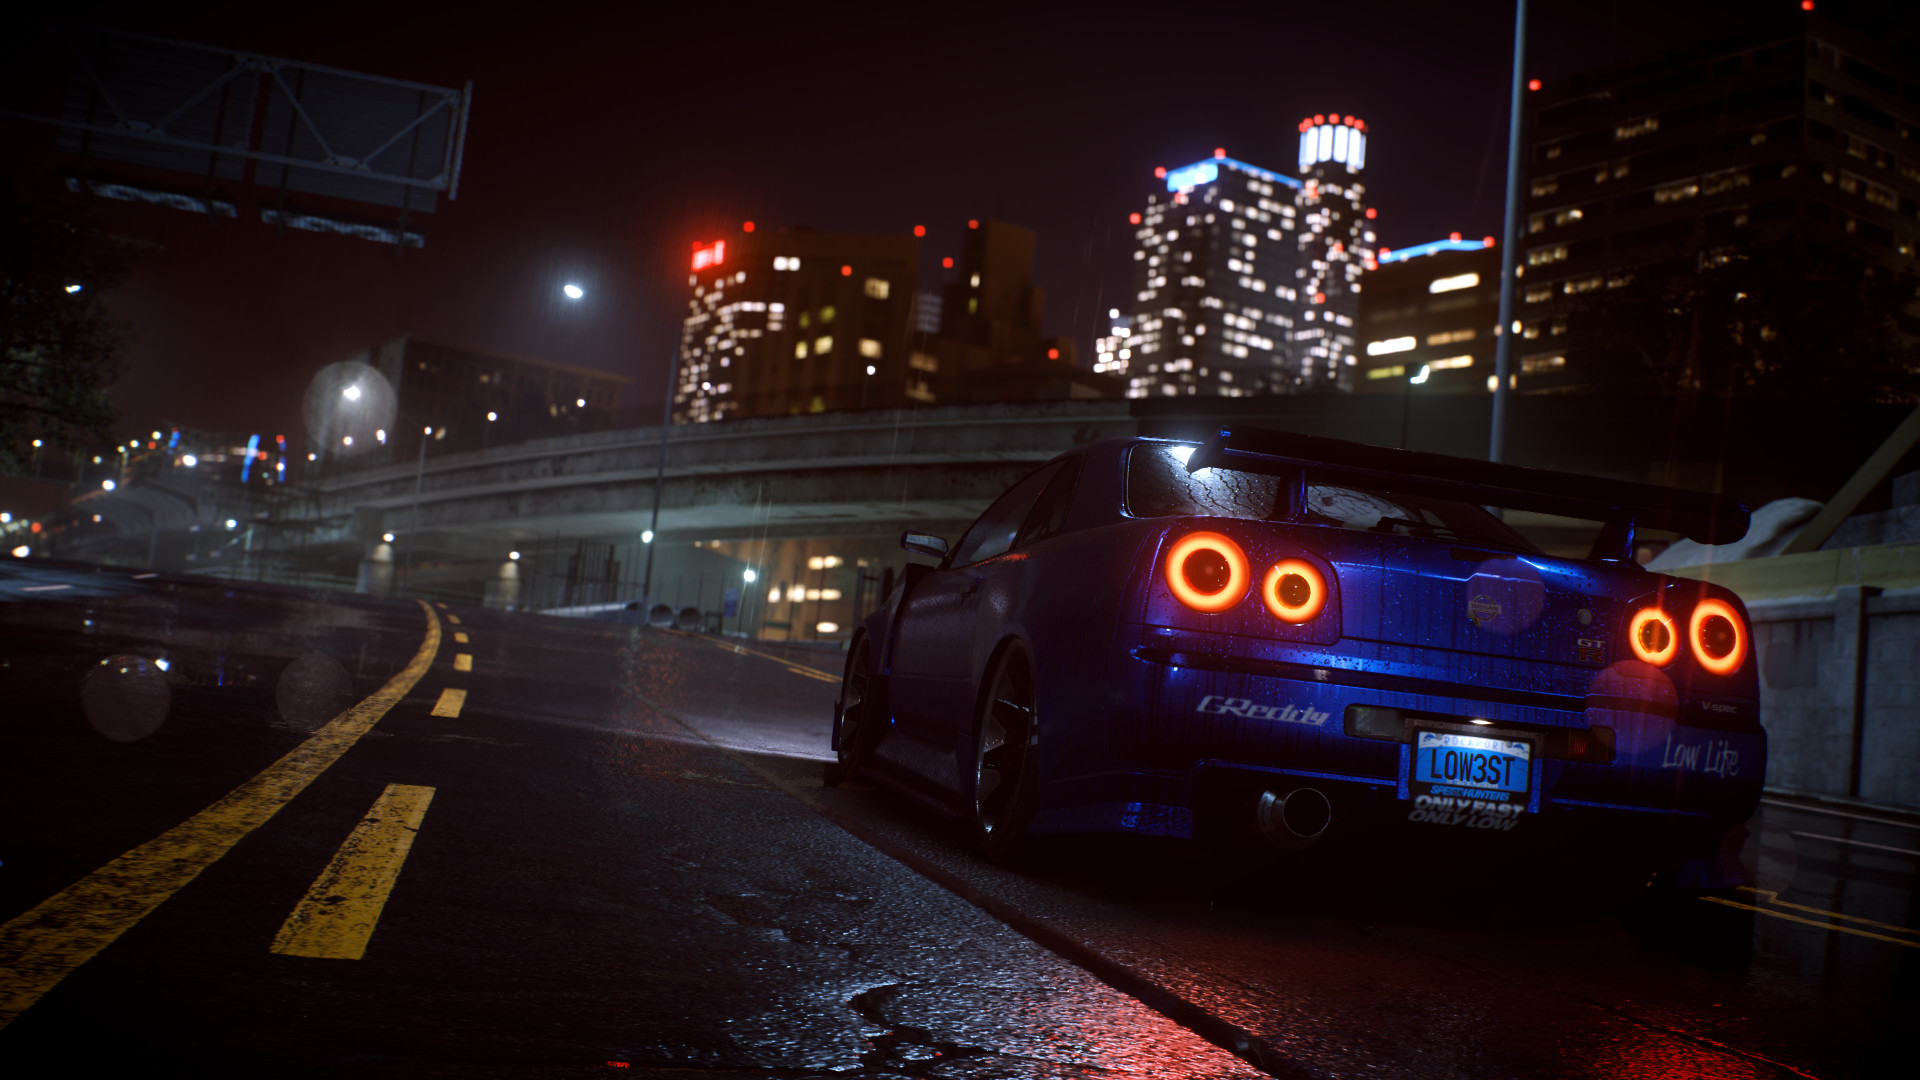
The Japanese Domestic car Market of the 90s has always fascinated me, especially the Toyota Supra
MKIV, which is an iconic car known for its performance and design.
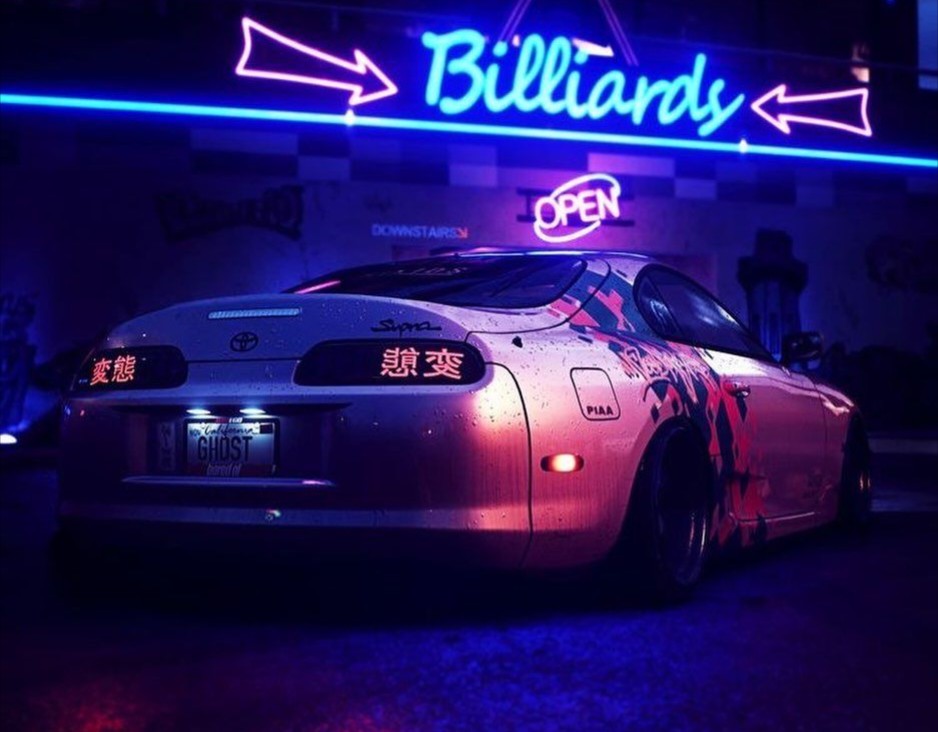
Furthermore the cyberpunk neon lights aesthetics have naturally appealed to me, as a perfect
showcase of reflective materials and vibrant colors in a dark environment, perfectly fitting for a
path traced render.
Finally, the downtown urban setting with wet asphalt and foggy atmosphere is inspired by phonk
culture originally derived from 90s Memphis rap scene, which often features dark and moody
cityscapes in its visual representations.
Below are some of the inspiration images that influenced the creation of this scene.
Modeling
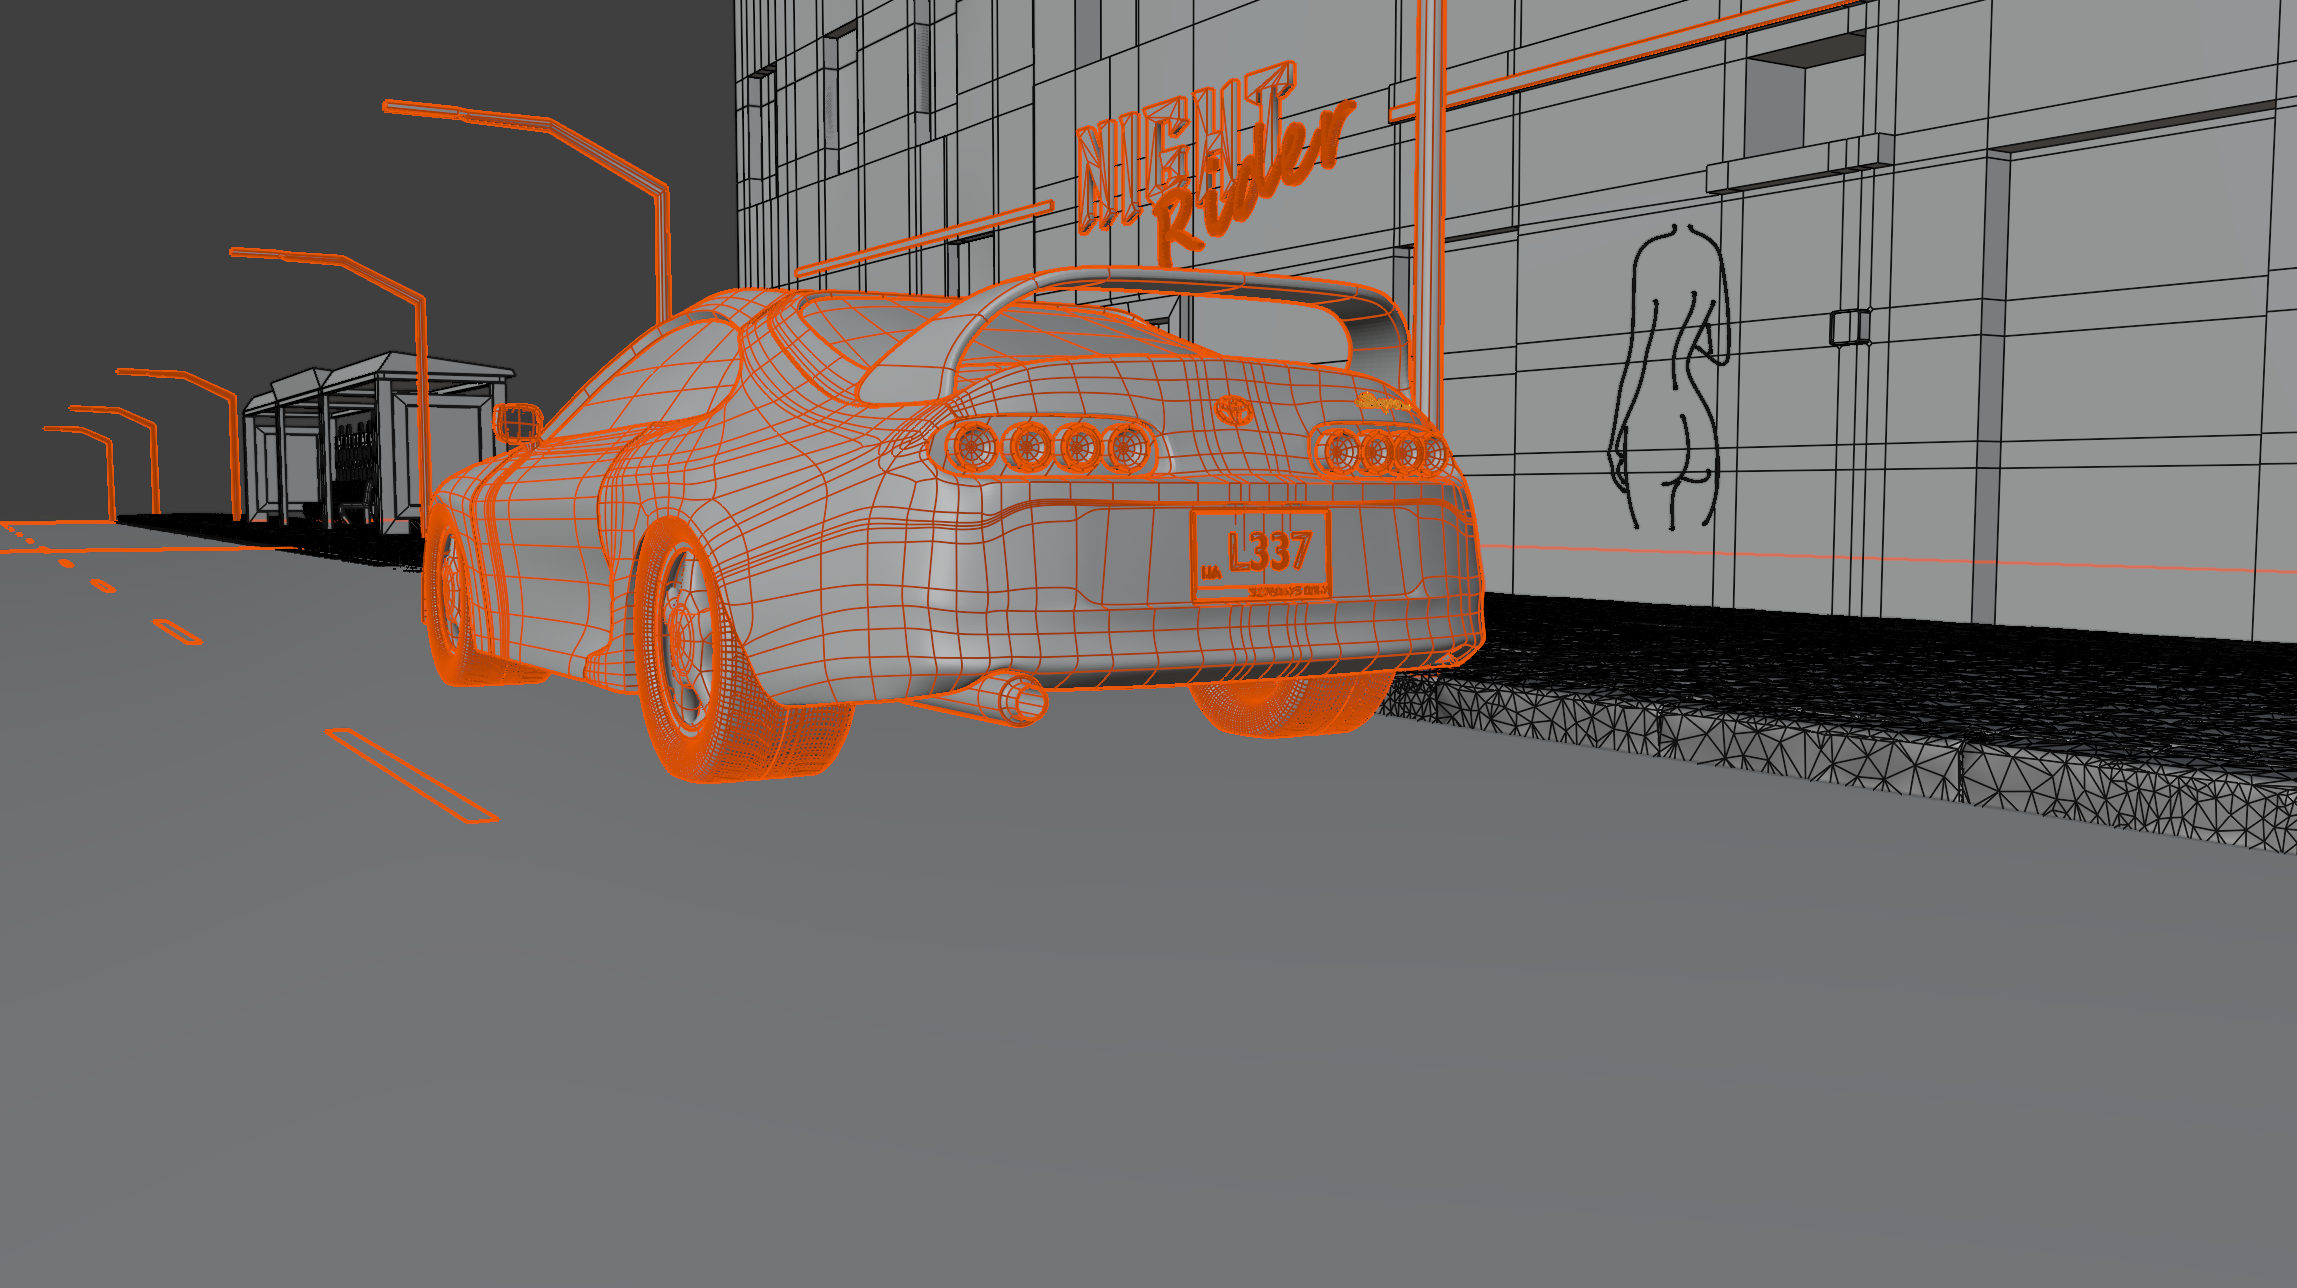
The modeling of the scene has taken the same if not more time than the feature implementation part.
Every
object outlined on the above image has been modeled from scratch in Blender. The non-outlined
objects
are 3D assets taken from BlenderKit. See credits for more
information on particular assets.
Car
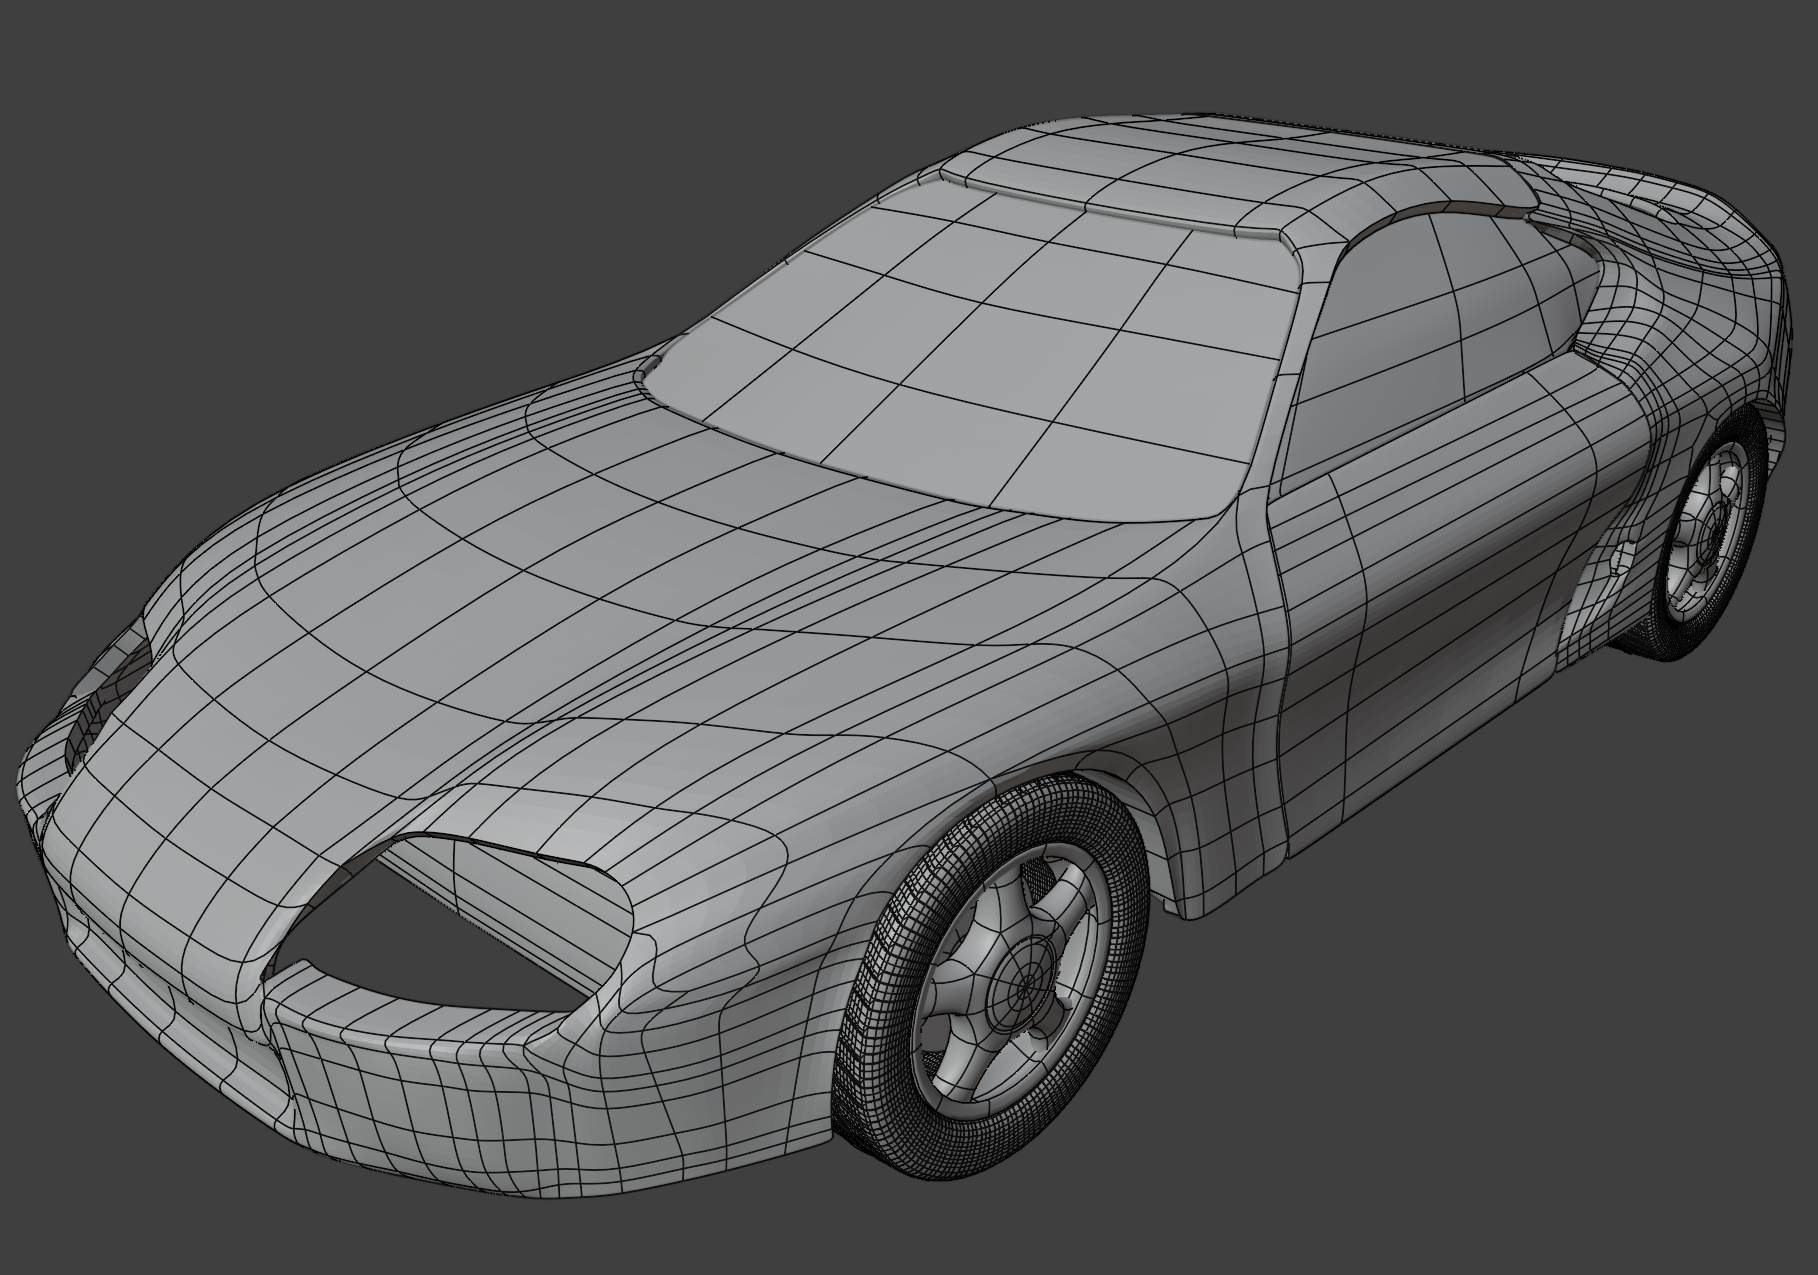
The car has been by far the most time consuming part to model. It has been modeled completely from
scratch by following the blueprint references and an amazing free series
of
tutorials on car modeling.
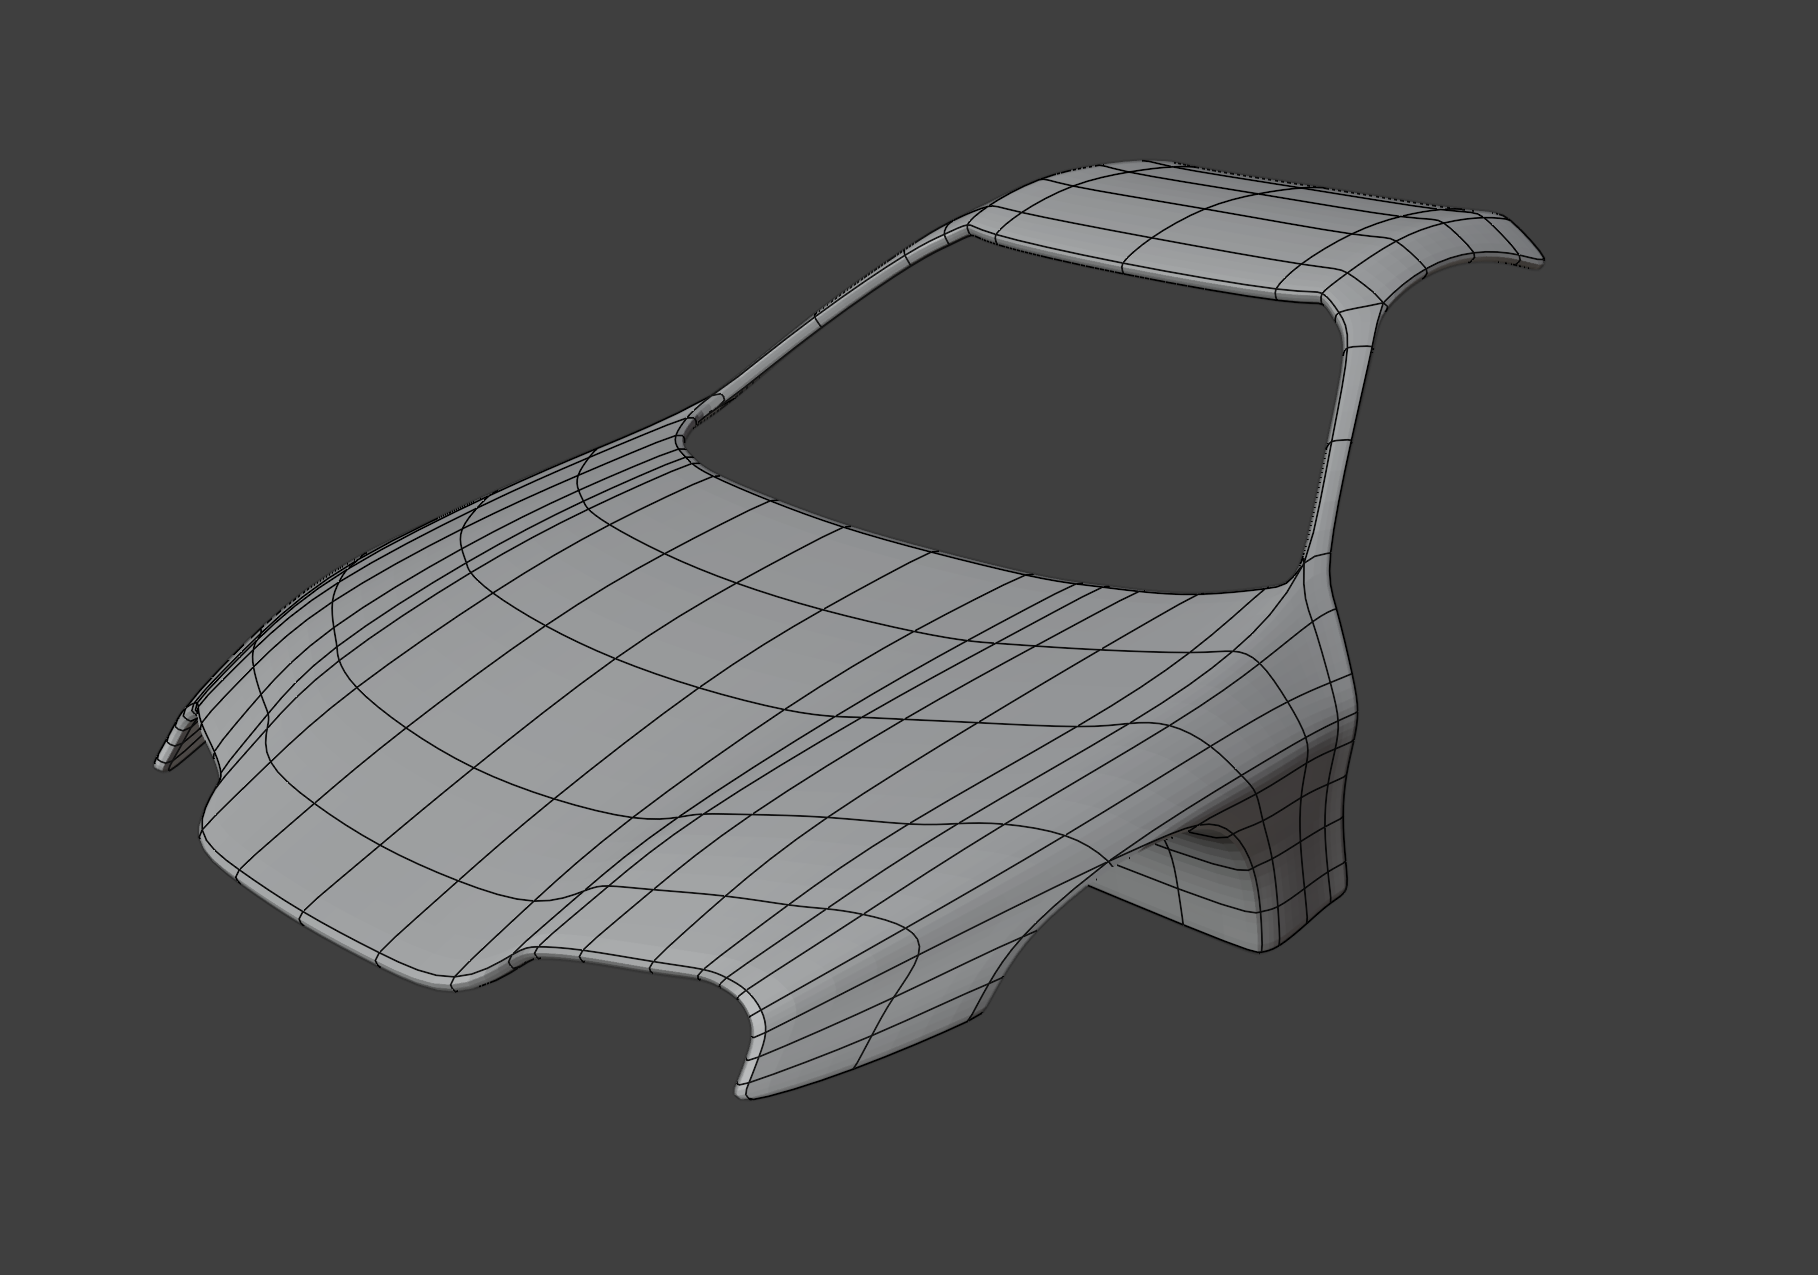
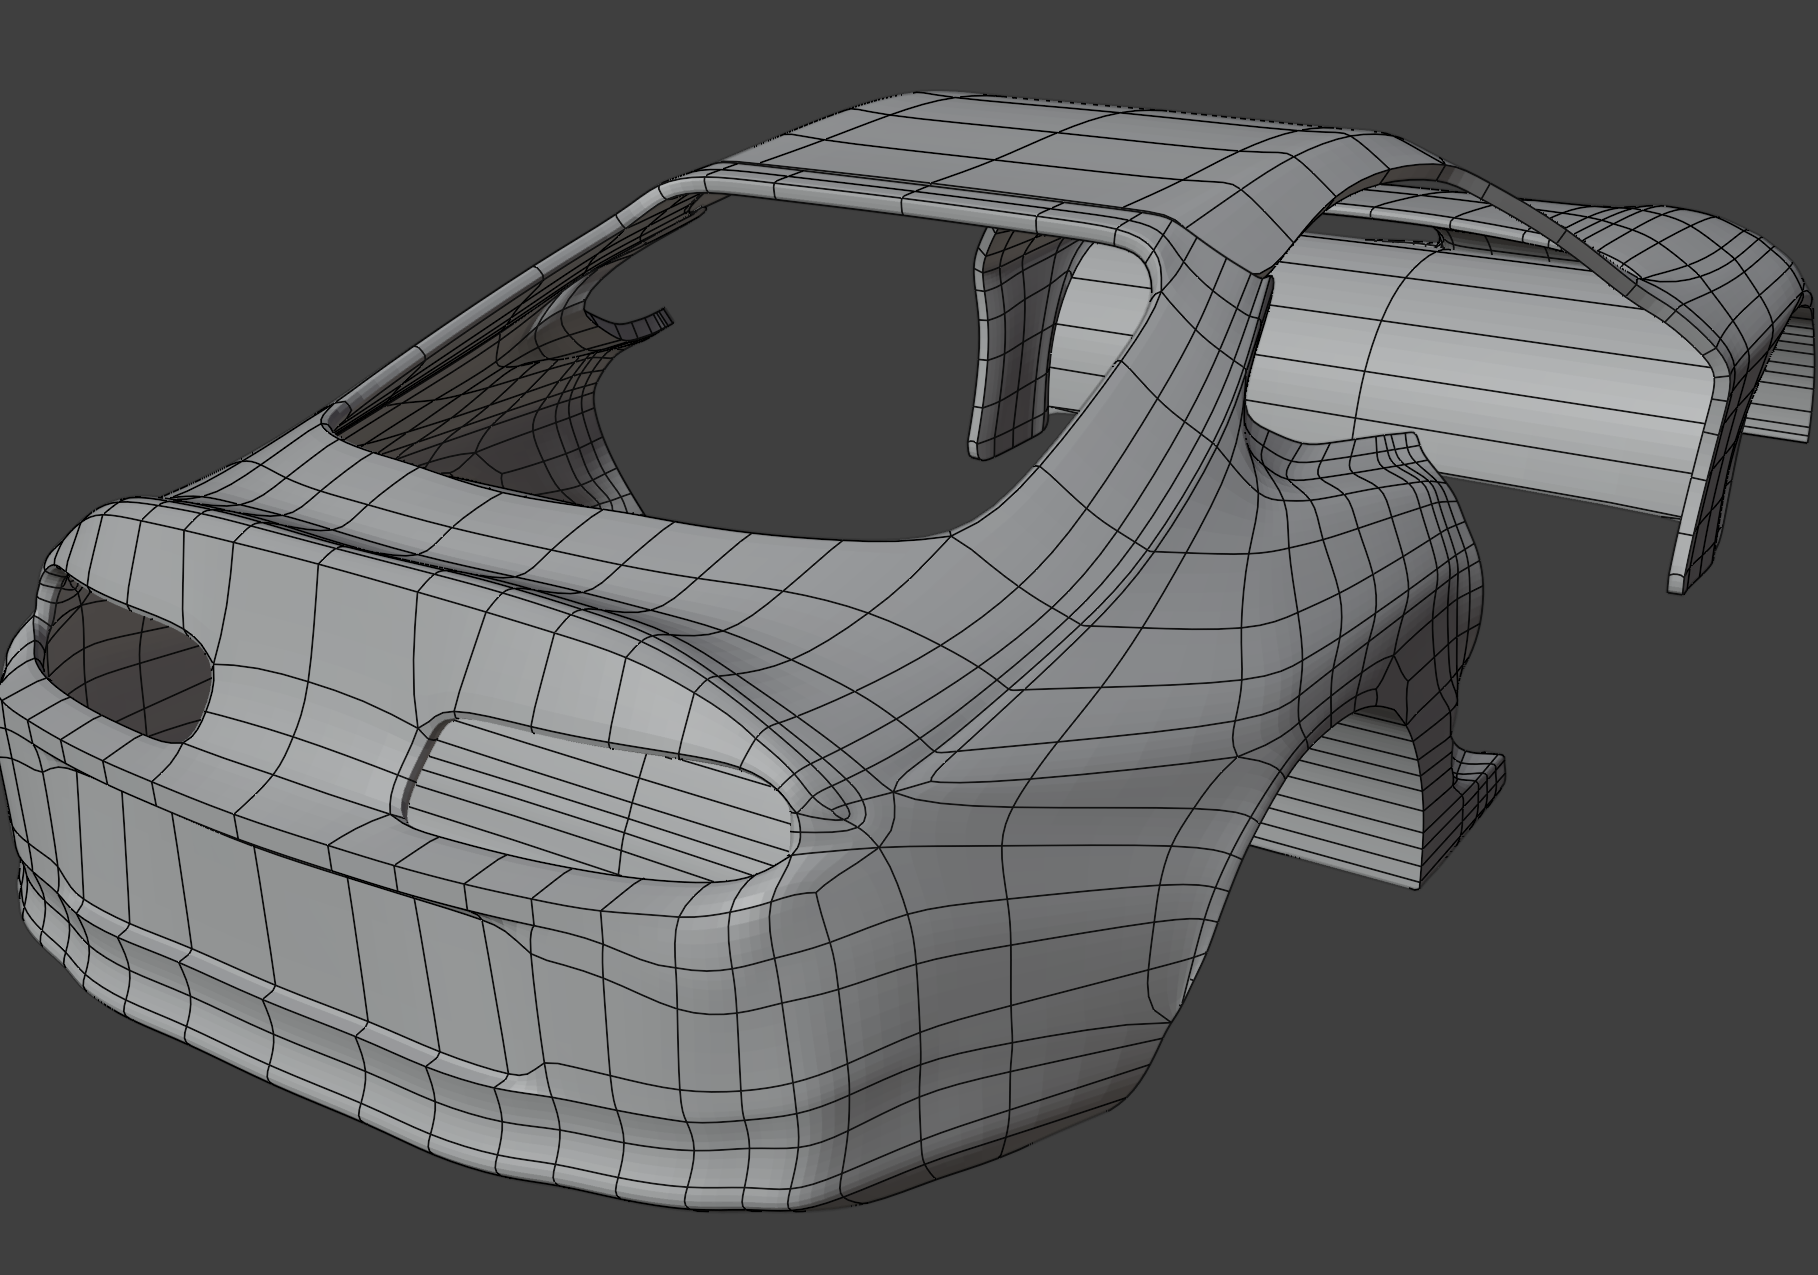
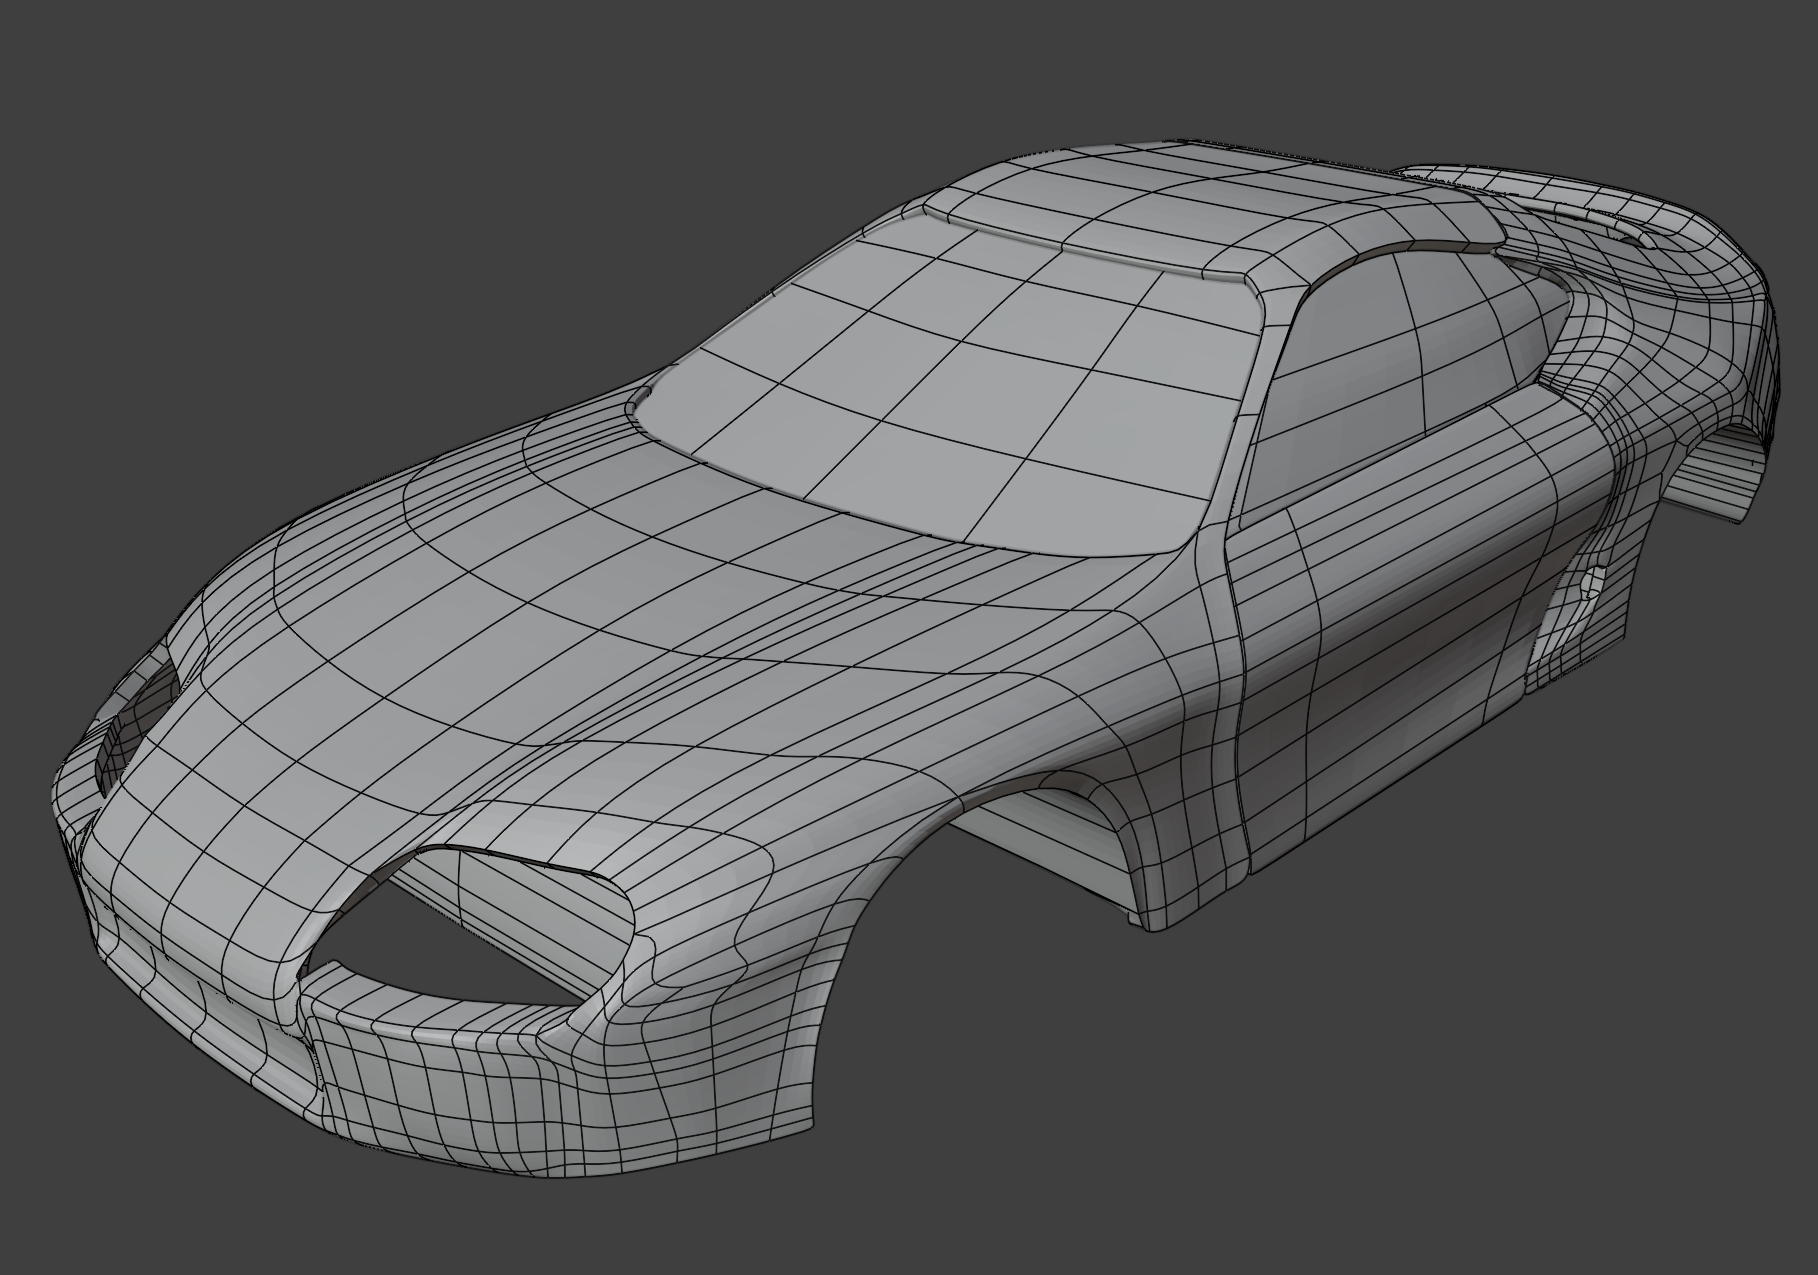
The main focus has been to closely follow the blueprint references while modeling the main parts.
The smaller details has been modeled later and only in the visible areas. The smoothness of the
model is achieved by a subdivision surface
modifier.
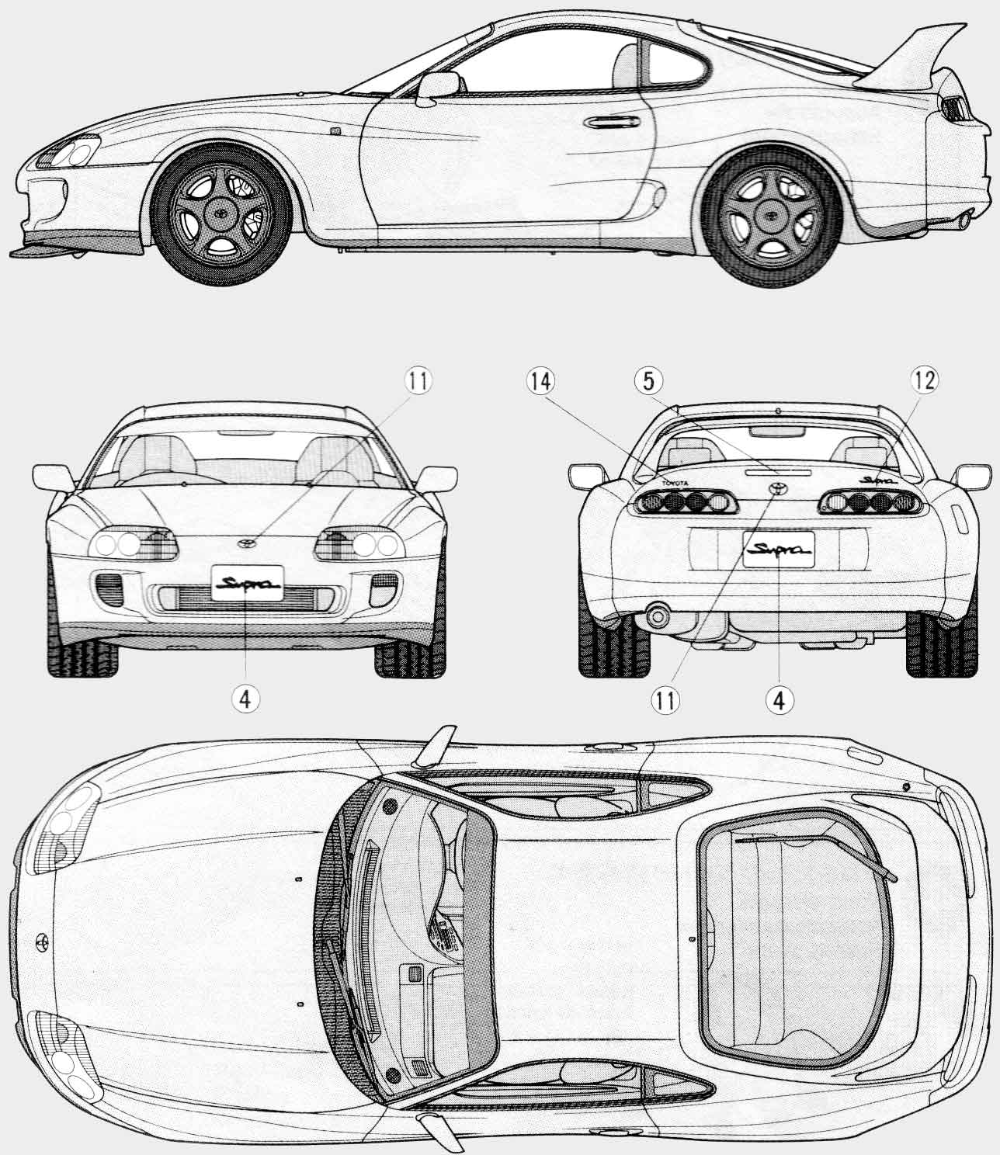
Below are some screenshots for the intermediate steps of the car modeling process:
Wet Asphalt
Modeling the wet asphalt is a completely different challenge compared to the car. It involves
creating realistic material properties and textures to simulate wetness, roughness and reflectivity.
The material is highly inspired by the following tutorial.
By combining different roughness maps with normal maps that represent the surface details, a
realistic wet asphalt material is achieved.
Furthermore, as the texture is procedurally generated, one needs to bake it to a texture map to
export to Lightwave. The most challenging part turned out to bake the normal map correctly.
Although, this part was tricky to figure out, the normals have tremendously improved the realism
of the asphalt, more on that in the feature section.
Progression
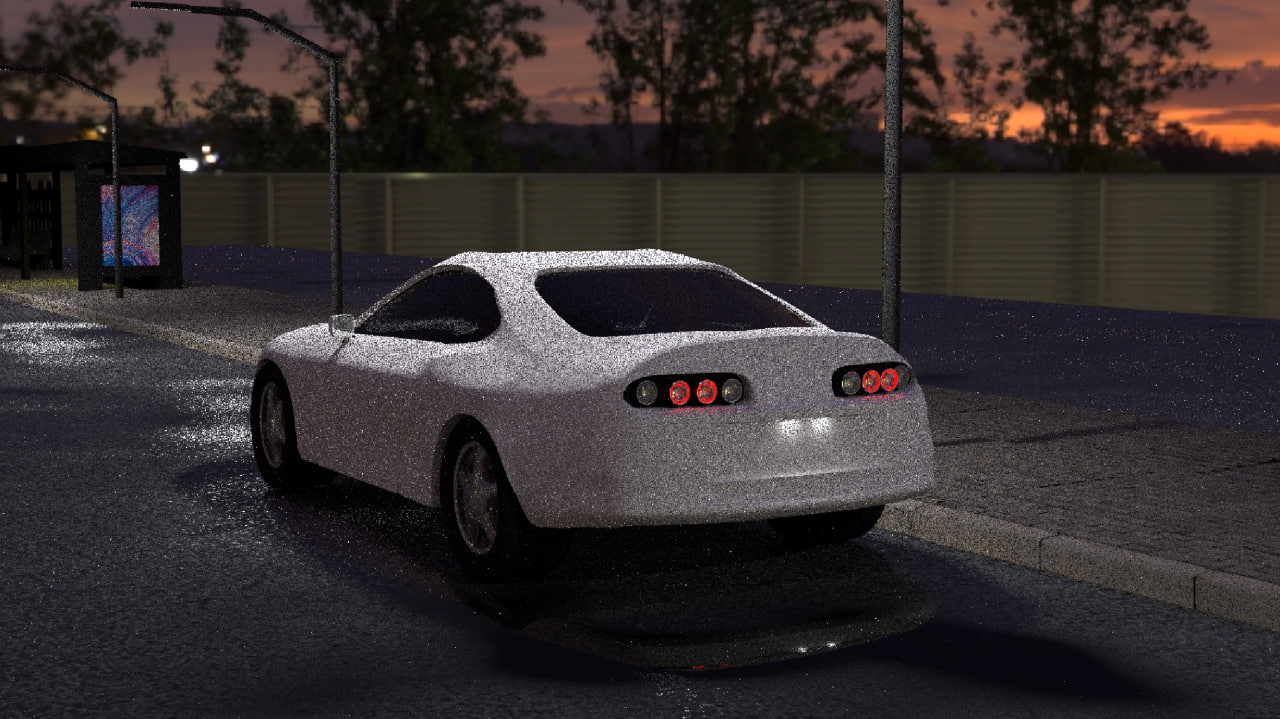
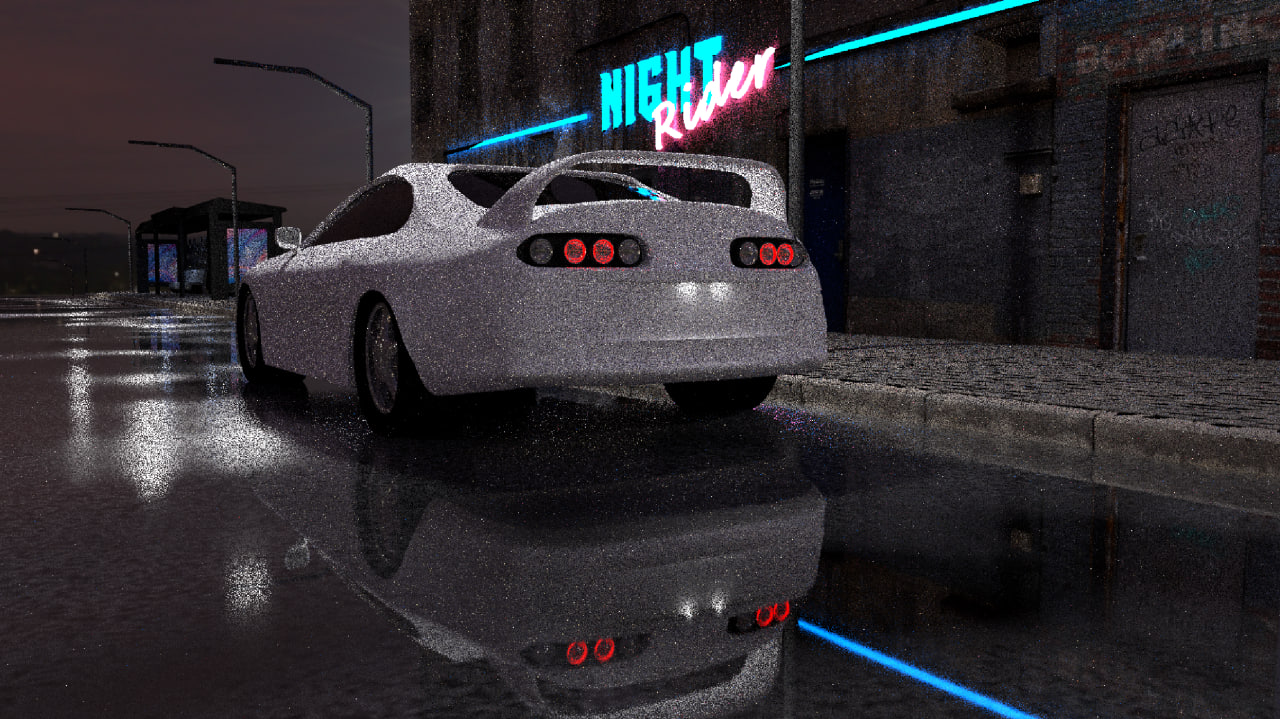
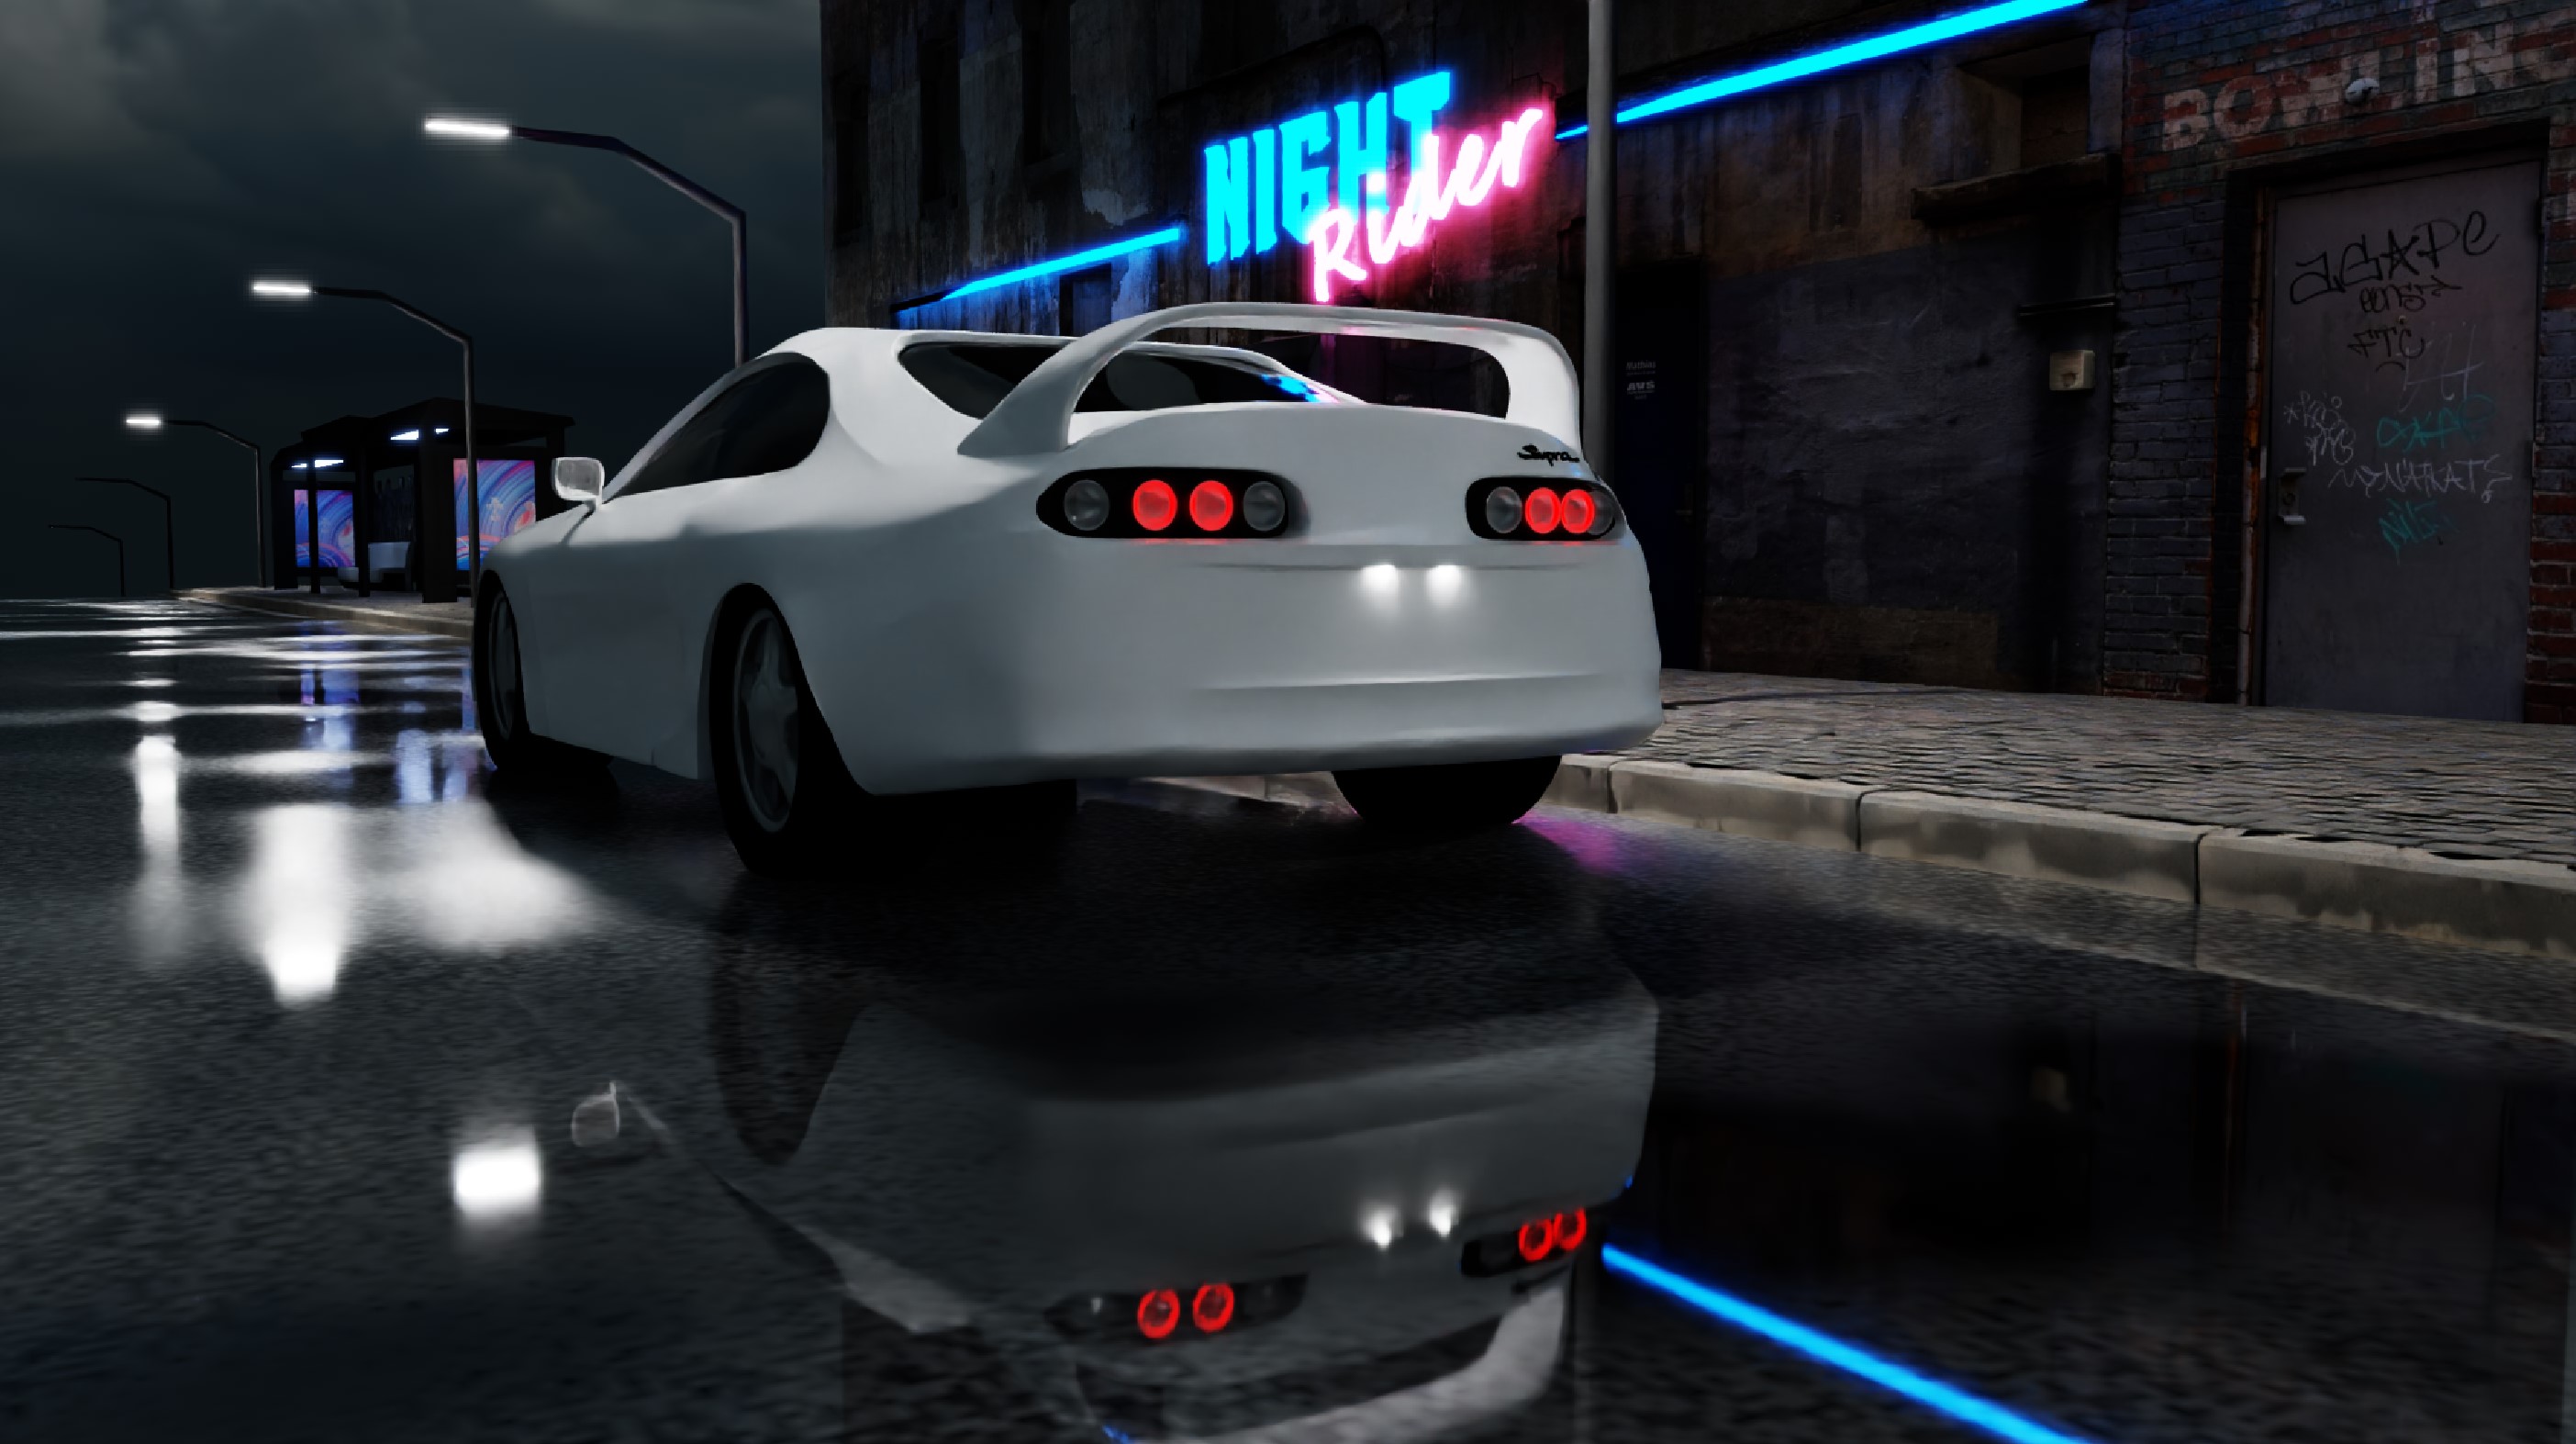
To further appreciate the efforts put into the modeling process, here are some old versions of the
scene demonstrating the evolution of the design.
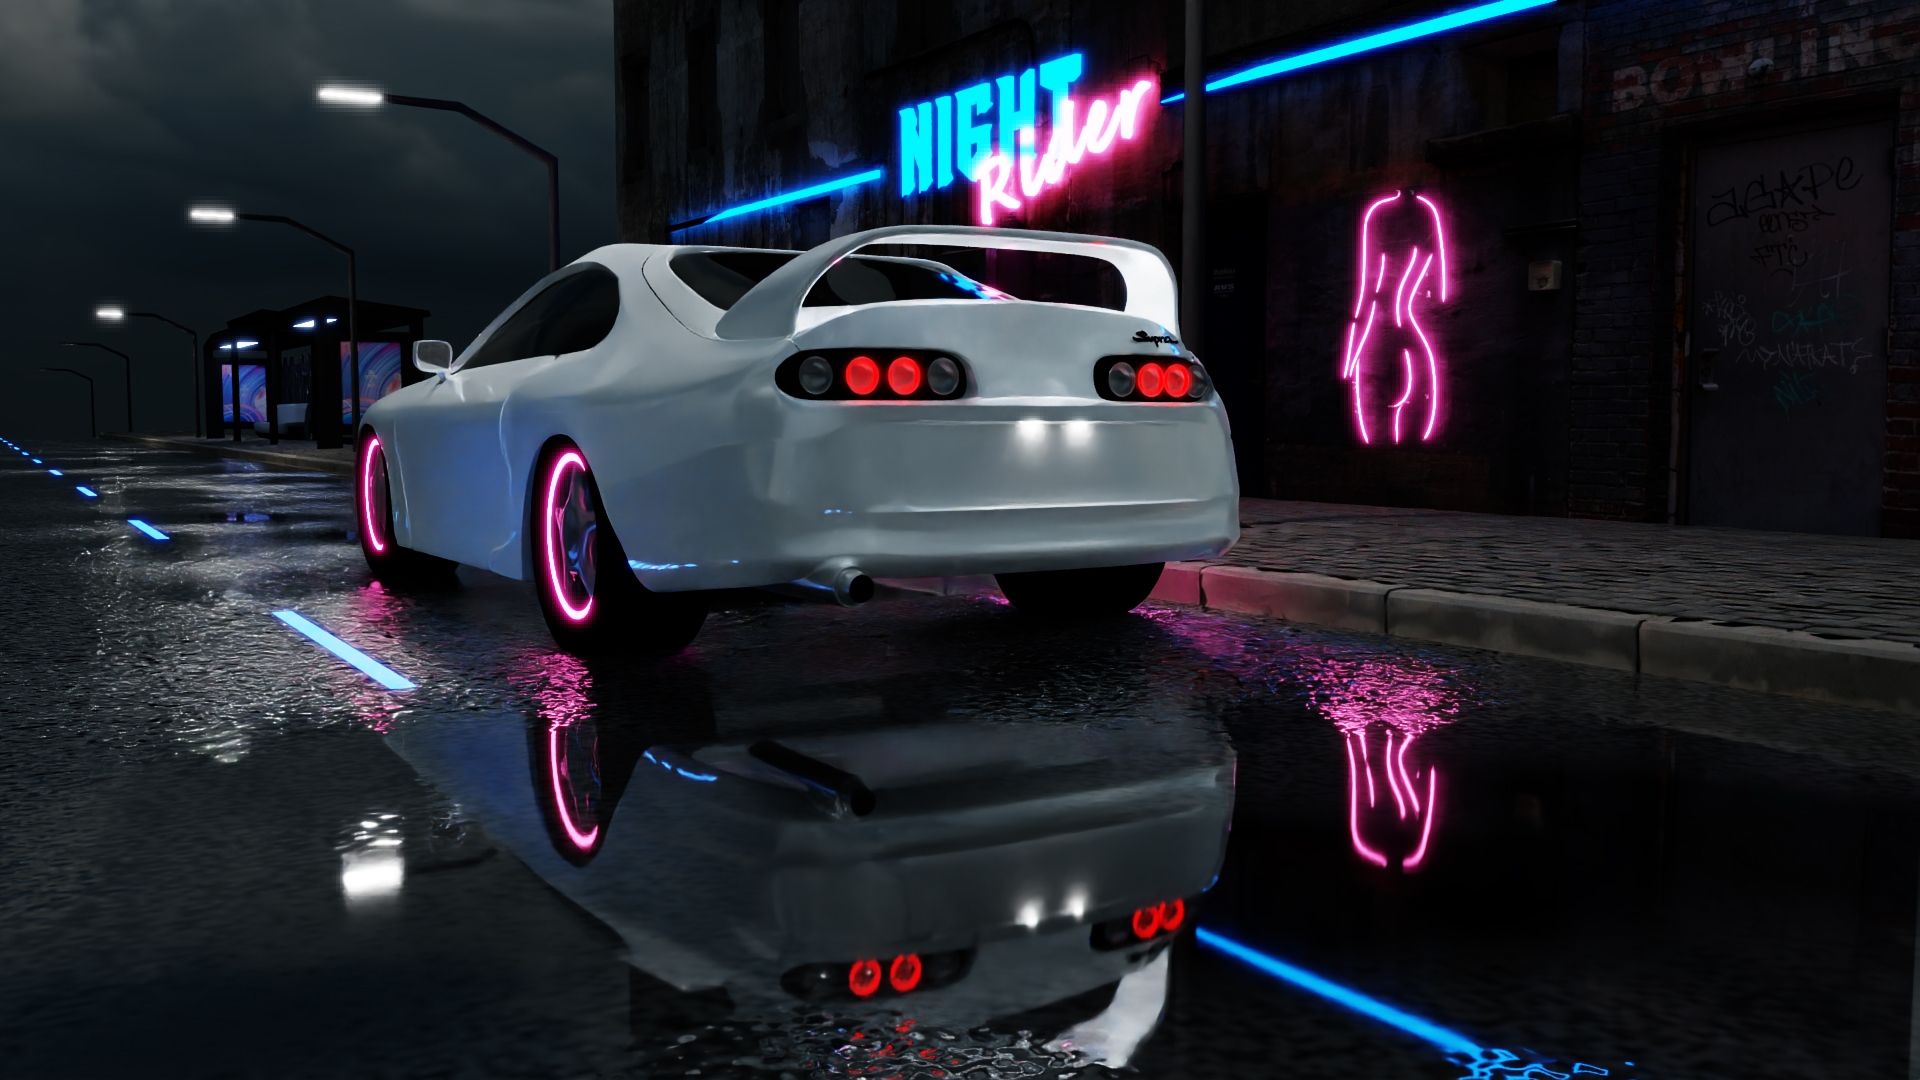
Features
This section covers the implemented features. And how the scene evolves with each added feature.
final
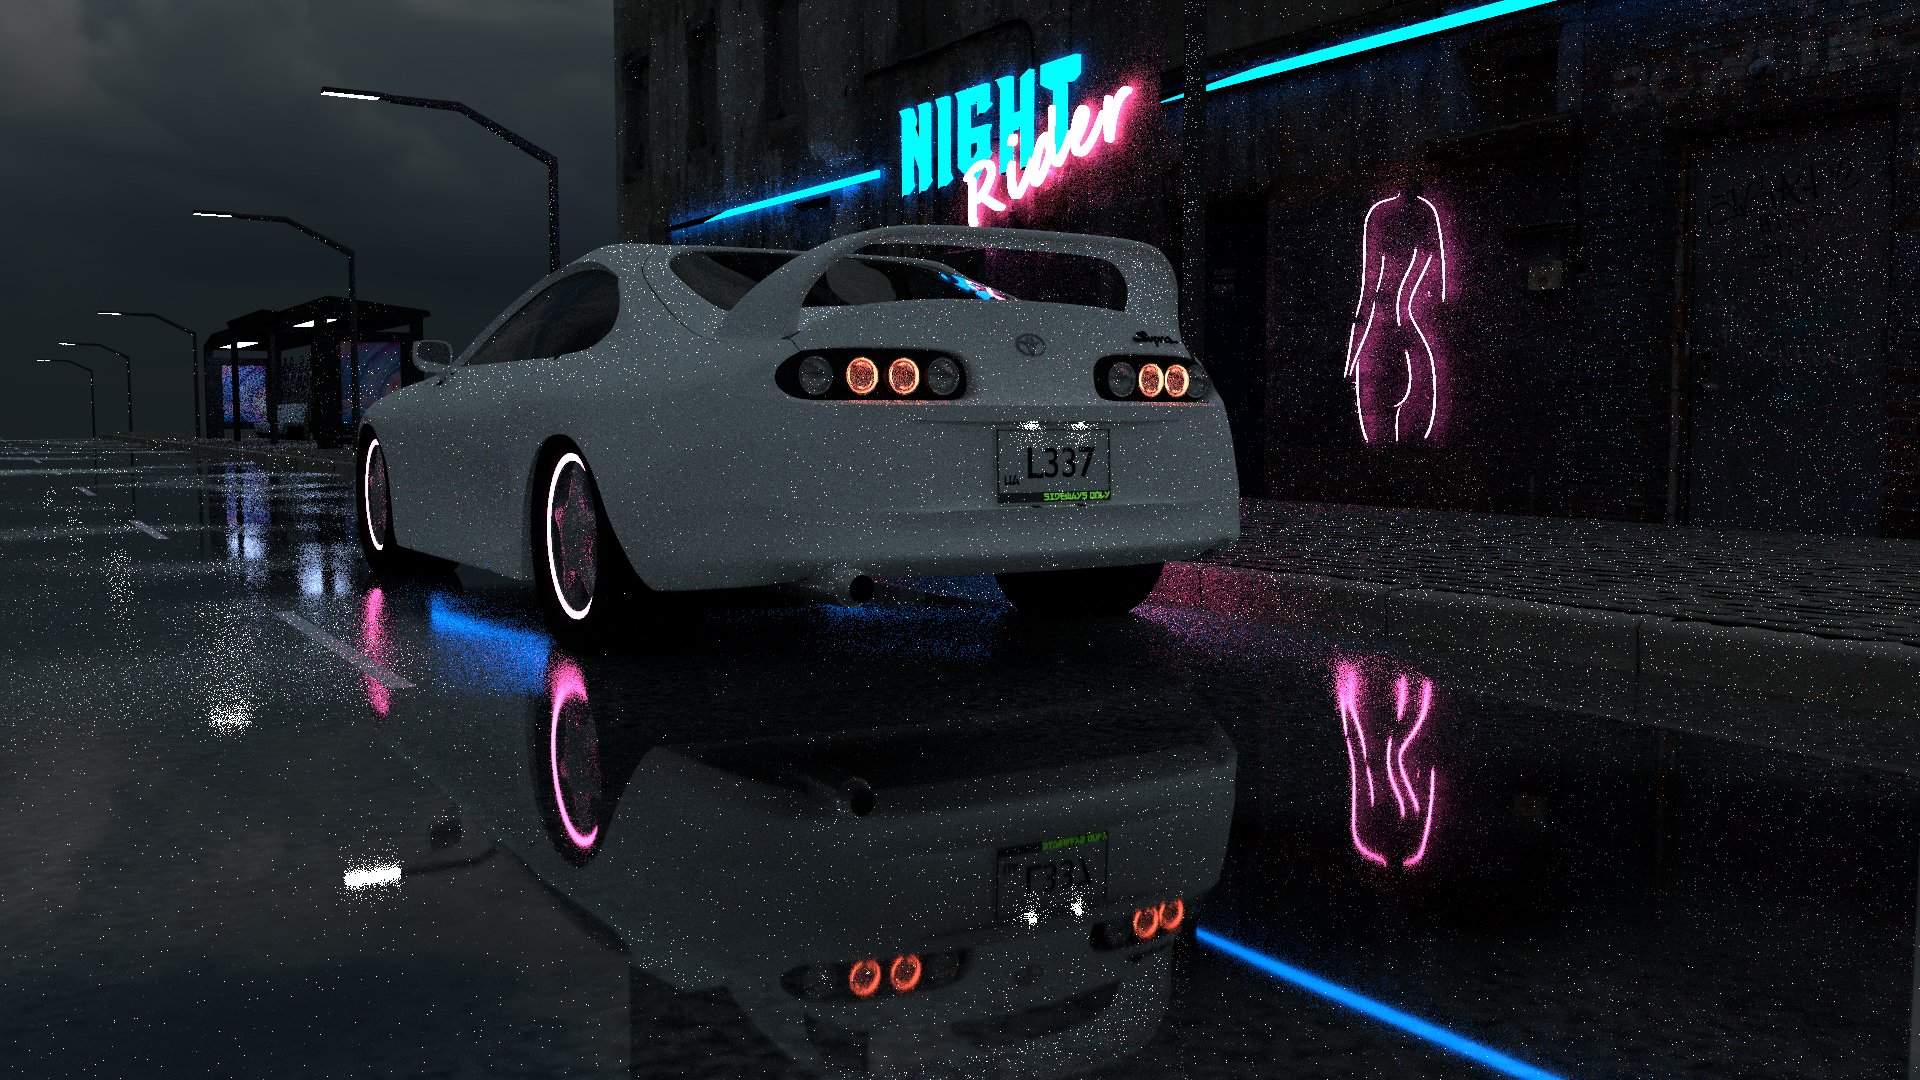 no features
Rendering
As there are number of features implemented, they are divided into two sections of rendering and
postprocessing. The first part does not include any postprocessing techniques, so enjoy the raw and
noisy render outputs. Also for the sake of simplicity, the volume is removed for such renders.
Area Lights
Adding area lights to the scene drastically improves the light spread throughout the scene, while
also
reducing the noise. The area lights have a completely different logic during path tracing comparing
to the emissive objects. While emissive objects are just randomly hit by rays, area lights are
sampled directly during every bounce.
See the implementation in src/lights/areaLight.cpp as well as the sampling of main
shapes under
src/shapes/.
In addition, the path tracer has been modified to make area lights
visible
on the first hit src/integrators/pathtracer.cpp
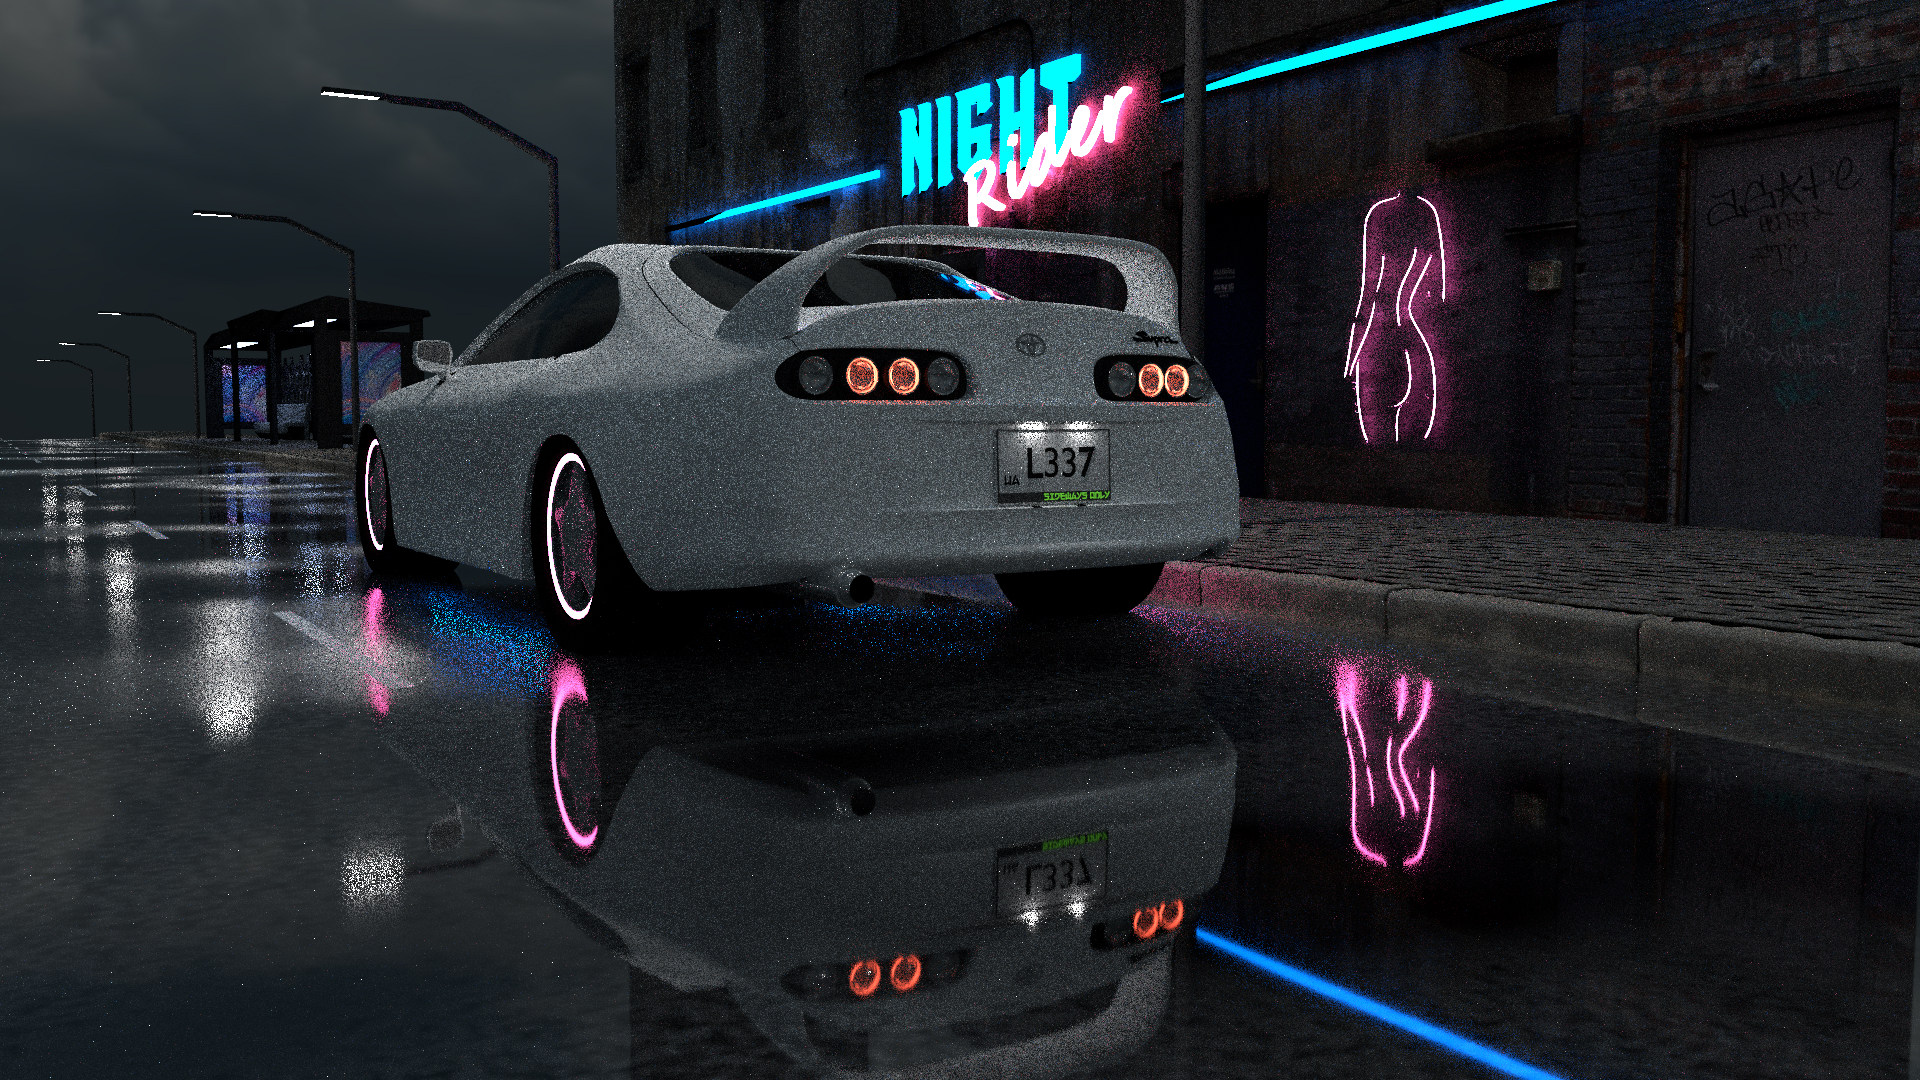 area lights
emissive only
Normal Mapping
The normal map is a simple yet extremely effective feature to implement. It allows to use custom
shading normals to mimic the surface details without adding extra geometry. The main difficulty
encountered with this feature was not related to the implementation itself, but rather to baking the
normal map correctly.
See the implementation in
src/core/instance.cpp
Take a closer look at how the wet asphalt turns from a smooth mirror plane into a well-defined
concrete material with water puddles.
 with
with
without
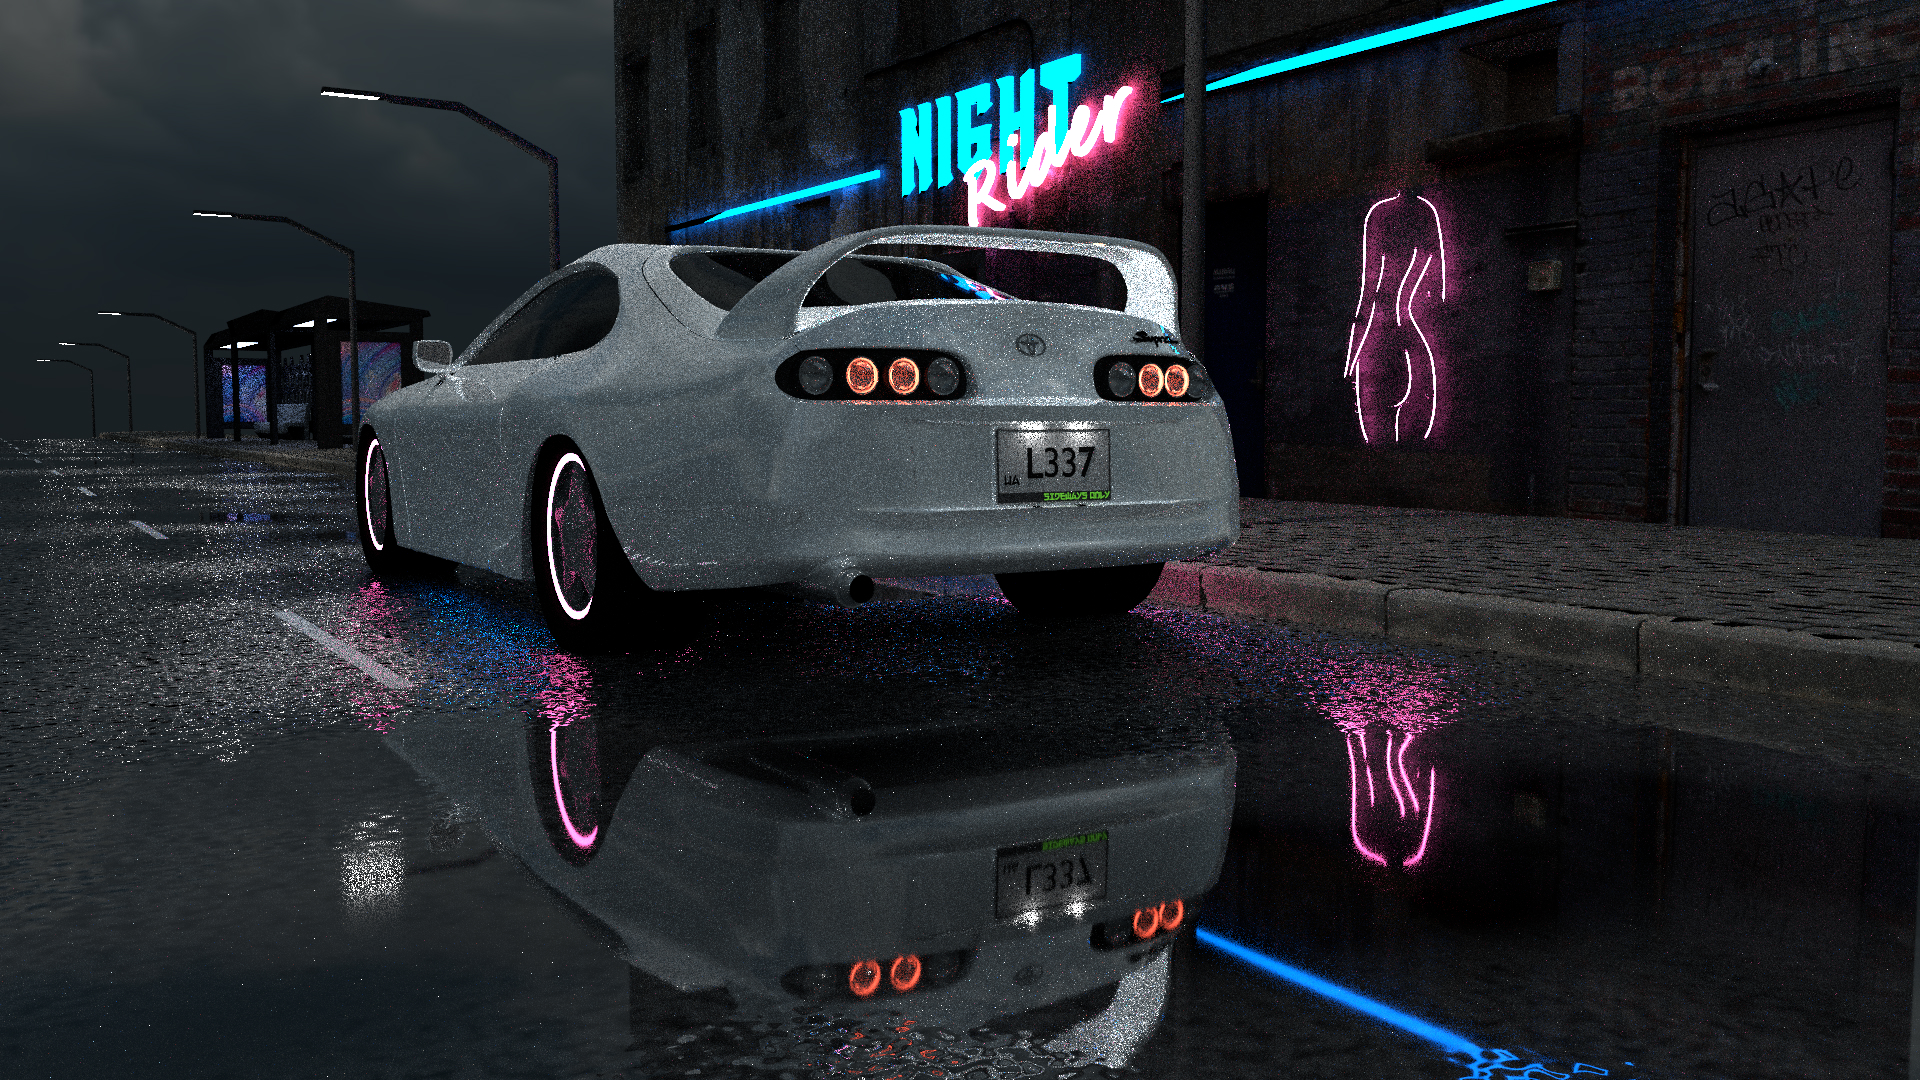
Clearcoat Material
Taking into account that the main object of the scene is the car, a decent car material is very
important. The implemented clearcoat material combines properties of a diffuse and a smooth
dielectric materials making it a simple yet effective car paint model. The main difficulty was to
get the right balance between the color and reflectivity.
See the implementation in src/bsdfs/clearcoat.cpp
 with
with
without
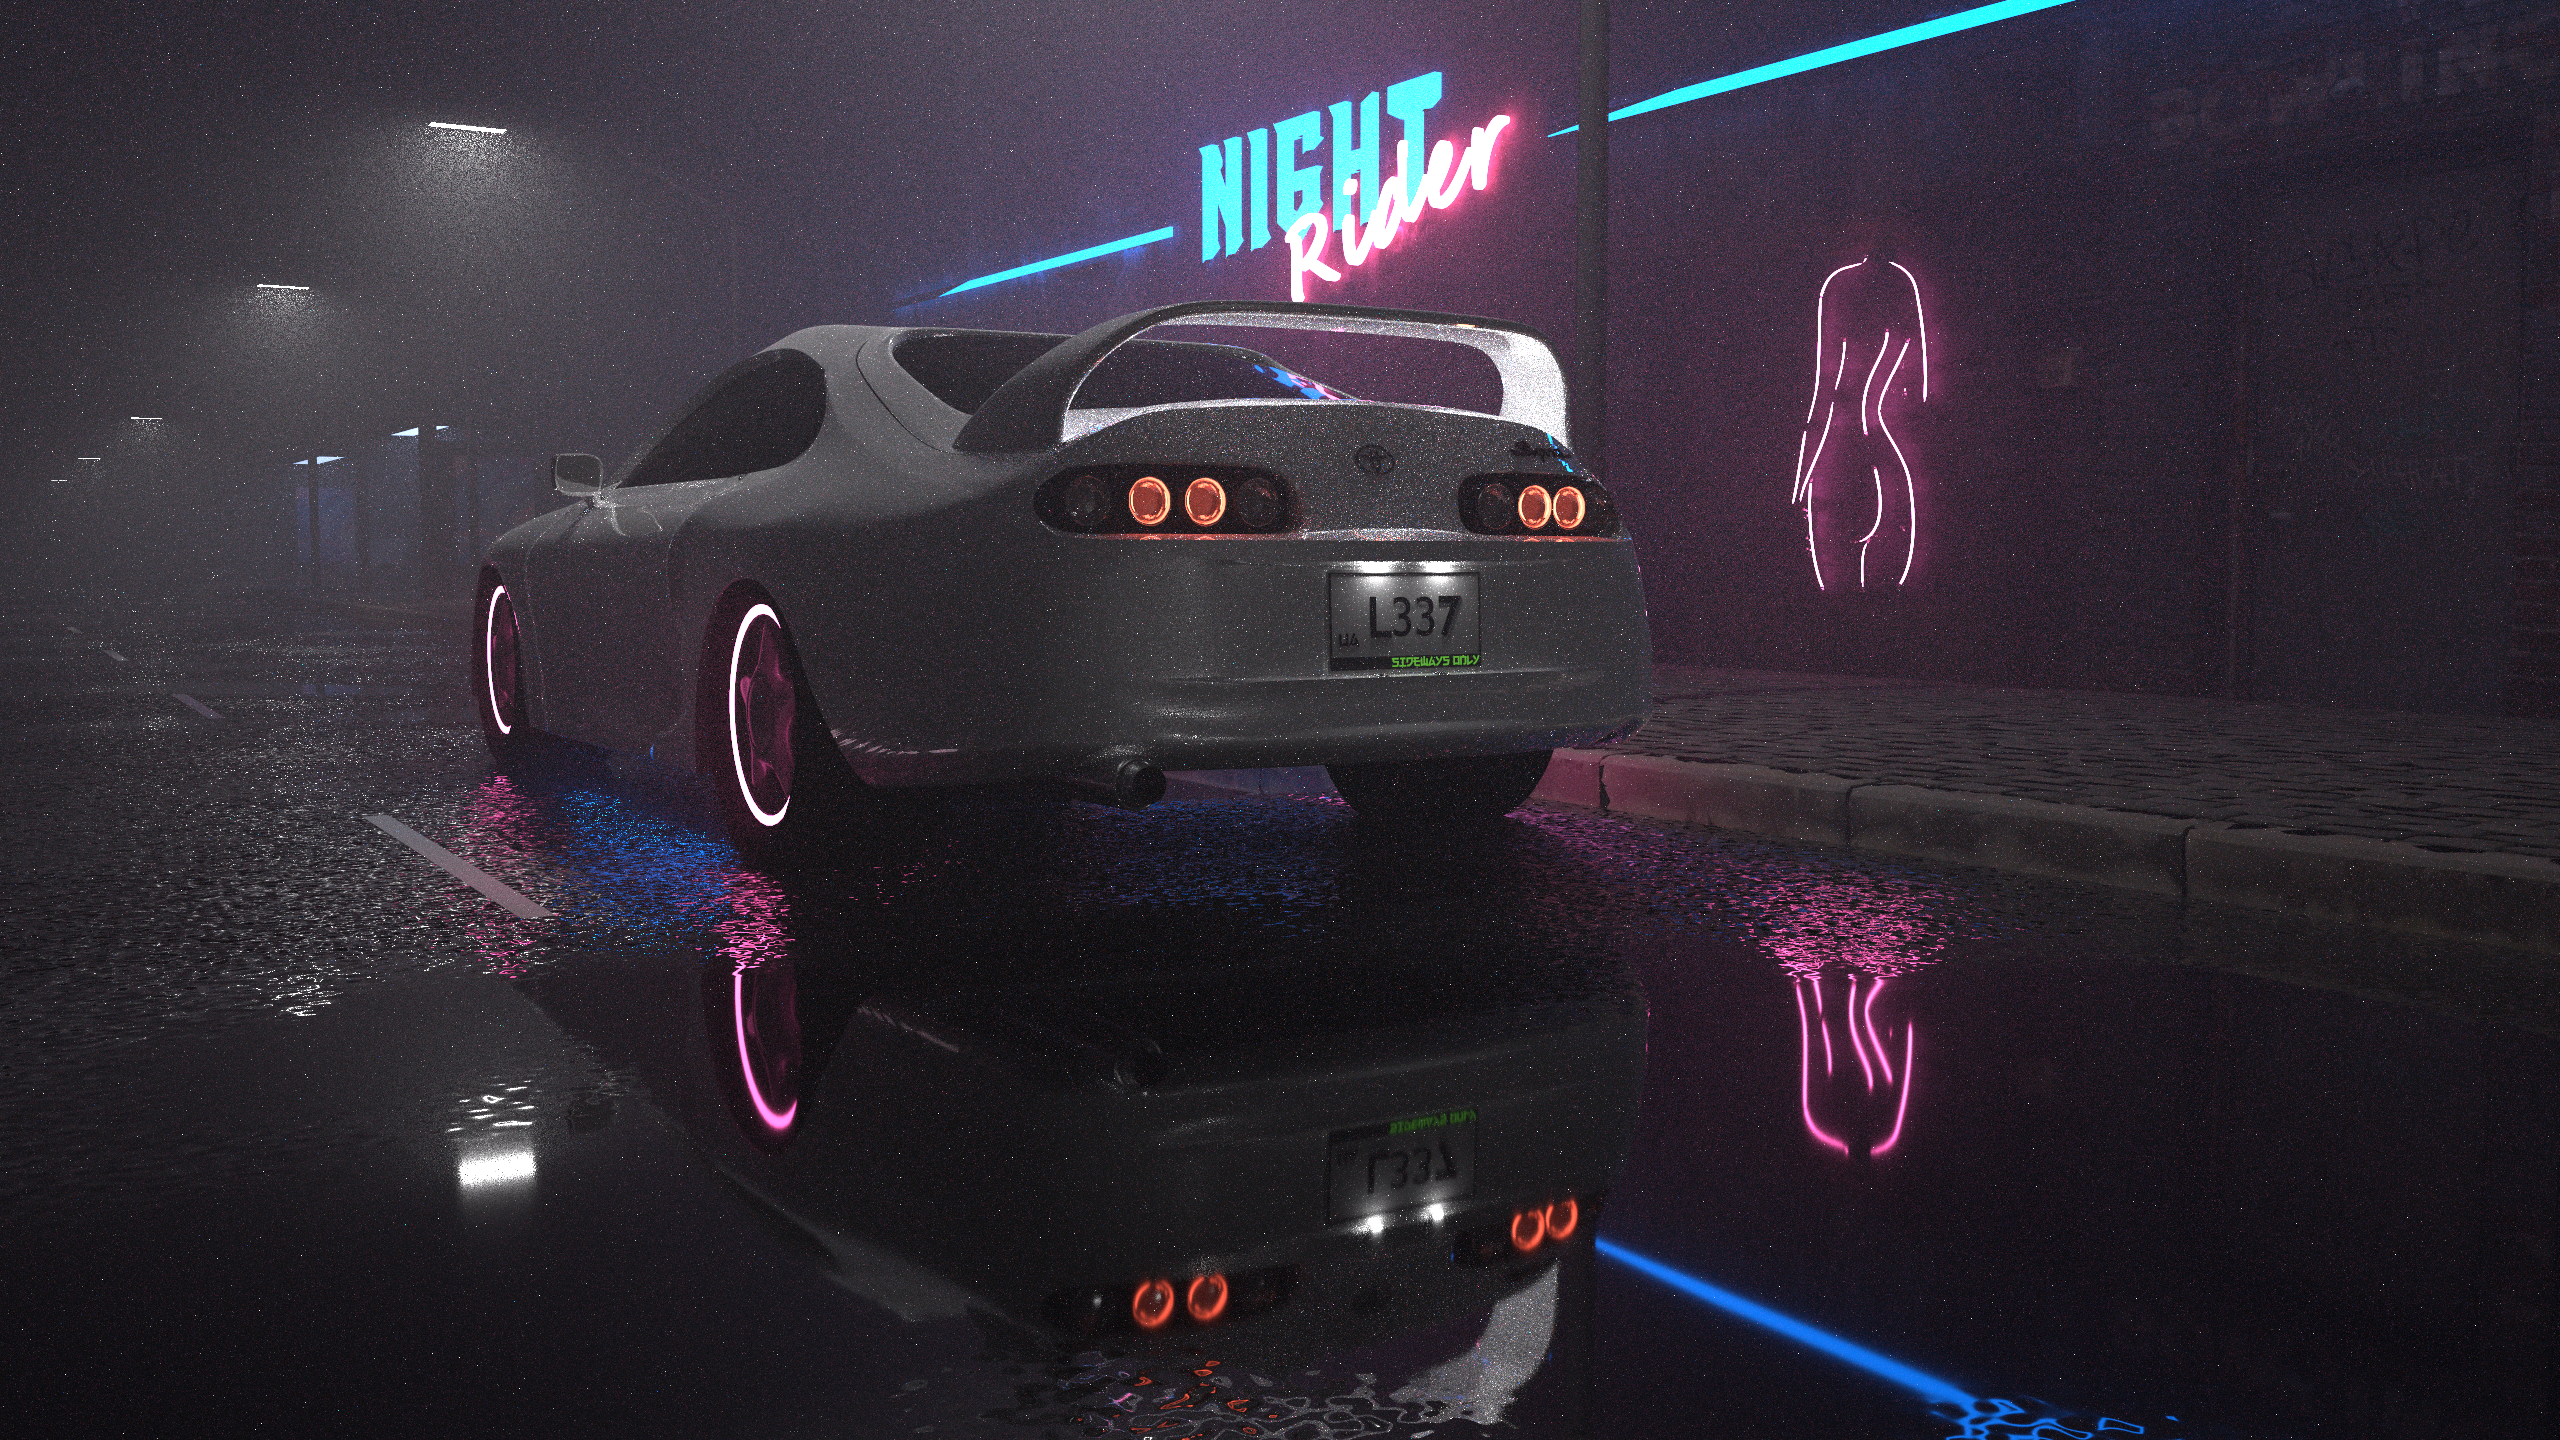
Volumetric
The constant homogenous volume is not to be treated as an additional feature (as it was implemented
as part of the course).
However, for the sake
of completeness, see how the scene changes with the presence of the fog, adding a darker atmosphere.
The fog further highlights the area lights and neon signs, adding a better sense of
depth to the scene.
 fog
fog
no fog
Postprocessing
Each postprocessing feature enormously boosts the quality of the final image. Let's look at them step
by step.
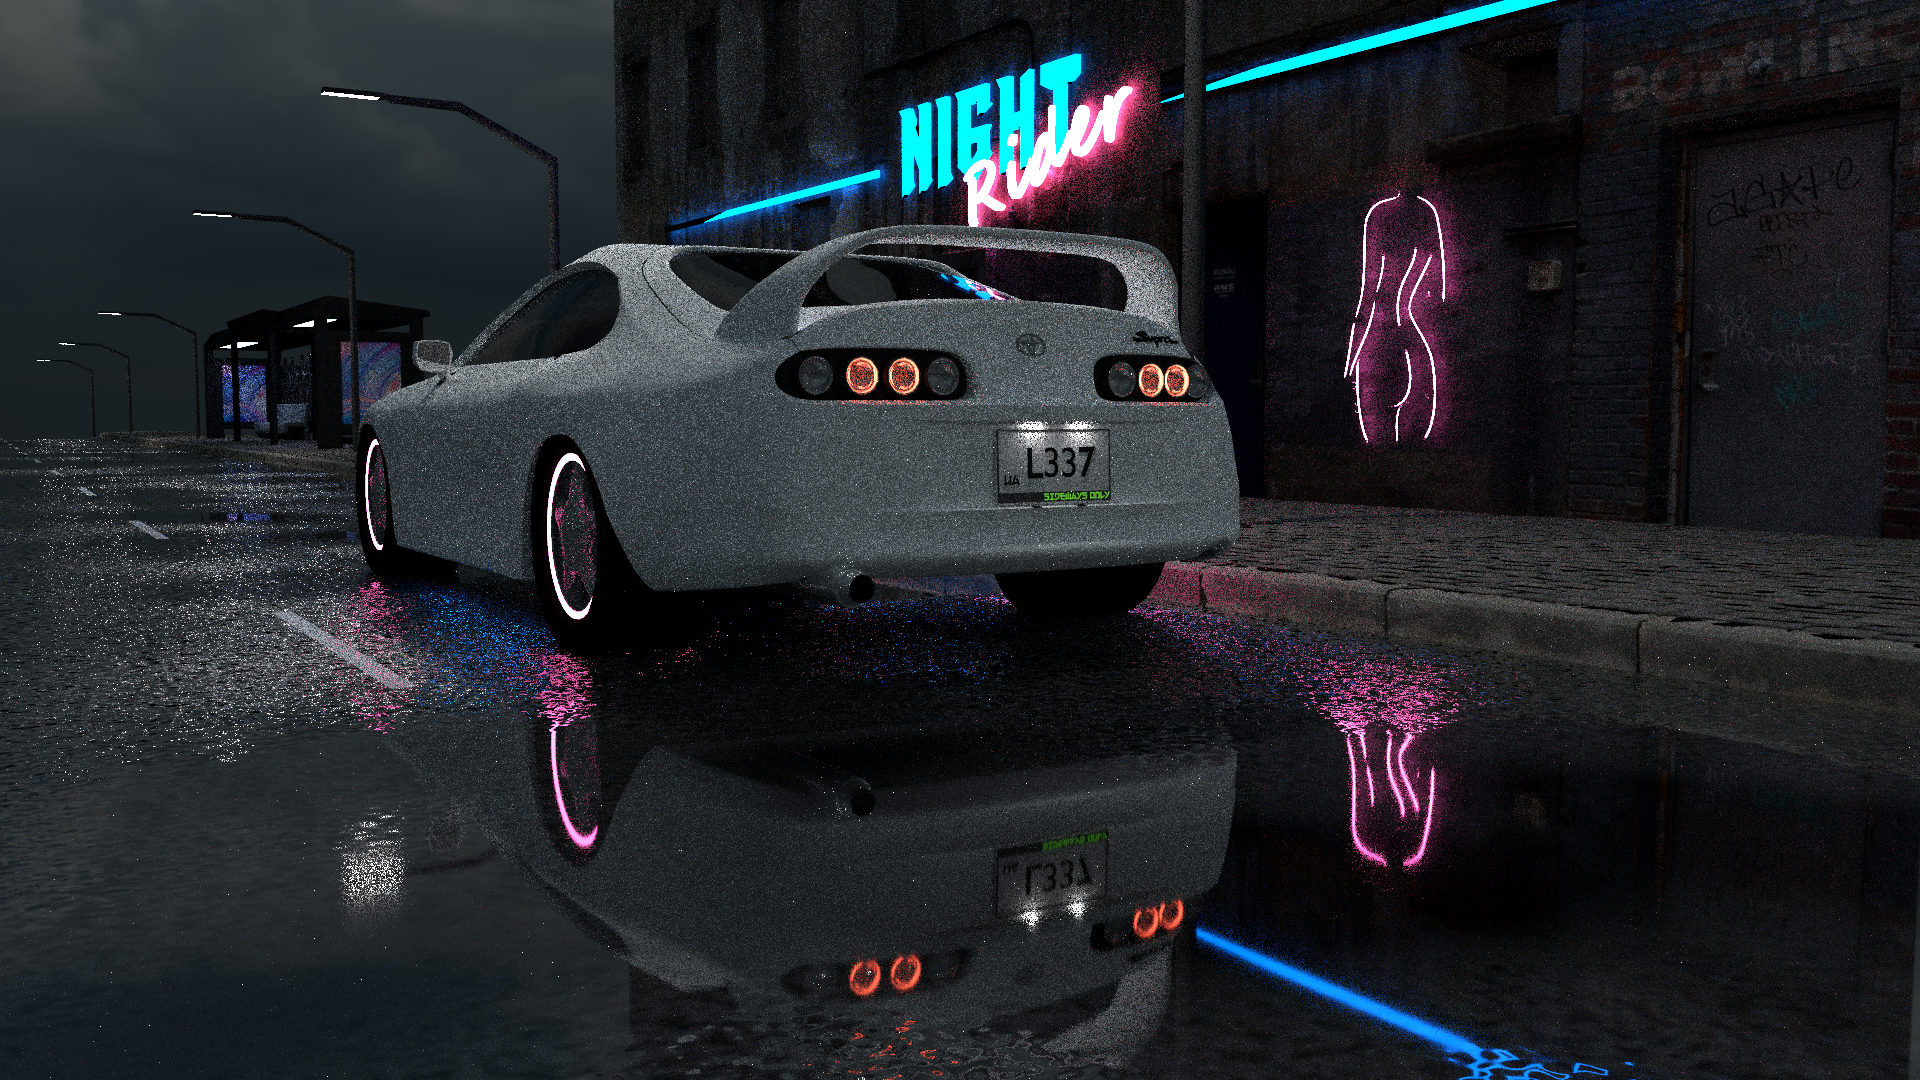
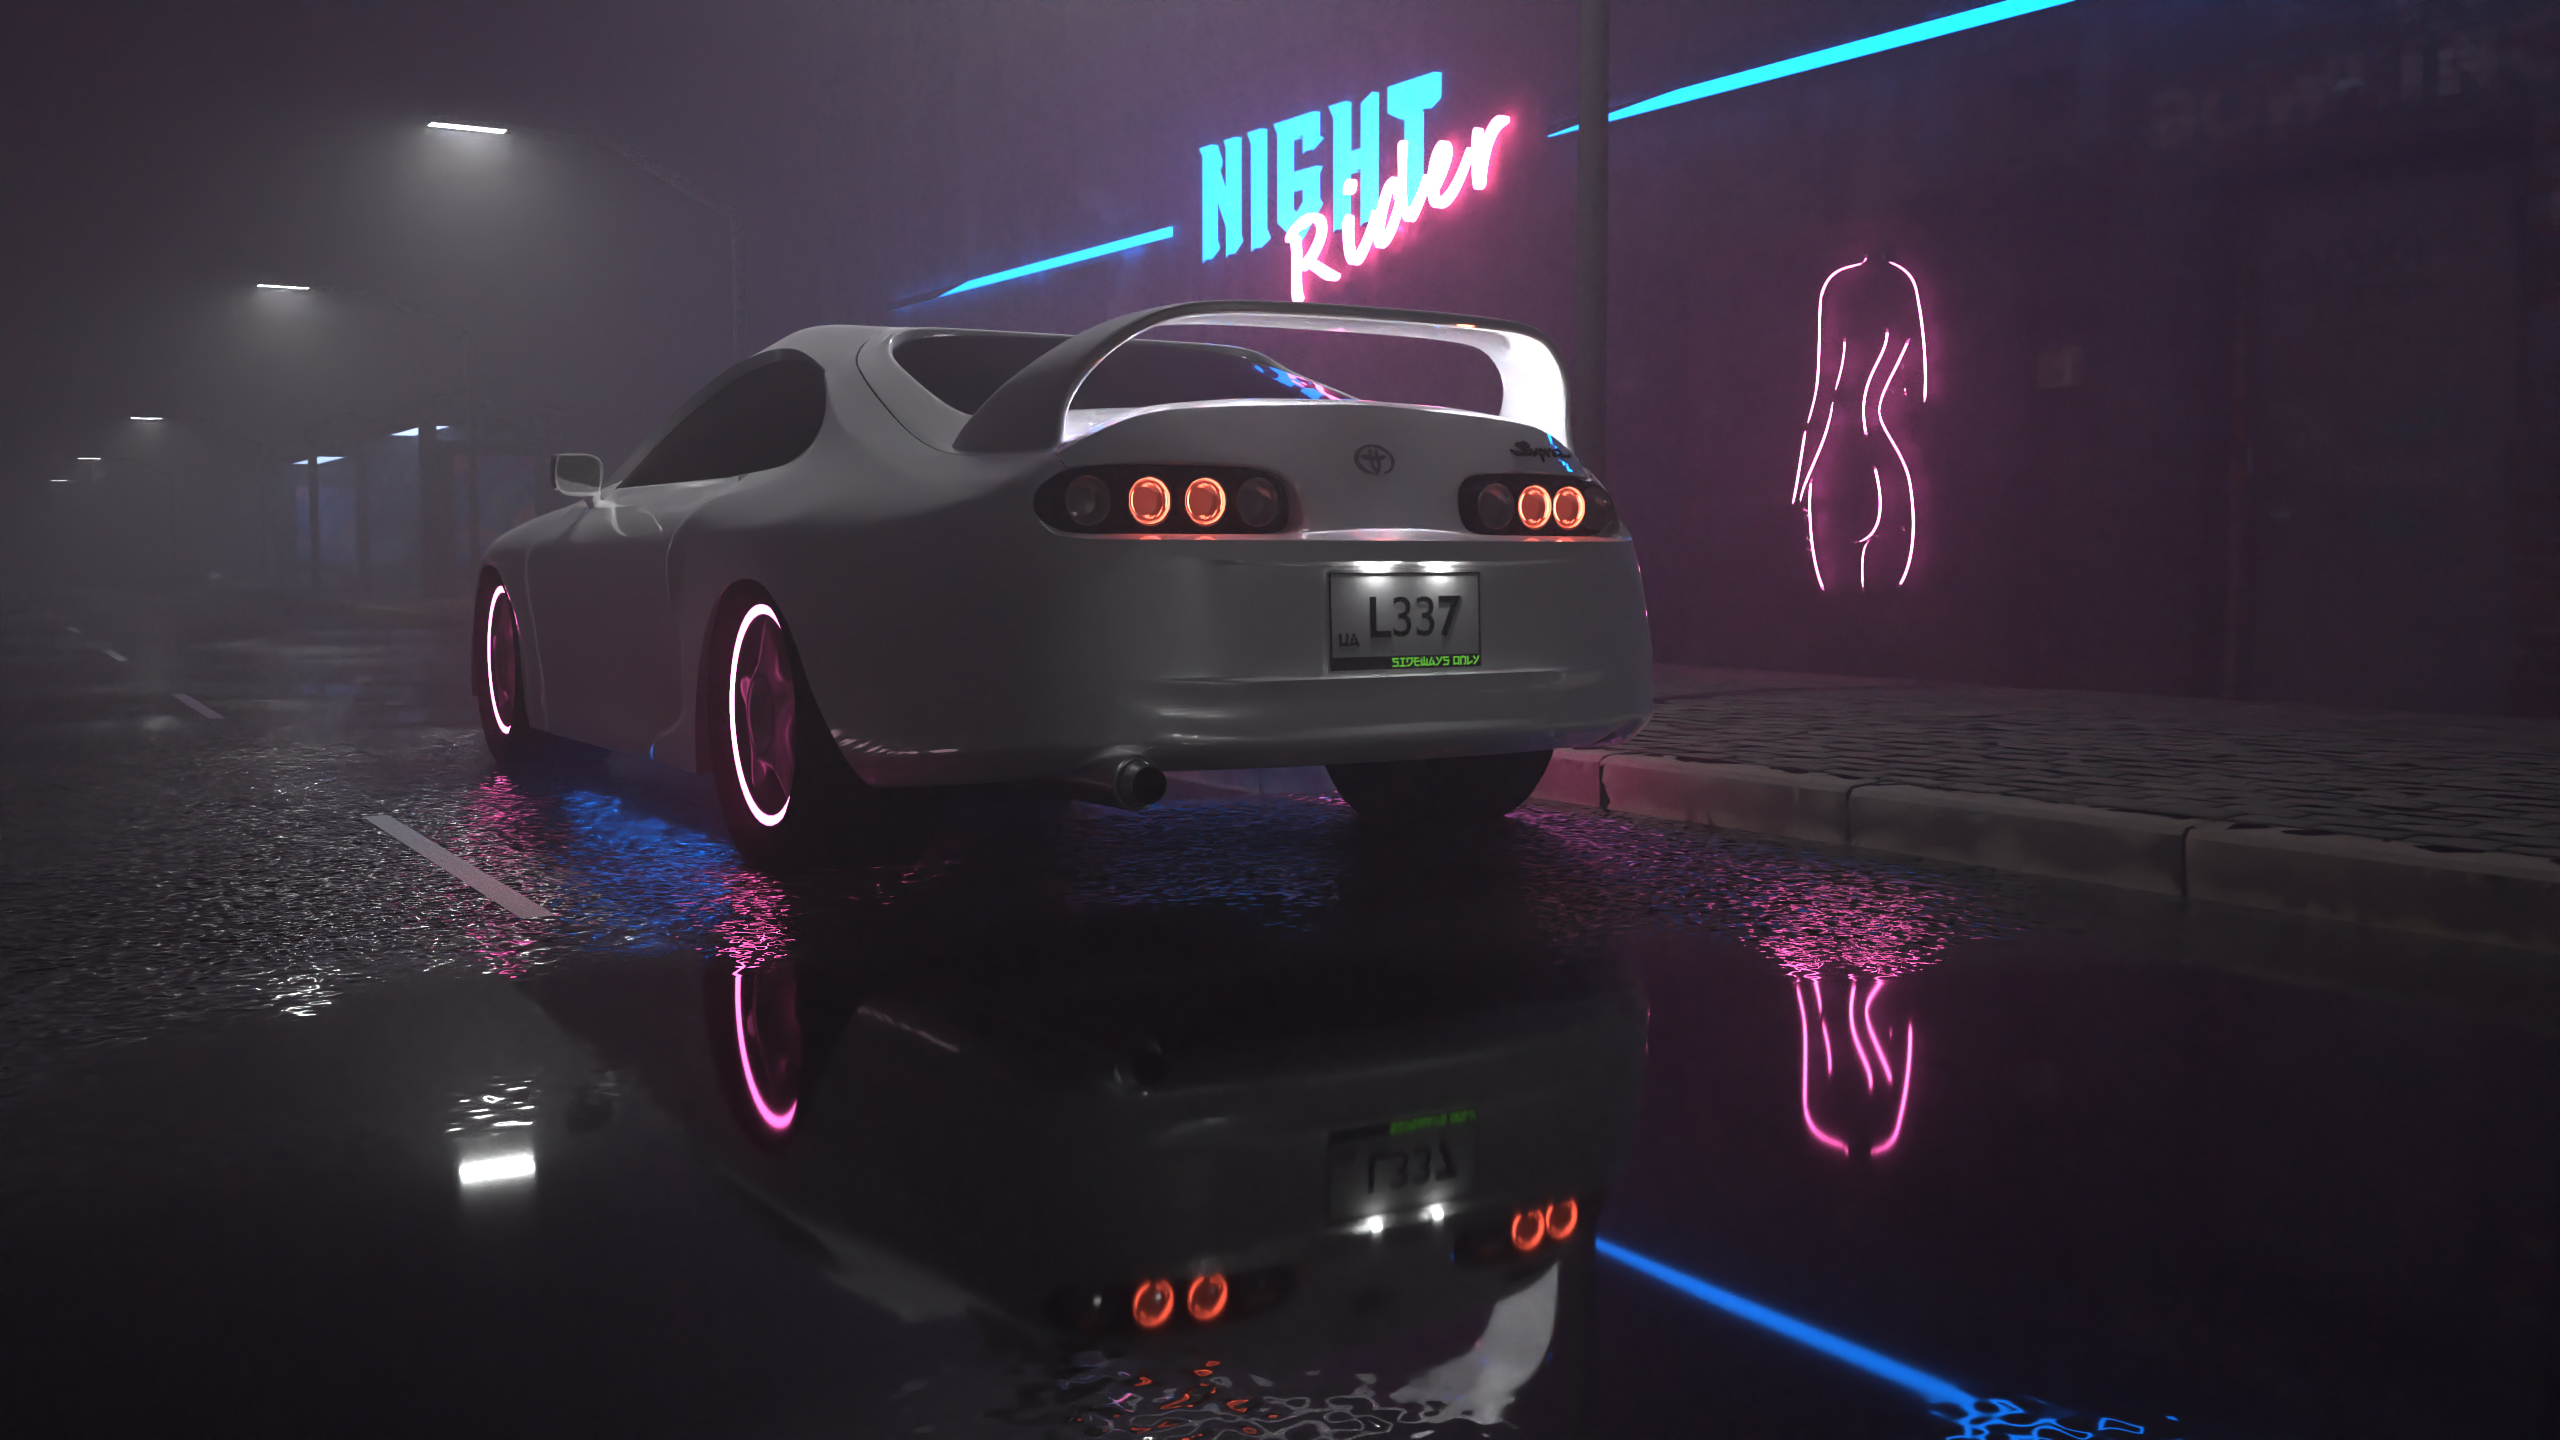
Image Denoising
Even after 1024 samples per pixel, the image remains noisy, mainly due to the constant volume present
throughout the scene, although the high amount of lights also contribute to this problem. Hence, an
Open Image Denoise filter is applied to
remove the leftover noise.
See the implementation in src/postprocesses/denoise.cpp
 denoised
noisy
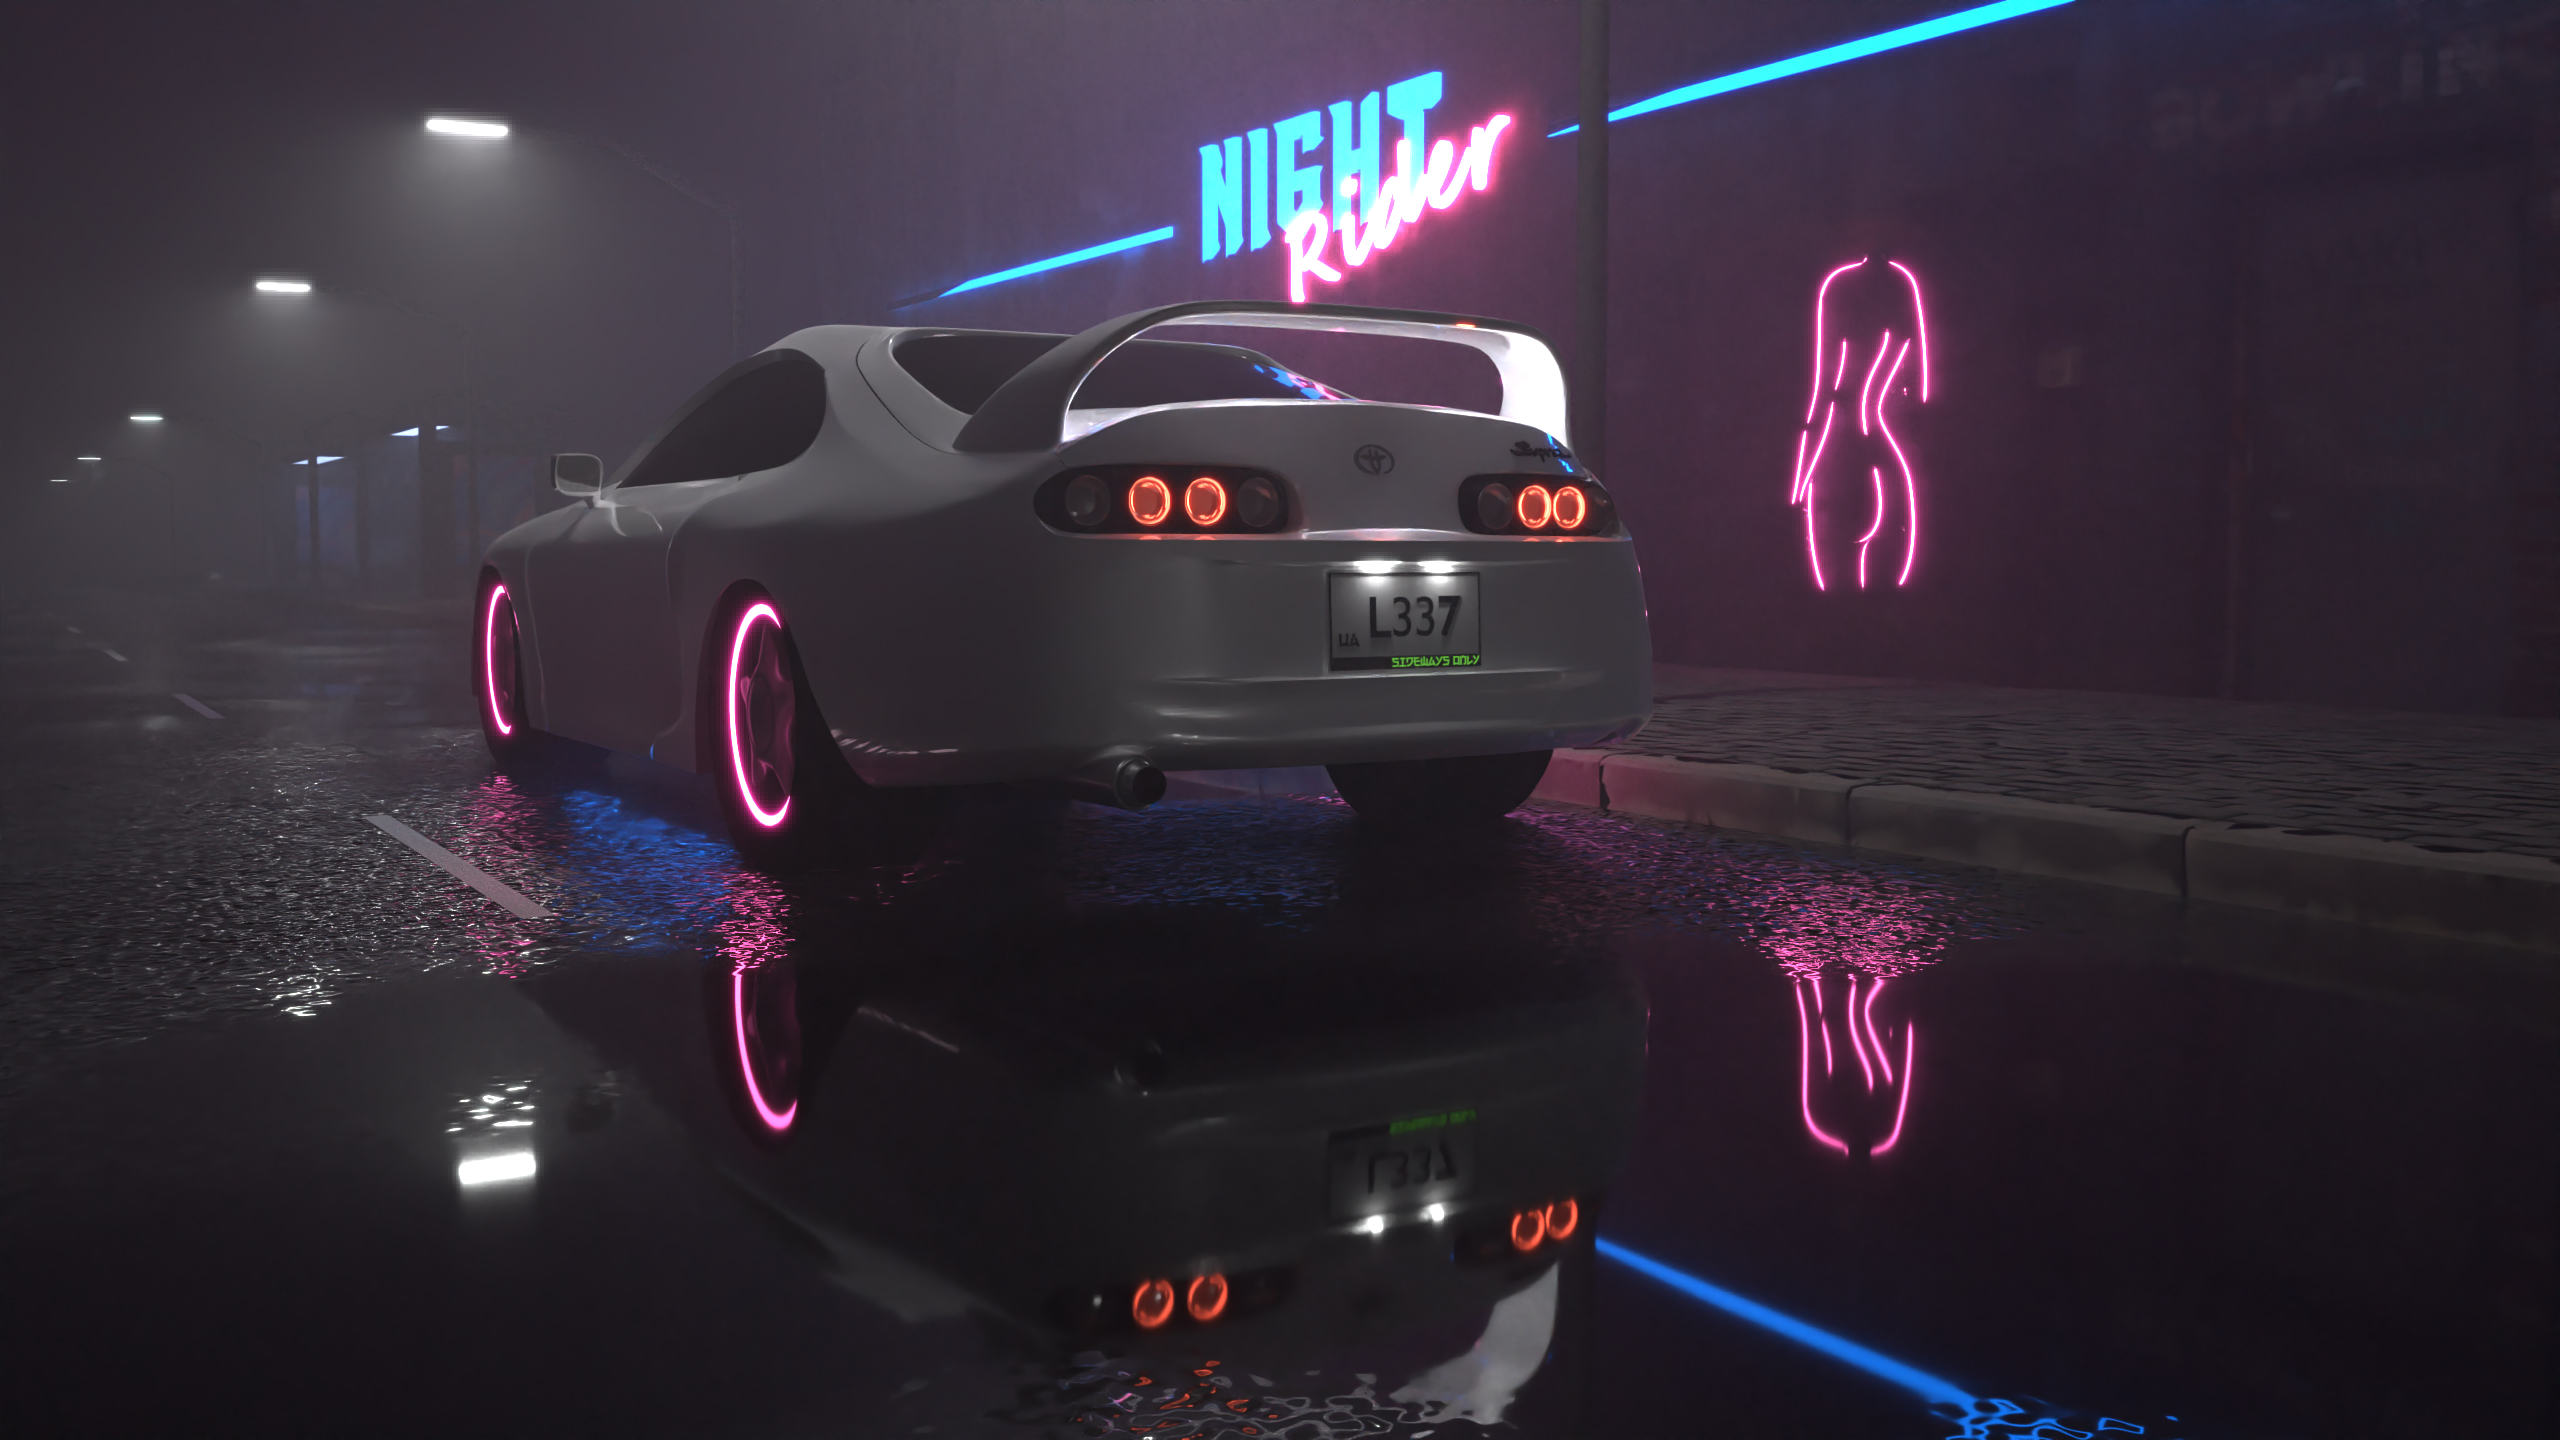
Bloom Effect
In order to highlight the extremely bright objects such as neon signs and the car's rear lights, a
bloom effect is applied. It adds a glow around these bright areas, allowing the light to spill over
adjacent areas, enhancing the overall visual appeal.
A typical bloom effect was not enough for the current scene, as it would not spread the light far
enough, hence a downscaling technique was used to achieve the desired effect. This includes
scaling down the image to multiple lower resolutions (1/2, 1/4, 1/8) before applying the bloom, then
upscaling and blending it back to the original image.
See the implementation in src/postprocesses/bloom.cpp
 with
with
without
ACES Tonemapping
Finally, due to presence of very bright light sources, a proper tone mapping is essential to ensure
that details are preserved and the overall brightness is balanced. The ACES filmic
tone mapping is a perfect fit to convert such high dynamic range images to a displayable format,
while improving the contrasts between the different elements in the scene.
See the implementation in src/postprocesses/tonemap.cpp
with
without
Statistics
Resolution
2560 x 1440
Render Time
~ 11 hours
Samples per Pixel
1024
Light Sources
13 area lights
14 emissive objects
Hardware
Intel Core i7-11800H
16 GB RAM
Primitives
~ 400 k
Credits
Acknowledgements
Special thanks to the tutor team that have significantly contributed to the success of this project,
by pointing out mistakes and providing valuable advice. In particular, to my tutor Ben Dierks for
frequent availability and useful feedback.
Blender Tutorials
car
modeling
wet asphalt
Inspiration Images
Nissan - Ref 1
Supra - Ref 2
Assets
far building
near building
bus stop
sidewalk
neon light
cloudy hdri
rooftop night hdri
music
music platform
Website
Design: HTML5 UP
Template: Dimension
Fonts
Gotham - "Night"
Segoe Script - "Rider"
Electroharmonix - "sideways
only"
Supra Logo
Other
clearcoat
Elements
Text
This is bold and this is strong. This is italic and this is
emphasized.
This is superscript text and this is subscript text.
This is underlined and this is code: for (;;) { ... }. Finally, this is a link.
Heading Level 2
Heading Level 3
Heading Level 4
Heading Level 5
Heading Level 6
Blockquote
Fringilla nisl. Donec accumsan interdum nisi, quis tincidunt felis sagittis eget tempus
euismod. Vestibulum ante ipsum primis in faucibus vestibulum. Blandit adipiscing eu felis
iaculis volutpat ac adipiscing accumsan faucibus. Vestibulum ante ipsum primis in faucibus lorem
ipsum dolor sit amet nullam adipiscing eu felis.
Preformatted
i = 0;

while (!deck.isInOrder()) {
    print 'Iteration ' + i;
    deck.shuffle();
    i++;
}

print 'It took ' + i + ' iterations to sort the deck.';
Lists
Unordered
- Dolor pulvinar etiam.
- Sagittis adipiscing.
- Felis enim feugiat.
Alternate
- Dolor pulvinar etiam.
- Sagittis adipiscing.
- Felis enim feugiat.
Ordered
- Dolor pulvinar etiam.
- Etiam vel felis viverra.
- Felis enim feugiat.
- Dolor pulvinar etiam.
- Etiam vel felis lorem.
- Felis enim et feugiat.
Icons
Actions
Table
Default
| Name |
Description |
Price |
| Item One |
Ante turpis integer aliquet porttitor. |
29.99 |
| Item Two |
Vis ac commodo adipiscing arcu aliquet. |
19.99 |
| Item Three |
Morbi faucibus arcu accumsan lorem. |
29.99 |
| Item Four |
Vitae integer tempus condimentum. |
19.99 |
| Item Five |
Ante turpis integer aliquet porttitor. |
29.99 |
|
100.00 |
Alternate
| Name |
Description |
Price |
| Item One |
Ante turpis integer aliquet porttitor. |
29.99 |
| Item Two |
Vis ac commodo adipiscing arcu aliquet. |
19.99 |
| Item Three |
Morbi faucibus arcu accumsan lorem. |
29.99 |
| Item Four |
Vitae integer tempus condimentum. |
19.99 |
| Item Five |
Ante turpis integer aliquet porttitor. |
29.99 |
|
100.00 |