Octopus Revolt
Jonas Schmitt, Marius Schuh
The contestants have taken revenge...
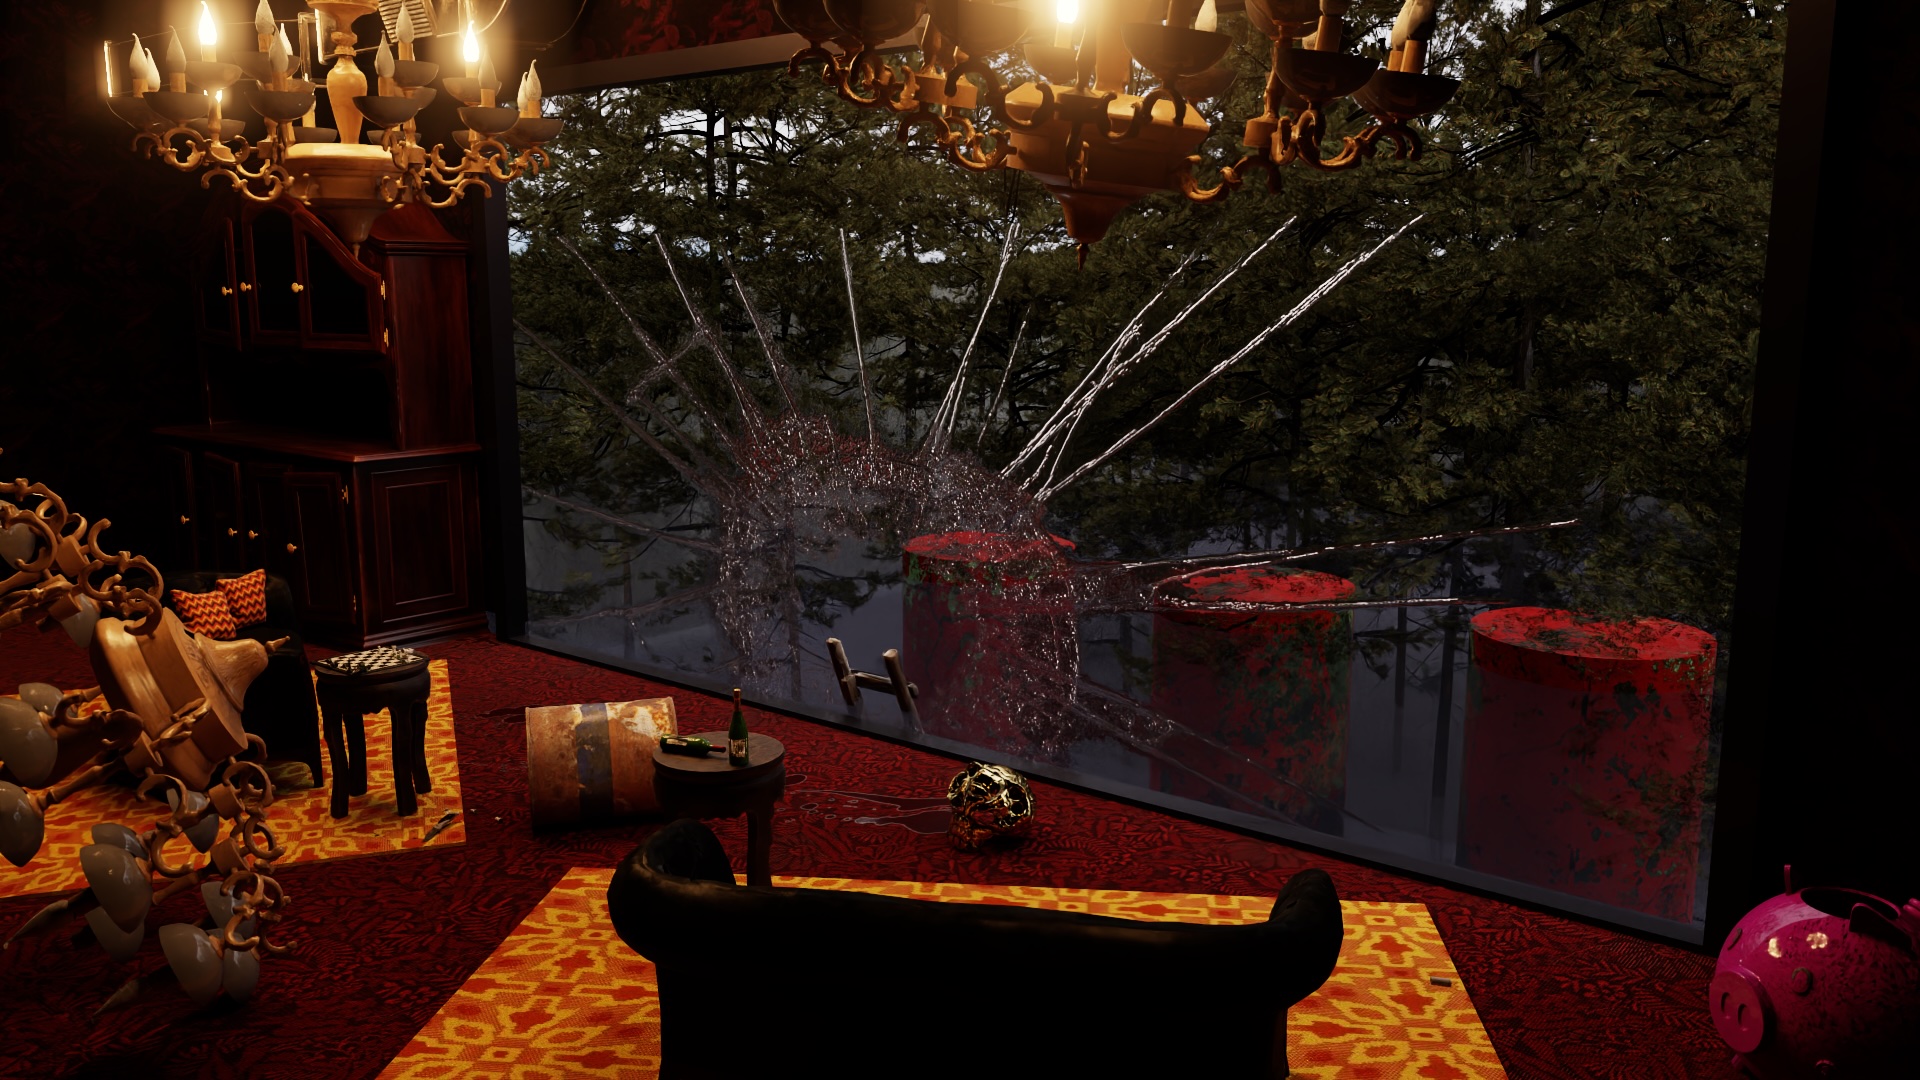
Render Time: 1h 13min, 200 samples on a Macbook Air M1
Scene Introduction
This scene is heavily inspired by Squid Game. In the Korean thriller, 456 financially desparate participants compete in deadly versions of children's games to win a large sum of money, with failure leading to immediate death.
The scene pictures the three pillars present in the last episodes of season 3.
The games are run for the entertainment of billionaires called VIPs, who observe the deadly event from their luxurious spectator's room above the playing field. Before the end, tables have turned: contestants have finally taken revenge on the VIPs.
We picture the aftermath of the revolt: as players managed to build a ladder reaching up to the observation room, they brutally took revenge on the VIPs using weapons they smuggled into the game.
Development
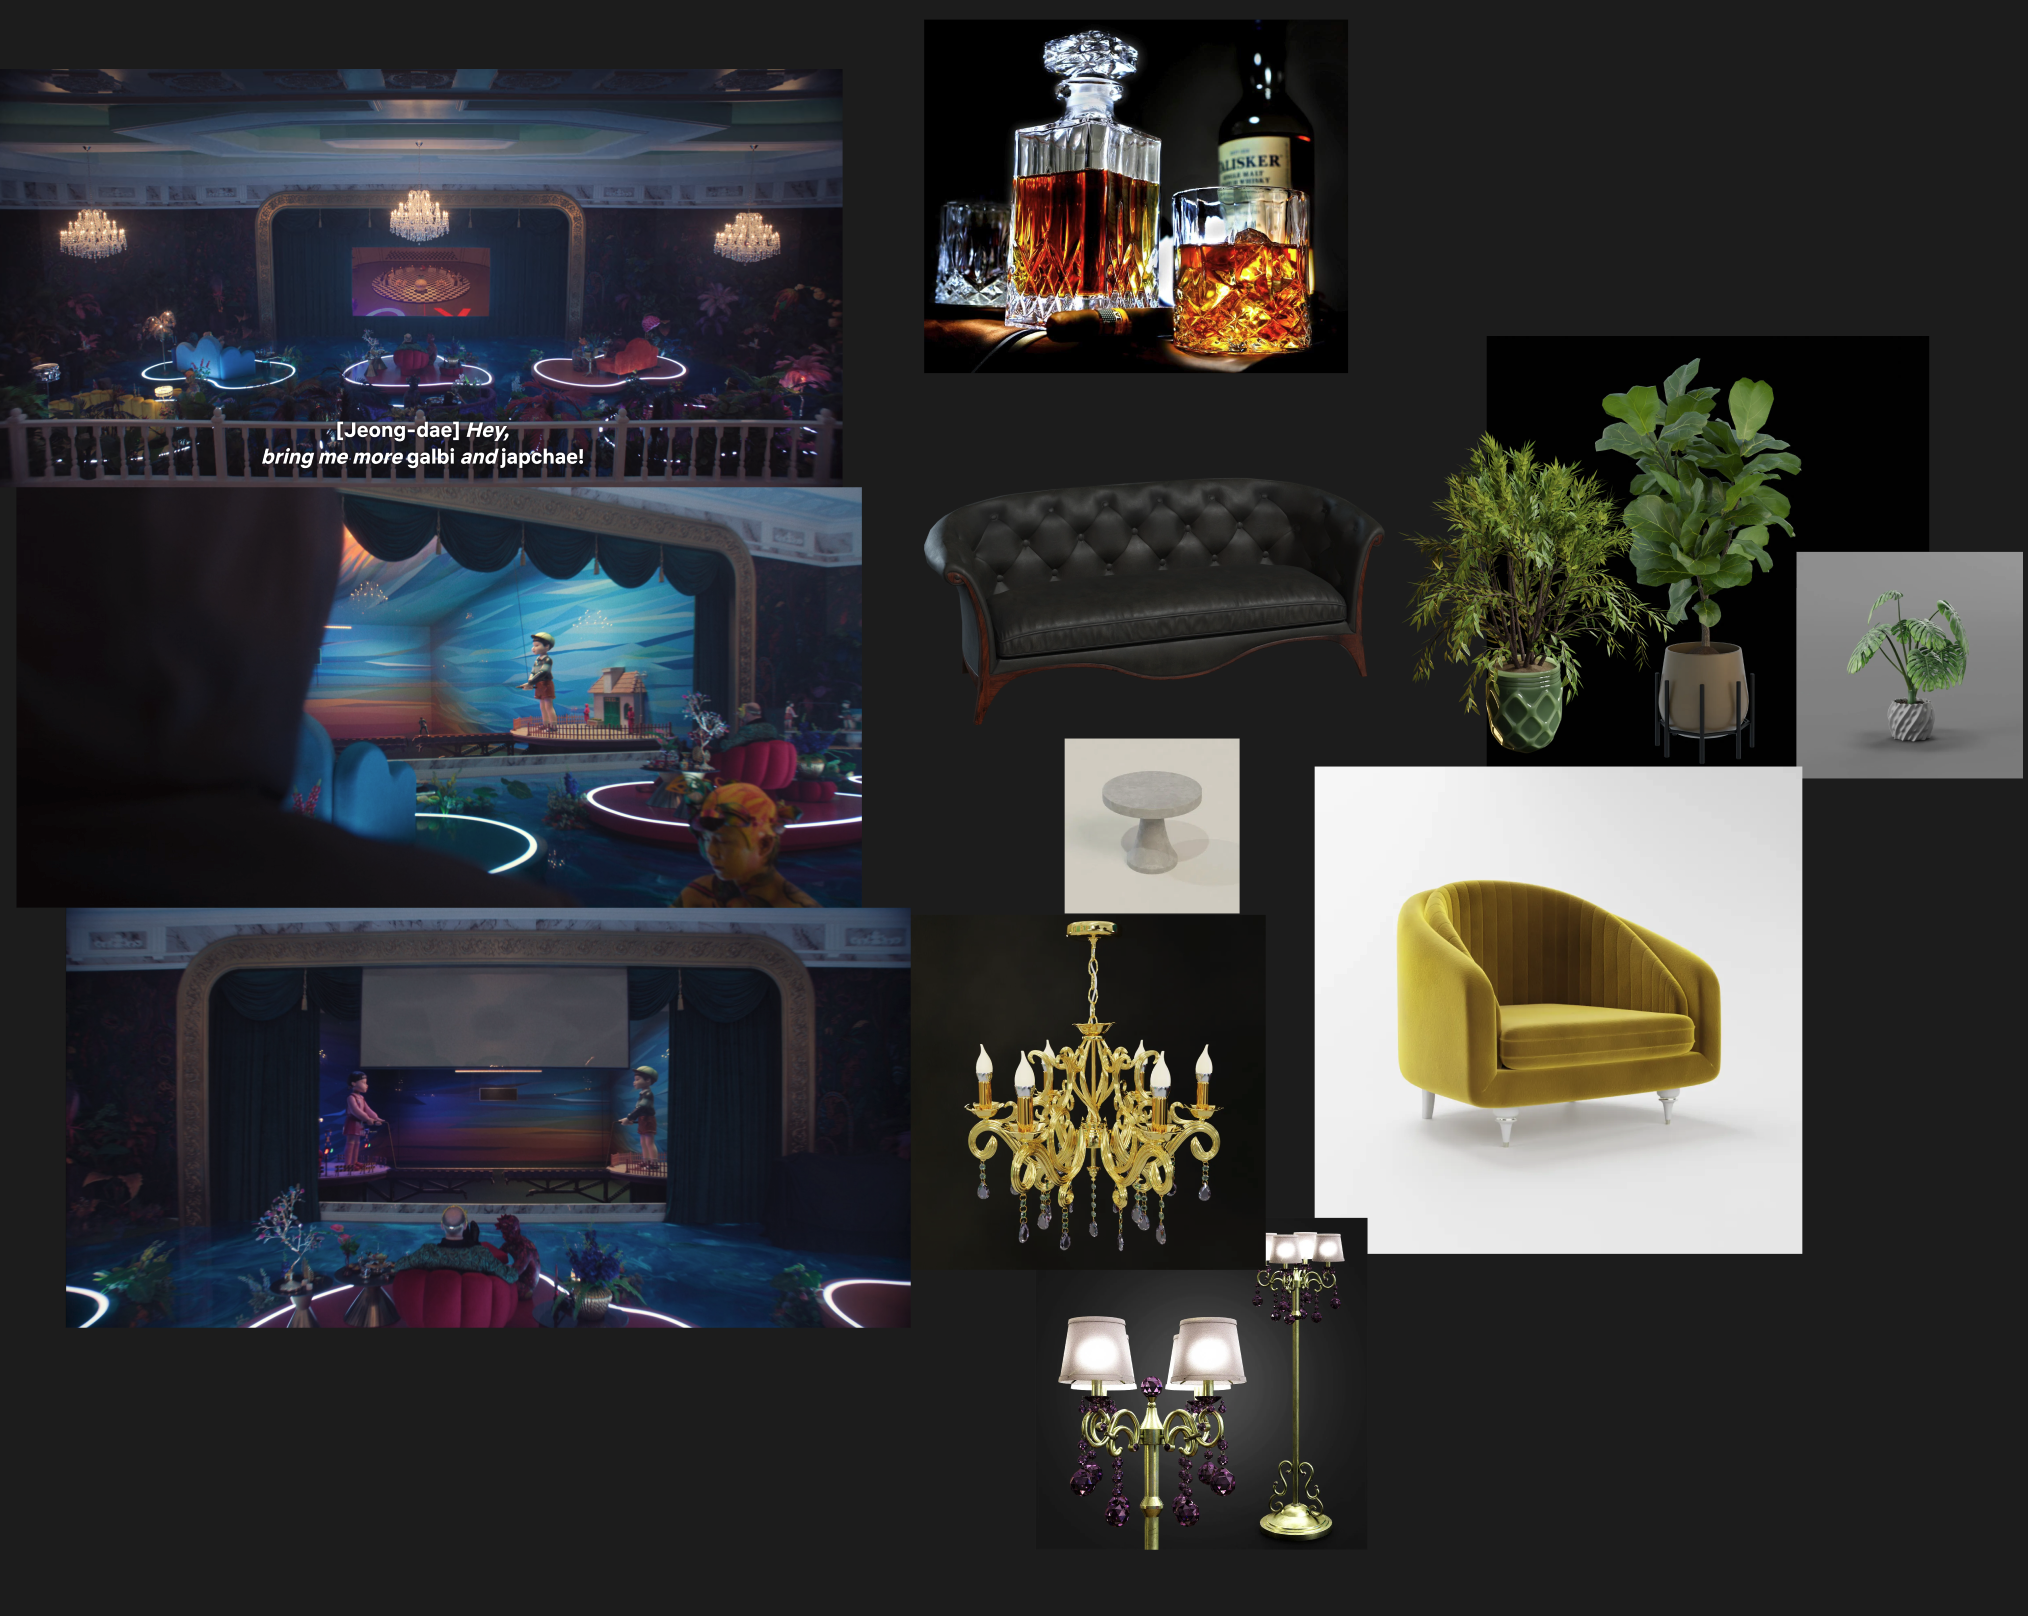
We begann by creating a mood board. Marius wanted to show the contrast between the VIPs in their luxurious environment, while Jonas wanted to have a The Last of Us-inspired scene. In the end we combined both ideas and came up with an abandoned Squid Game set.
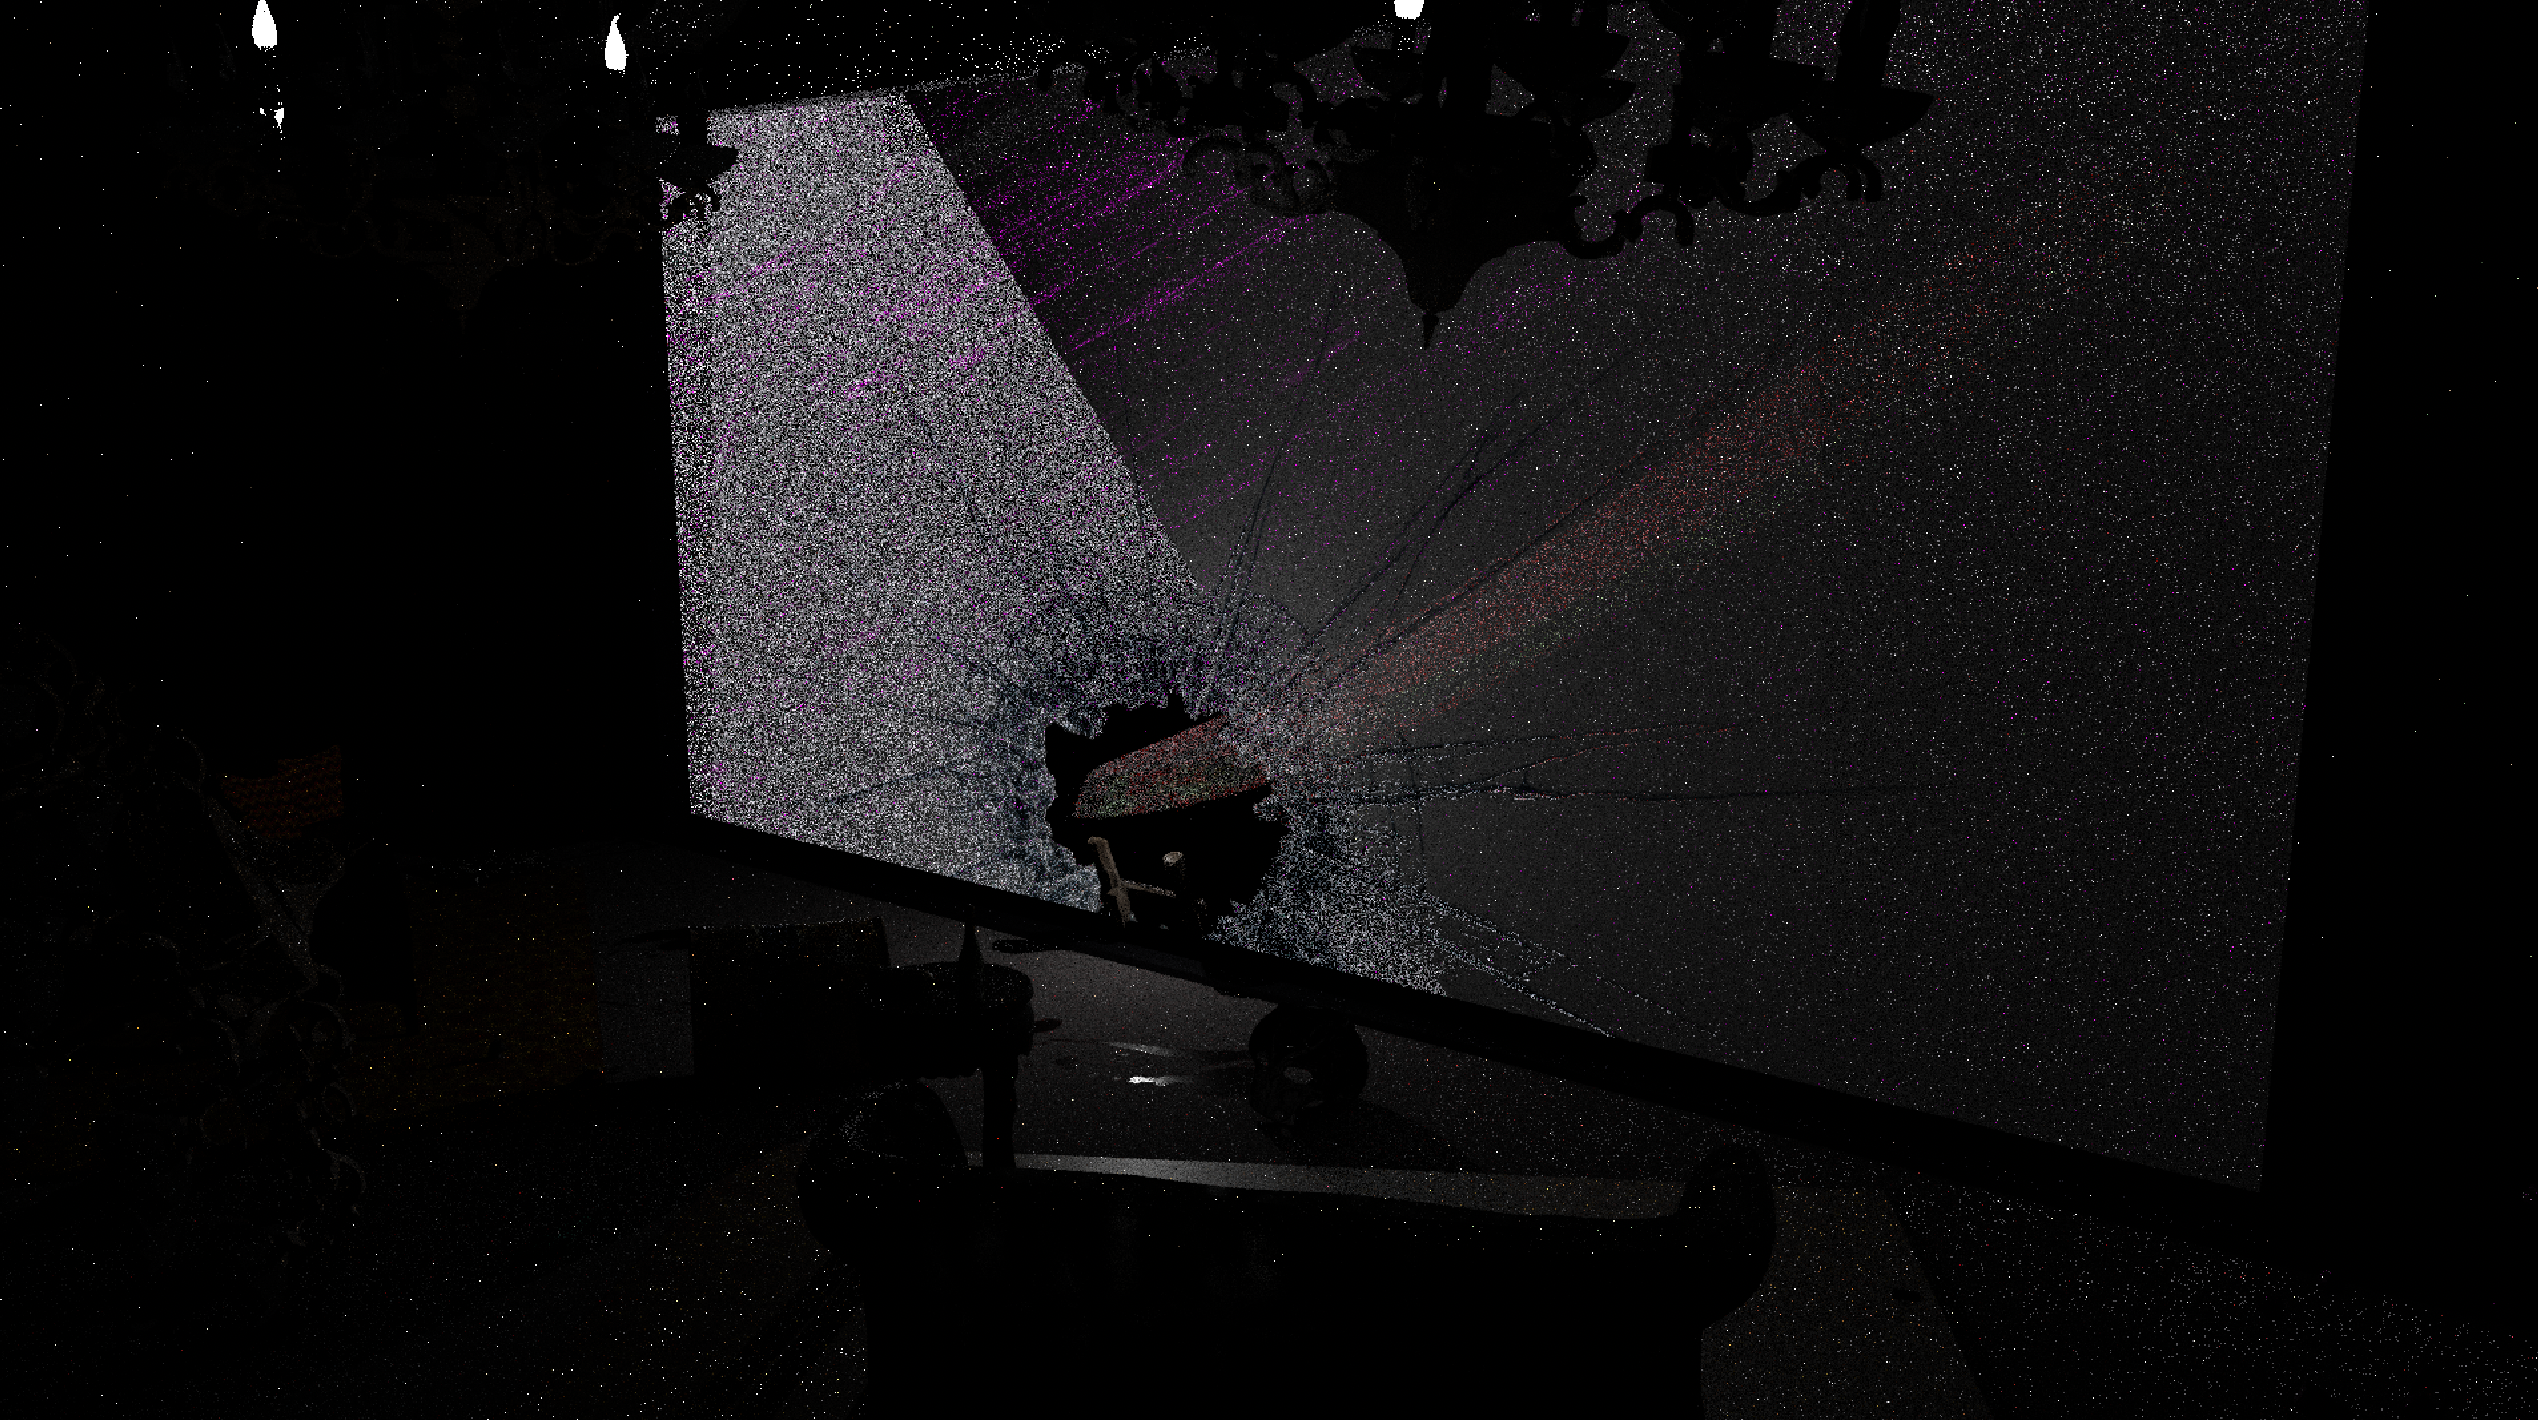
Initially, we had some issues with scene geometry. After meticulously reviewing each object in the scene, we were able to identify the garden gloves as the culprits, leading to their removal.
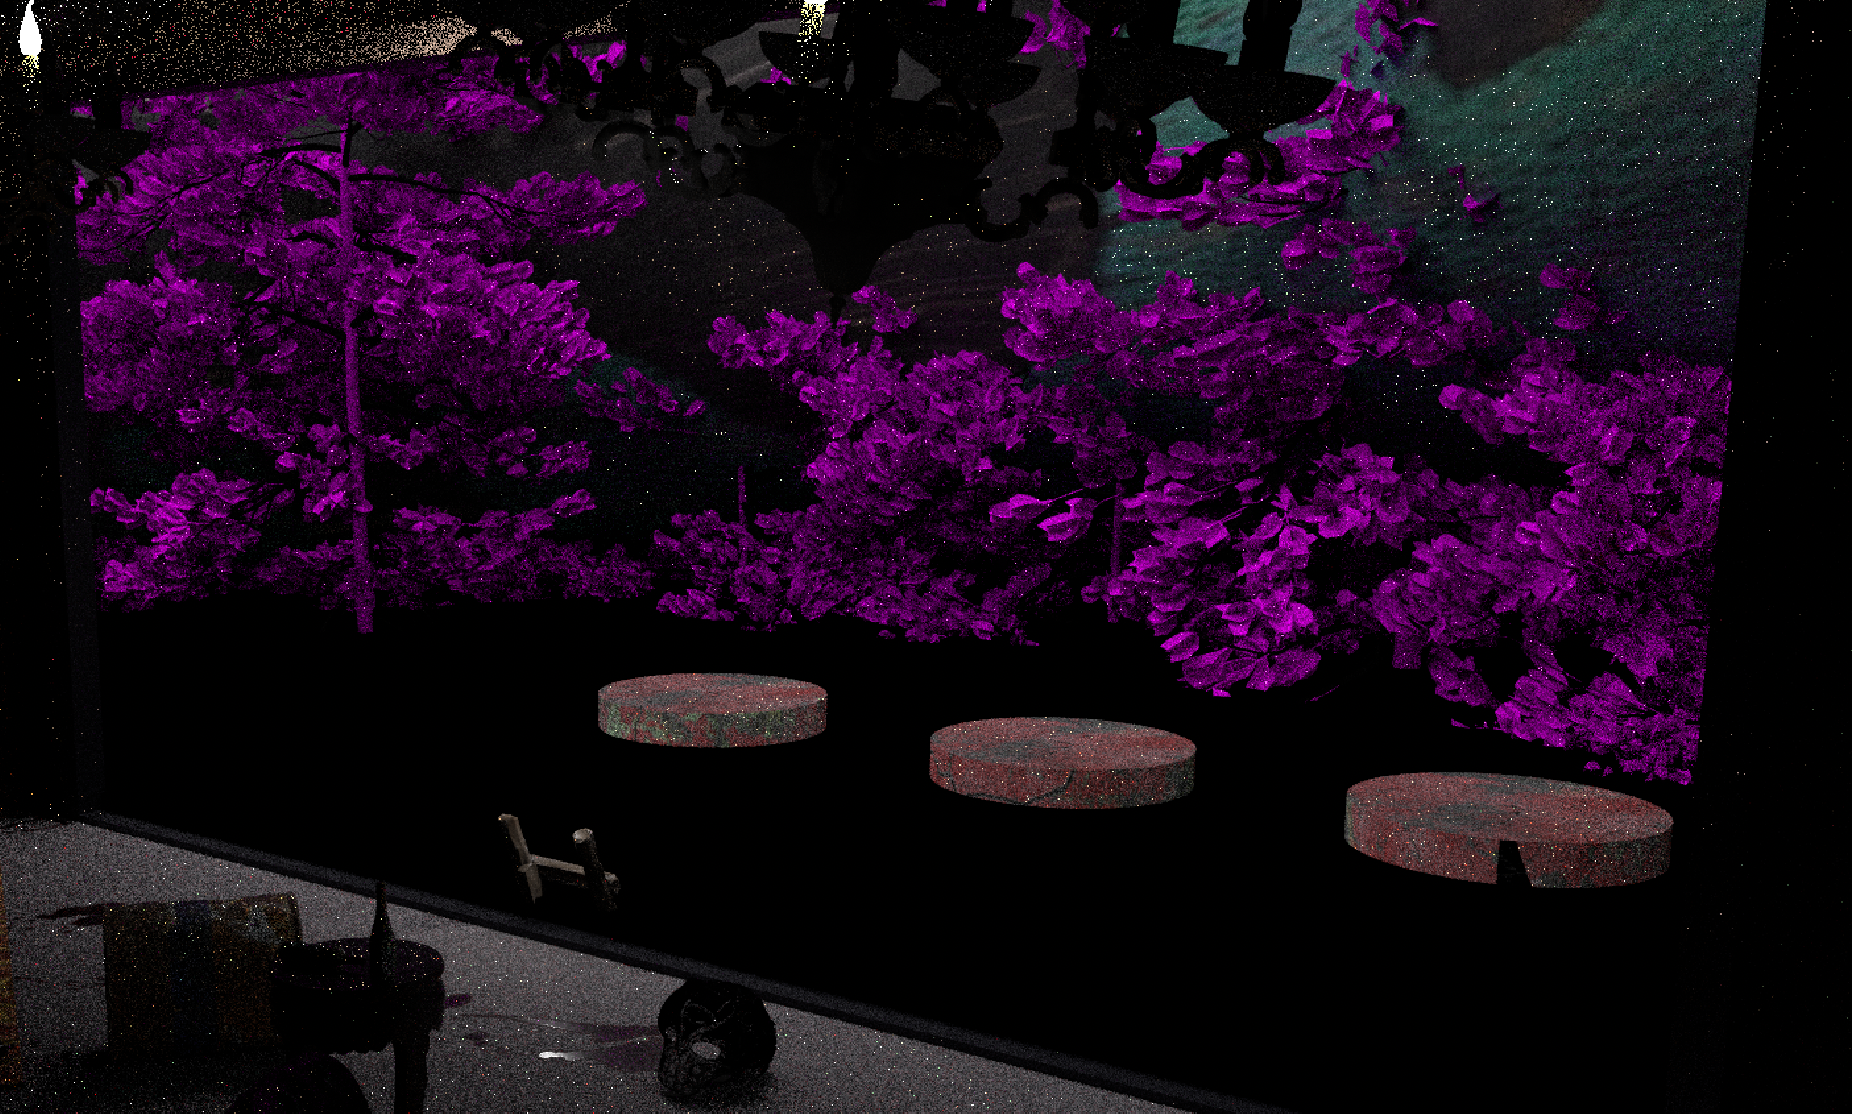
After solving this issue, we had to review our Alpha Masking implementation, as we weren't shooting new rays in case of an intersection at an alpha-0 UV coordinate.
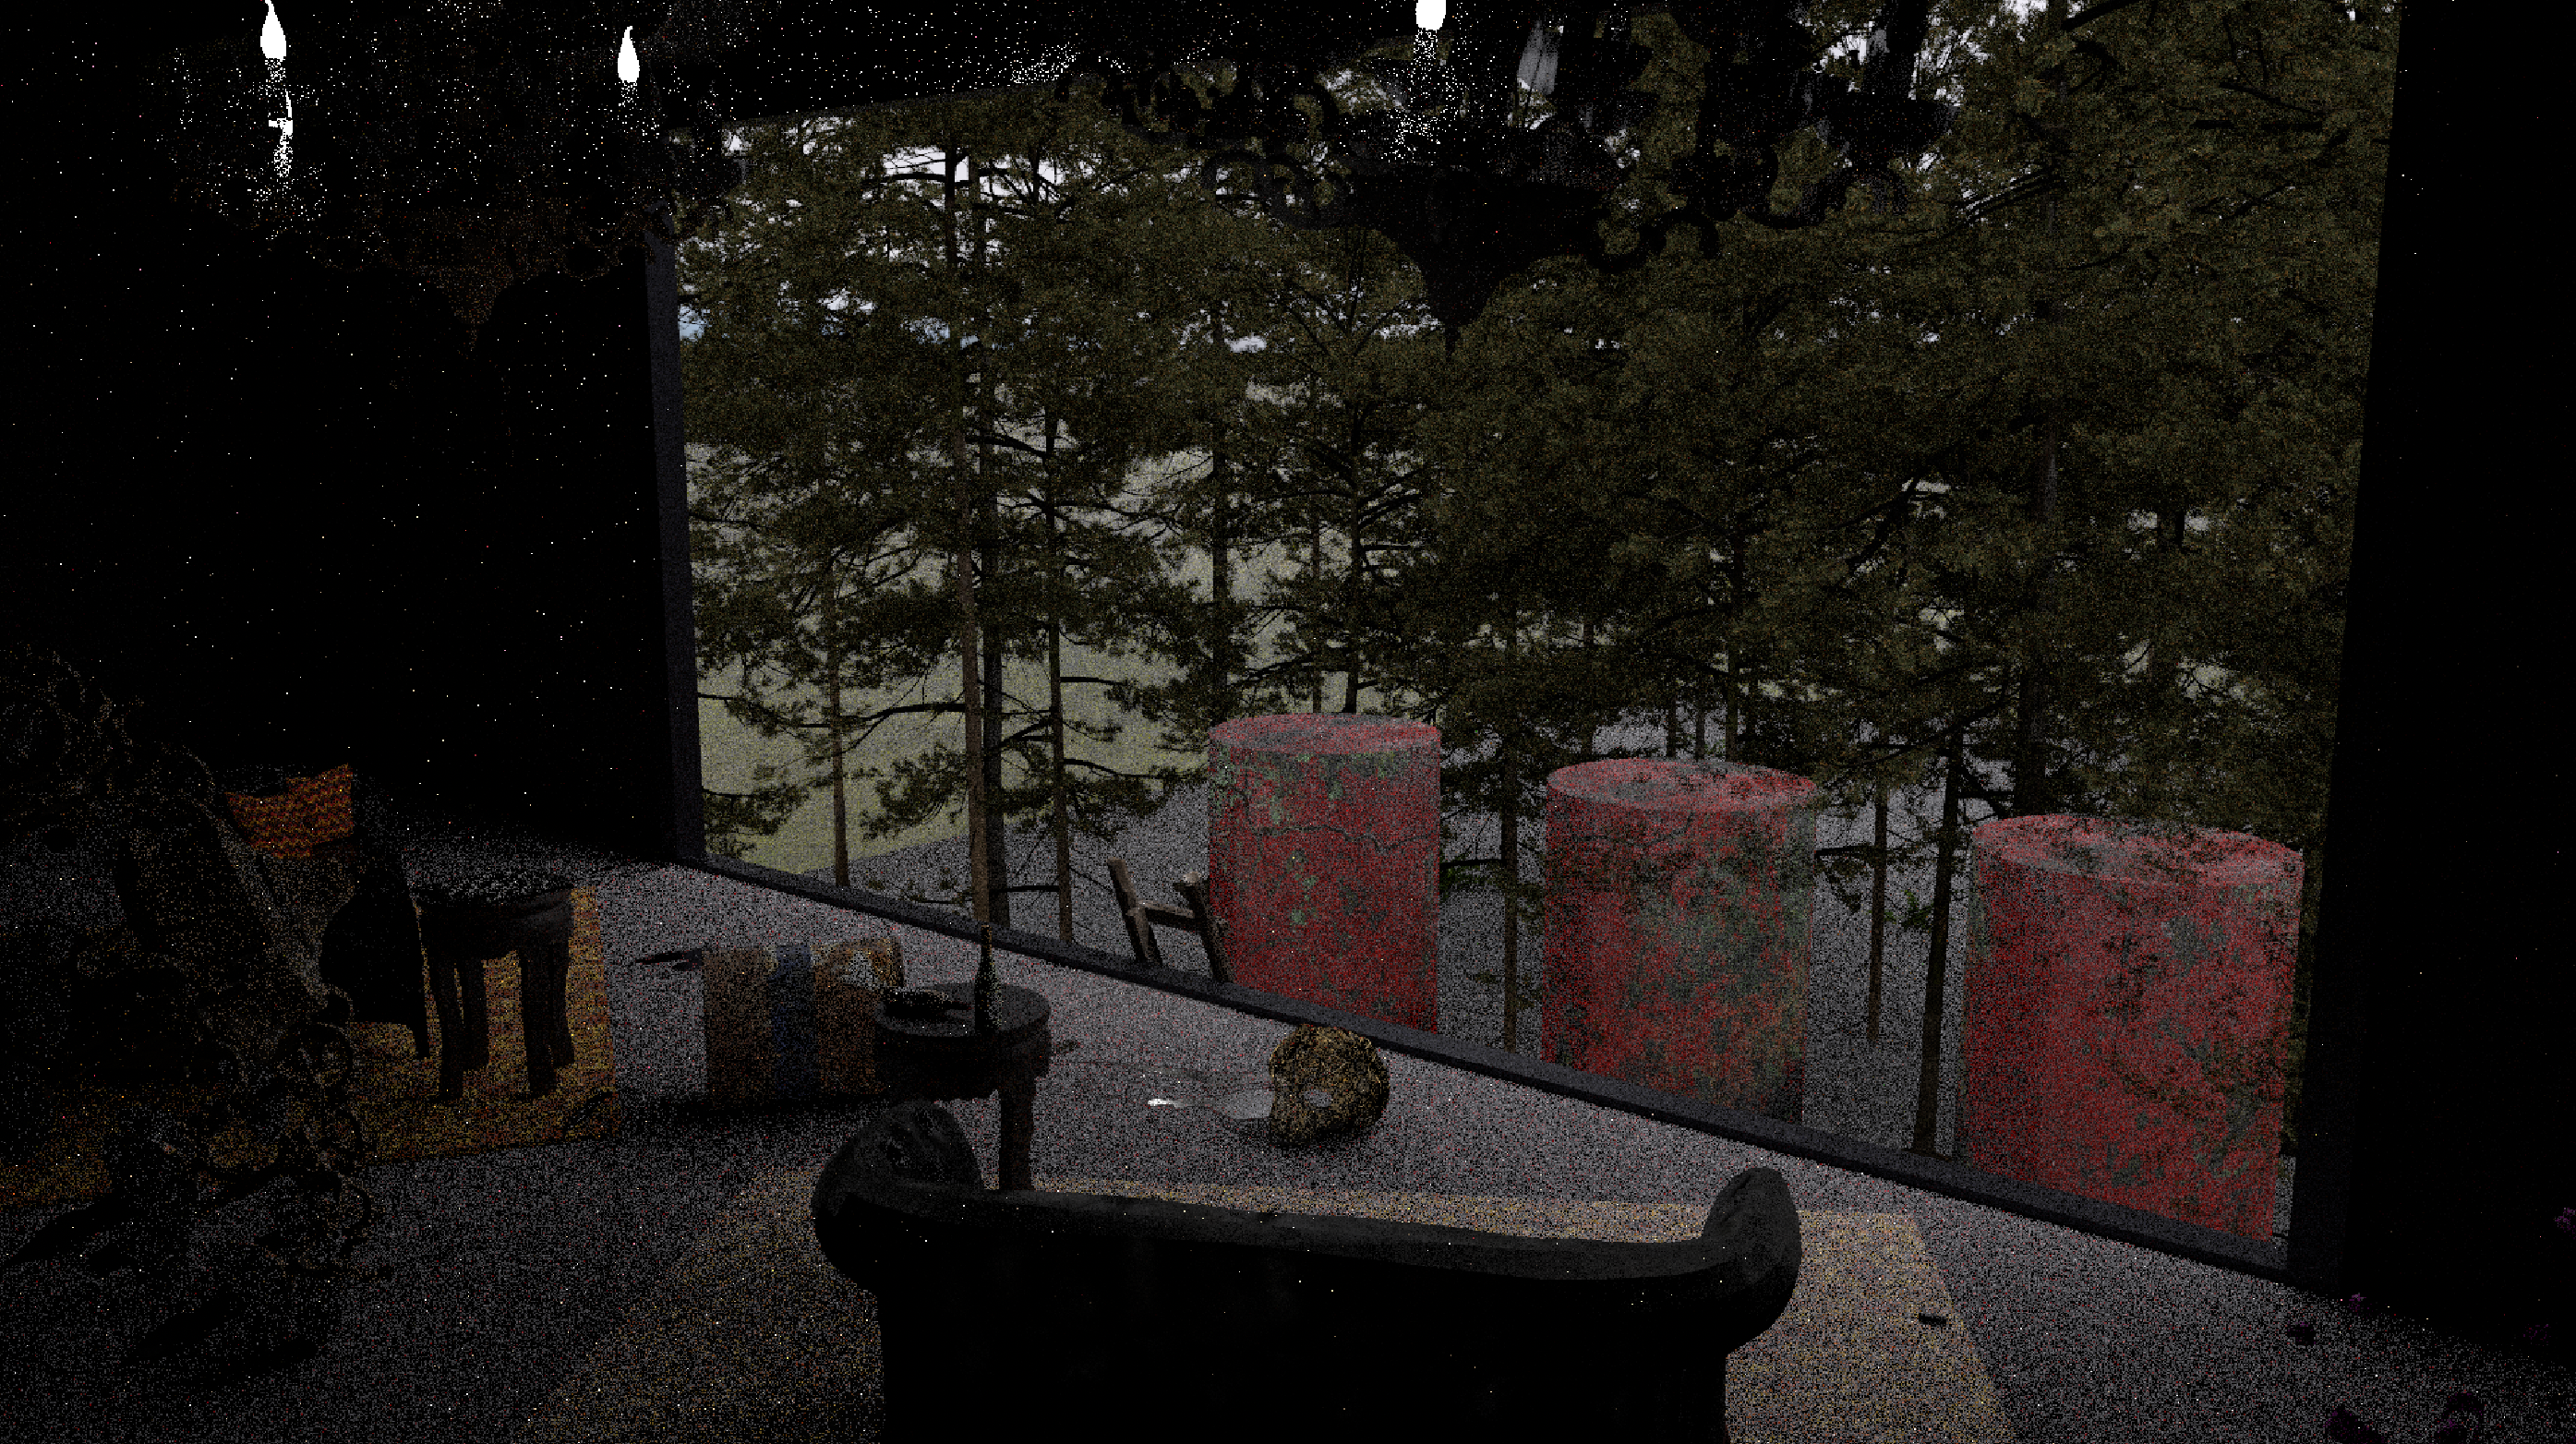
We were finally able to render the scene correctly! At this point we didn't implement Area lights yet so it took many samples until the scene was rendered in a satisfactory manner.
Feature: Motion Blur
Before
After
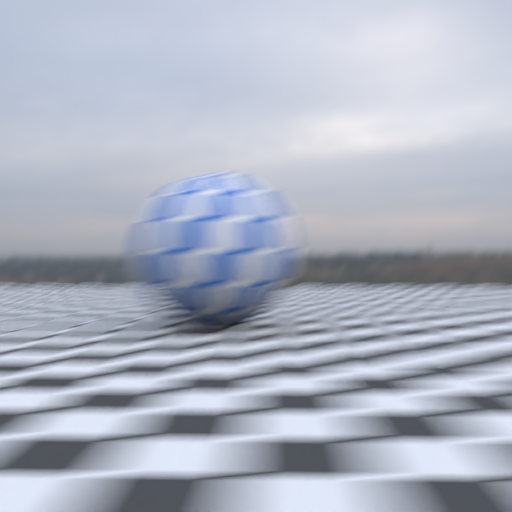
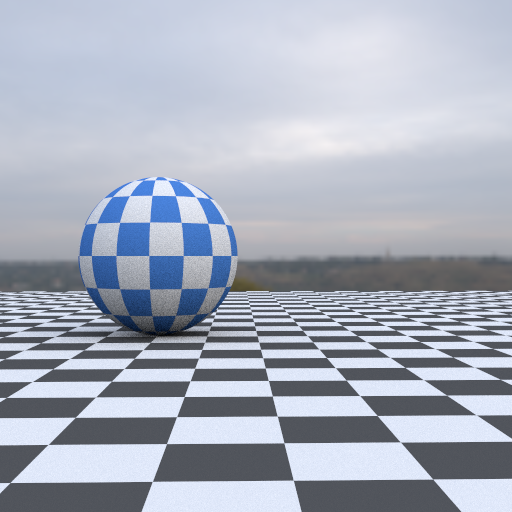
Initially we wanted to realistically model rain using Motion Blur. For showing a blurred trail of moving objects, we needed to come up with a way to specify a series of Transforms for each instance and the camera.
Furthermore, each transform has an additional keyframe attribute, allowing users to define at which time the transform should be applied.
Our code then interpolates between the transforms. Users can also specify a shutter speed, which can be used to show only a section of an object's movement in space.
Feature: Bloom
Before
After
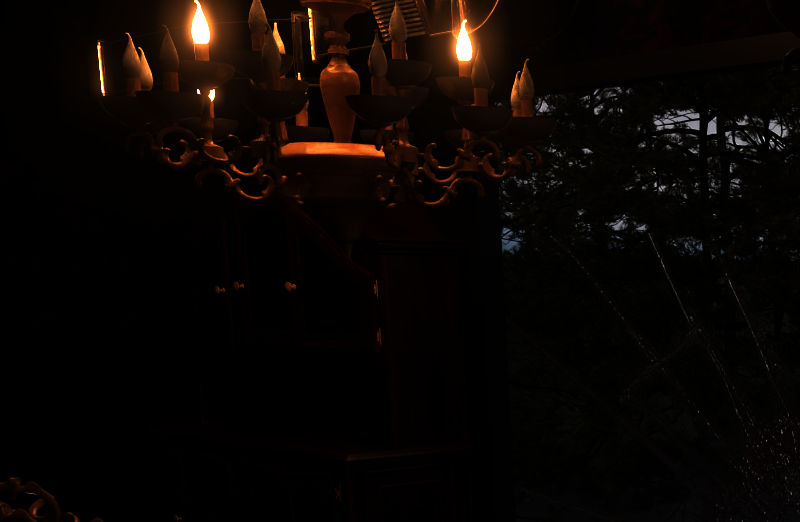
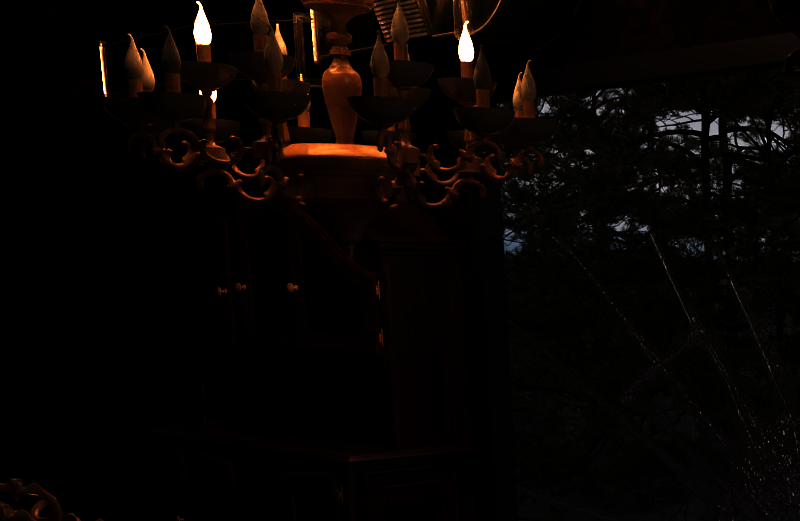
Bloom is a post-processing effect which creates soft glowing halos around bright areas. It is essential in creating an immersive scene with moody lighting. The algorithm consists of three filters:
- a high-pass filter extracts bright areas beyond our
threshold, - a blur filter blurs the bright areas by applying Gaussian kernels to the pixels, and
- a combining filter updates the original image with our bloom values, scaled by
strength.
However, this was not satisfactory: the simple approach only created very dense glows around bright areas, not smooth halos with long falloffs.
To this end, we use several bloom stages, each one having a different blur radius and weight. This allows us to control the falloff precisely.
Feature: Normal Mapping
Before
After
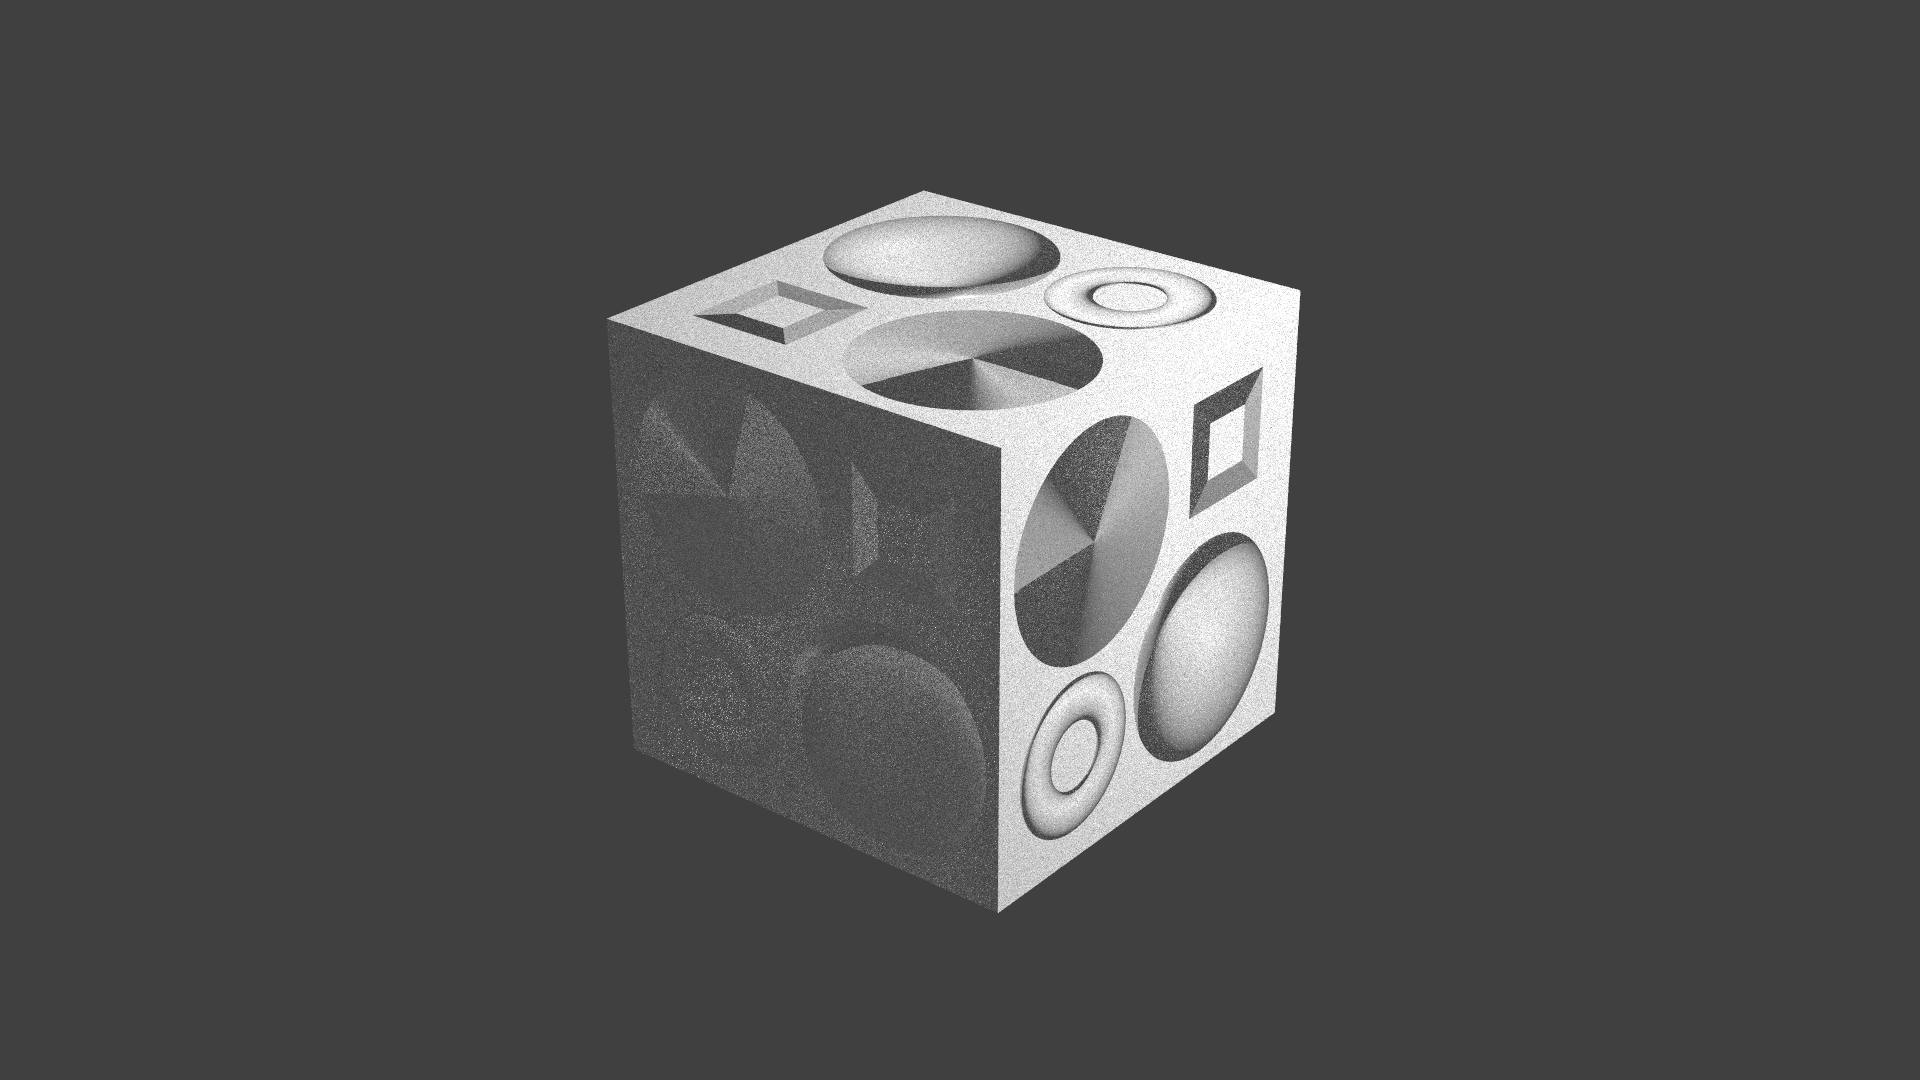
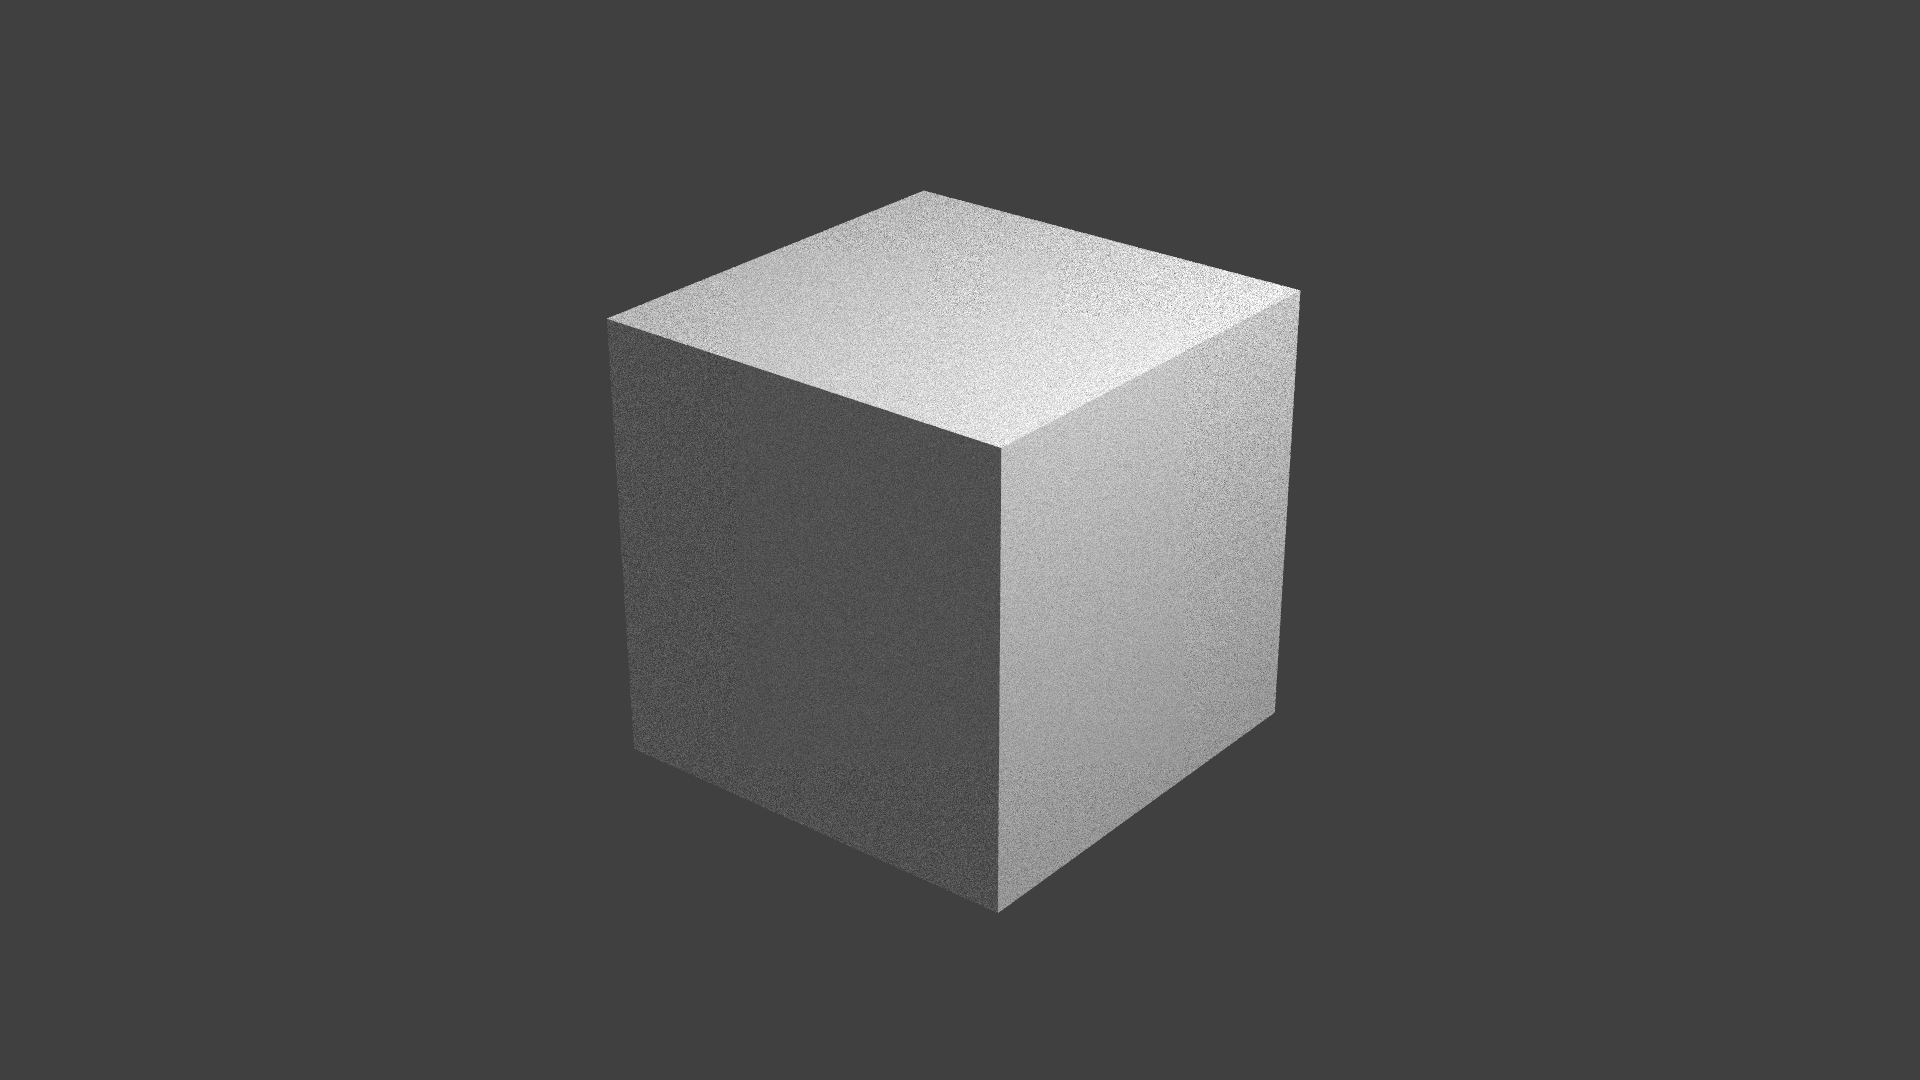
Normal mapping allows shading details on flat surfaces without additional geometry.
Feature: Alpha Blending
Before
After
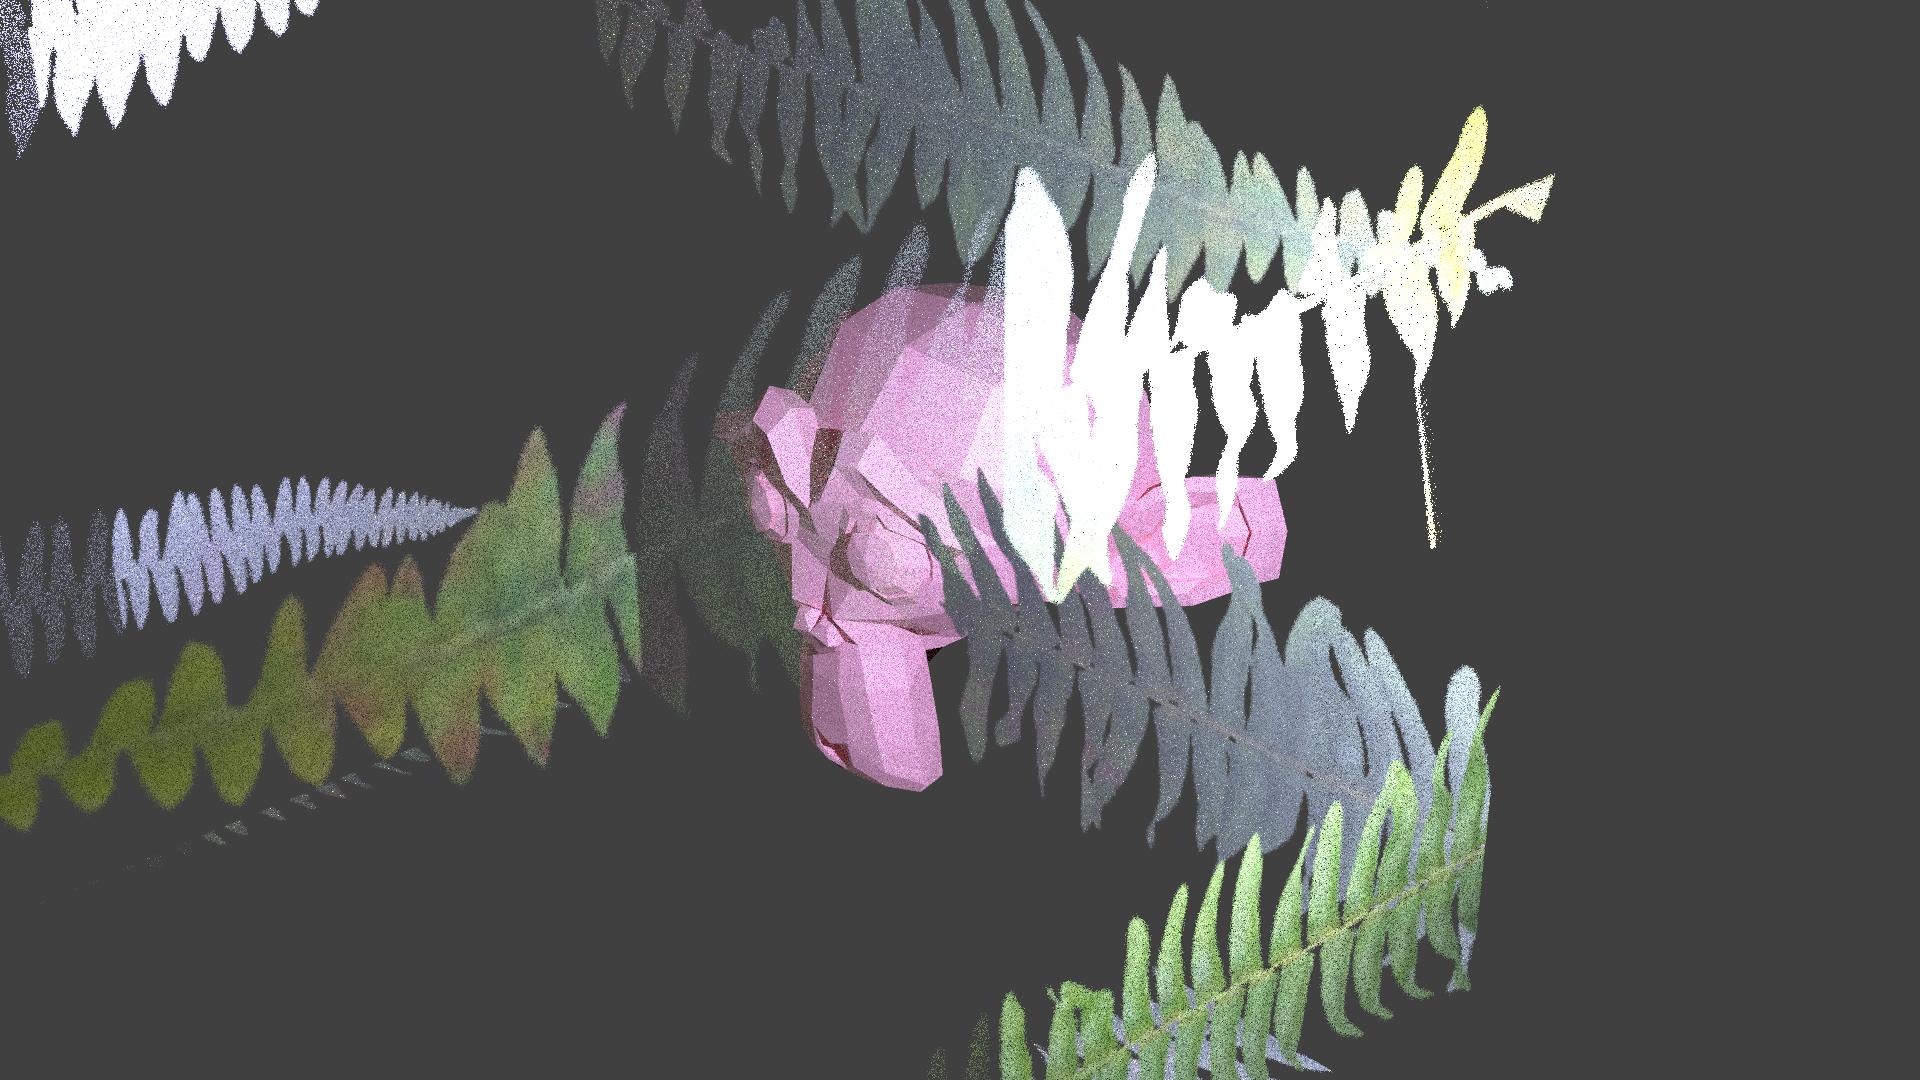
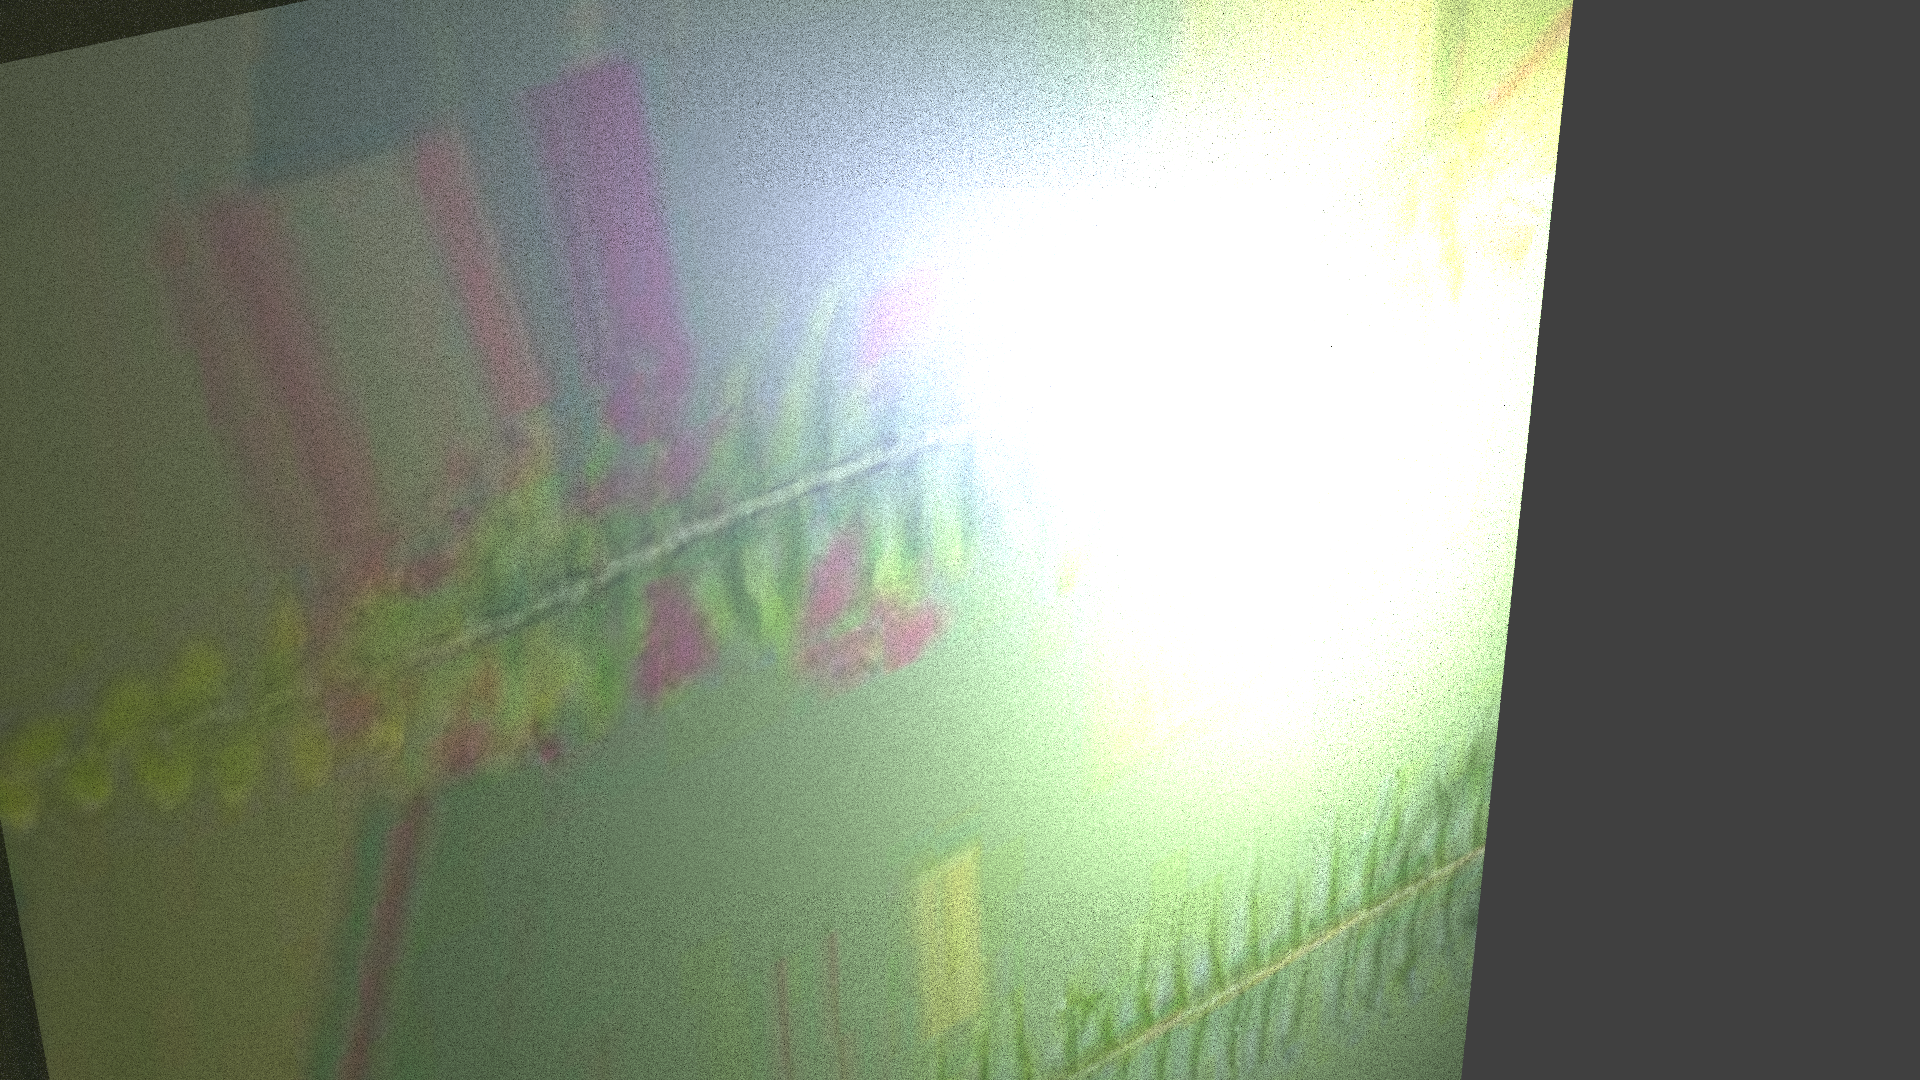
Alpha Blending is used for the leaves of the pine trees in our scene.
Feature: Thin Lens
Before
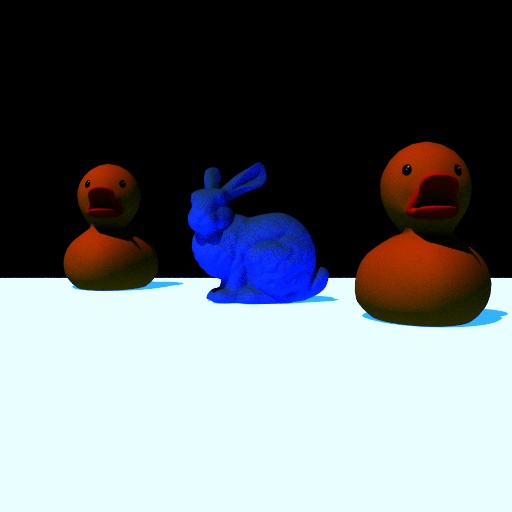
After
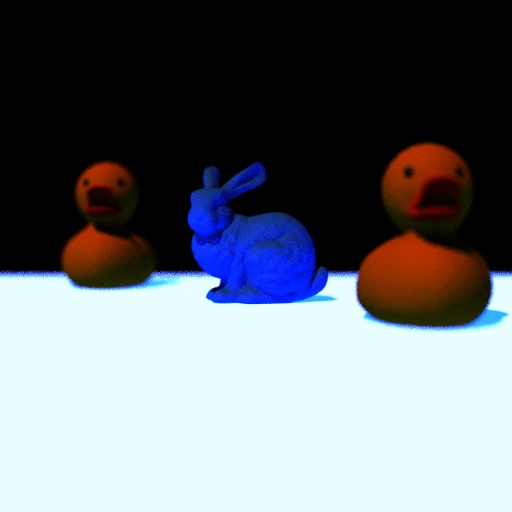
The thin lens provides a depth of field effect.
Feature: ACES Tone Mapping
Before
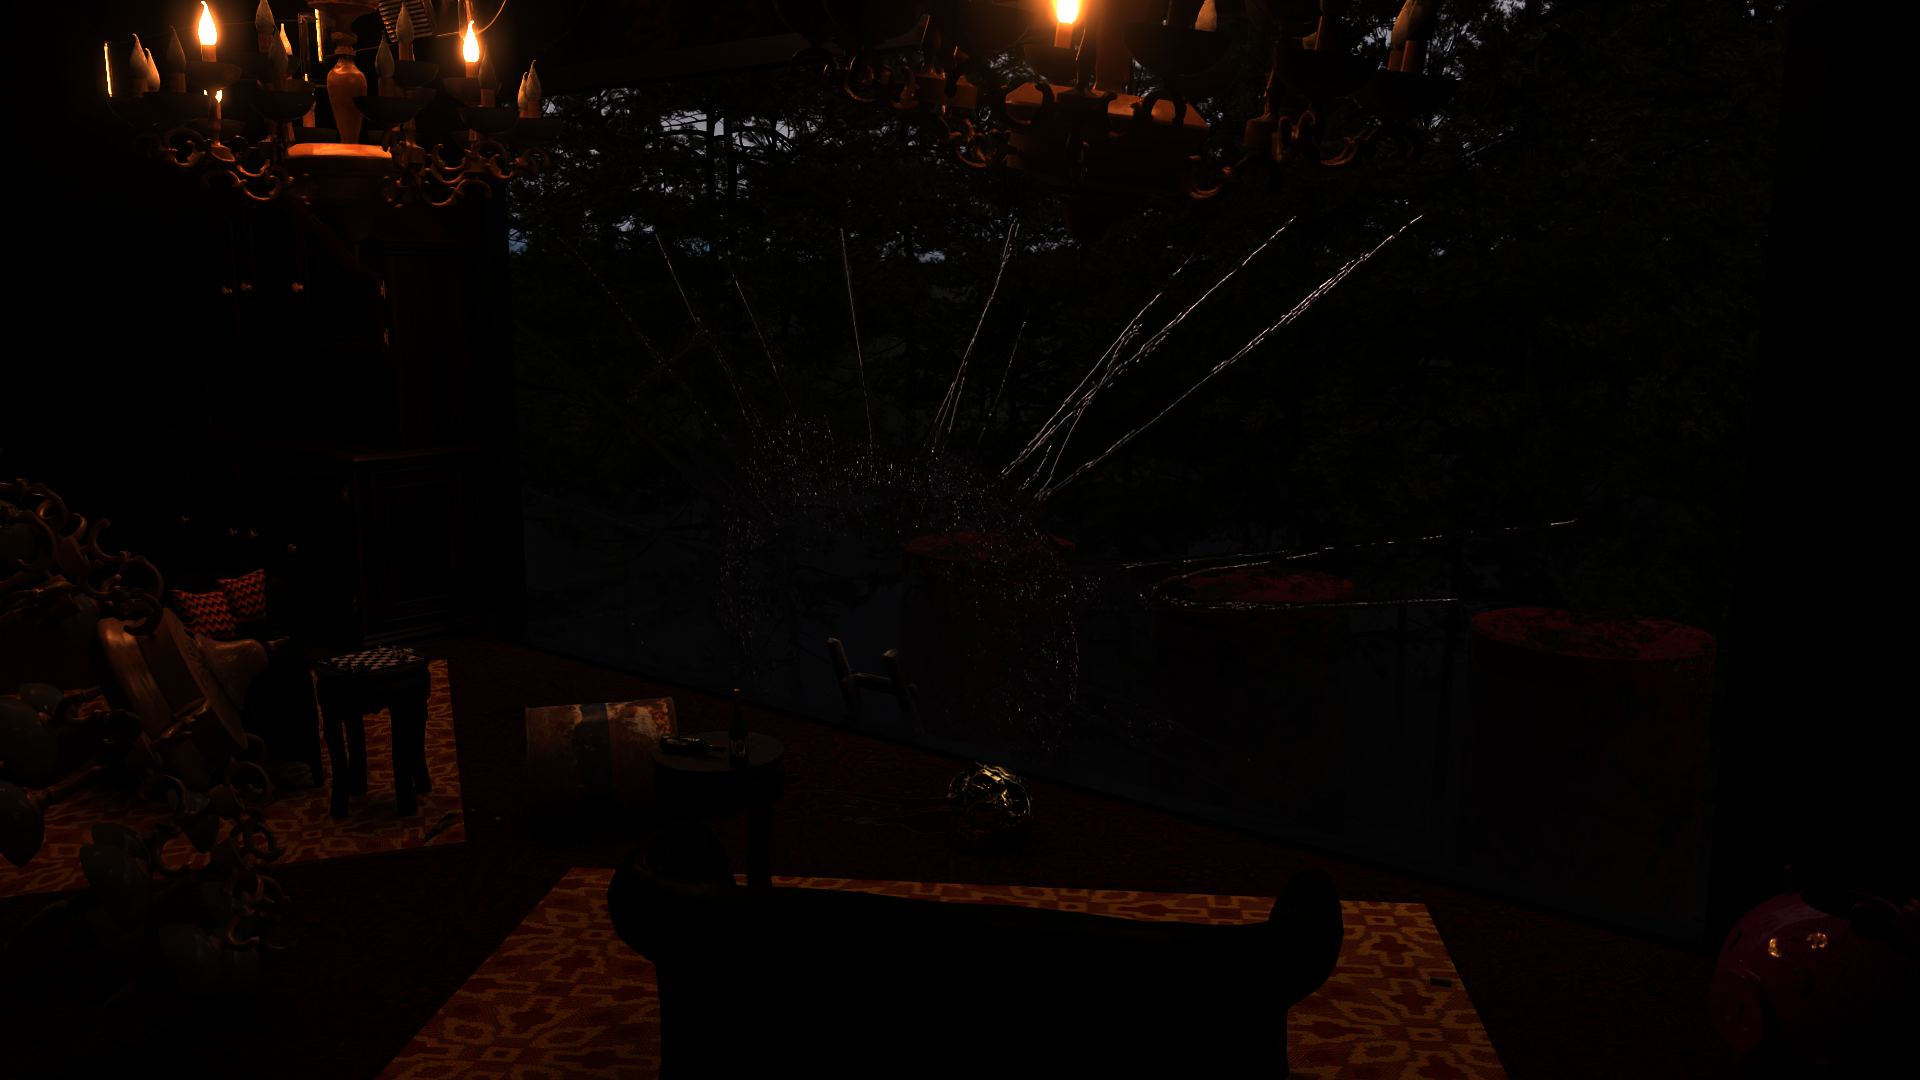
After
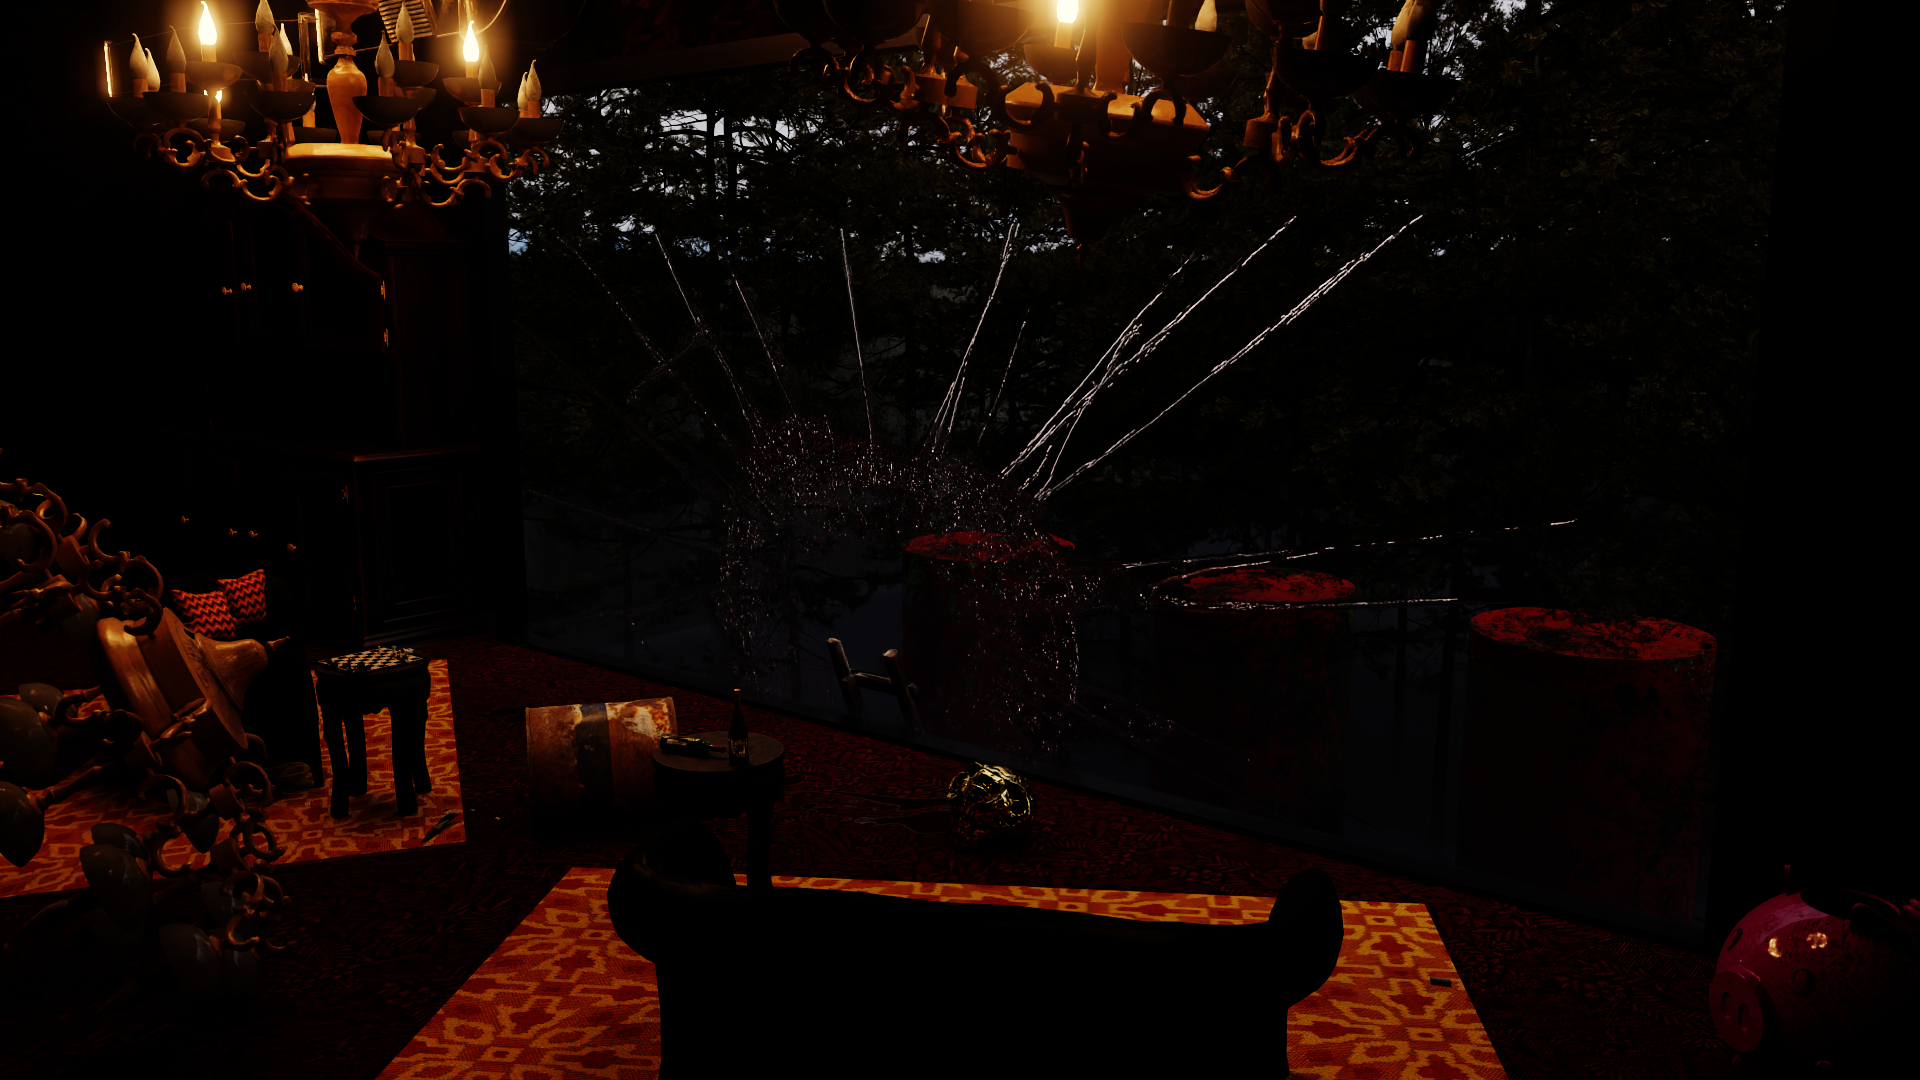
We thought Reinhard tone mapping is too bland, so we instead implemented ACES tone mapping, according to this website.
Feature: Denoising
Before
After
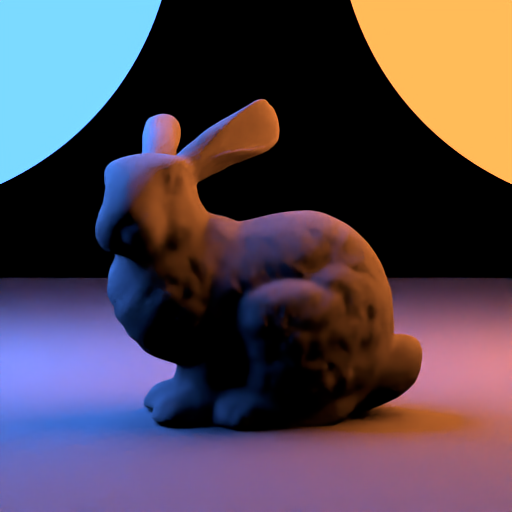
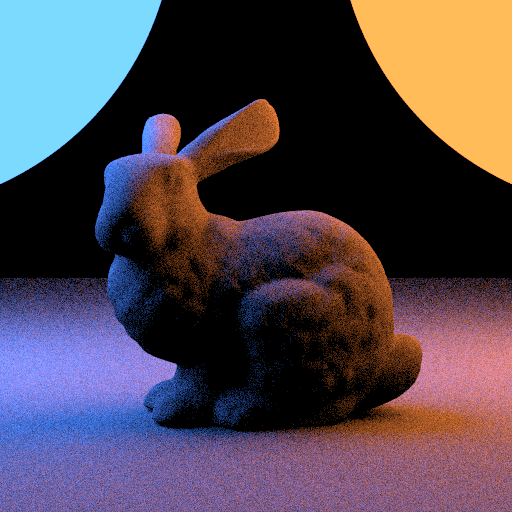
The denoiser removes noise from the scene.
Feature: Area Lights
Before
After
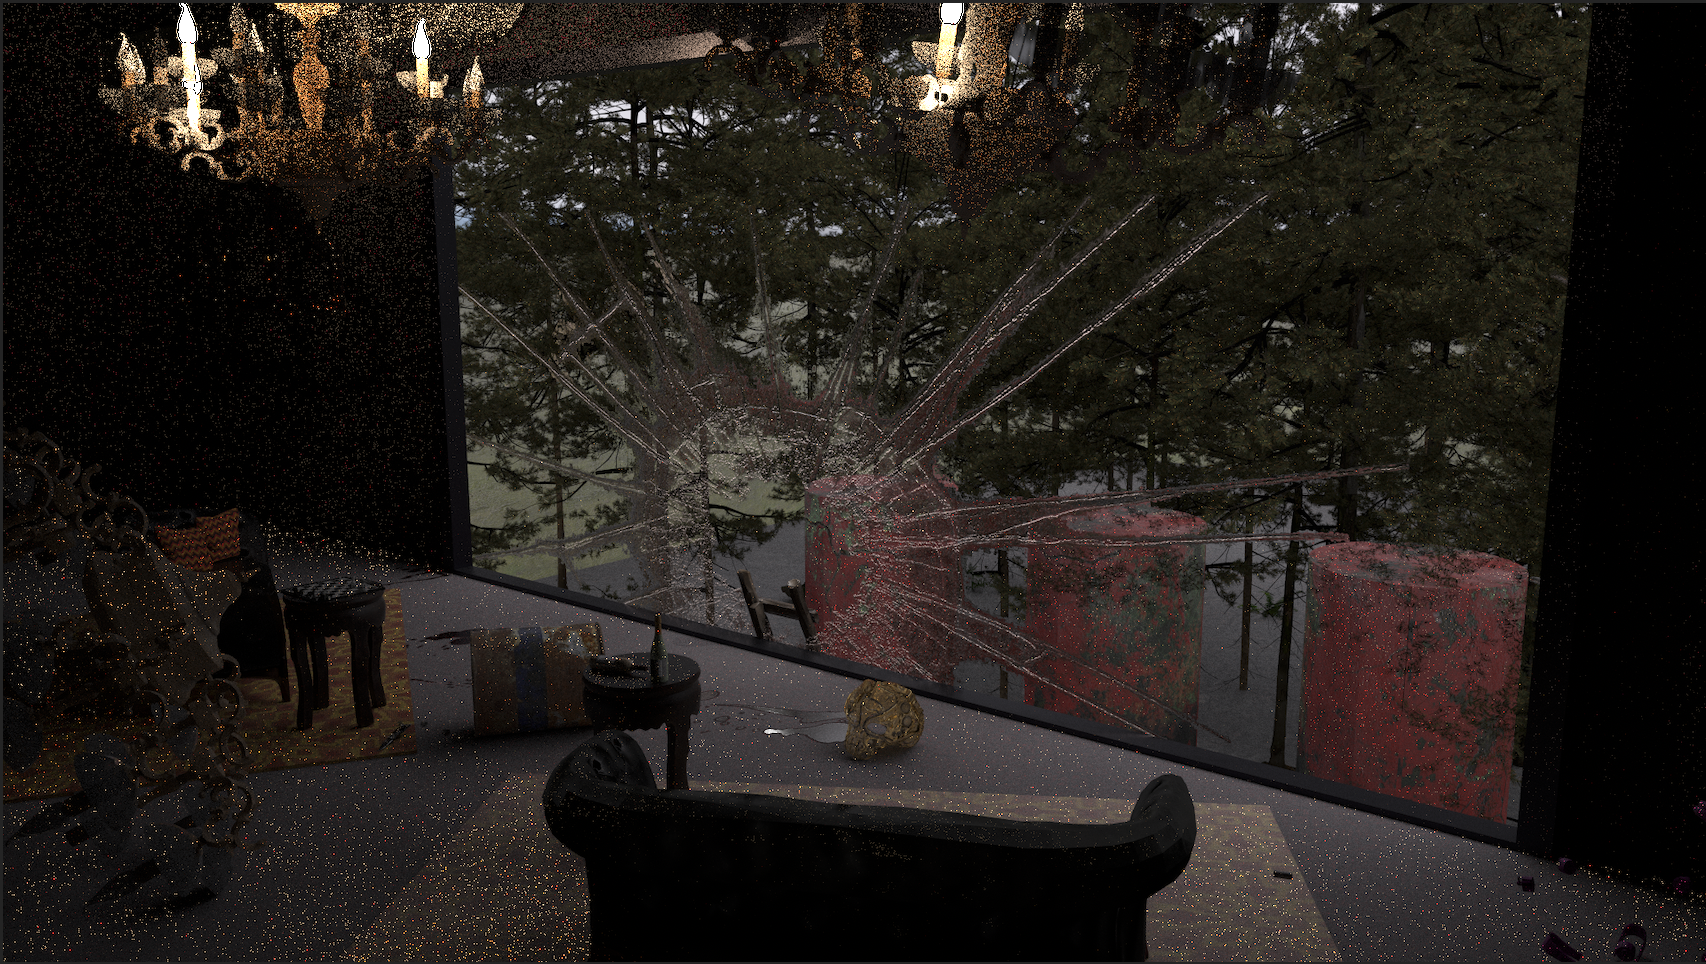
Before
After
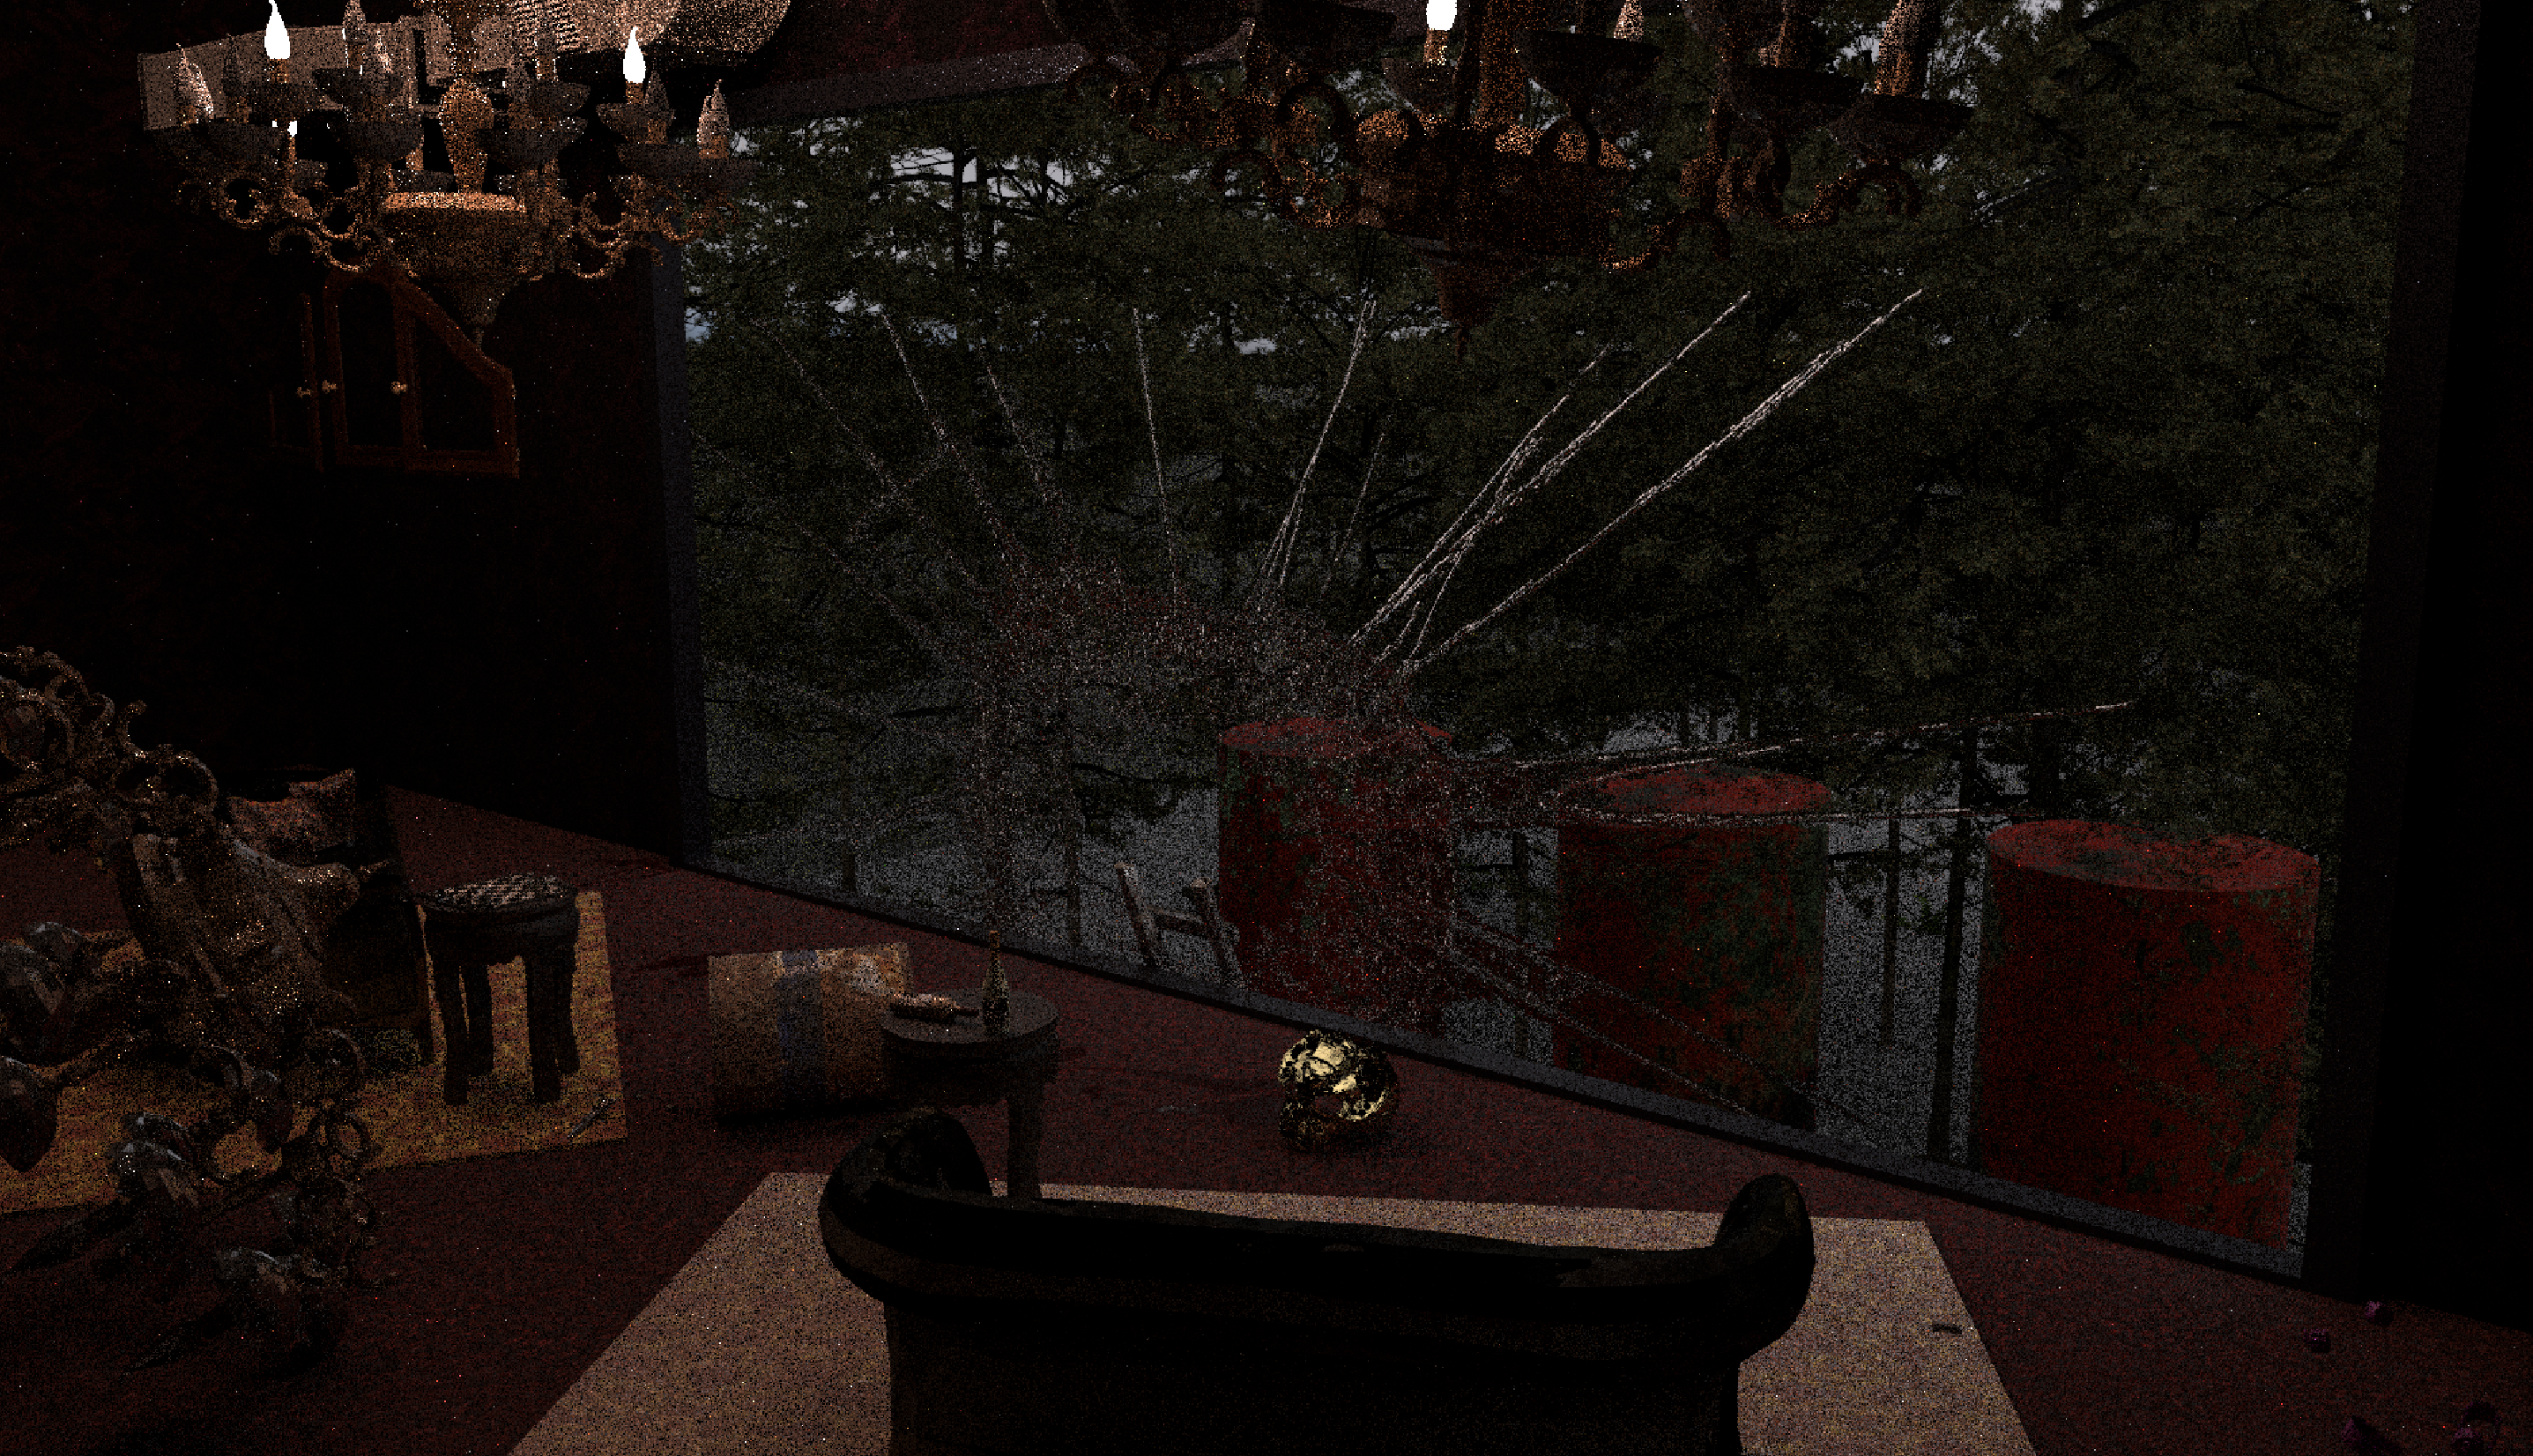
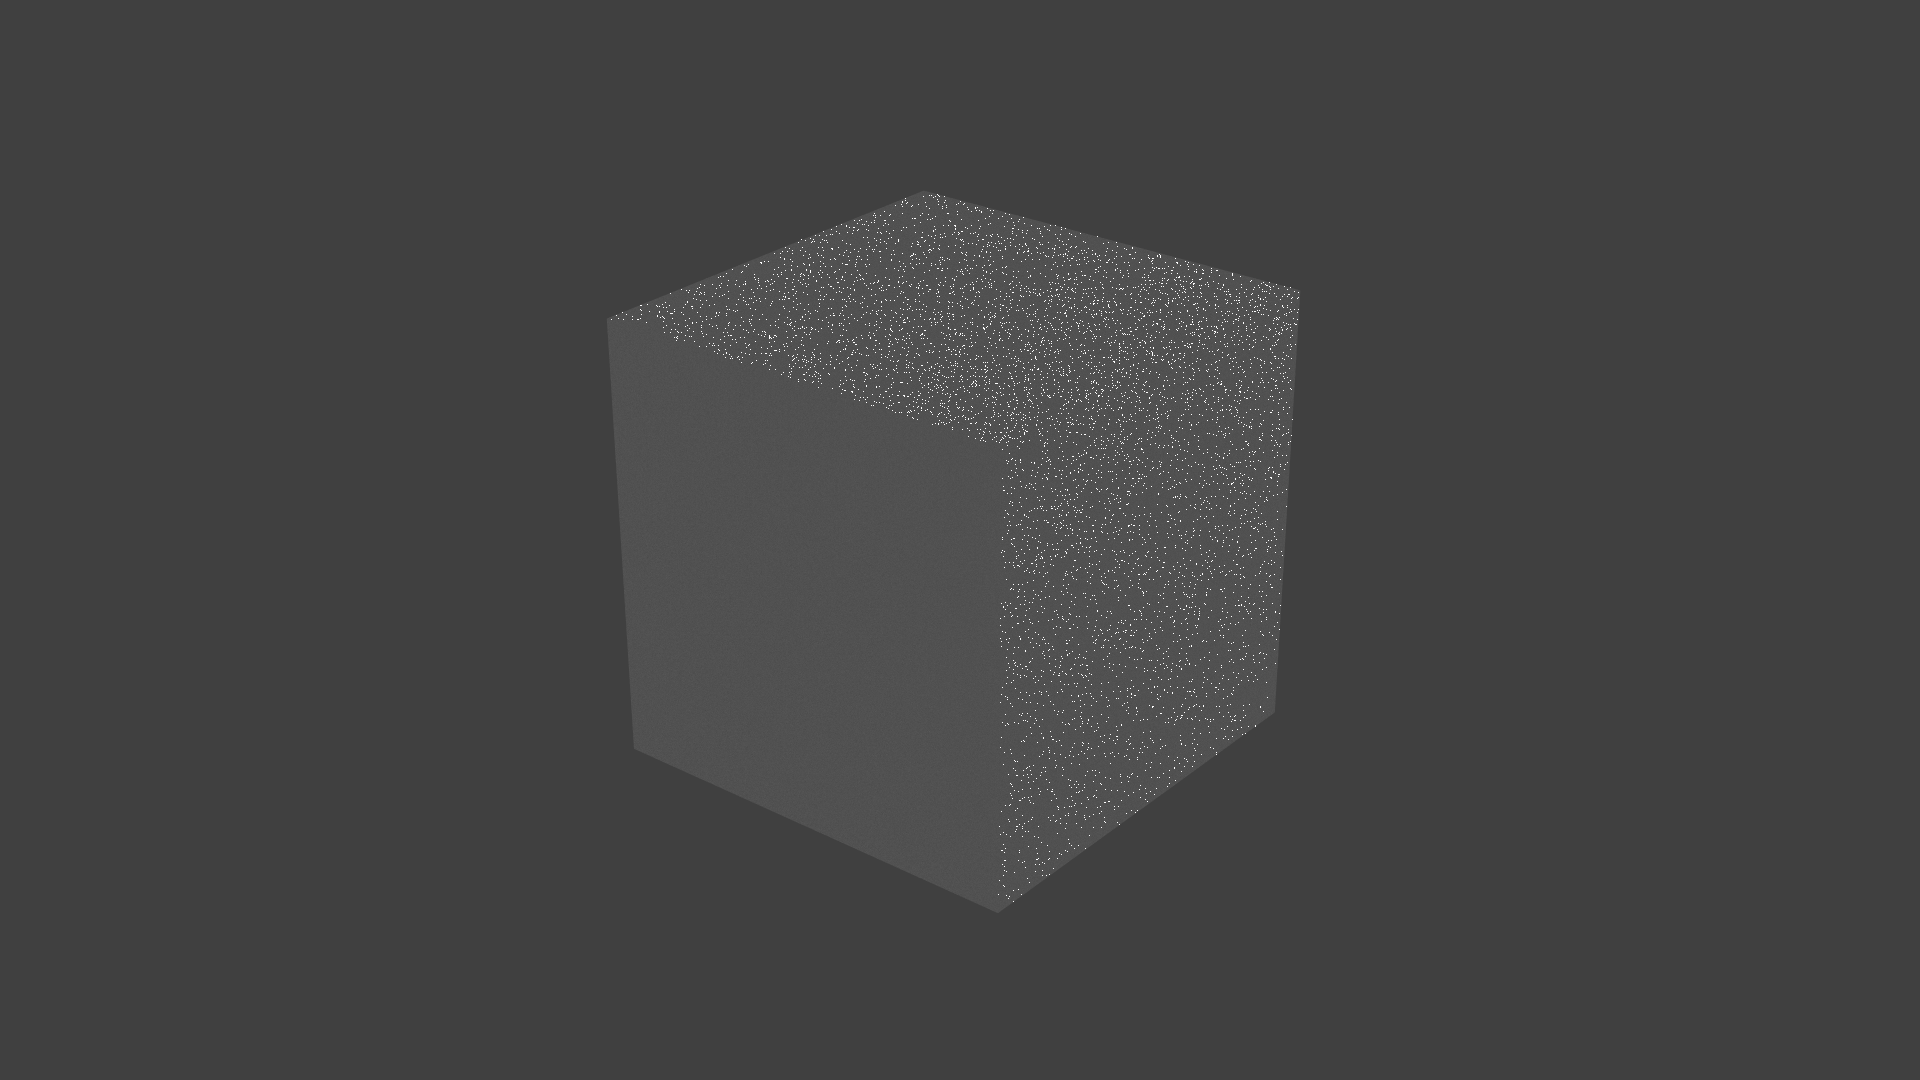
Without area lights, our scene is barely usable due to the high level of noise caused by the emissive surface.
The second set of images was rendered with 512 samples (off) and just 8 samples (on). Despite having way fewer samples, the version with area lights is much more accurate already.
Challenges
Implementing the glass crack. We had to fake the refraction in the cracks by writing an OpenCV script that takes the crack texture and causes the cracks to have a color value of 1.5, such that we get an IOR texture encoding the cracks for our dielectric.
References & Assets
- Vintage Cabinet 01
- Pine Tree 01
- Wooden Table
- Wine Bottles 01
- Modular Airduct Rectangular 01
- Folding knife PBR
- Can Rusted
- Chandelier 03
- Chess Set
- Throw Pillows 01
- Golden Mask
- SquidBank Model
- Sofa 02
- Fern 02
- Painted Concrete
- Wallpaper: Mischievous Jungle, Lush
- Red Carpet: Brussels Carpet
- Yellow Carpets: Carpet Fabric Texture with Classic Pattern (Fabric 0002)
- Playing area wall: Concrete Moss
- Blood Splatters
- Environment Map: Bloem Hill 02