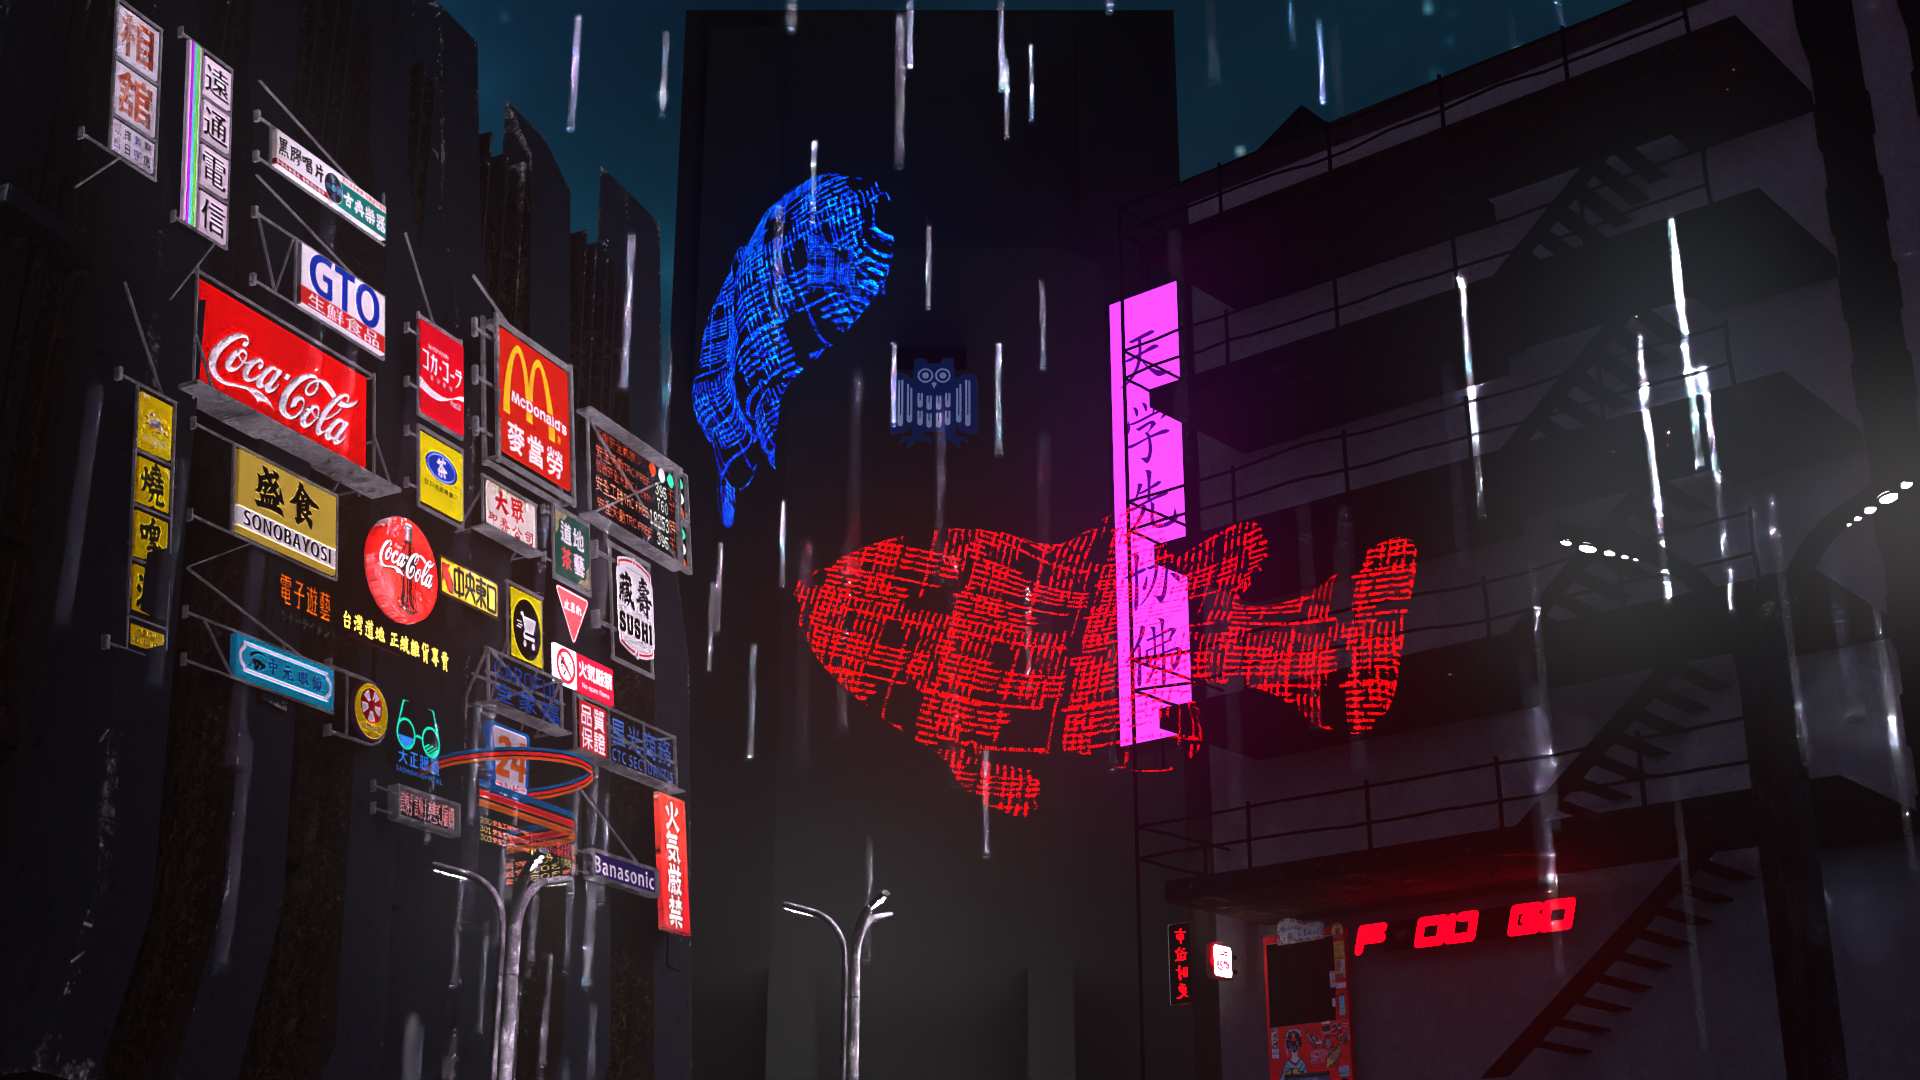
"There's nothing like neon colors with bloom."
Pure inspiration overcame us when we read the proposed project features list. Ideas filled our minds, feeling the neverending possibilities of what we could create. But what really caught our attention was the bloom postprocessing effect. Our thoughts spiraled into visions of vibrant neon lights shining in a dark scene, embracing the futuristic aesthetics of a dystopian city.
Sure, there's neon signs, flying fishes, the iconic dark atmosphere. But clearly, something is wrong. It doesn't feel quite right. It is not
enough. The buildings don't really fit the whole future direction. They seem rotten.
The scene tries to provoke uncanny feelings, mixing familiar elements with unsettling details. It is a vision of a realistic cyberpunk future. In our world, many things develop rapidly. However, some structures will remain behind, decaying in the shadows of their former self.
It is a criticism of how our pioneers and thinkers often overlook the now and present, focusing solely on the future, as if their world was a blank canvas.
We hope, that the viewer might understand that message, thus relieving some of the uneasiness evoked by the scene and replacing it with familiarity, understanding and maybe even appreciation.
"Our scene has details?"
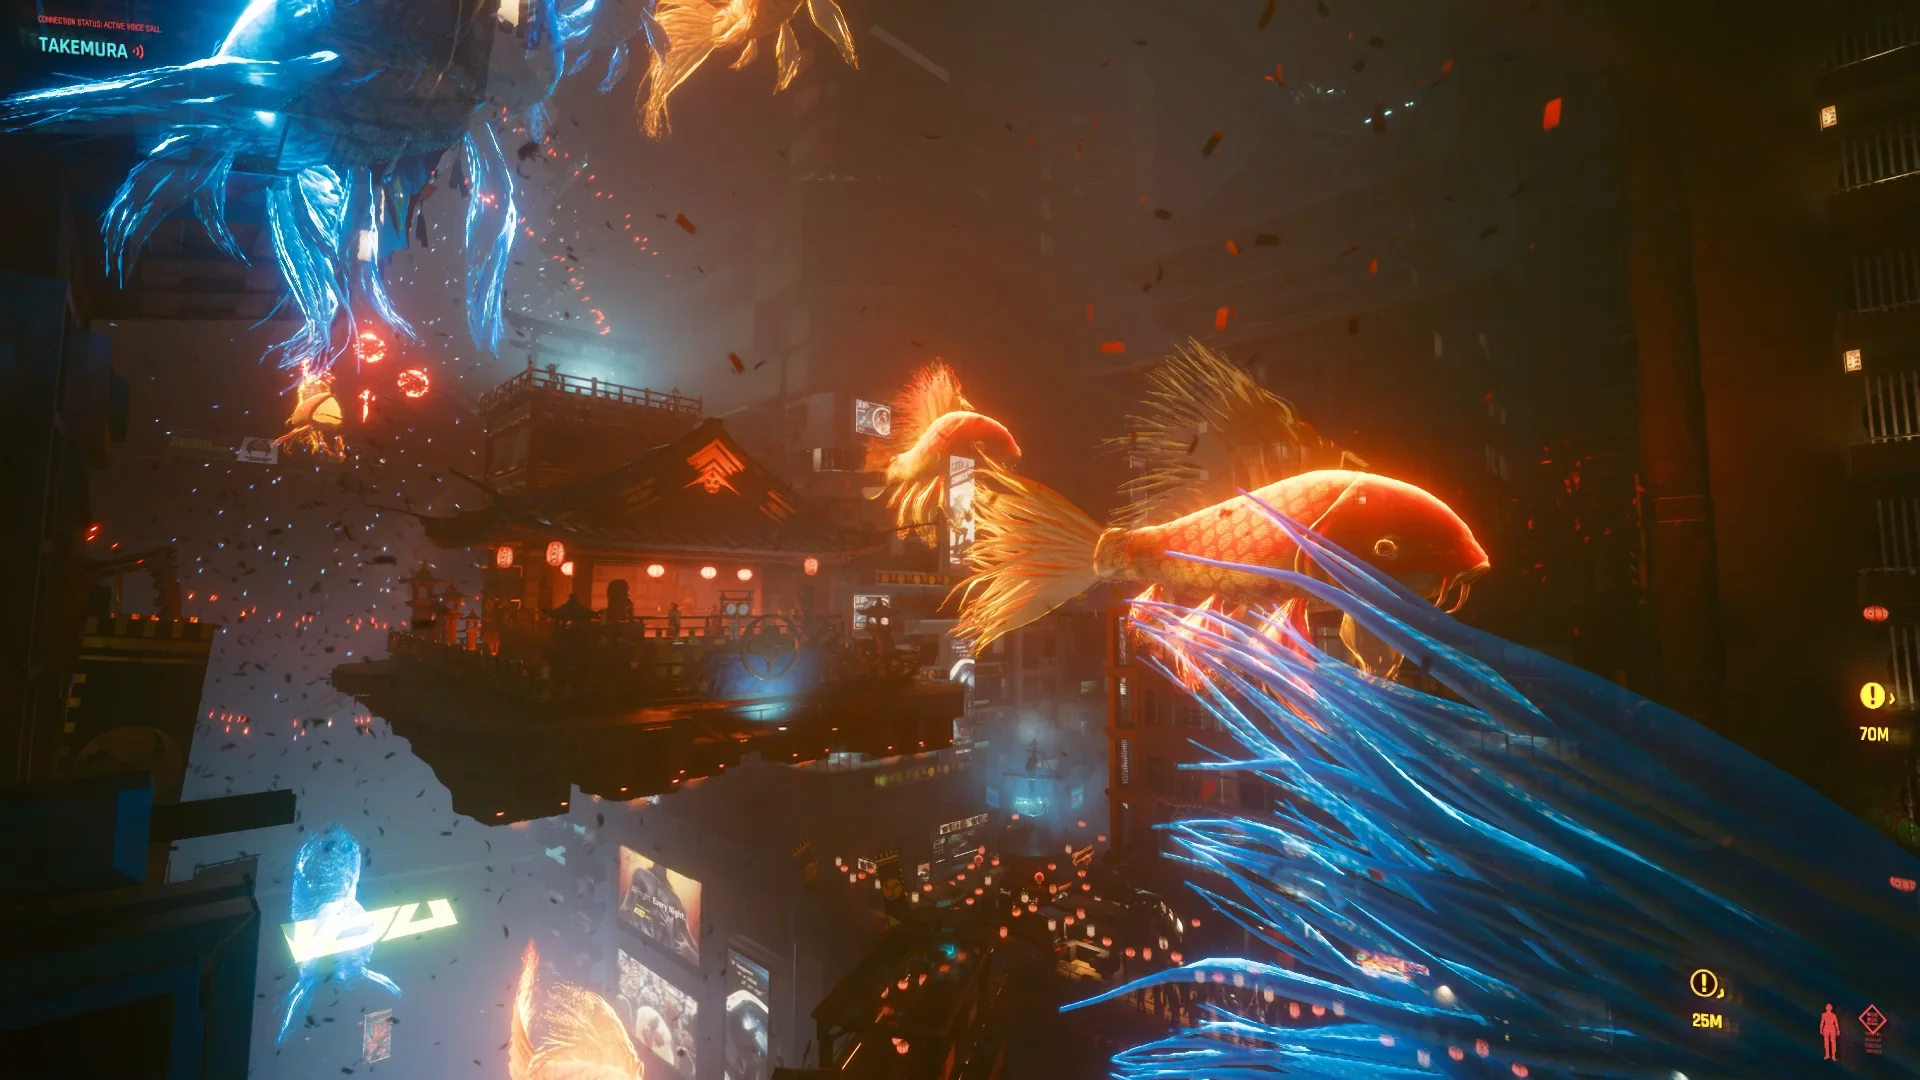
The fish: Inspired by the Cyberpunk 2077 holographic fish, our fish uses a texture that is created just from screenshots of code snippets. These code snippets are from the very XML files that define the scene itself. That's art.
The oldish textures: To achieve the uncanny look, we took inspiration from the iconic Source Engine games like Half-Life 2 and Portal. The brownish and greyish, worn-out textures blend in perfectly with our mission. Did you know that Half-Life 2 was released in 2004? Coincidence? I think not.
The rain: To add to the moody atmosphere, we included a subtle rain effect. The raindrops reflect the neon lights, creating a bit of dynamic interaction within the overall static scene.
"The fans only ever turned on while compiling LLVM.... and now."
"That section is just like 'How It's Actually Made'!" [Link]
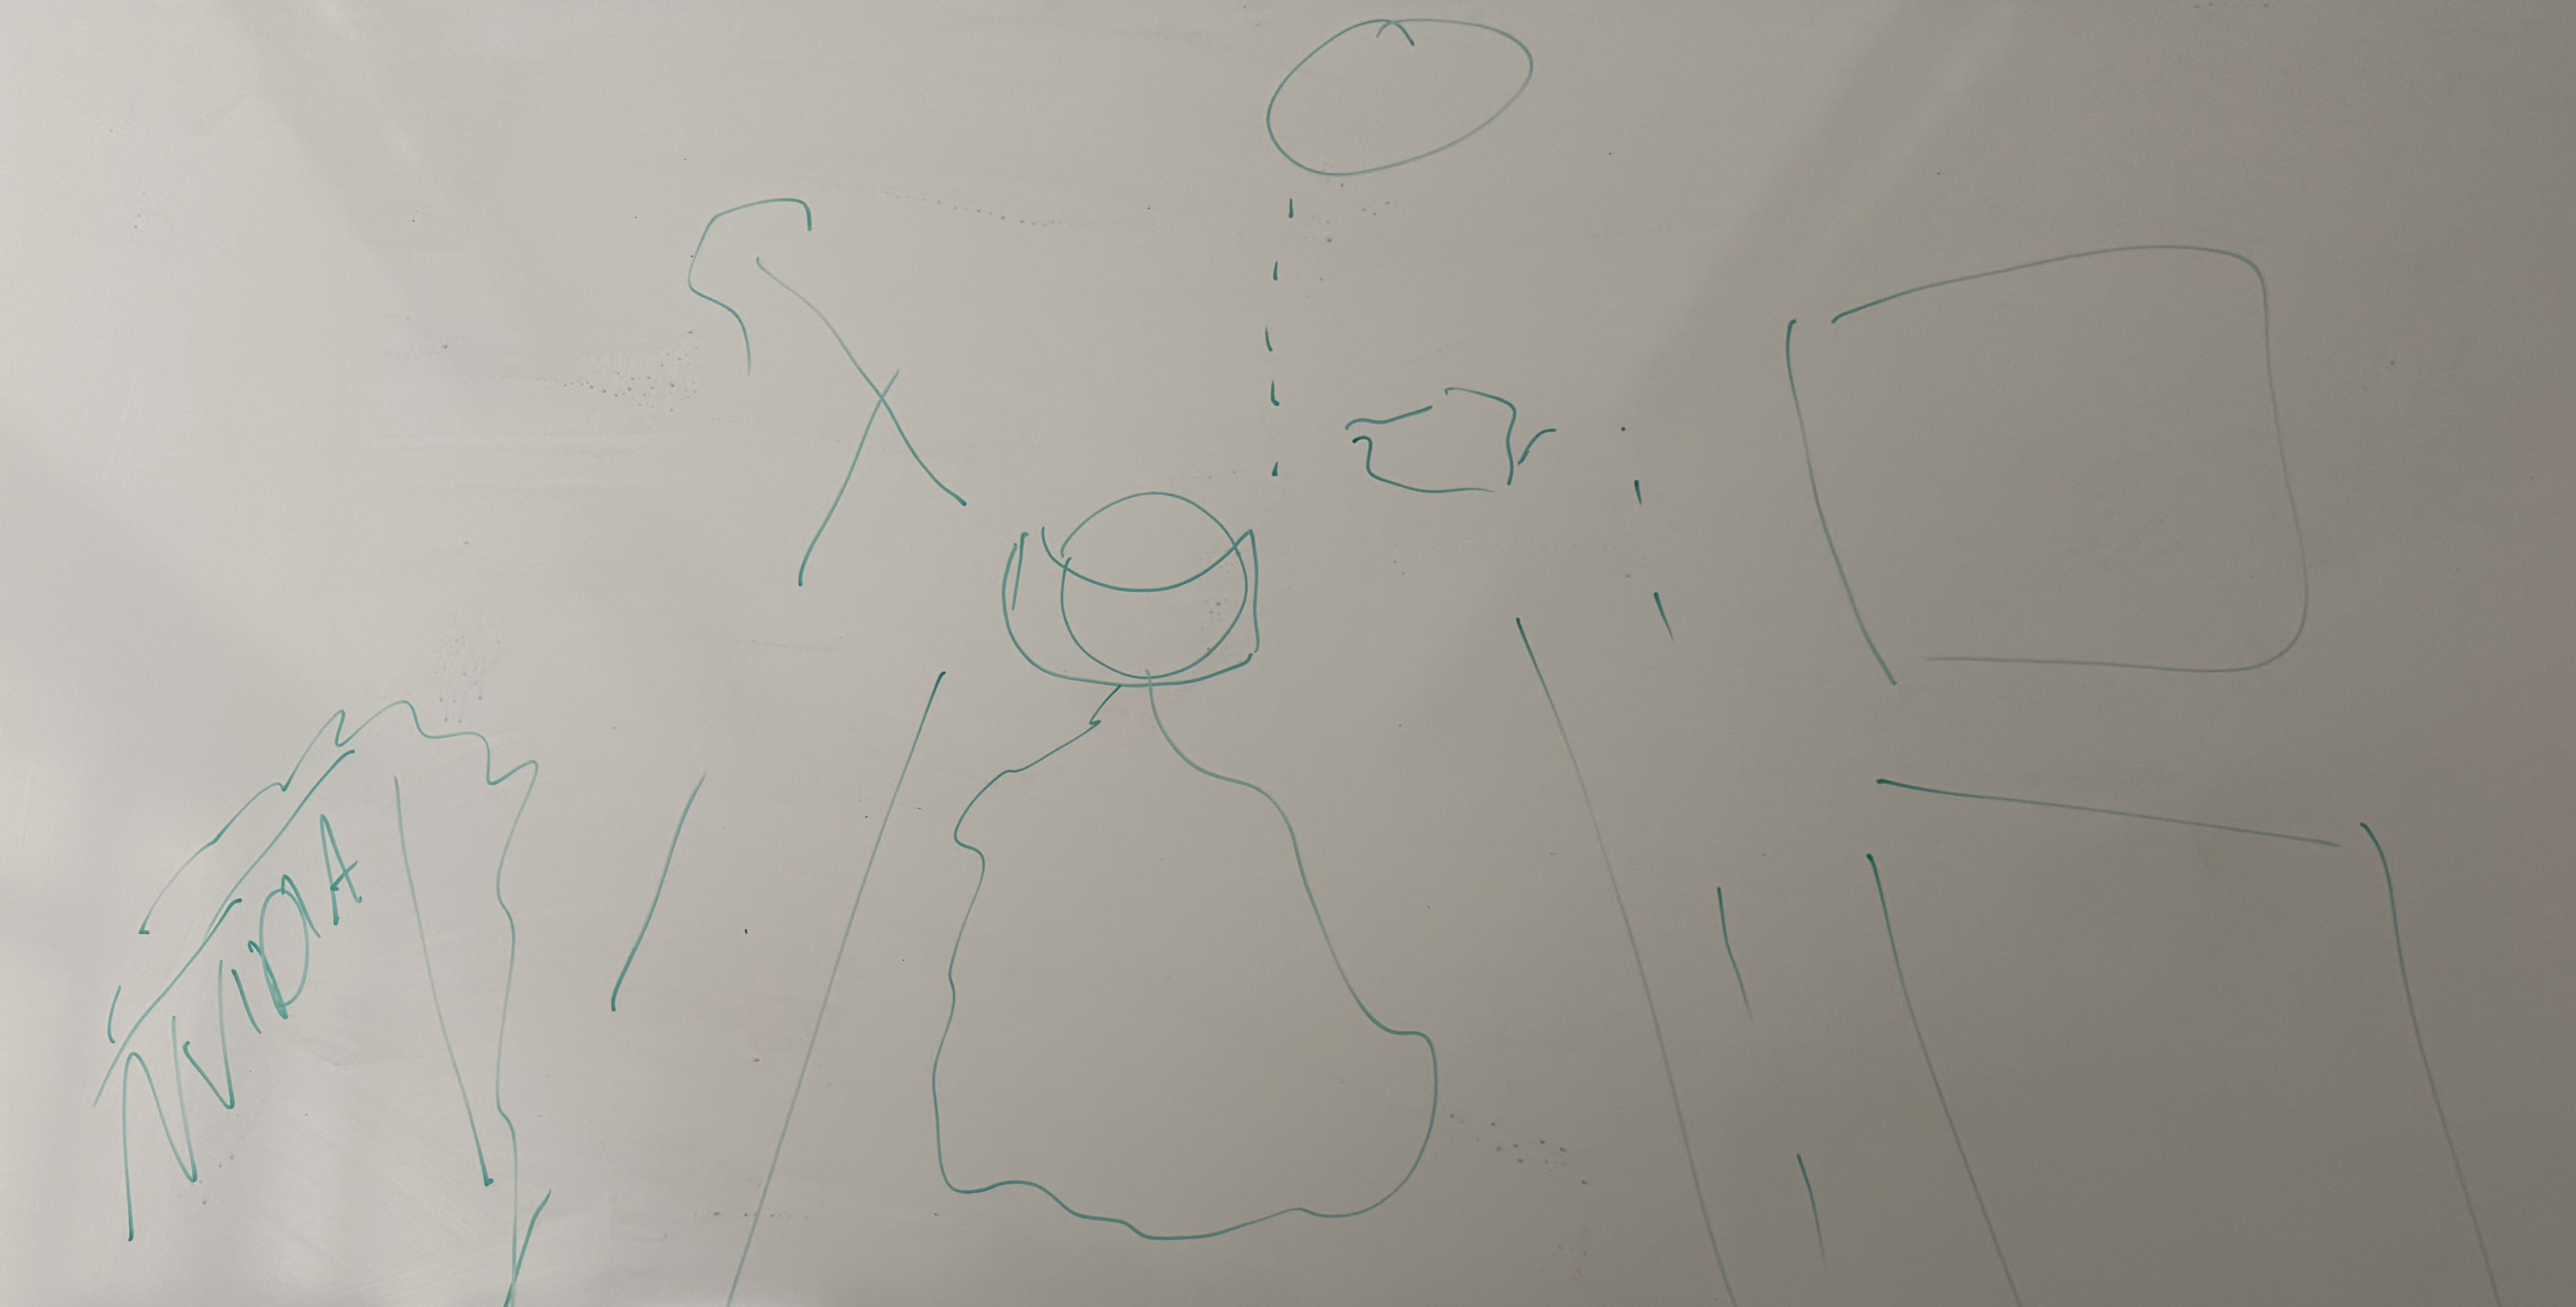
The initial concepts were sketched out on whiteboards, trying to figure out possible layouts. An early, quickly discarded idea was to have a person drive down a street in a car, with motion blurred futuristic buildings on the side.
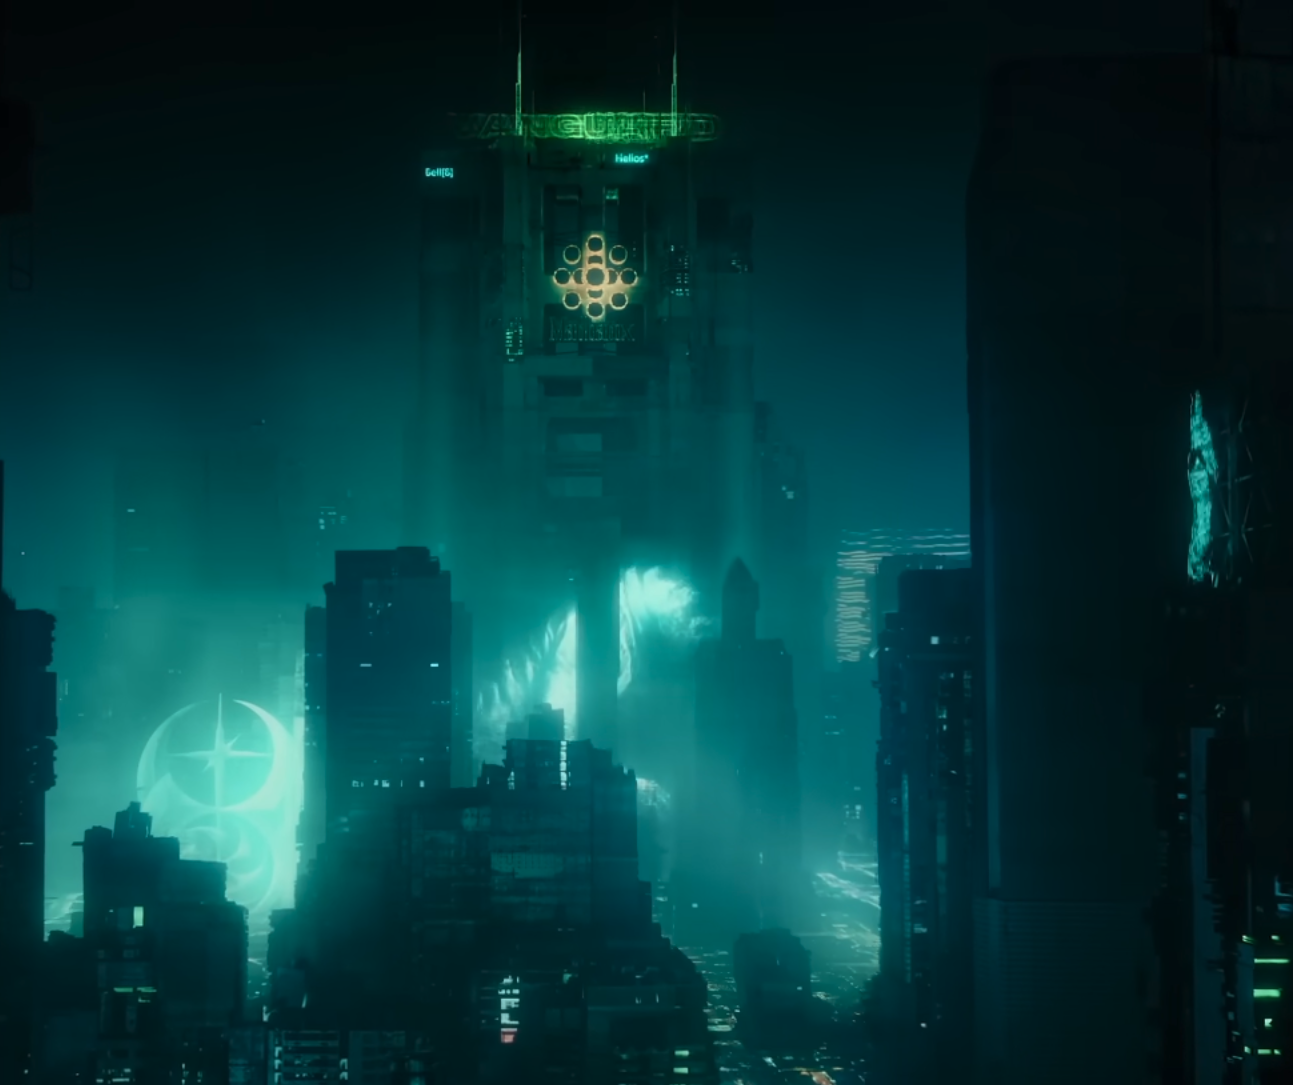
Two scenes majorly influenced our final design directions: a [screenshot] from Cyberpunk 2077 a neon-lit street with holographic fish, and a music video by Great Unknown [Enter shikari].
Building up the final scene was an iterative process. We started by looking into how to create our fish, as it was a key element of the scene, and possibly one of the more challenging elements. After getting a first version of the fish working, we proceeded to look for fitting assets in online libraries, trying to find models that matched our vision. Once we had a basic layout, we focused on lighting and materials, experimenting with different neon colors and bloom settings to achieve the desired atmosphere. Finally, we added small details and refined the composition to enhance the overall aesthetic.
The last touches involved fine-tuning the XML scene description, adding our rain generation and ensuring the fishes emit light.
For our final render, we applied denoising and bloom postprocessing. We actively decided against tone-mapping, as it would have reduced the strong contrast between the dark environment and the bright neon lights, which is a key aspect of our scene's aesthetic.
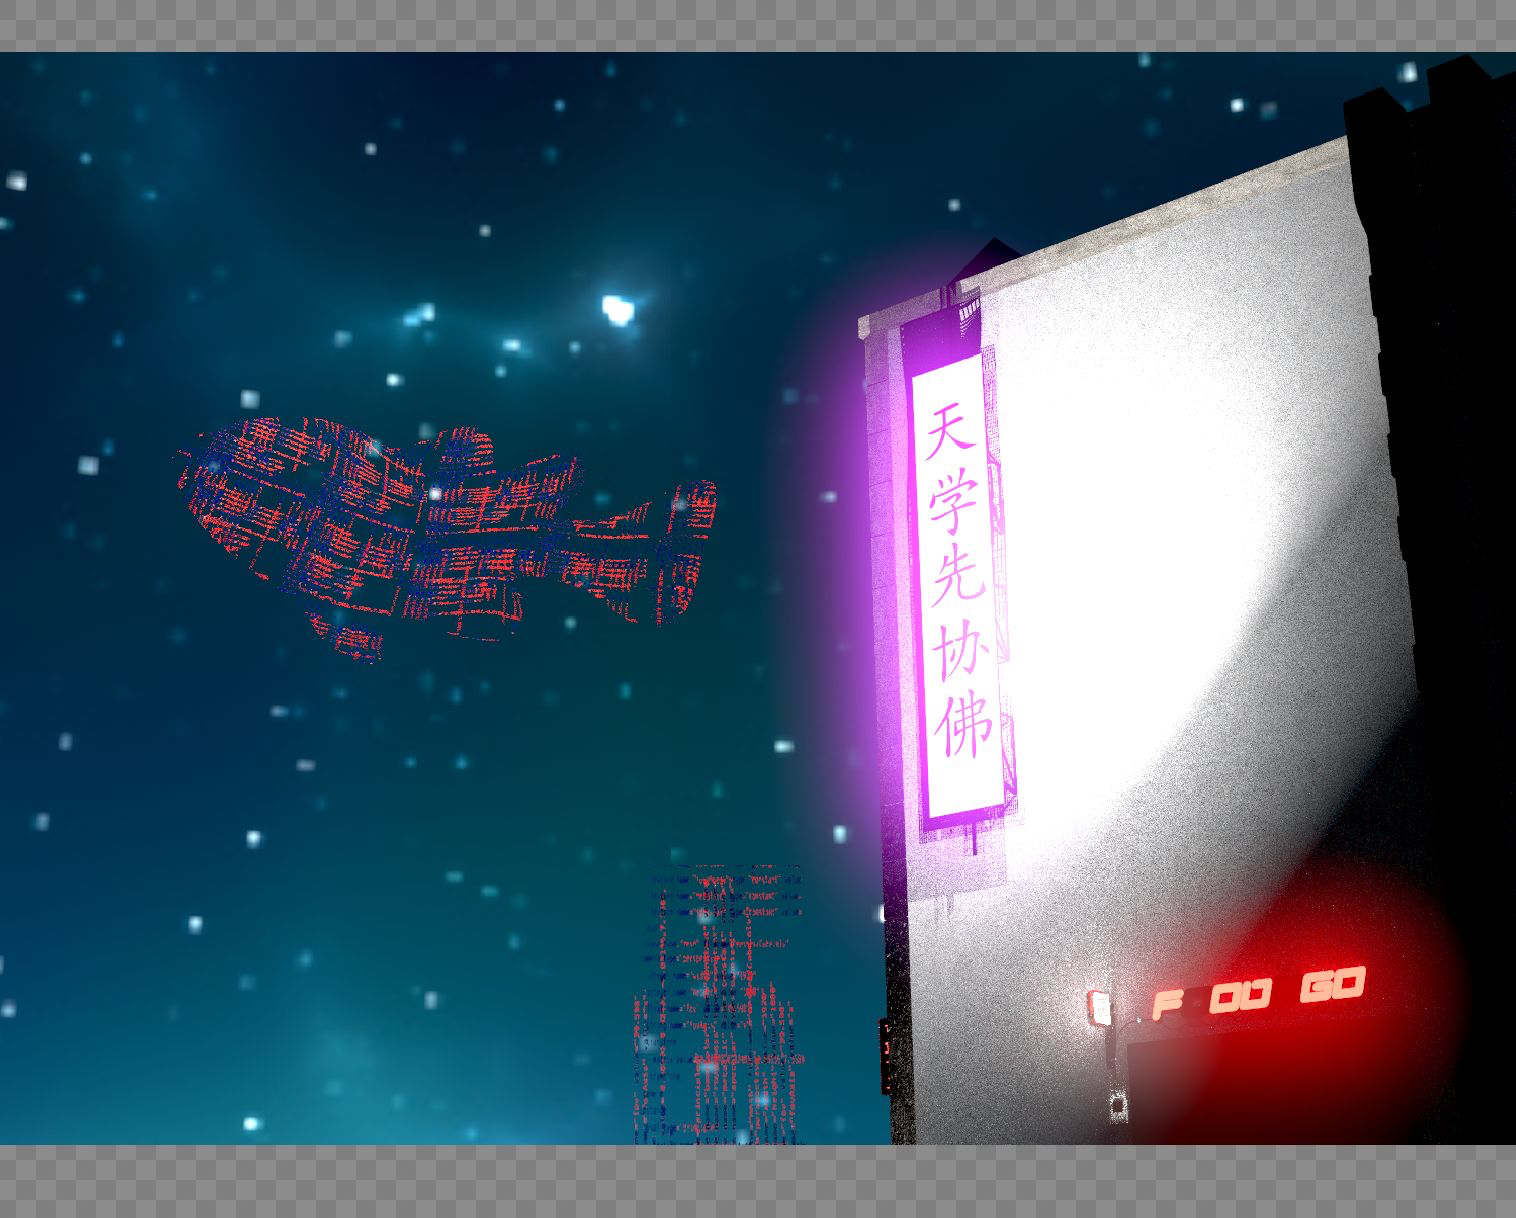
1. First Scene Tests
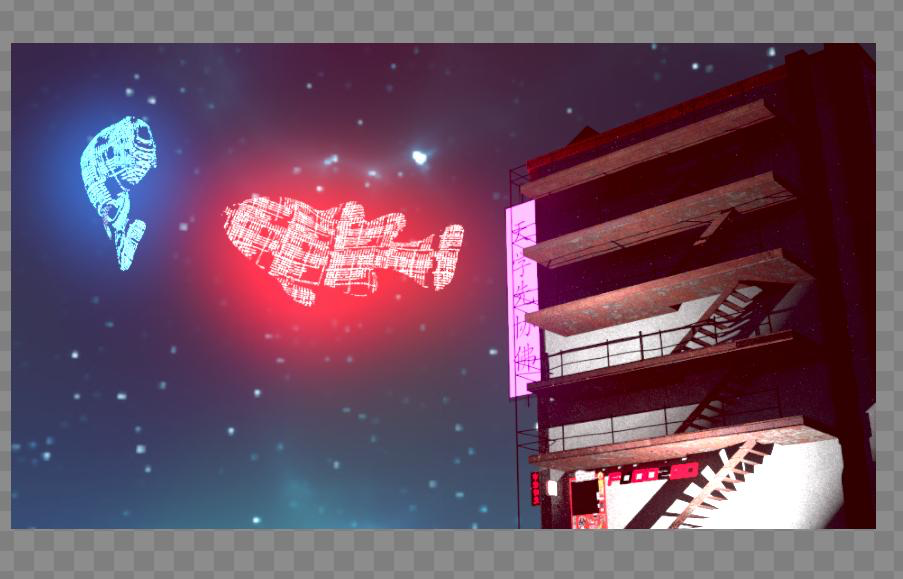
2. Added bloom and contrast colors
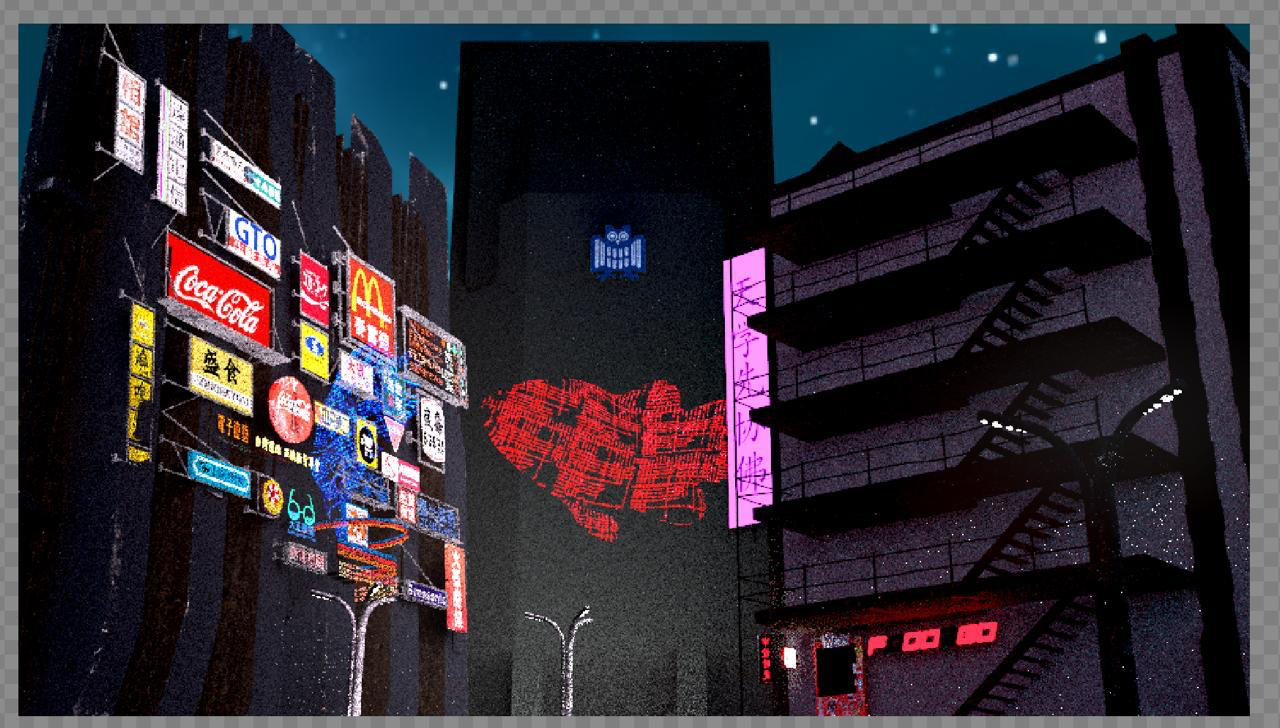
3. Buildup of new composition
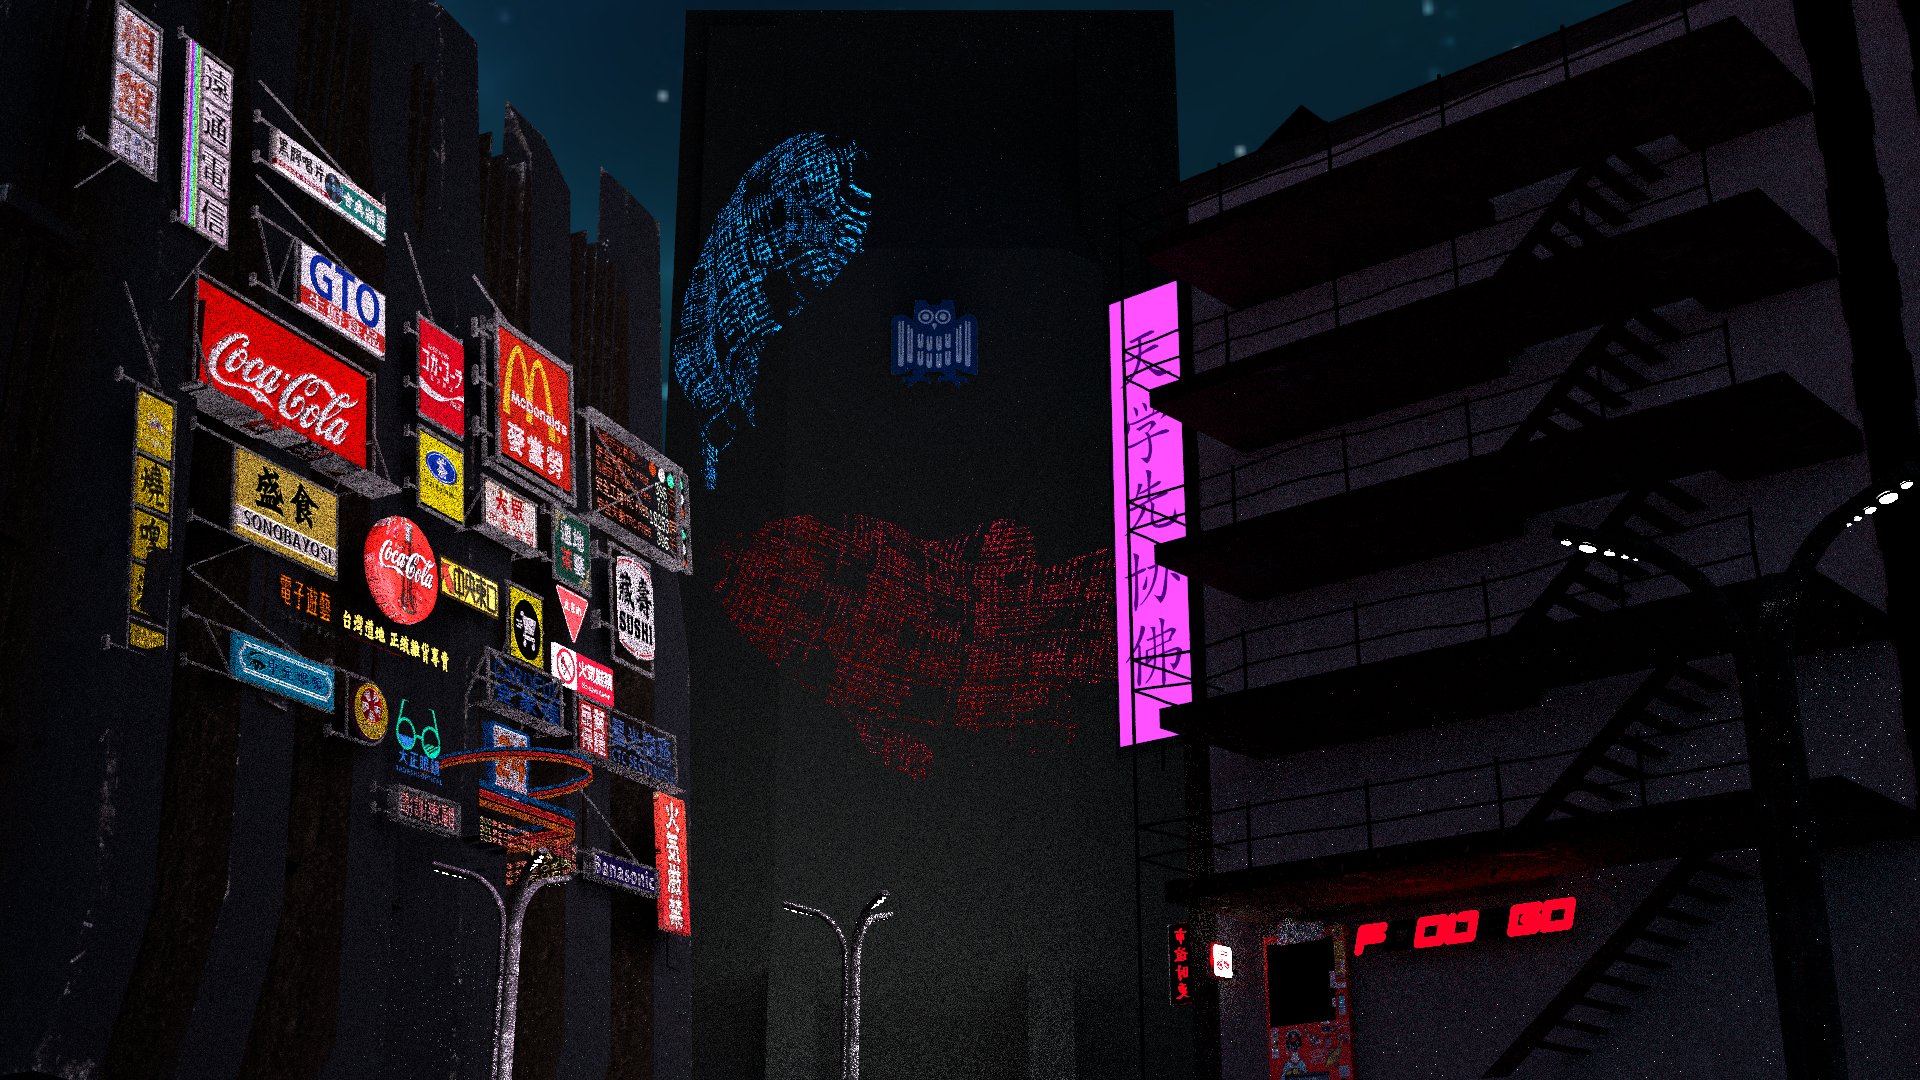
4. Atmosphere experiments, ensuring fish lighting
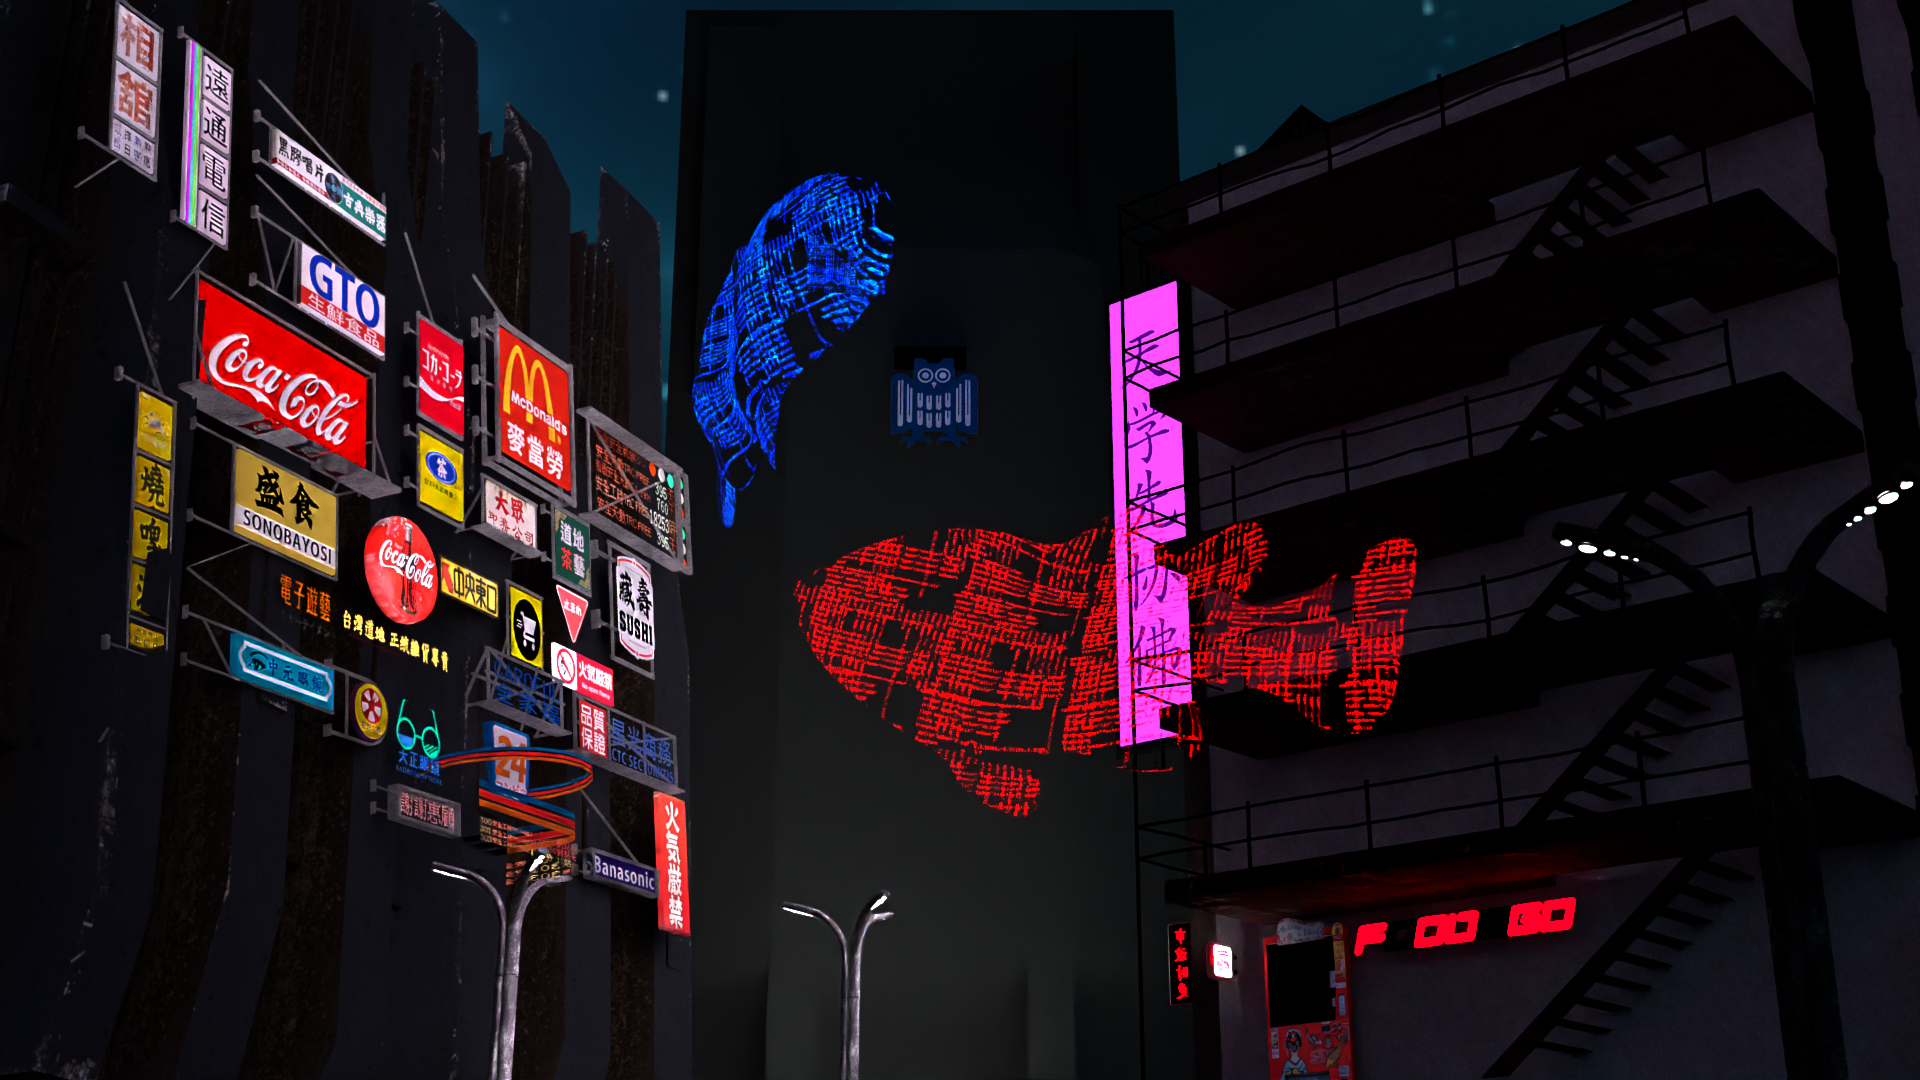
5. Refinements in composition
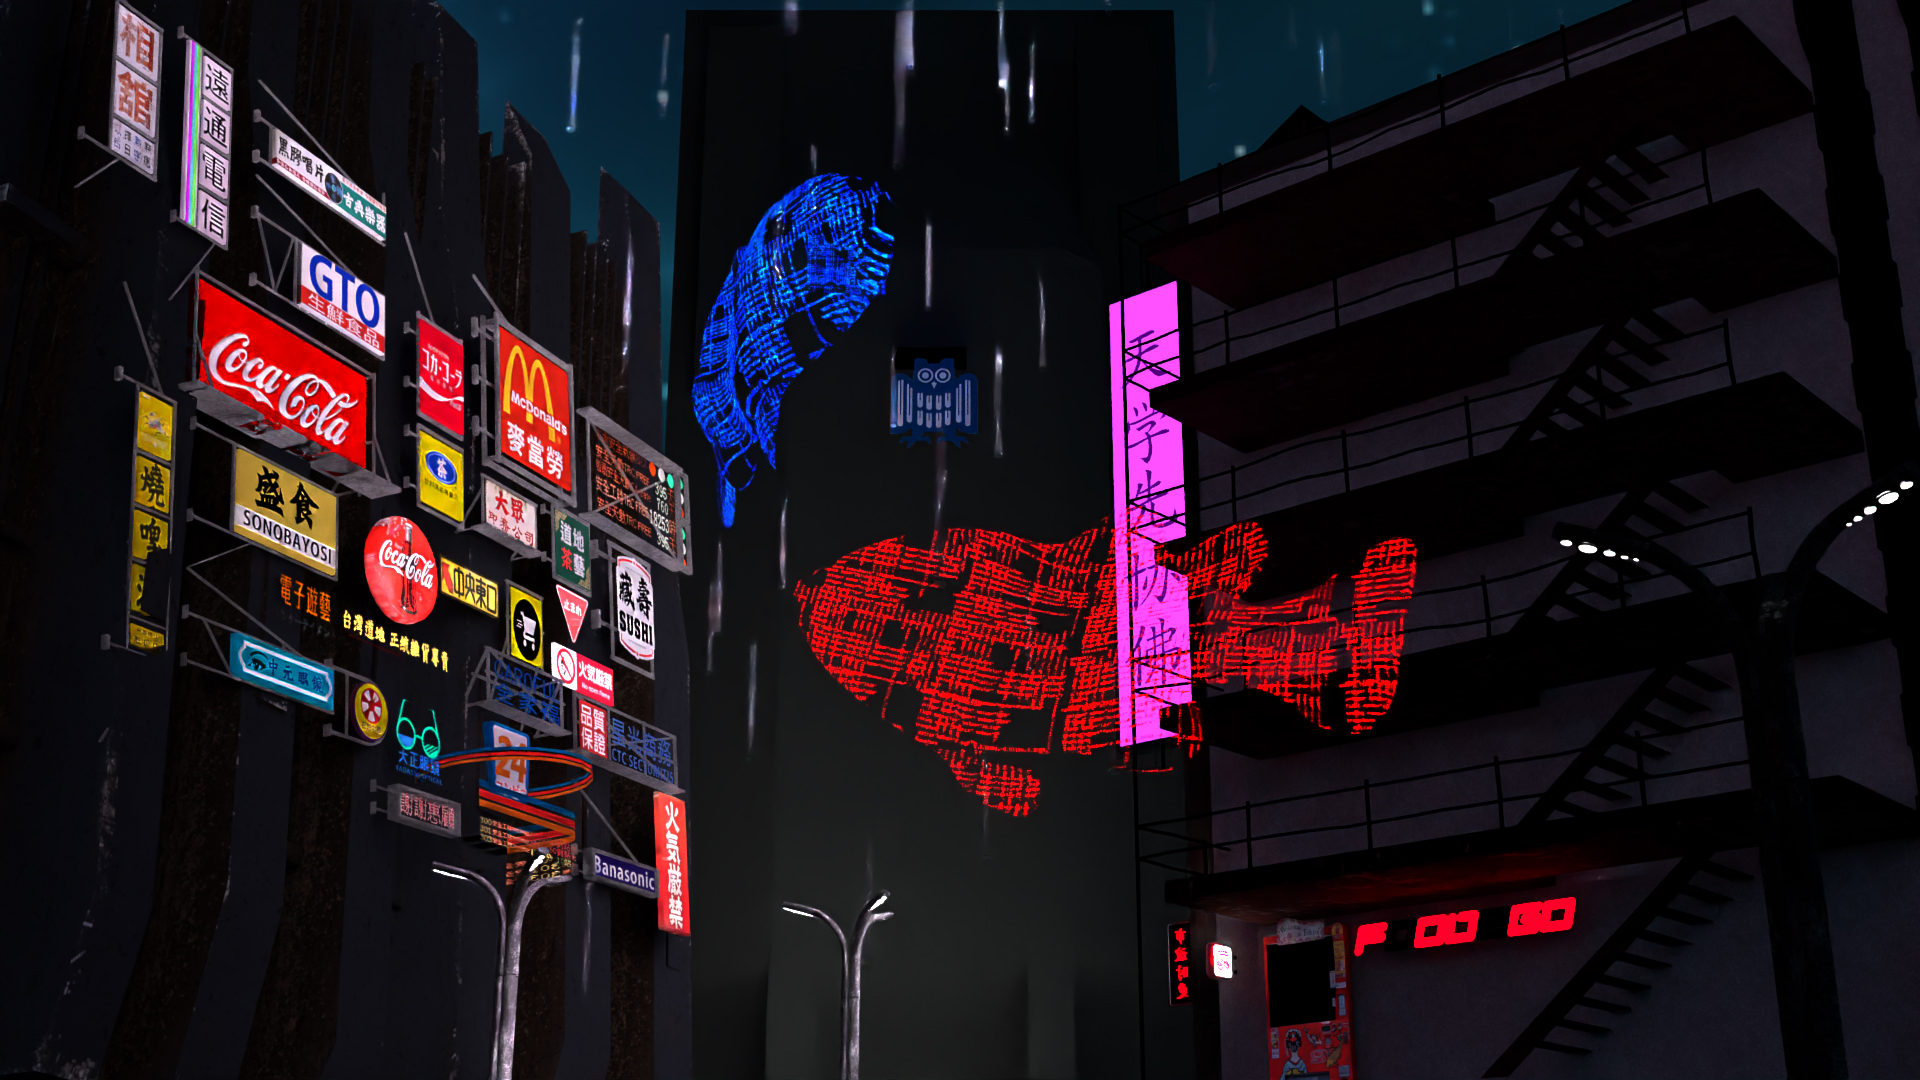
6. Rain Tests
"Let's do the Moana Scene."
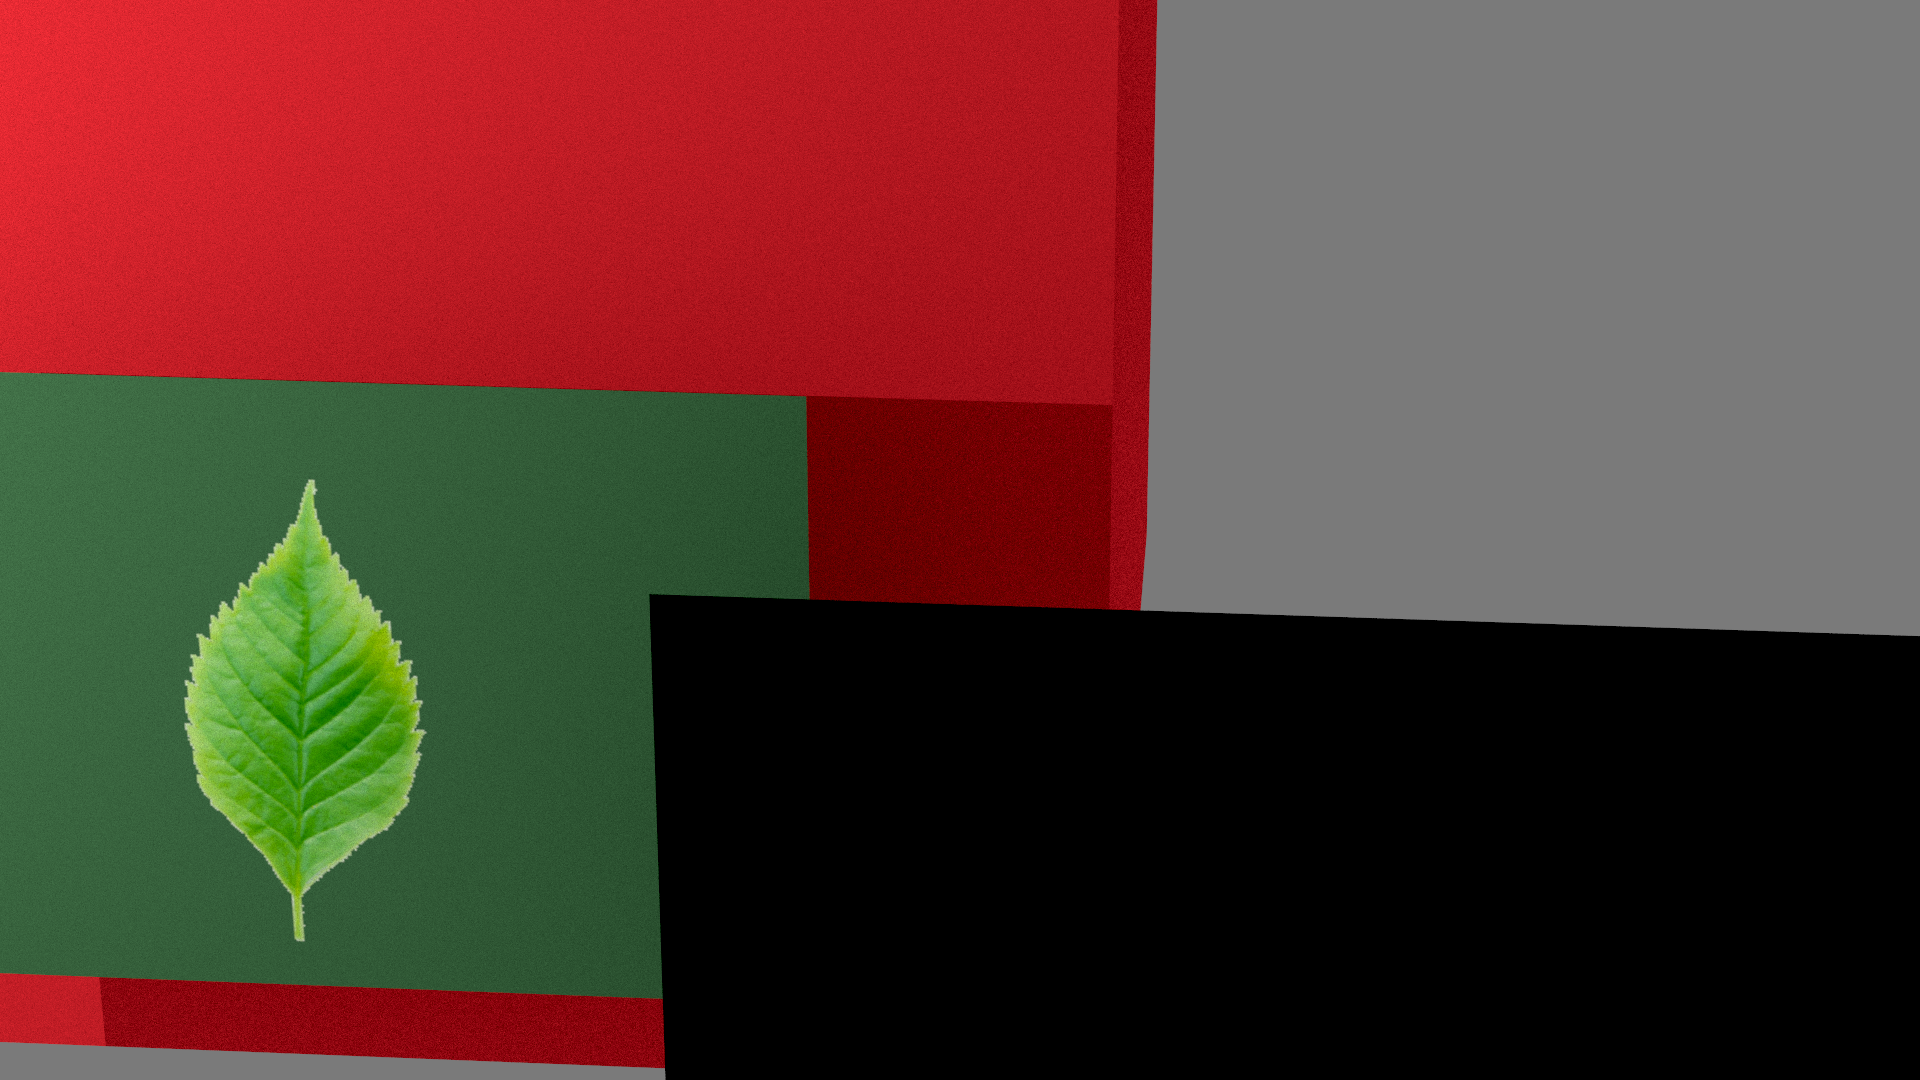
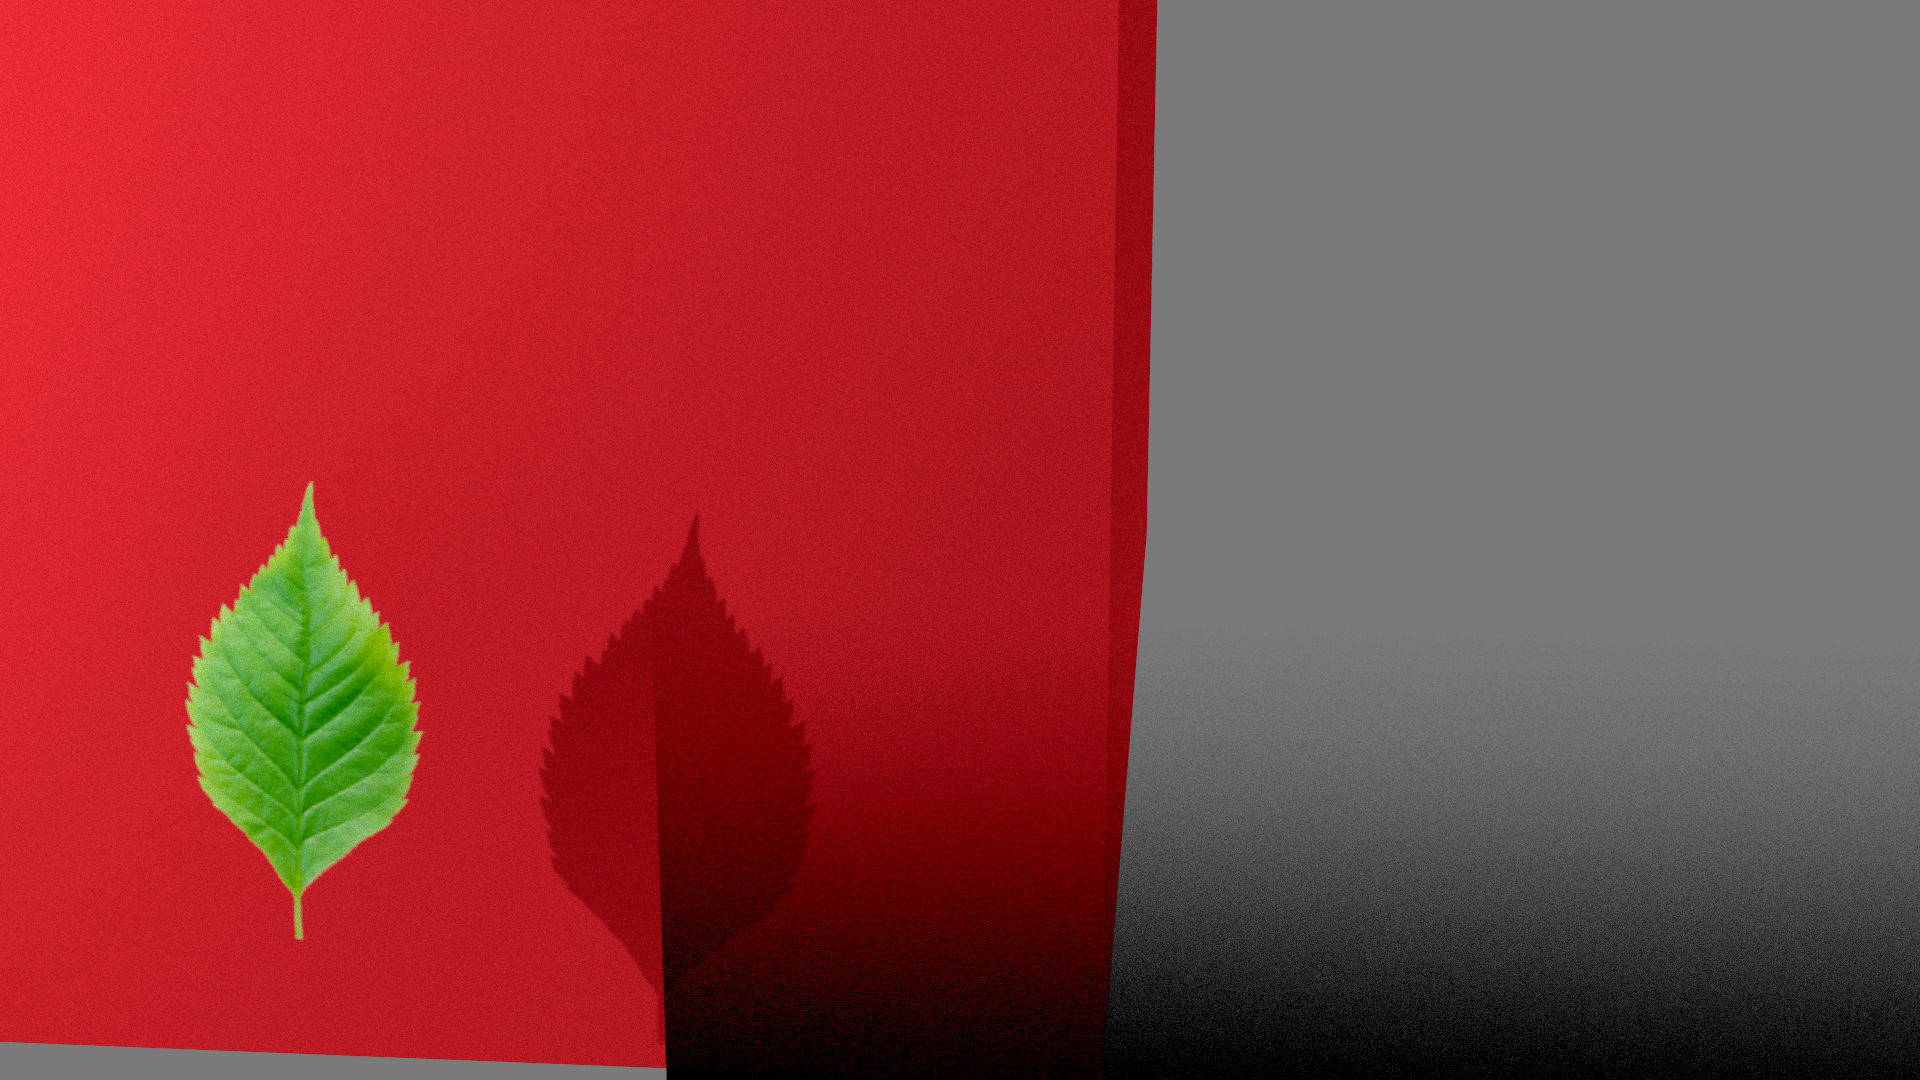
Alpha Masking allows us to use transparency in textures. Wo implemented alpha masking for png images, exr would be straightforward but wasn't required for our scene.
Implementation: Required changes were parsing and saving the texture for the alpha-values, as well as changing the BVH structure for "skips" in the BVH src/shapes/accel.hpp
and changing the intersection logic in Instance::transmittanceInternal to account for NEE. The biggest challenge was understanding how to change the parser to read the values.
No Alpha Masking vs. Alpha Masking:
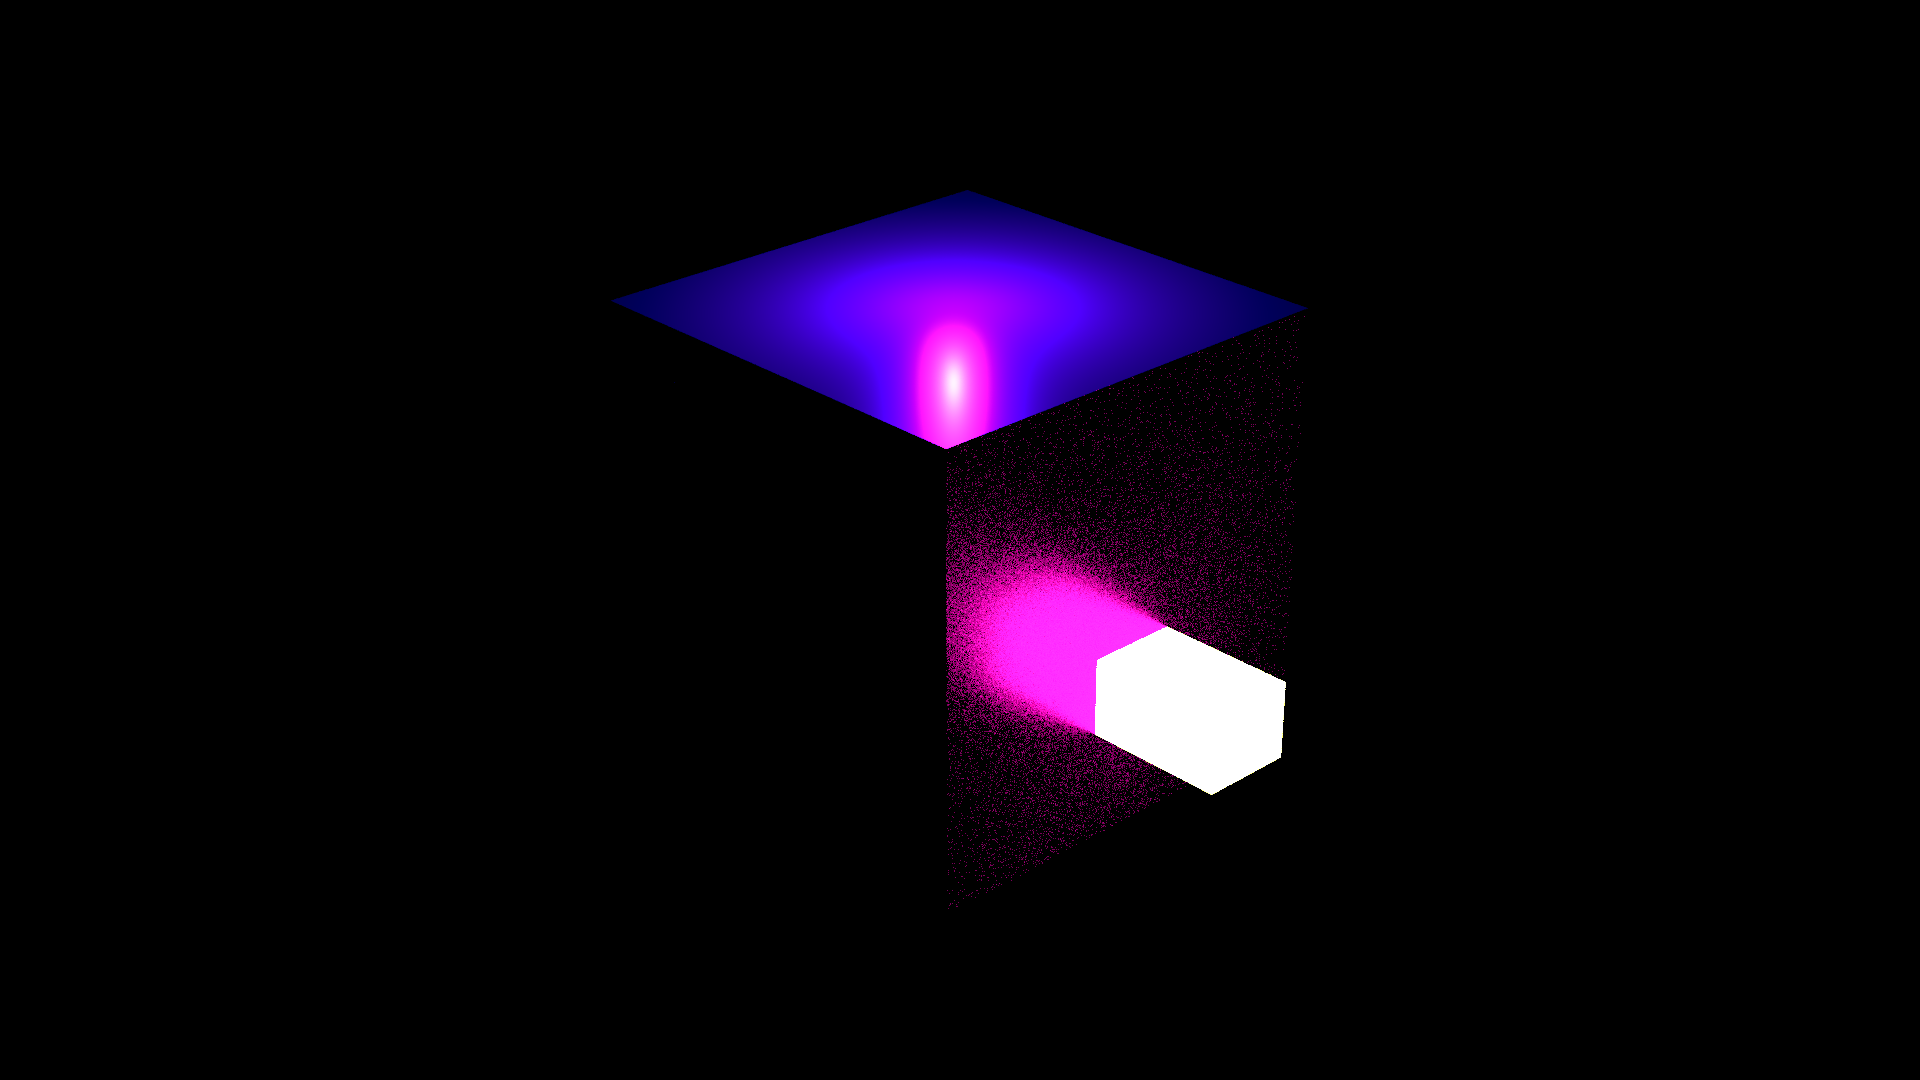
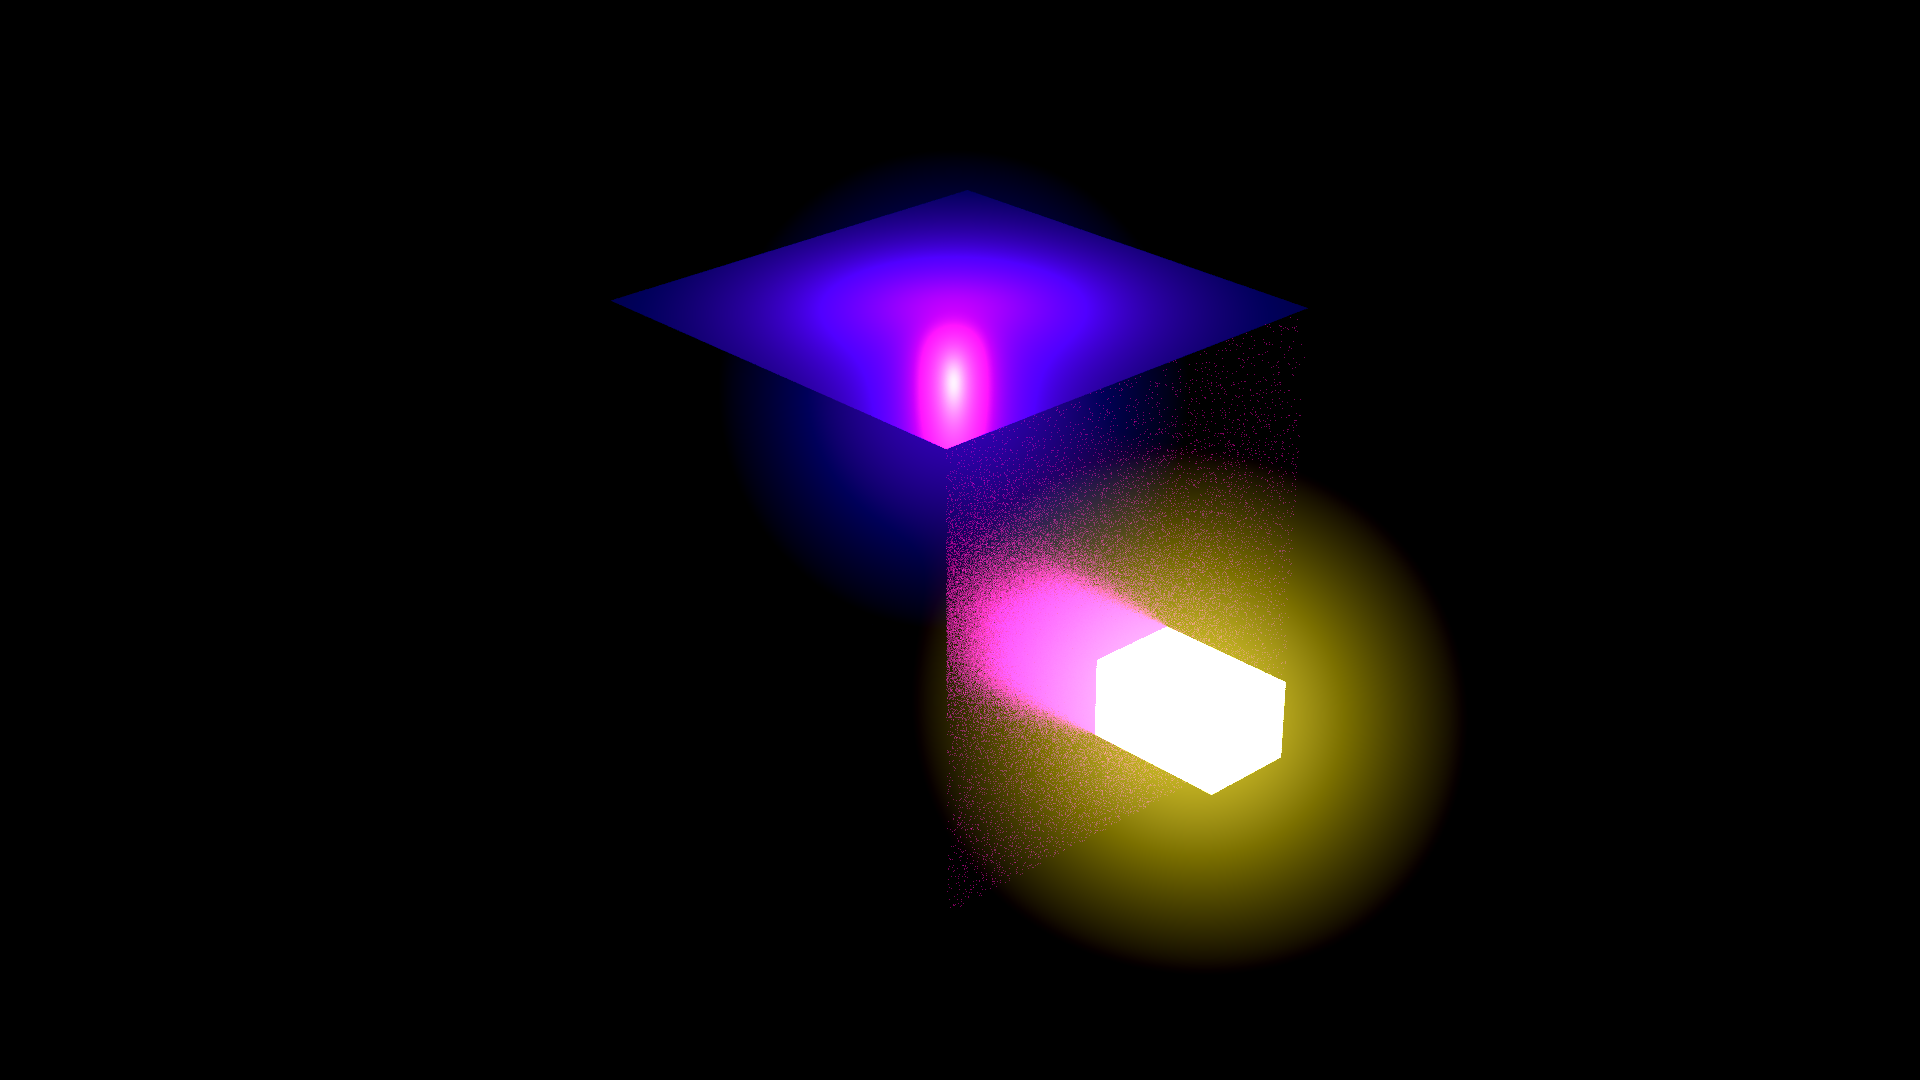
Post processing effect that simulates light bleeding from very bright areas into surrounding areas, creating a glow effect.
Implementation: Implemented by identifying bright pixels in the rendered image, applying a Gaussian blur to these areas, and then blending the blurred result back into the original image. Instead of simply applying
Gaussian blur multiple times, we create a pyramid-like structure where each level is a downsampled and blurred version of the previous level. This allows us to efficiently achieve a wide blur radius with fewer samples and somewhat a smoother bloom.
The implementation is in src/postprocesses/bloom.cpp. The biggest challenge was understanding the paper and translating it into code.
No Bloom vs. Bloom:
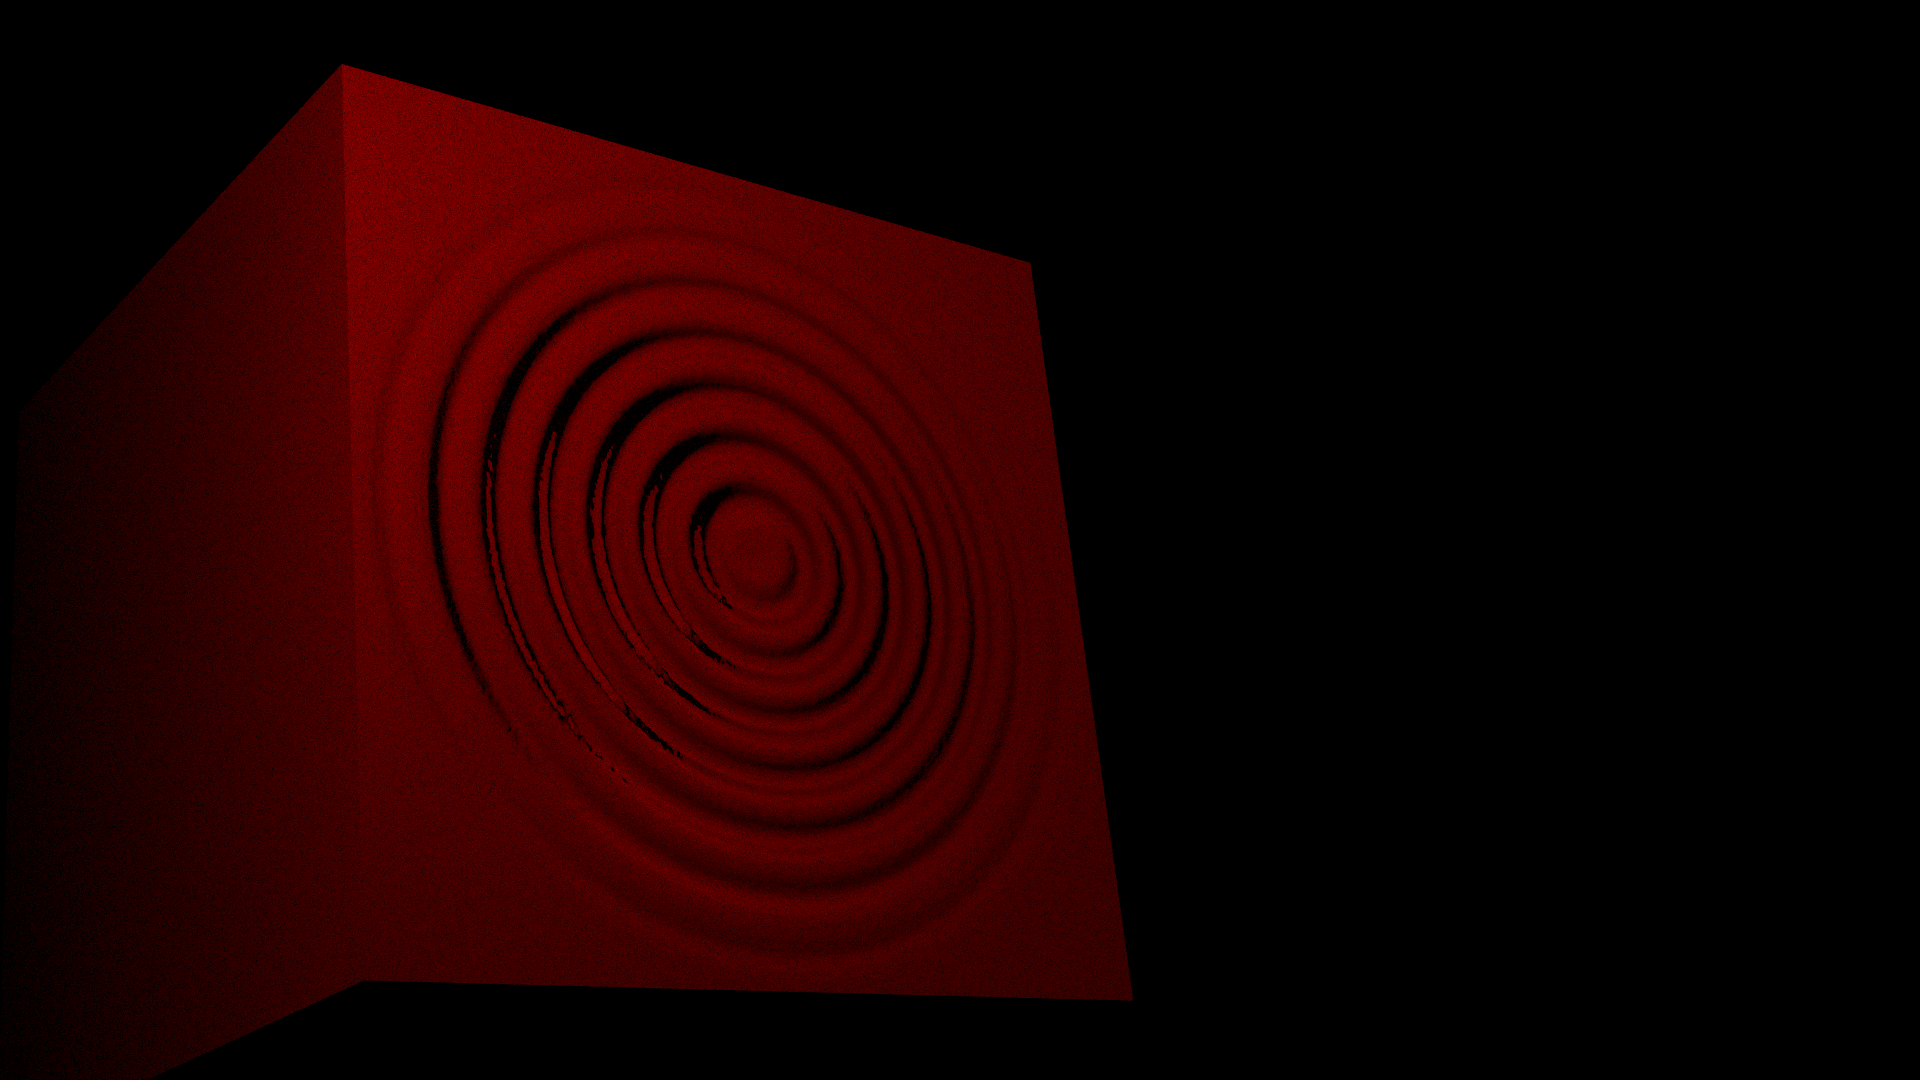
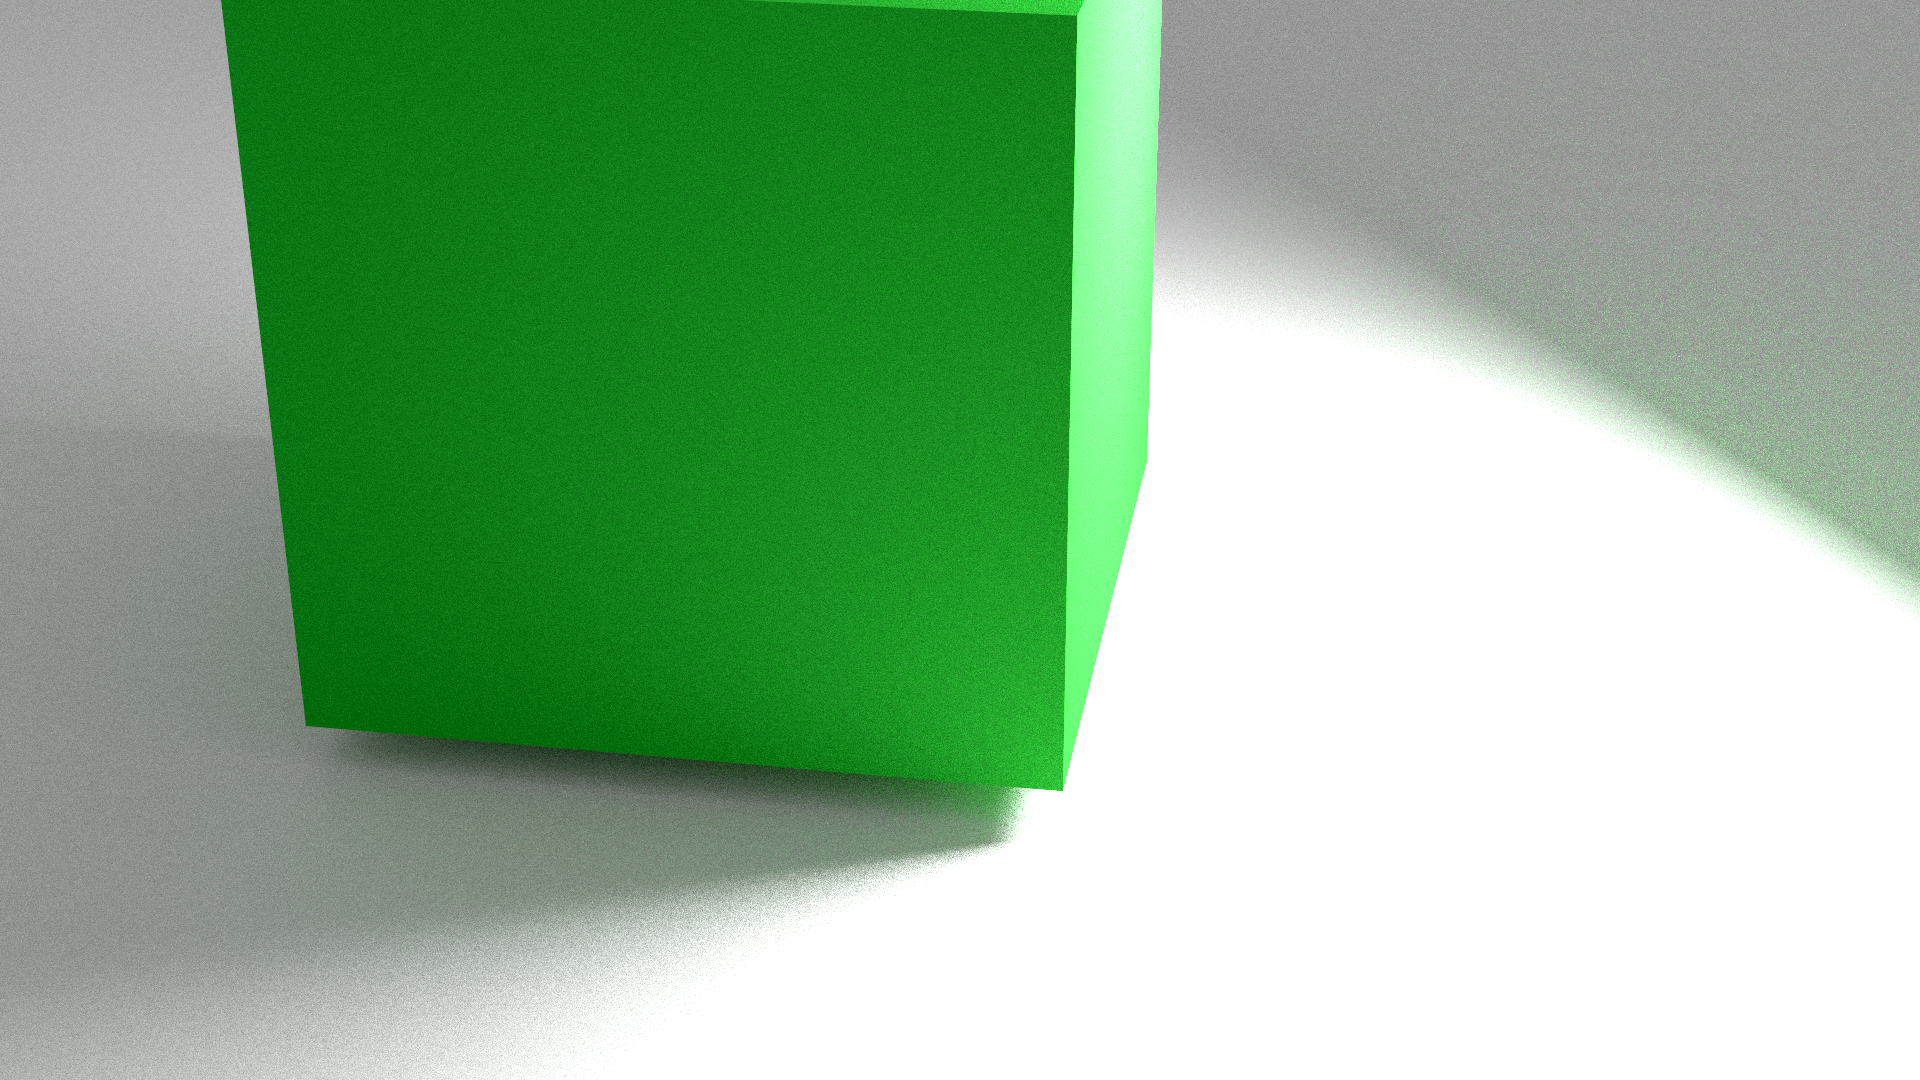
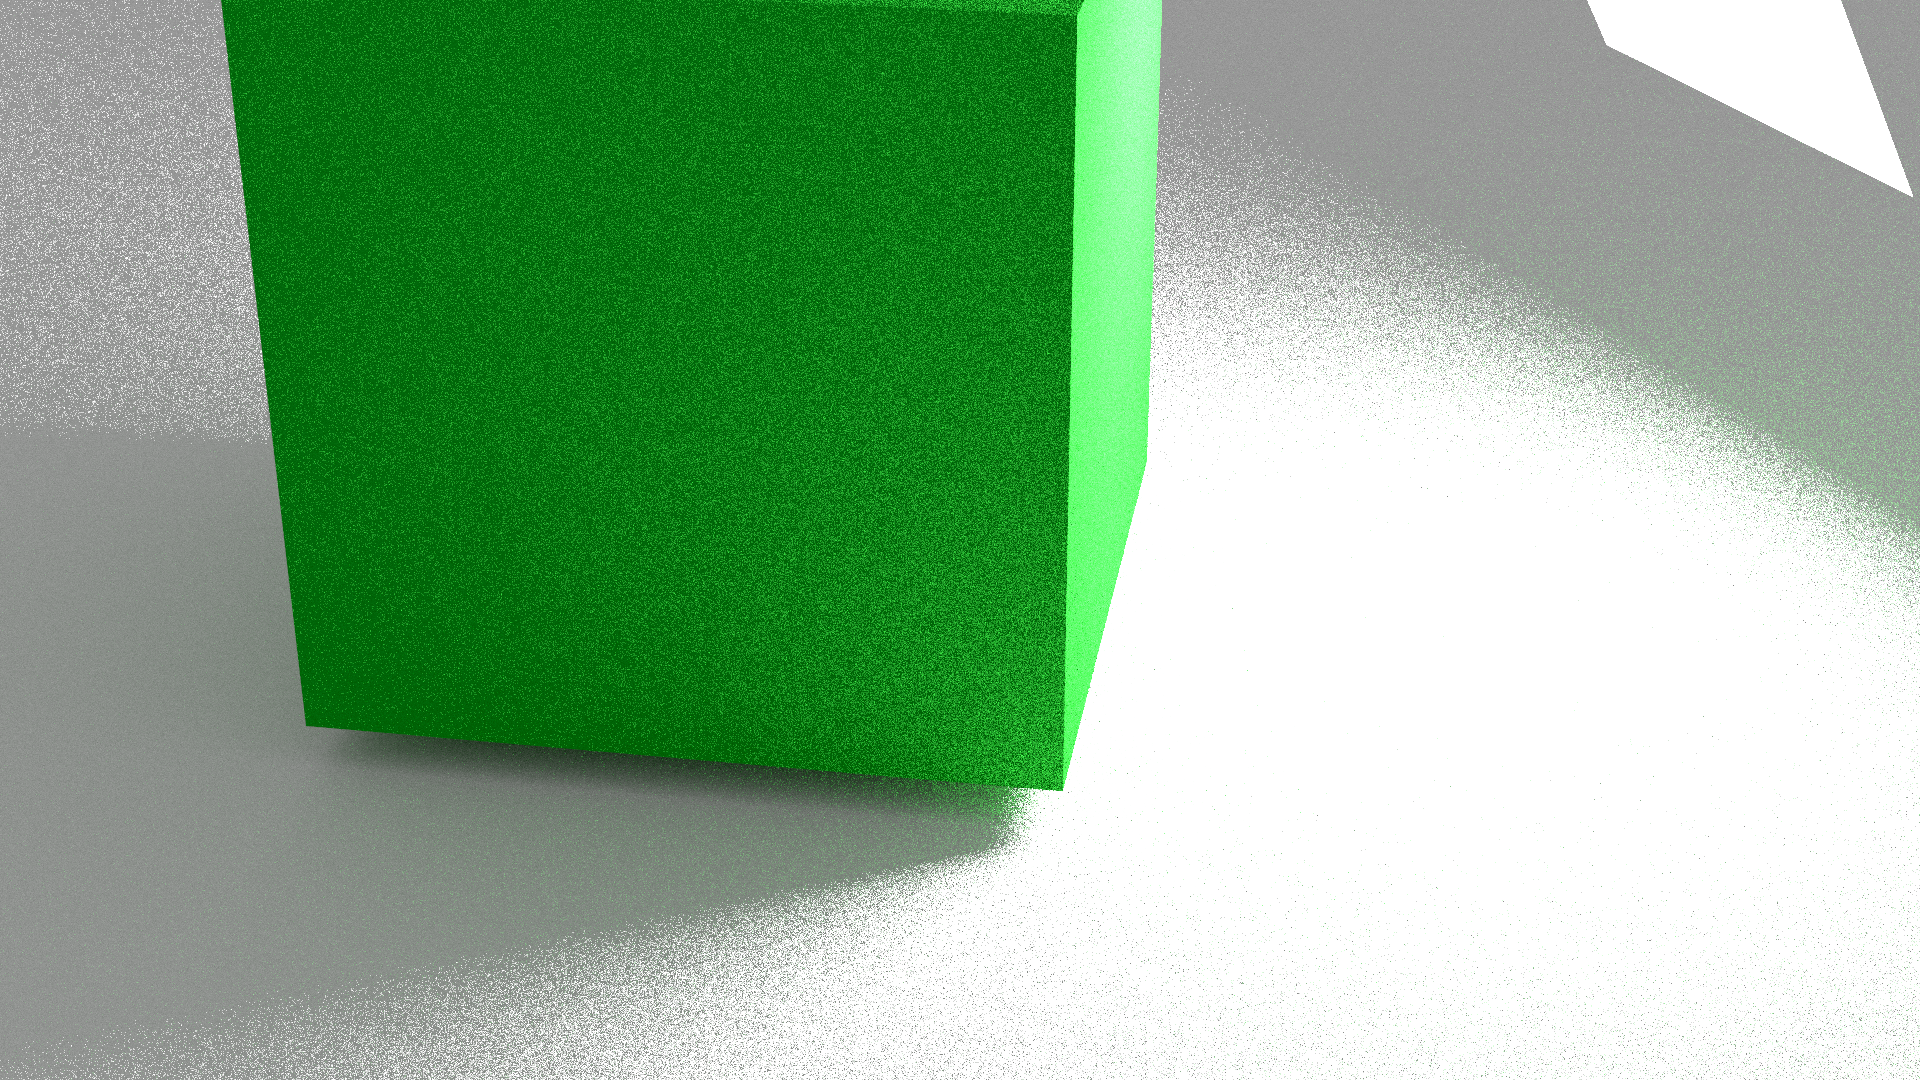
Allows loading normal maps from textures to simulate small surface details without increasing geometric complexity.
Implementation: Required change was just applying the normal map when transforming the instance src/core/instance.cpp. There was no challenge.
A plain cube with a normal map:
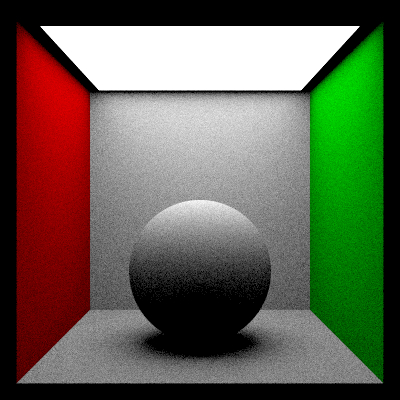
The image denoise feature uses the OpenImageDenoise library to reduce artifacts in the final render. It uses an additional pass to create a normal and albedo mapping for the full scene, which is then used to guide the denoising process.
Implementation: Required changes were adding the new postprocessing type (postprocesses/denoise.cpp), setting up the Intel OpenImageDenoise library.
For the normal pass, we were able to reuse the normals AOV integrator. The albedo pass required adding an albedo method
to all BDSFs (bsdfs/*), which return the base color at a certain intersection point. The most challenging part was linking the library properly.
No Image Denoise vs. Image Denoise:
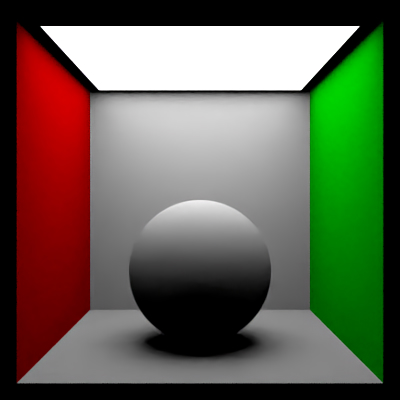
Motion blur creates the illusion of movement in a still image. The target effect is similar to a long exposure photograph, where moving objects are blurred along their path of motion.
In our scene, we use motion blur for the rain effect, making the raindrops appear as streaks of light rather than static points.
Implementation: The implementation required small changes to the ray generation (cameras/perspective.cpp), as a new time component needed to be sampled for each ray (core/math.cpp).
Then, as we wanted to allow motion blur for all kinds of objects, we had to modify the instance (src/instance.cpp) to allow passing the shapes transform to all its functions.
In the motion blurred version of the instance (src/motion_instance.cpp), we thus use the instance implementation, but pass an interpolated
transform based on the ray time. The most time was spent fighting the compiler, as sub-classing is not as easy as in other languages.
Limitation: We did not implement rotation interpolation. We saw no usecase in our scene that would require it and it would have made the interpolation logic significantly more complex, as we would have had to implement quaternions.
No Motion Blur vs. Motion Blur:
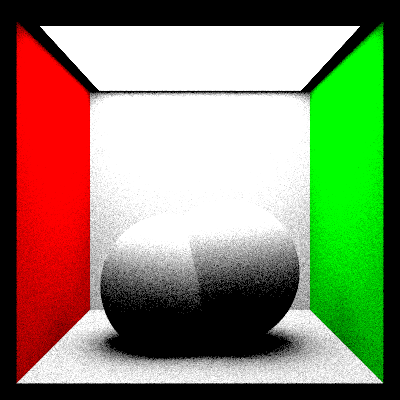
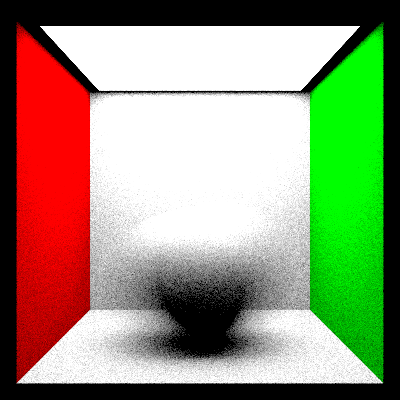
Area lights are light sources that emit light from a defined surface area, resulting in softer shadows and more noise free lighting compared to emissive textures.
Implementation: Added a new light type src/lights/area.cpp that tracks child instances. Supported area light shapes are rectangles (already implemented sample area) and spheres with the sampleArea functions.
The most difficult part was reading up the theory behind sphere sampling.
Limitation: We did not implement area lights for arbitrary meshes, however combinations of rectangles and spheres should be sufficient for most use cases.
Area Light vs. Emissive Texture:
"We just downloaded all cool assets and put them into one scene" ~ a previous CG student
Royalty-free assets:
Create-Commons Attribution Licensed assets: