Winter 2025/26 Rendering Competition • Saarland University

Life Moves Fast.

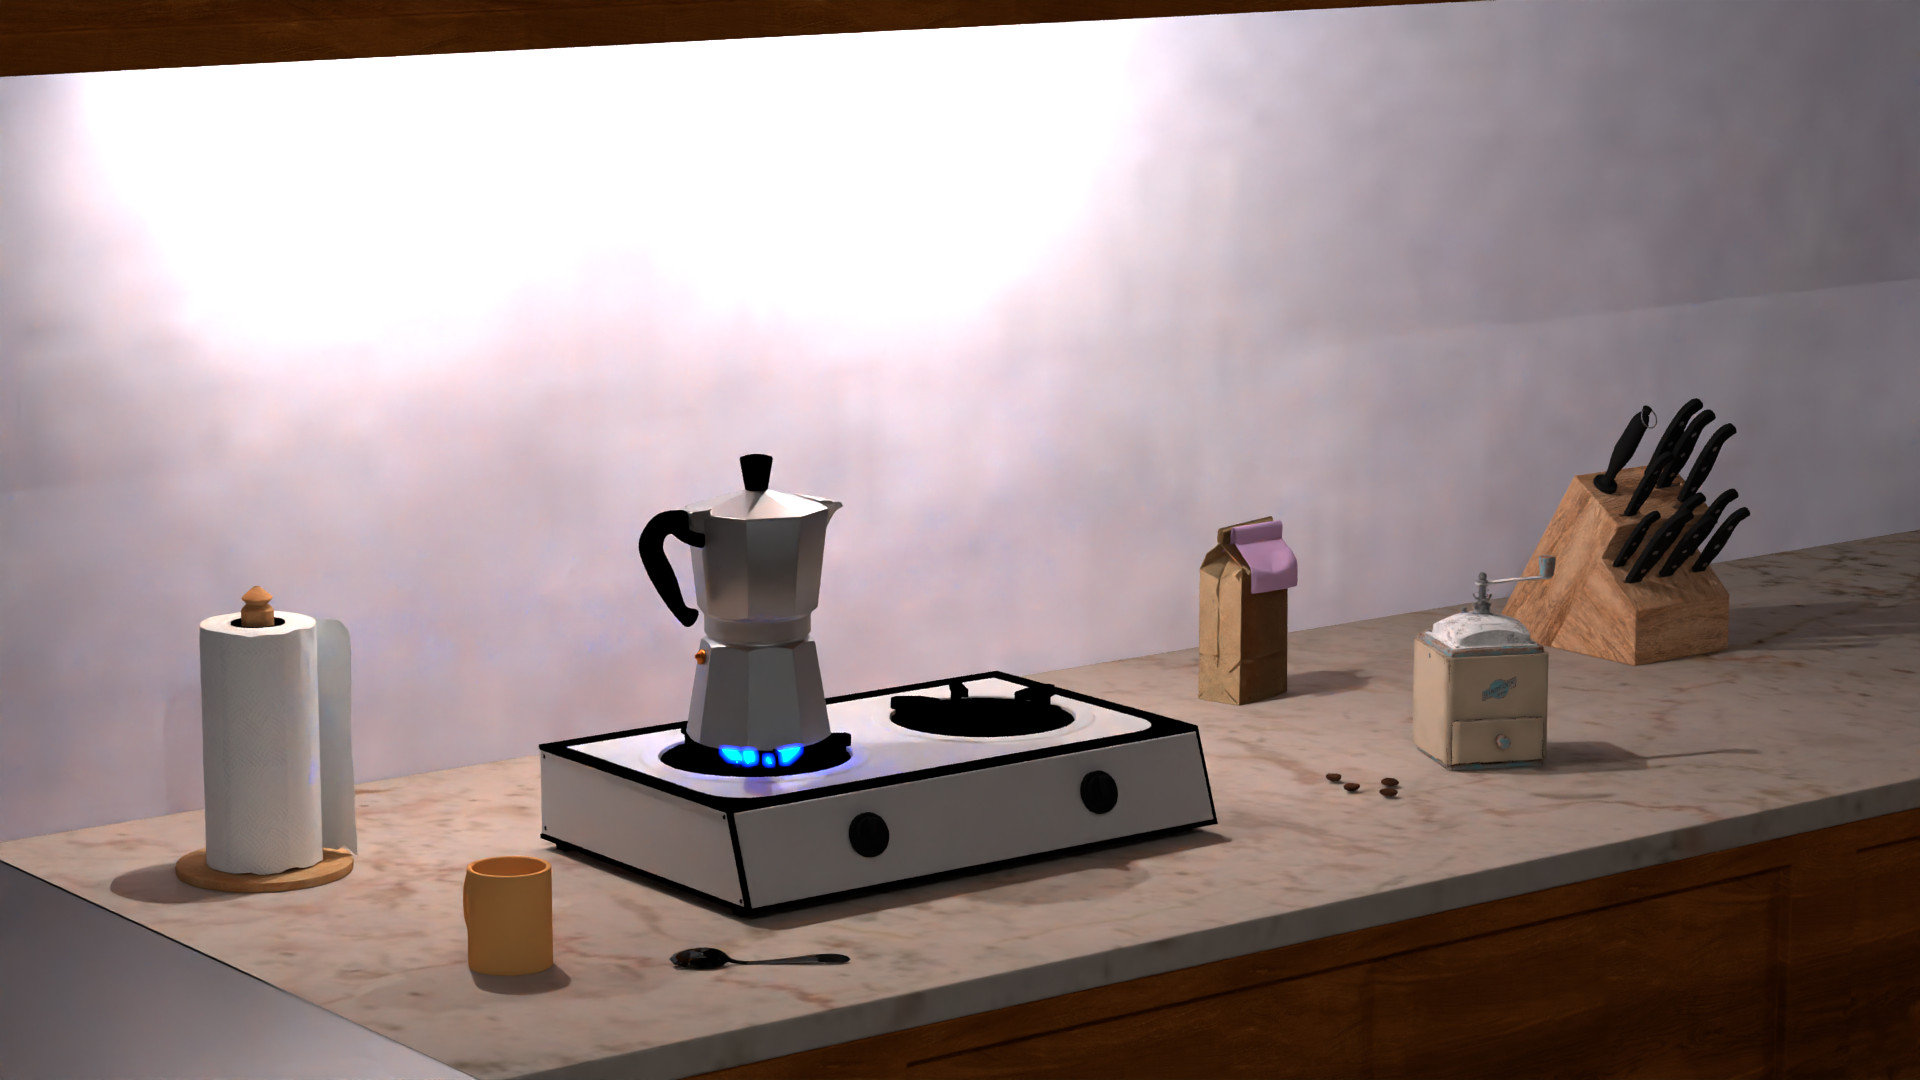
Rush - Kitchen Scene

ā˜• The morning rush captured in light and shadow.

The kettle whistles. The clock ticks. Life doesn't wait for the perfect shot — and neither did we (and nor did the dead-line, resulting in an increased coffee consumption of the authors). "Rush" captures that chaotic, beautiful moment when morning light floods the kitchen and you're already running late.

We used our renderer to create a scene which represetnts the simple yet chaotic moment of the day, the blue glow of gas flame, the warm morning light streaming in, the subtle reflections on the surfaces Every feature highlights the rush moments.

By The Numbers

Render Statistics
638125
Triangles
16
Samples per Pixel
4
Minutes
(Intel i5 1135G7 4c8t @ 4.2Ghz*)
*overclocked with caffeine
6
Lights

The Process

✦

From concept to final render

Step 00

Concept & Planning

Visualizing the final scene was rather simple as it's only 20 steps aways from the authors desks.

Step 01

First (baby) steps

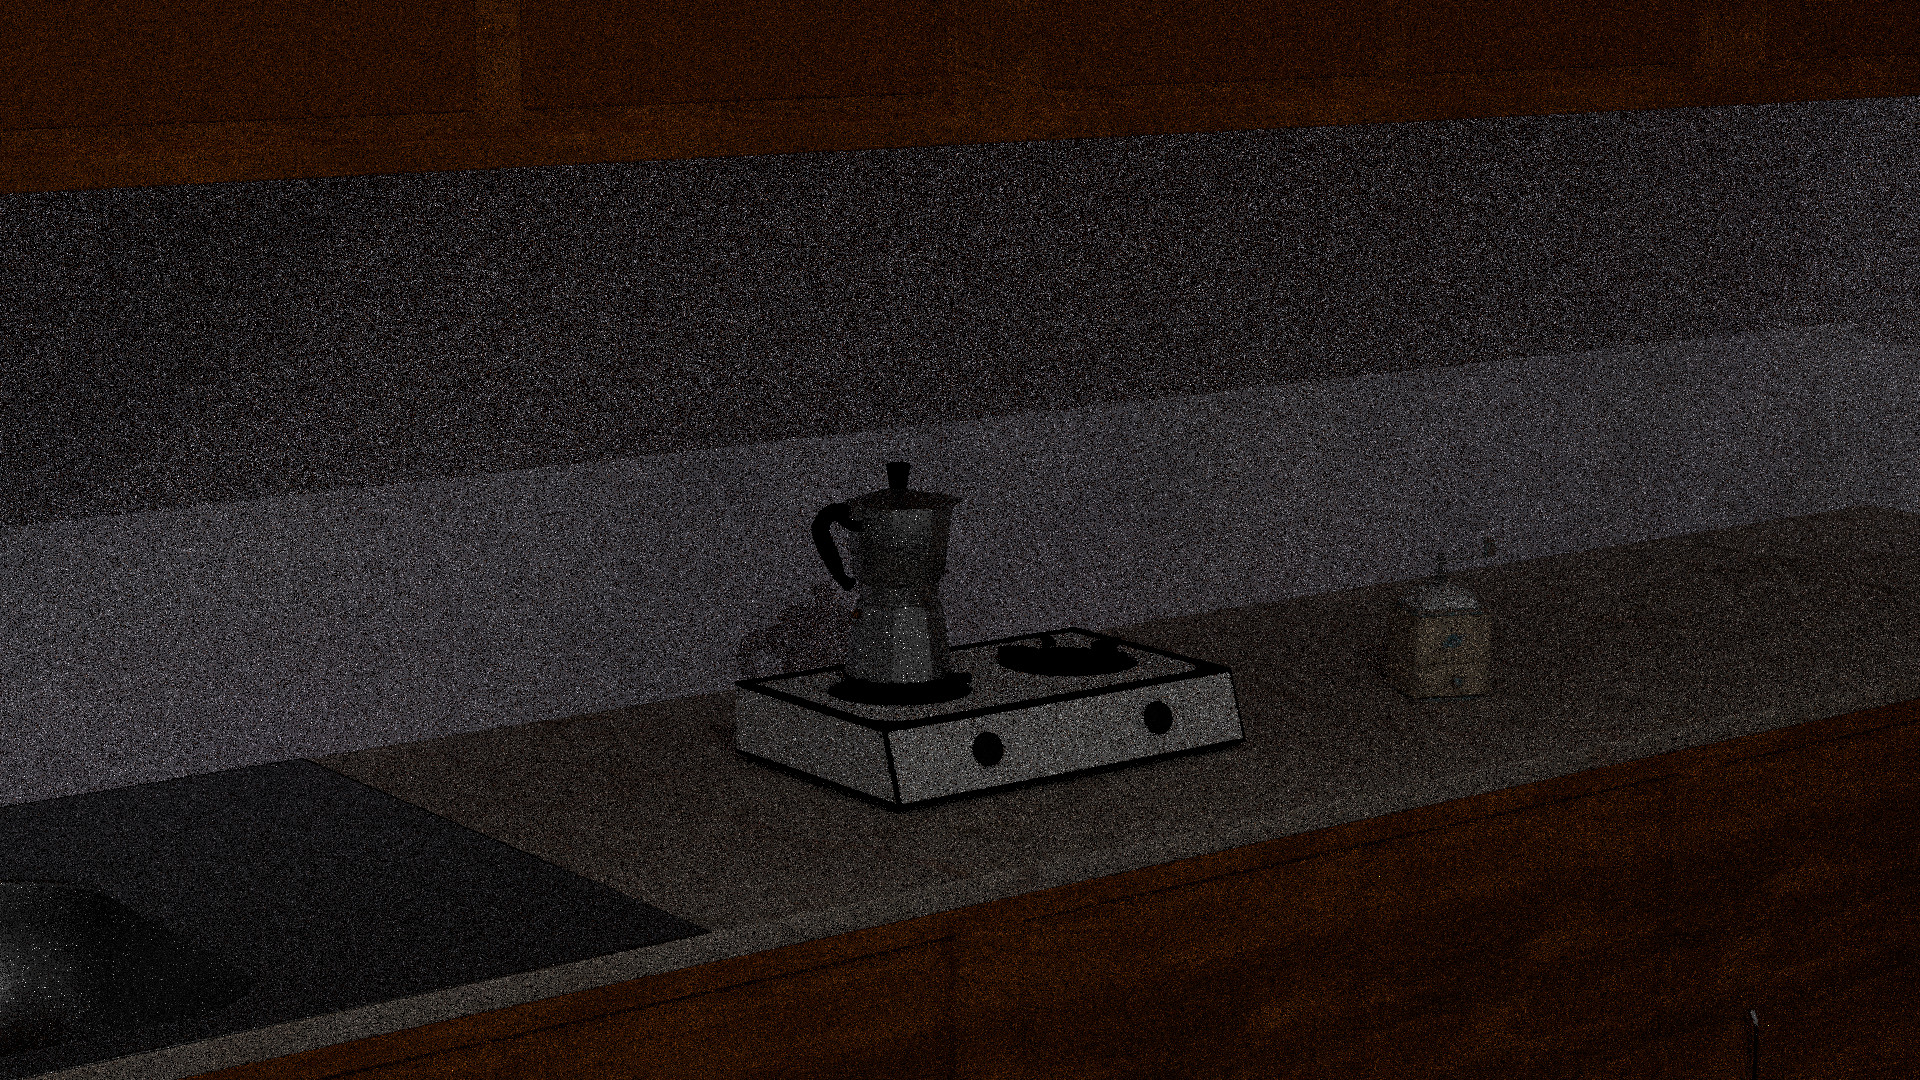
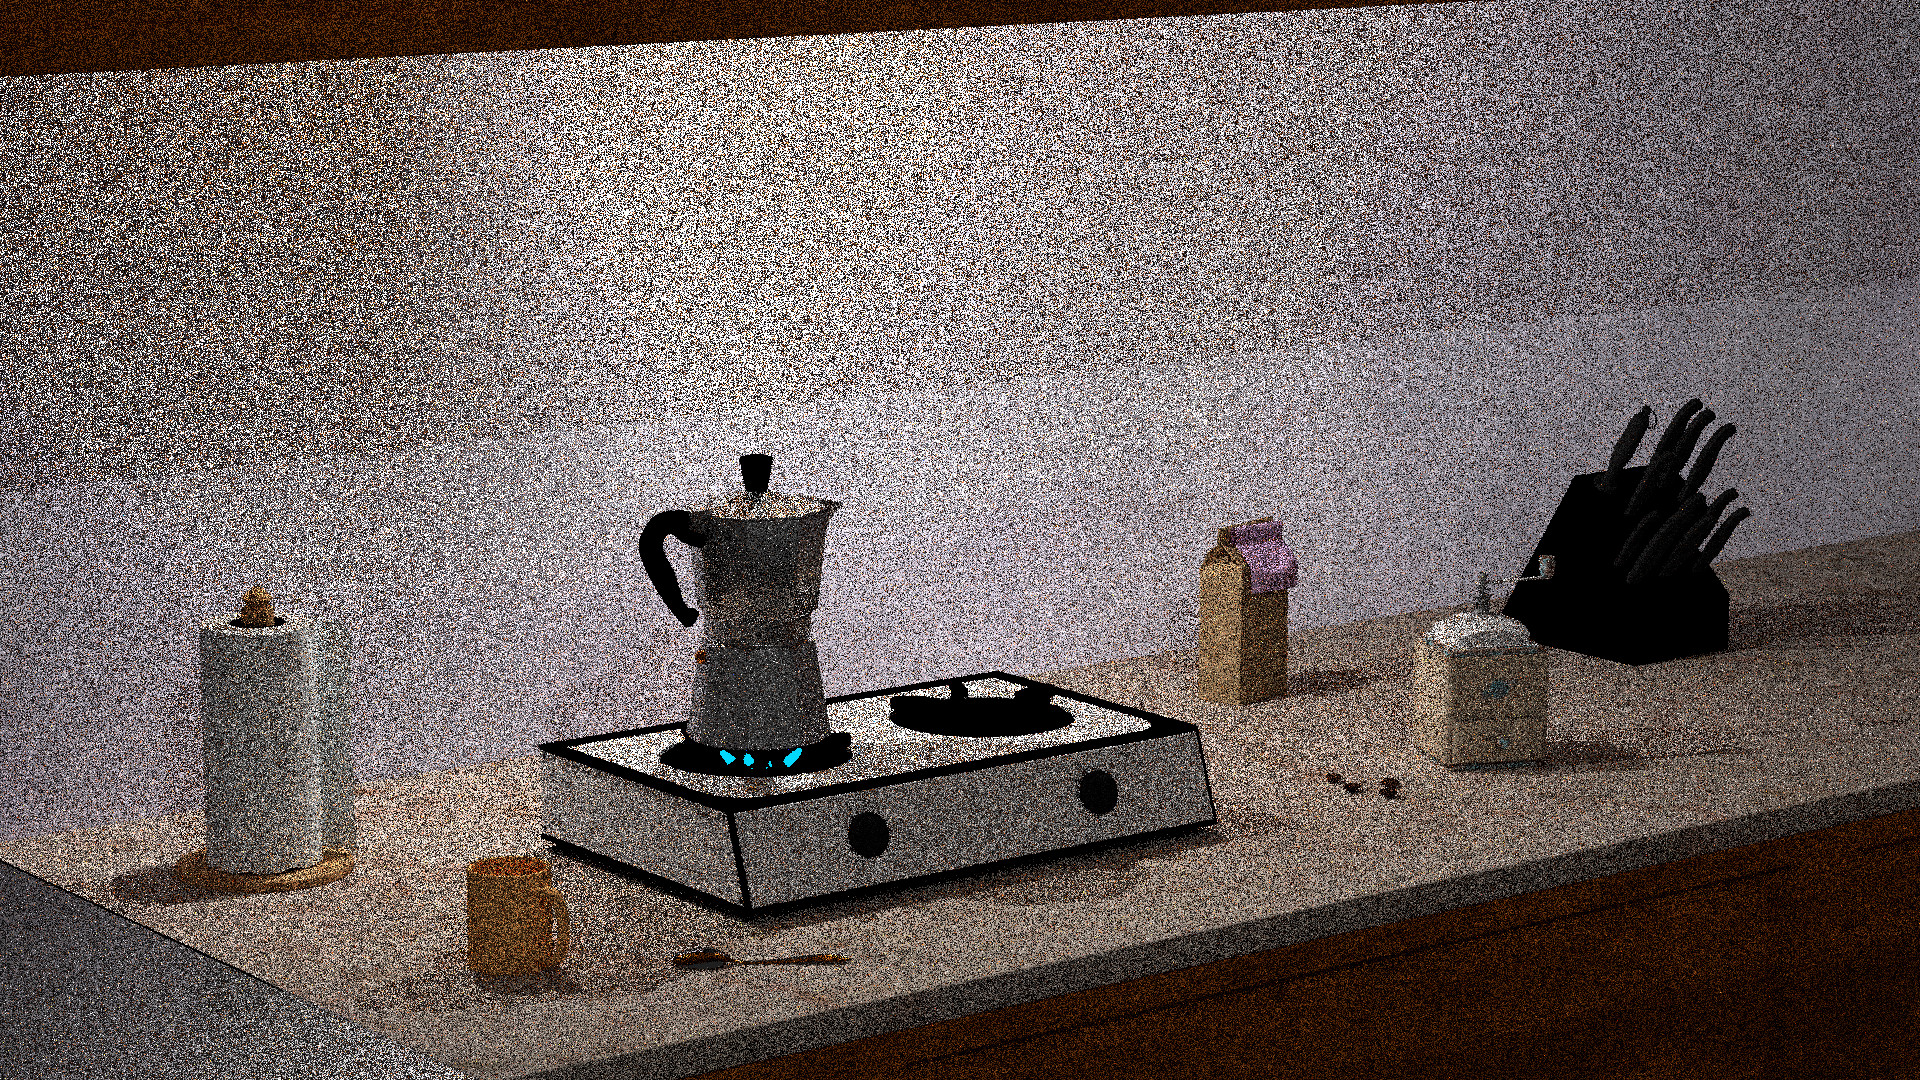
The first (non-black) output of our renderer. Hurray!!! (this took way too long and too many coffees ā˜•)

Step 02

Adding Objects

We placed our first objects. Great Success!!

Step 03

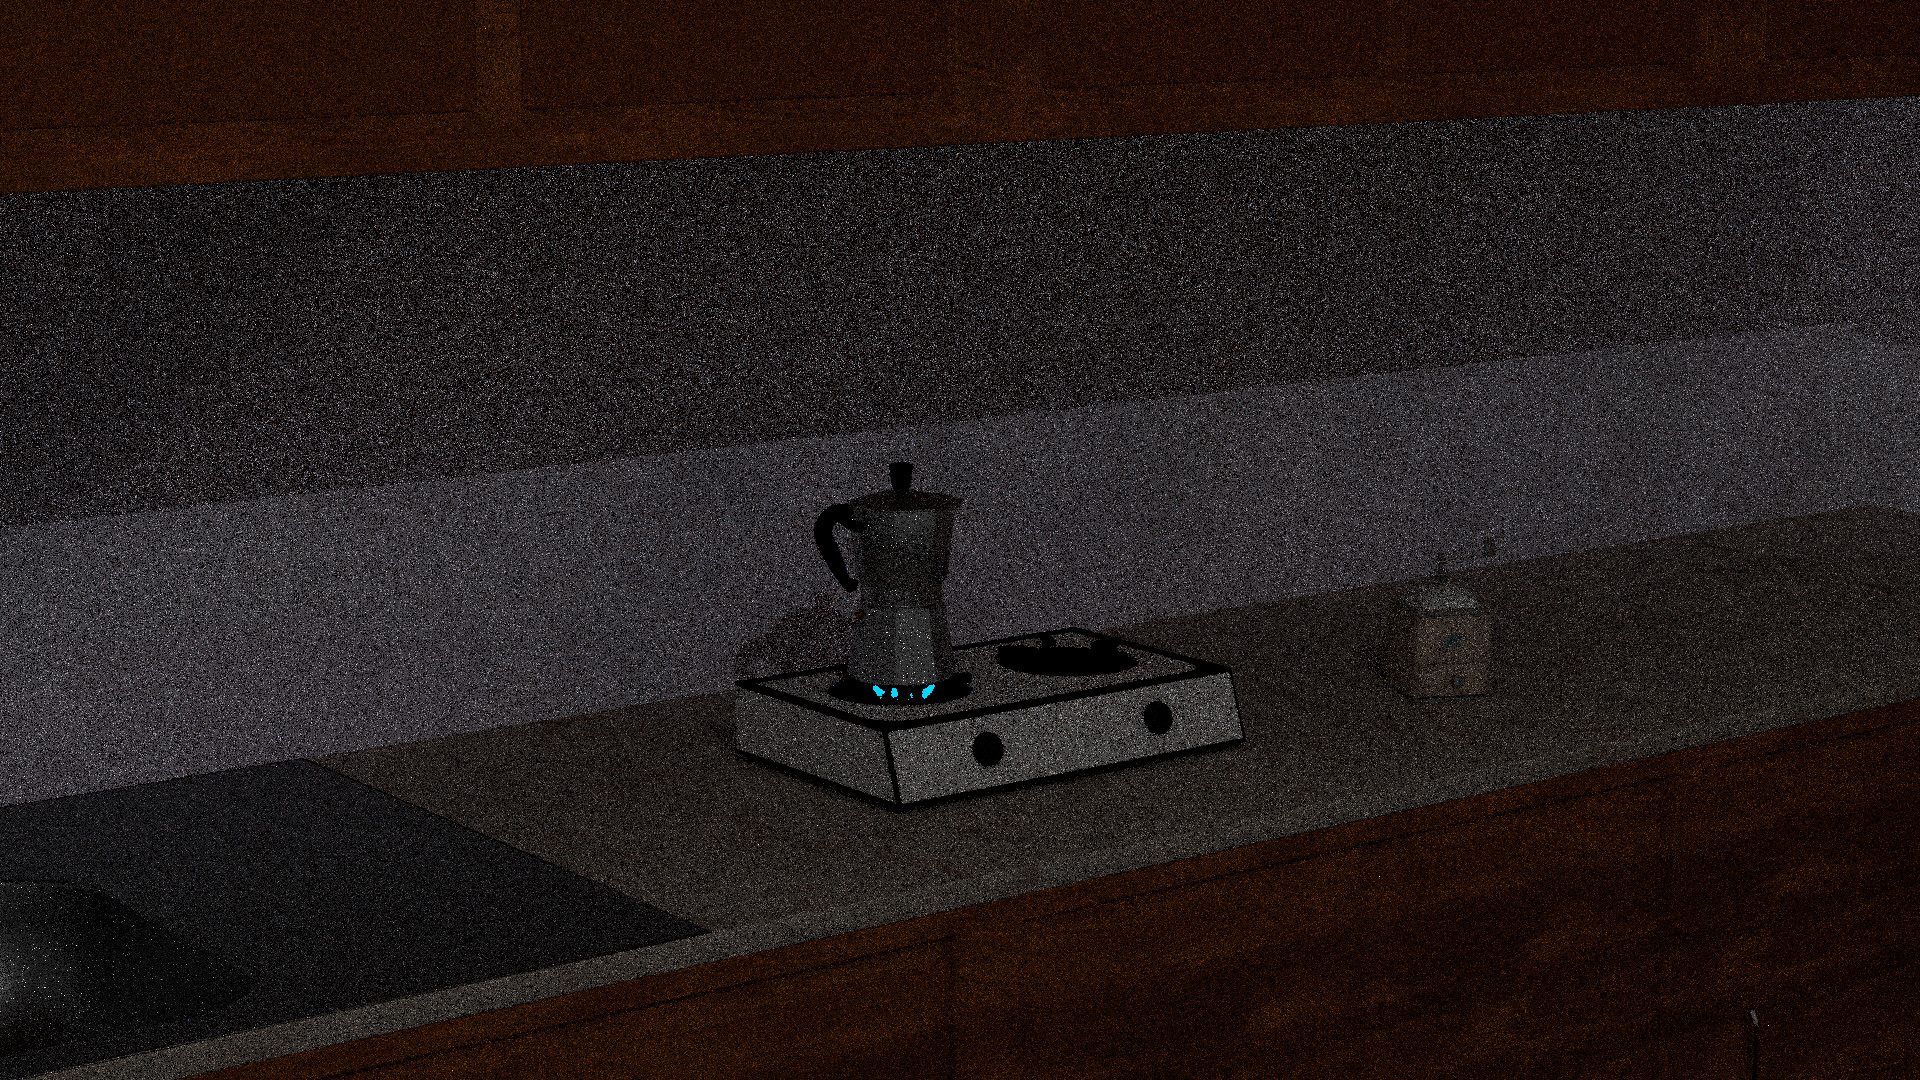
Ignition!!!

The mokka pot is running hot and so are we!

Step 04

Illumination

Now we can finally see what we are doing.

Step 05

Oh noo!!

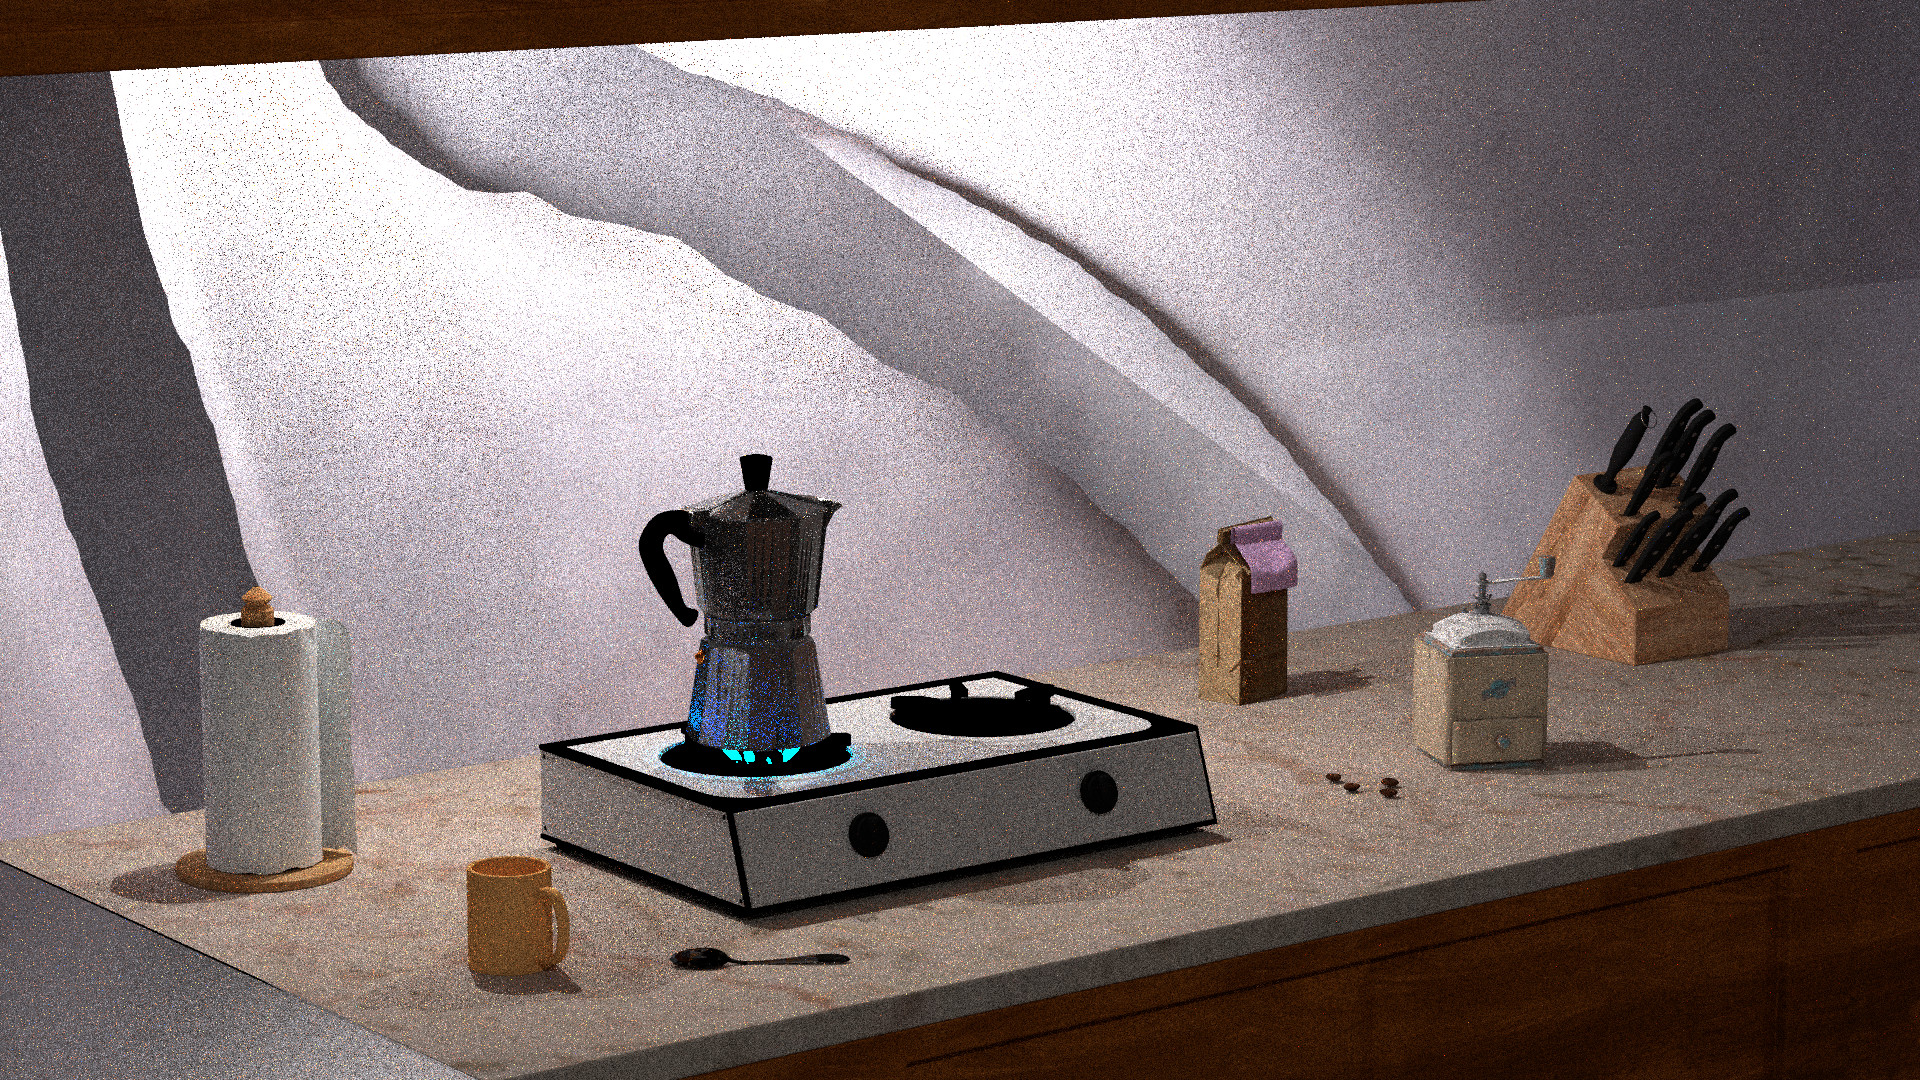
The normal mappings aren't exported properly! Let's fix it.

Step 06

Removed broken normal textures

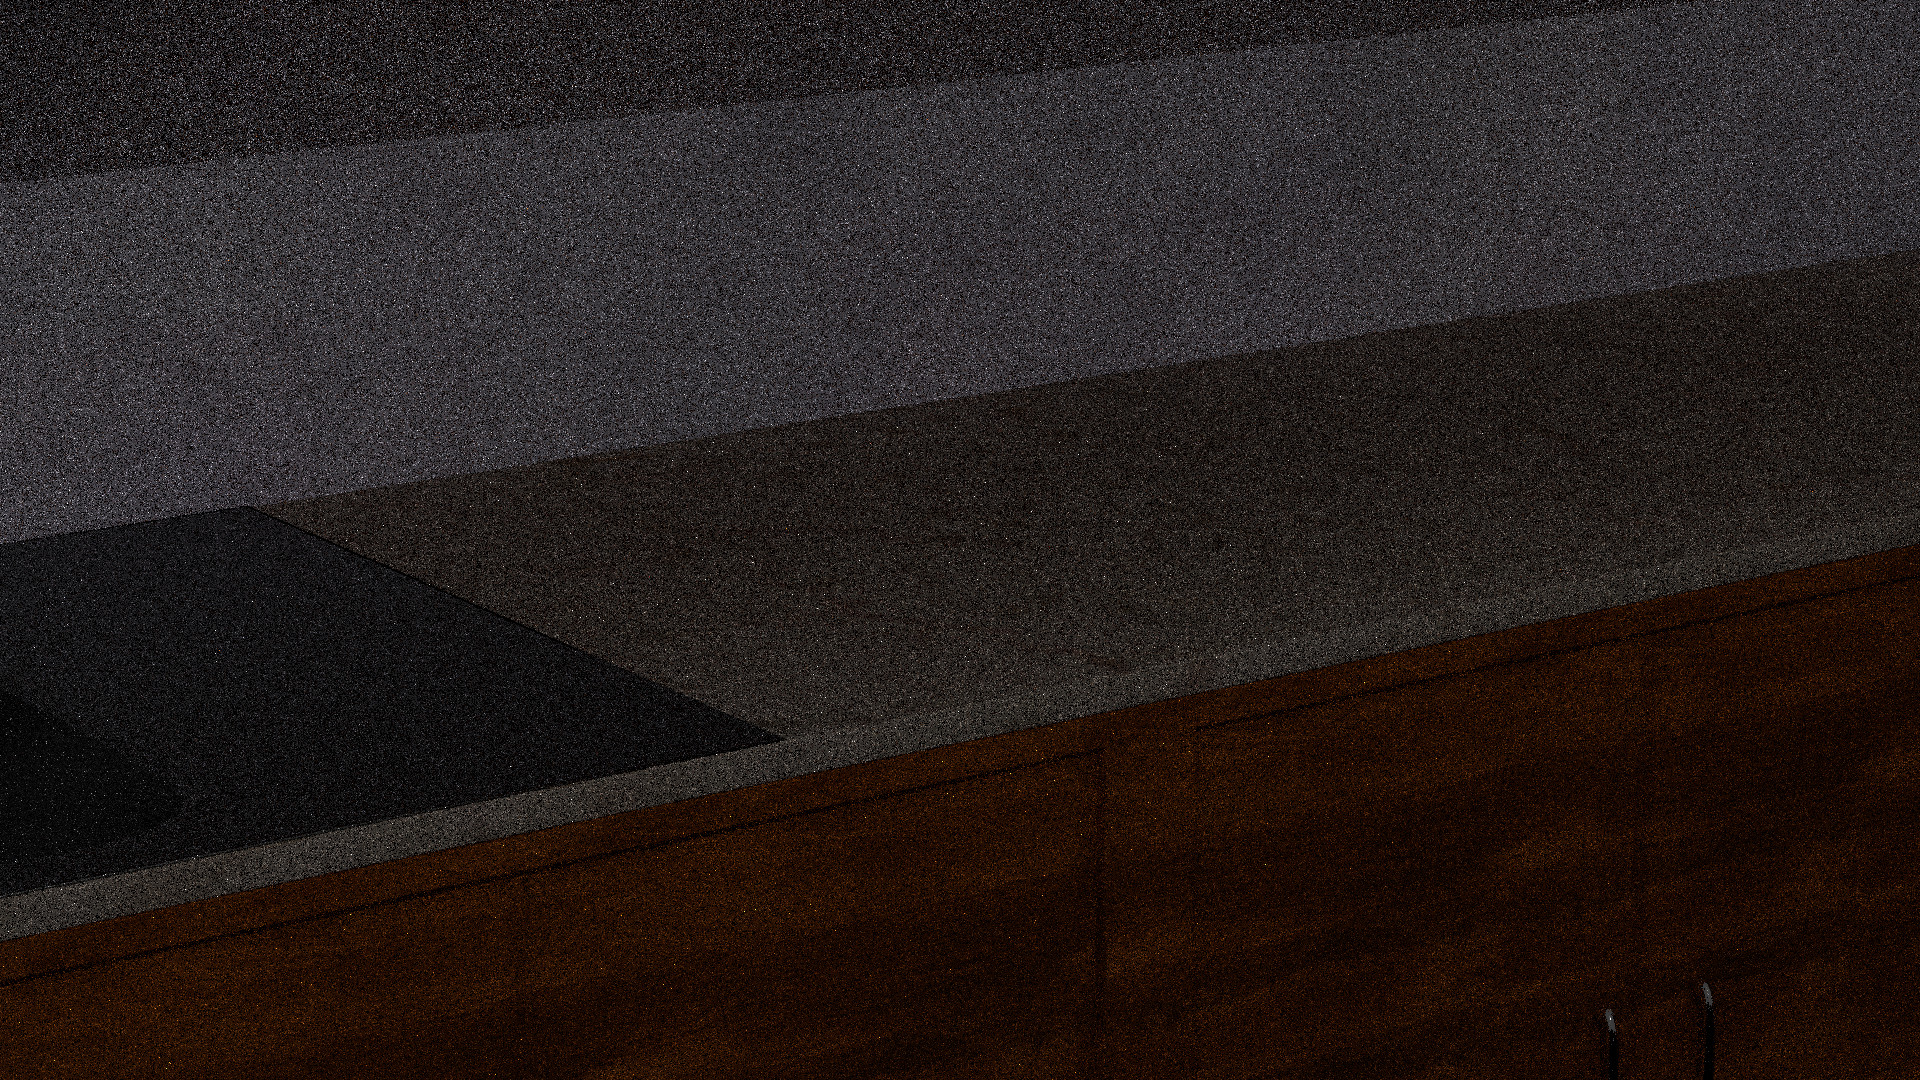
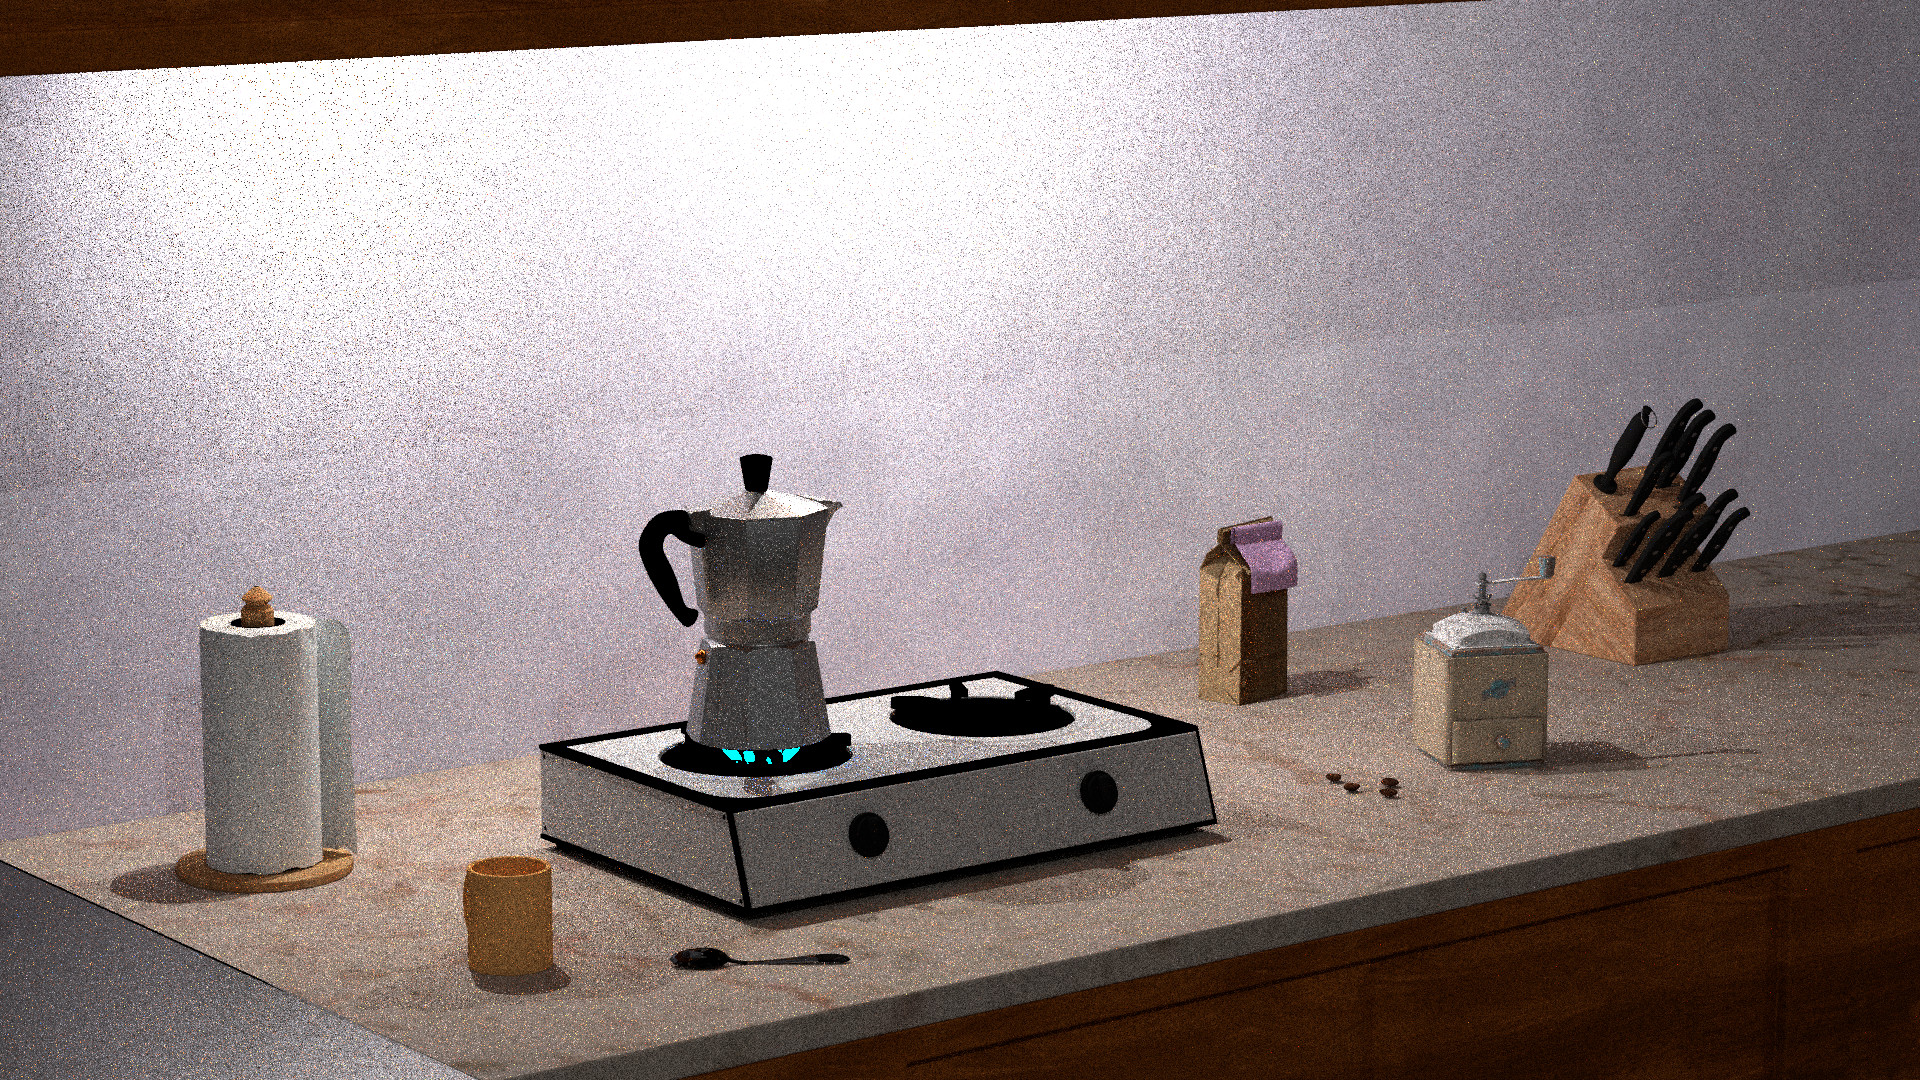
Finally it's looking clean again! But way too grainy!

Step 07

Post Processing

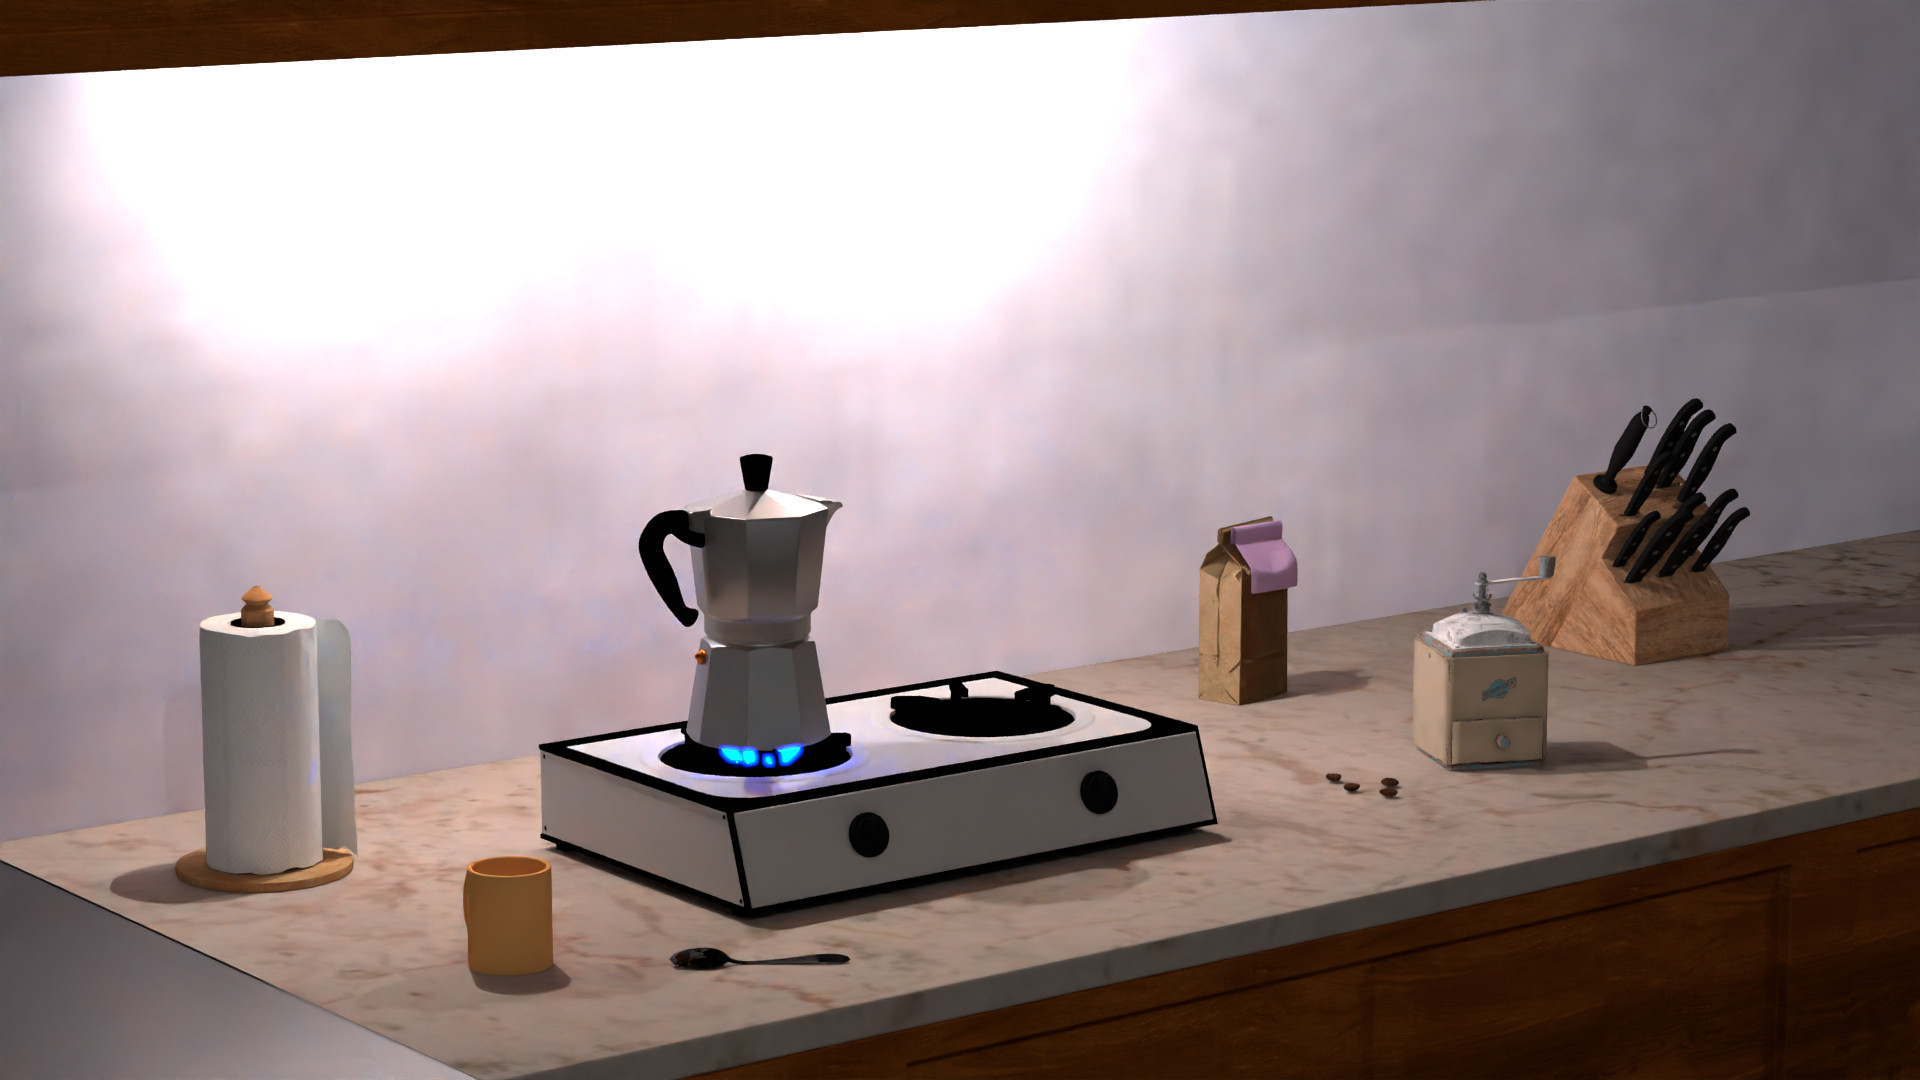
After ironing out all the grain and adding the nice warm bloom, we finally have our scene (and coffee)!

Implemented Features

Normal Mapping

Making flat surfaces tell beautiful lies
20
The Story

That brick wall in our kitchen? Well, we wanted to start with the first feature to highlight the white wall.

What It Does
  • āœ“ Fakes geometric detail using texture data
  • āœ“ Light interacts with "bumps" that don't exist
  • āœ“ Zero extra polygons required
  • āœ“ Perfect for brick, stone, metal surfaces
How We Built It

We encode surface orientations into RGB values. At each ray hit, we sample this map, transform through the TBN matrix, and suddenly the lighting system believes it's hitting a bumpy surface.

include/lightwave/instance.hpp src/instance.cpp

Hours spent staring at walls that looked wrong. Shadows falling in impossible directions. The culprit? Tangent vectors weren't orthogonal to the normal. Gram-Schmidt orthogonalization saved the day — and our sanity. Also, normal maps didn't scale well when exported from blender, making it hard to feature them in the final scene.
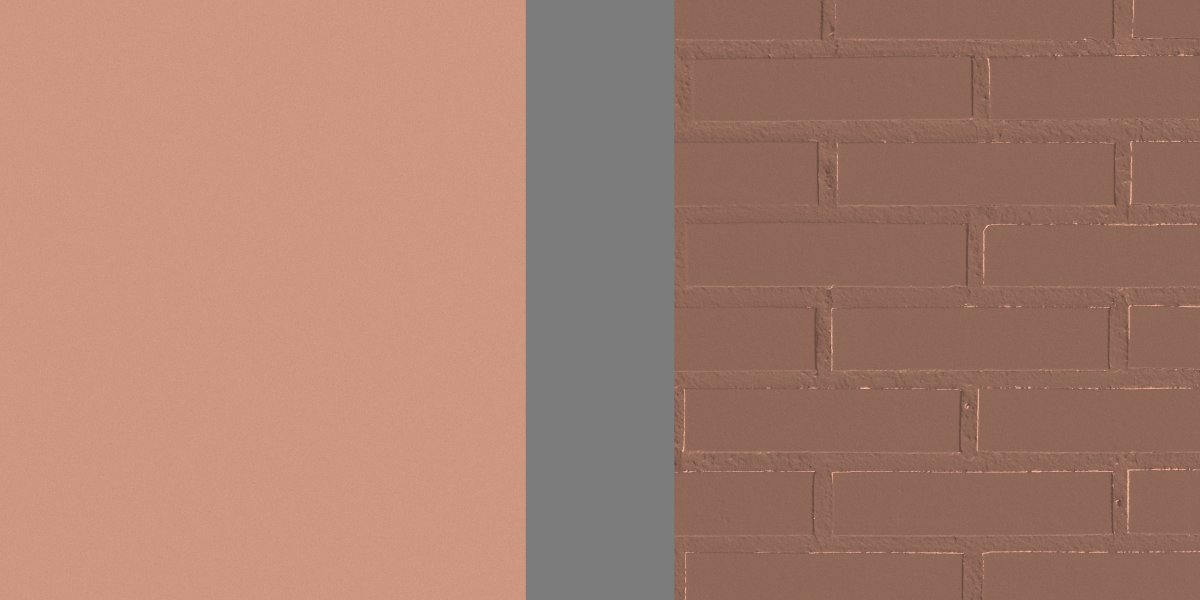
Before & After
Normal Mapping Comparison

ā˜• Left: flat surface. Right: same geometry with normal mapping. The difference is all in the light.
Area Light Sampling

Teaching light to find its way
20
The Story

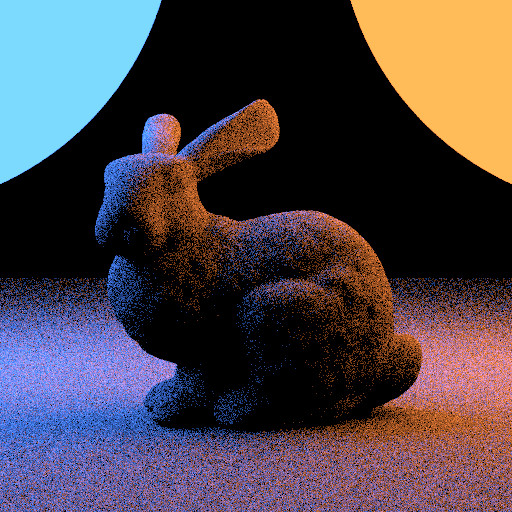
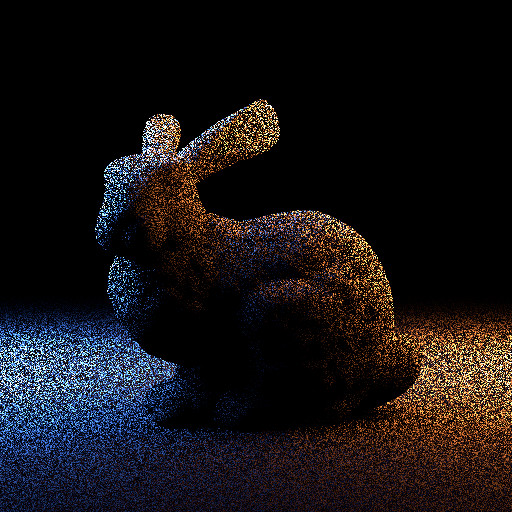
The soft glow of the gas flame — this isn't point sources. They're shapes that emit light. Without area sampling, our renderer would waste countless rays hoping to randomly stumble upon them.

What It Does
  • āœ“ (Should) Dramatically reduce noise
  • āœ“ Creates soft, realistic shadows
  • āœ“ Proper color bleeding between sources
  • āœ“ Essential for any scene with large lights
How We Built It

Trace a shadow ray, check for occlusion, compute the energy transfer. The math handles the rest — specifically, converting from area to solid angle measure.

src/lights/arealight.cpp src/shapes/sphere.cpp

Images too bright, then too dark, depending on light angle. Hours of debugging. The verdict? We don't quite know?! The light power scaled unituitive with their size.

The Proof
Without Area Light Without
With Area Light With

ā˜• Left: Spheres as emissive shapes.

ā˜• Right: Spheres as area lights.

Bloom Post-Processing

That dreamy morning glow
15
The Story

Real cameras don't see clean edges around bright lights. The lens scatters. Bloom is our option to optical imperfection, creating soft lights and breaking hard edges.

What It Does
  • āœ“ Creates cinematic, film-like quality
  • āœ“ Enhances perception of brightness
  • āœ“ Perfect for that cozy morning feel
How We Built It

Step 1: Extract bright pixels (threshold). Step 2: Blur them with Gaussian (separable for speed). Step 3: Add the soft glow back to the original. Multiple passes create that smooth, dreamy falloff.

src/postprocess/bloom.cpp include/lightwave/postprocess.hpp

First version was painfully slow. Naive 2D blur is O(n²) per pixel. Separable Gaussian (horizontal then vertical) brought it down to O(n). Suddenly, real-time preview became possible. Performance matters.

Before & After
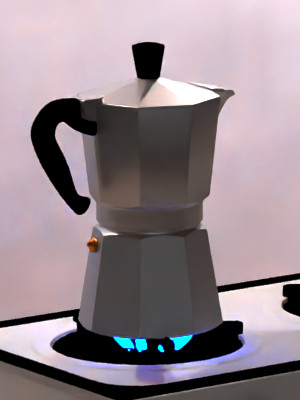
Without Area Light Without bloom.
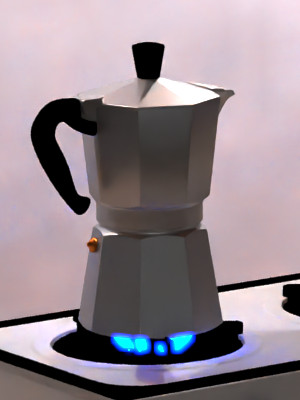
With Area Light With bloom.

ā˜• Left: Sharp edges and unrealistic looking flame.

ā˜• Right: Soft looking gas flame.

Image Denoising

Good clarity
25
The Story

Path tracing has a noise. Early iterations looks grainy. Intel's Open Image Denoise uses neural networks trained on millions of images to see through the chaos. It's a good solution for impatient renderers.

What It Does
  • āœ“ Low sample renders become usable
  • āœ“ Render times drop dramatically
  • āœ“ Edges and details preserved
How We Built It

Feed OIDN three things: noisy image, surface normals, and albedo. Normals tell it where edges should be. Albedo separates texture from noise. The neural network handles the rest.

src/postprocess/denoise.cpp include/lightwave/postprocess.hpp CMakeLists.txt

Struggling with the setup at the start and then getting it to receive any result was a challenge, but we were able to implement the feature.

The Transformation
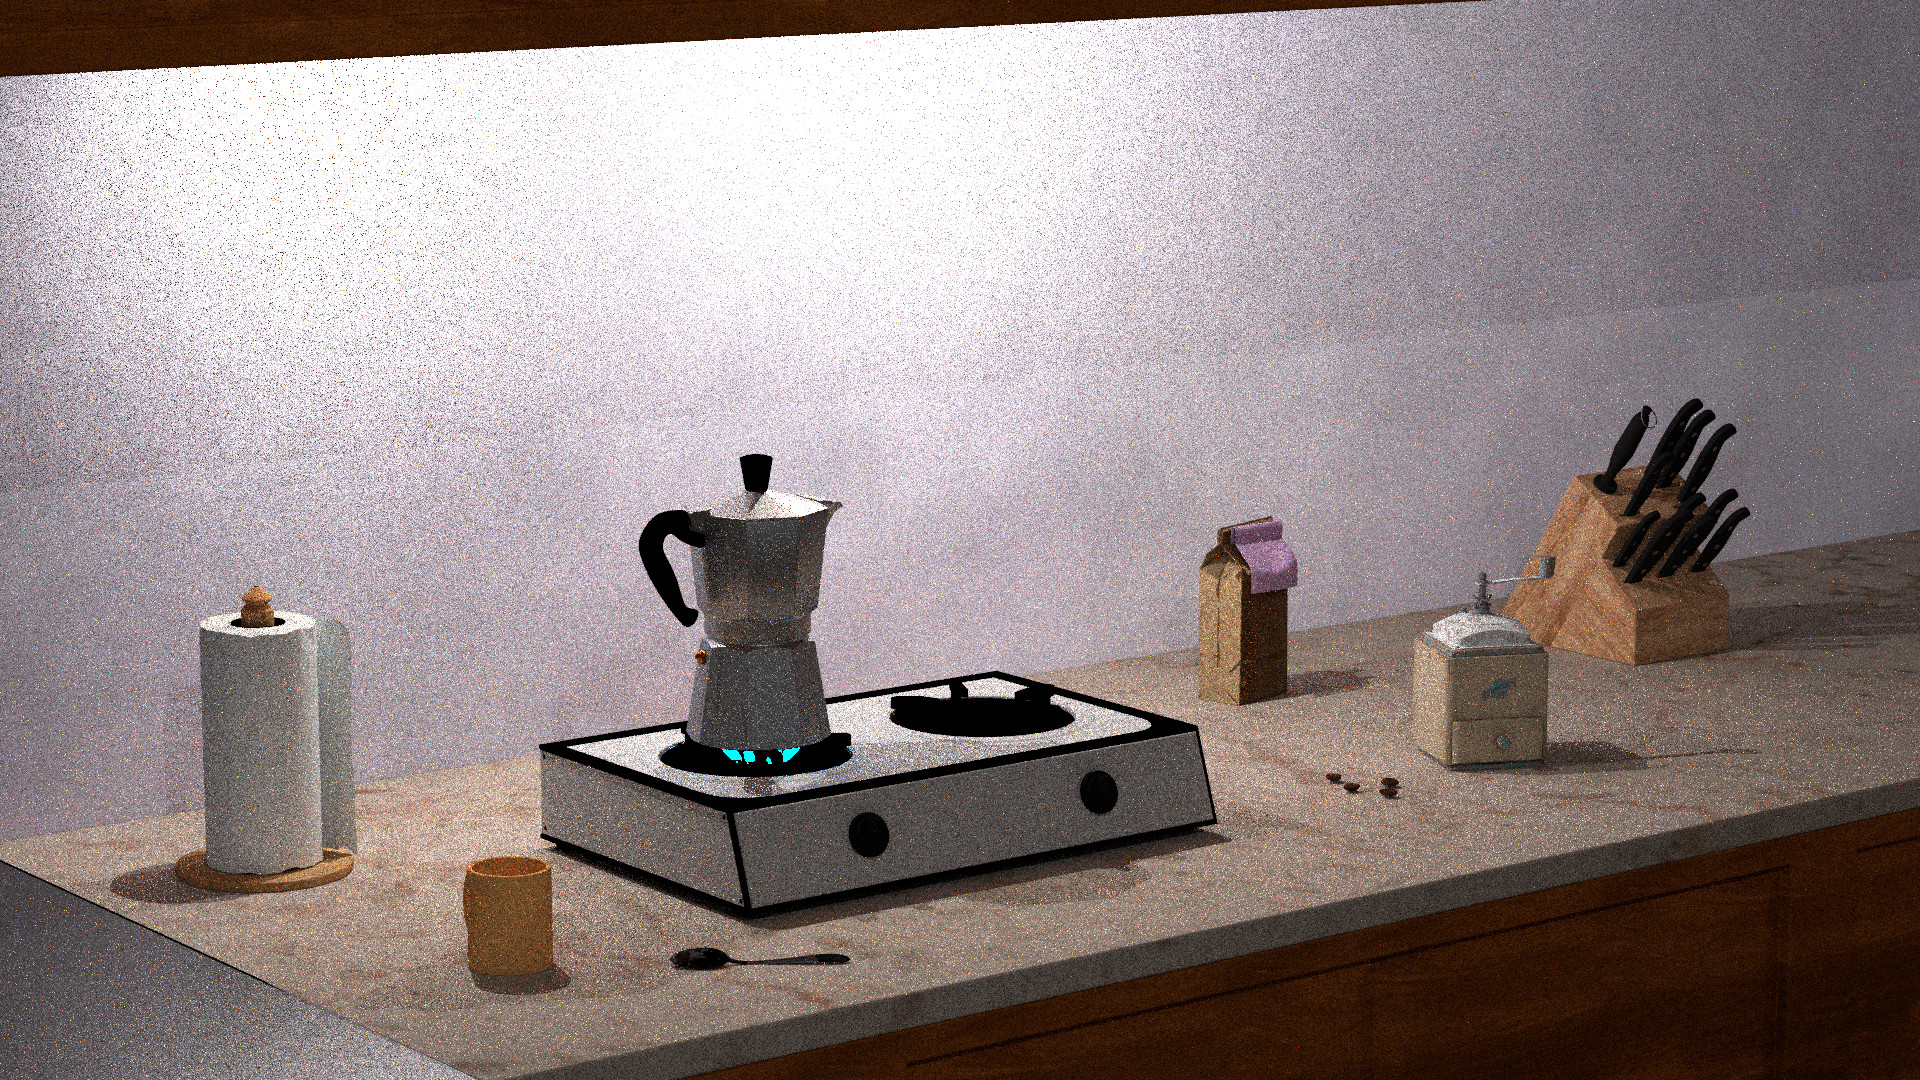
Noisy Kitchen Render

ā˜• Noisy input with only 16spp.

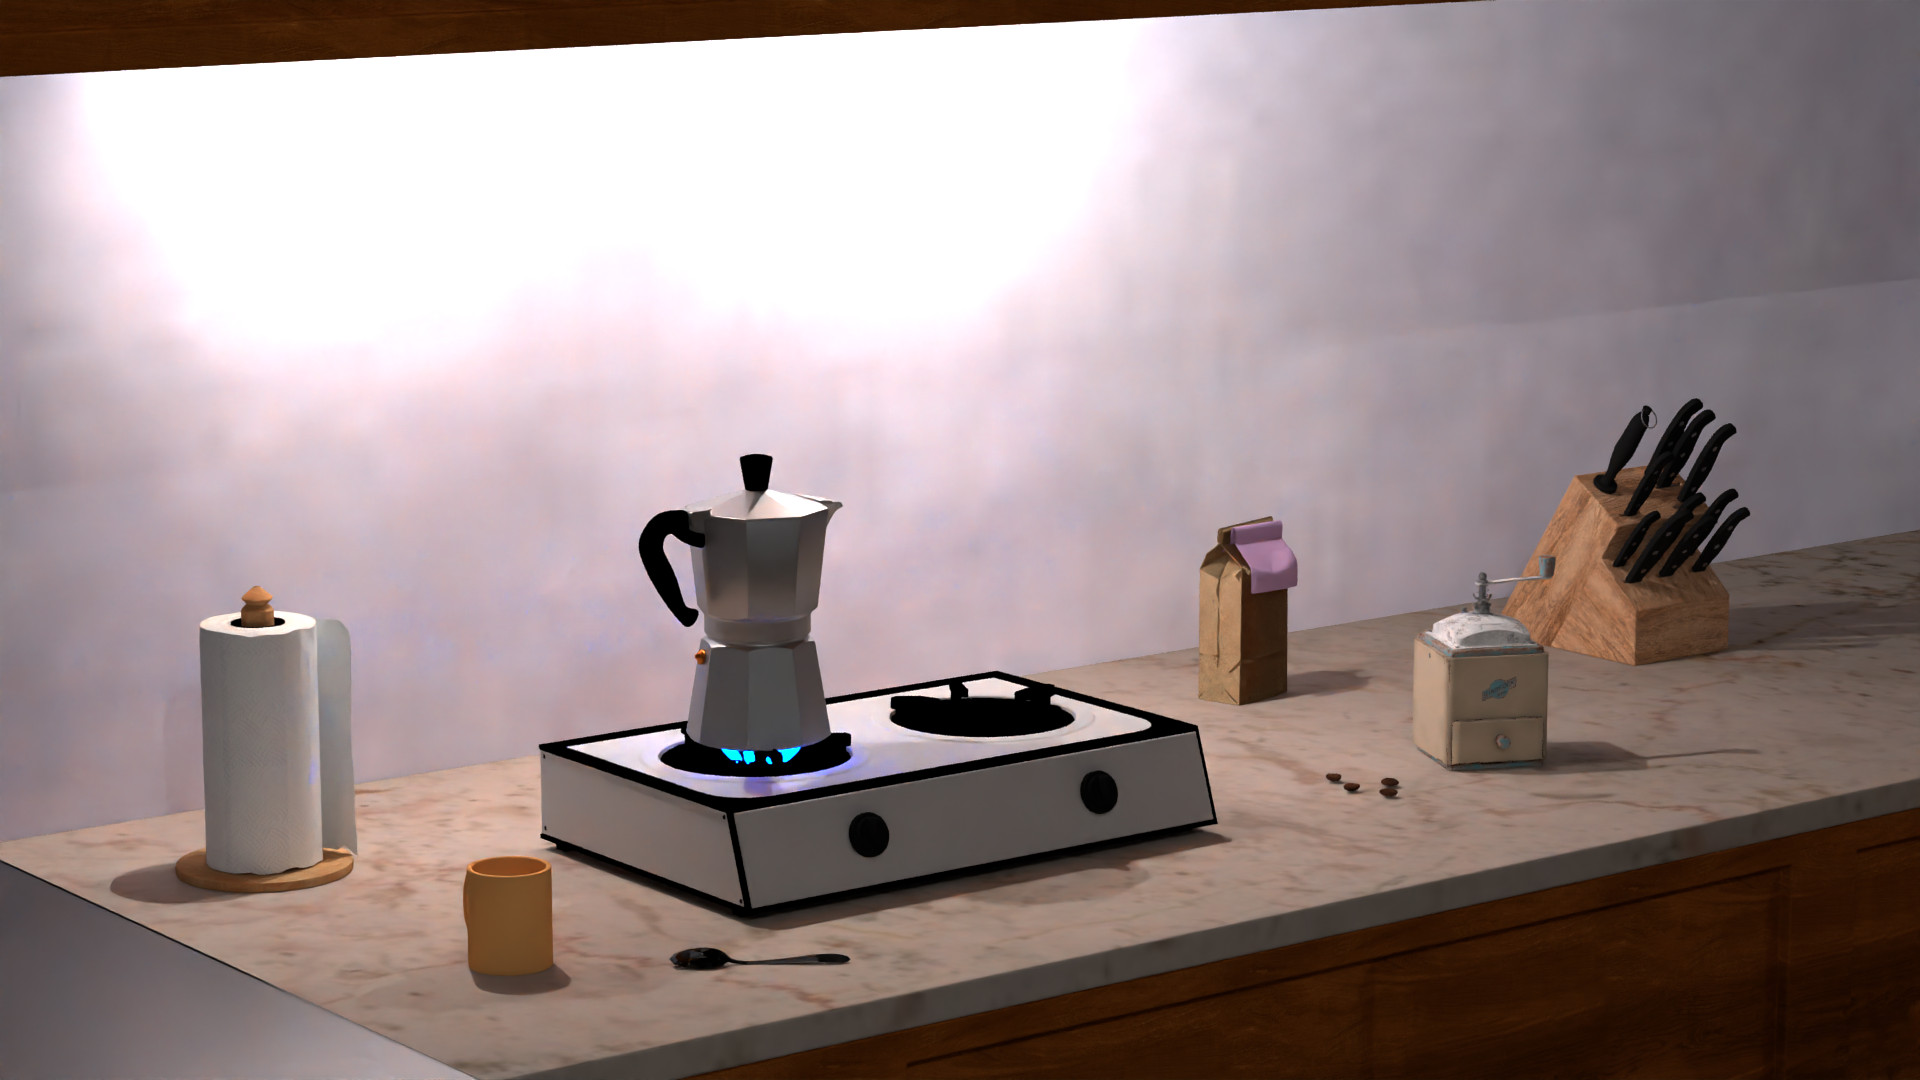
Noisy Kitchen Render

ā˜• Smooth and denoised output.

Resources

✦

Assets & Attributions

Tools Used

Blender • Lightwave Renderer • Intel OIDN • HTML5 UP

Acknowledgments

We would like to thank Prof. Dr. Philipp Slusallek and Dr. Pascal Grittmann for this amazing course, also to Ben Dierks who clarified all our doubts throughout the semester.

Henry Karl Hansen • Aishwarya Jadeja